We may earn revenue from the products available on this page and participate in affiliate programs. Learn More ›
Last week I talked about the benefits of extending your effective bow range—specifically, how you can more than double the amount of area you can cover from a treestand if you extend your range from 20 to 30 yards. All well and good, you say, but exactly how does one go about increasing effective bow range? The short answer is with smart practice, but it pays to start from the beginning.
Know Your Current Skills
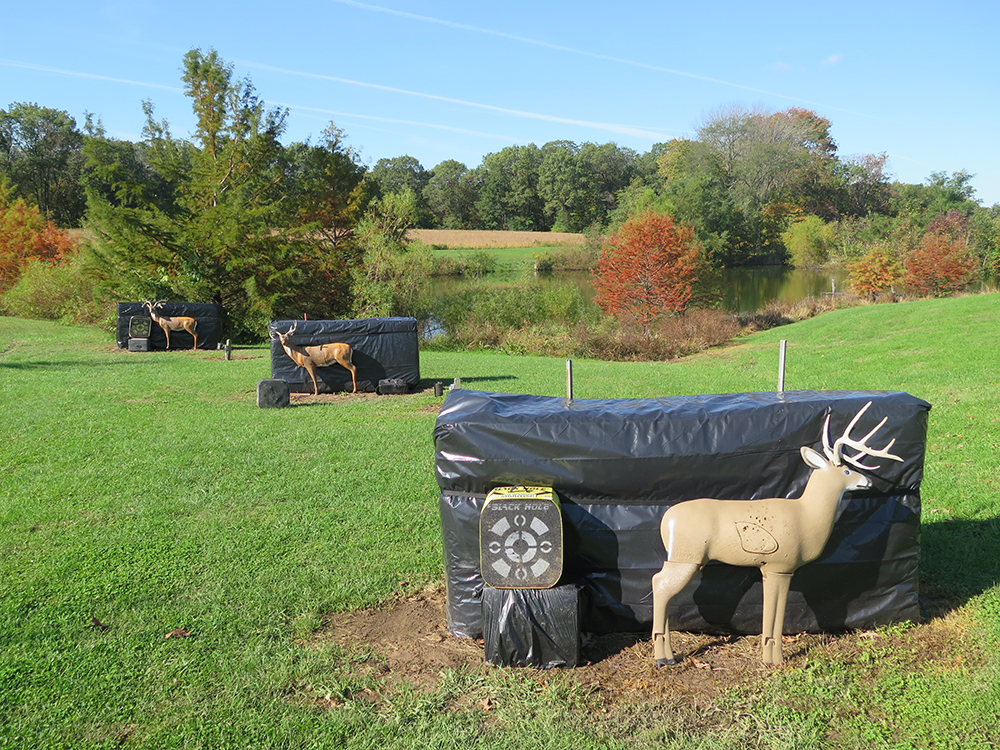
Before you can increase your effective range, you have to know what you’re attempting to enhance. A good way to check your current effectiveness is to shoot two separate 6-arrow groups. If you can keep all six arrows within a coffee-mug-sized circle, for two consecutive rounds, you should be ready to begin stepping back. Remember though, this is no time for fudging; once you establish a realistic proficiency baseline, stick to your parameters. Be honest; if you find yourself thinking “close enough,” it’s time to slow down and do more work at a particular yardage.
Form And Fit Are Critical
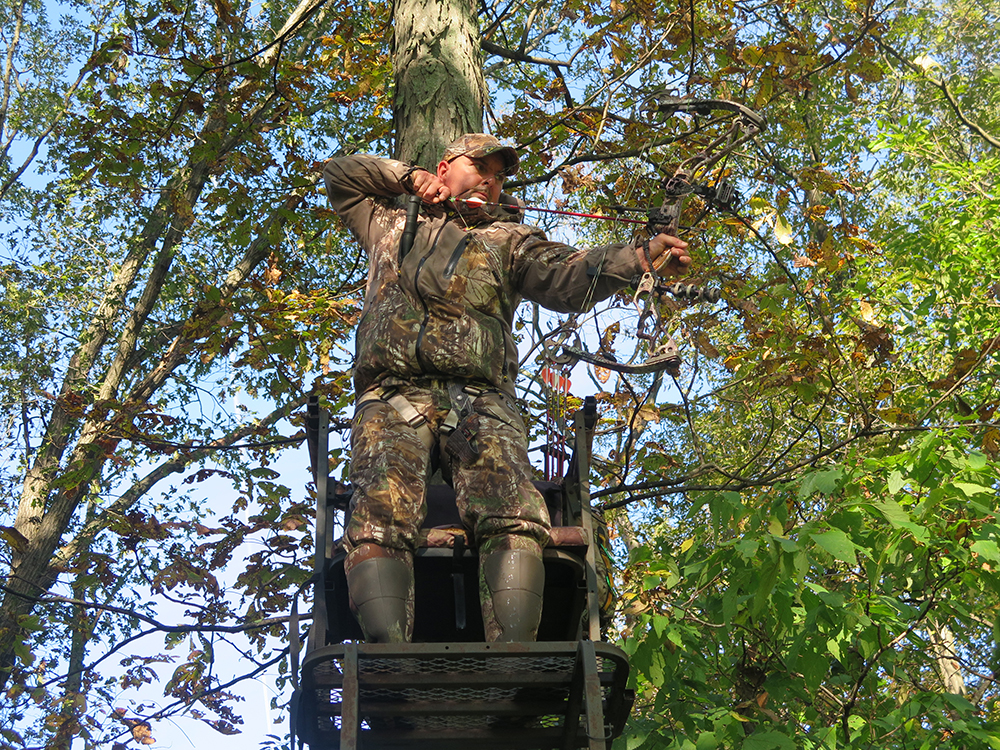
Another question that must be answered somewhere near the very start: Are you truly using proper form? According to the old saw, slight variations from “perfect” shooting form are more or less acceptable, as long as your personal little “quirk” is consistent. Technically, this is probably true, as long as you can perform like a shooting machine in all conditions. Trouble is, we humans can’t. And certainly, it’s even more unlikely on a hunt, with the increased pressure of a big buck sneaking into range. The only smart answer is to take the time to learn proper form.
I know about less-than-perfect form intimately, because I was once a serious offender. And then I got some help from an archery pro shop owner who really knew his stuff. What I learned in just a few minutes of instruction from this knowledgeable coach changed my shooting forever, and I would highly suggest anyone looking to increase their bow-shooting skills to do the same. The bottom line is this: While you can get by with less-than-perfect form you will likely never reach your true bow-shooting potential unless you figure out good solid, repeatable form. Even better news? This goal is a lot easier to achieve than you might think. But it does take time and effort. What you seek is a consistent, repeatable shot sequence, which includes a consistent anchor point and bow grip, and more critical details like bending your bow-arm elbow slightly, and shooting with proper “push-pull” action (the bow arm should be driven slowly toward the target while the release arm pulls slowly away).
Another benefit of tapping the knowledge of a local archery pro? They will tell you if your bow’s draw length truly matches your needs. Year after year, archery pro shops report the number-one cause of customer shooting woes is shooting too-long a draw length. If your offending bow features modular cams, the answer is a quick and simple adjustment. If your bow’s cam system is draw-length specific, it’s time to sell it and upgrade—you will be miles ahead in the end.
Think Quality, Not Quantity
Whew. Okay, you’ve dialed-in your bow and form and you’re ready for some serious practice. Now’s the time to remember the old artists’ axiom—less is more. Don’t try to add 10 or 15 yards at a crack. Five-yard increments are the way to go, and you don’t want to progress too fast. If you are able to shoot daily, try to spend a solid week at that first 5-yard increase, concentrating mightily on form during each shot. And don’t take too many shots per session. Twenty or 30 carefully taken shots per session easily trump 50 or 60 half-focused efforts. Your goal is to build confidence in your newfound proficiency, and it doesn’t happen overnight. Shooting too much now during any one session can also result in physical fatigue, which quickly erodes perfect form and ultimately, all that confidence and proficiency you’ve been working hard to achieve.
Continue Adding, Slowly
After the first week, continue adding distance in 5-yard increments. Ideally, you would devote a full week to hone your abilities at each jump, but everyone is different. A few days is the least amount of time I would recommend lingering at each new distance, gaining the necessary confidence, but these are all just rough guidelines—there are no hard and fast laws. Some people can make 10-yard jumps quite easily. Common sense rules; if you find yourself experiencing signs of target panic (freezing off target, punching the trigger rather than slowly squeezing your release) or any other signs of form regression, it’s time to head way back to “point-blank” (10 feet from target) range. It’s here where you can regain confidence in your form and shot sequence mechanics. Some of the finest archery coaches in the nation believe even the best archers should shoot “blank bale” sessions several times per week, to reinforce proper form. I wholeheartedly agree.
The Long-Distance Challenge
Once you’ve extended your deadly range by 10 or 15 yards, the best advice may be to simply keep going. Over the years I’ve been lucky to interview and otherwise tap the brains of some of the finest archers and bowhunters in the nation, and I’ve heard a common theme. Particularly, how true long-distance practice—80, 90, even 100-plus yards—has greatly improved their bowhunting success. It’s not because these guys and gals are shooting game animals at such prodigious yardages, but rather, honing the near-perfect form required for consistent long-range accuracy makes 25- to 35-yard shots seem like chip shots. The takeaway, for me, is fairly obvious. If you have access to a range allowing for such long-range sniping, there’s no good reason your regular practice sessions can’t include “airing some out” to enhance real-world bowhunting accuracy.