We may earn revenue from the products available on this page and participate in affiliate programs. Learn More ›
Up until now, the drills we’ve been practicing to get our shooting in shape before hunting season have been done under controlled conditions, free of any physical stress. But that’s about to change.
The toughest shot to make while hunting is after a dash to the top of the ridge where the animal you’ve been stalking is about to disappear into the dark timber. Your legs are rubber, you chest is heaving, your heart is pounding like a jackhammer on a construction site, and you’ve got just a few seconds to make this happen. How do you do this?
An adage from the military is to train the way you fight, and that’s no different here.
The kind of physical stress place yourself under is up to you. You can do 25 pushups. Run 100 yards. Climb a hill. Do 10 burpies. Whatever. In any case, subject yourself to 30 to 60 seconds of hard physical effort. Then, pick up your gun and make a shot.
A word of warning: Safety is paramount here. Do not do any of these exercises with a loaded rifle on your back or in your hands. It isn’t worth it.
Instead, leave the rifle decked in a safe condition at your shooting position, do your physical activity first, then grab and load the rifle.
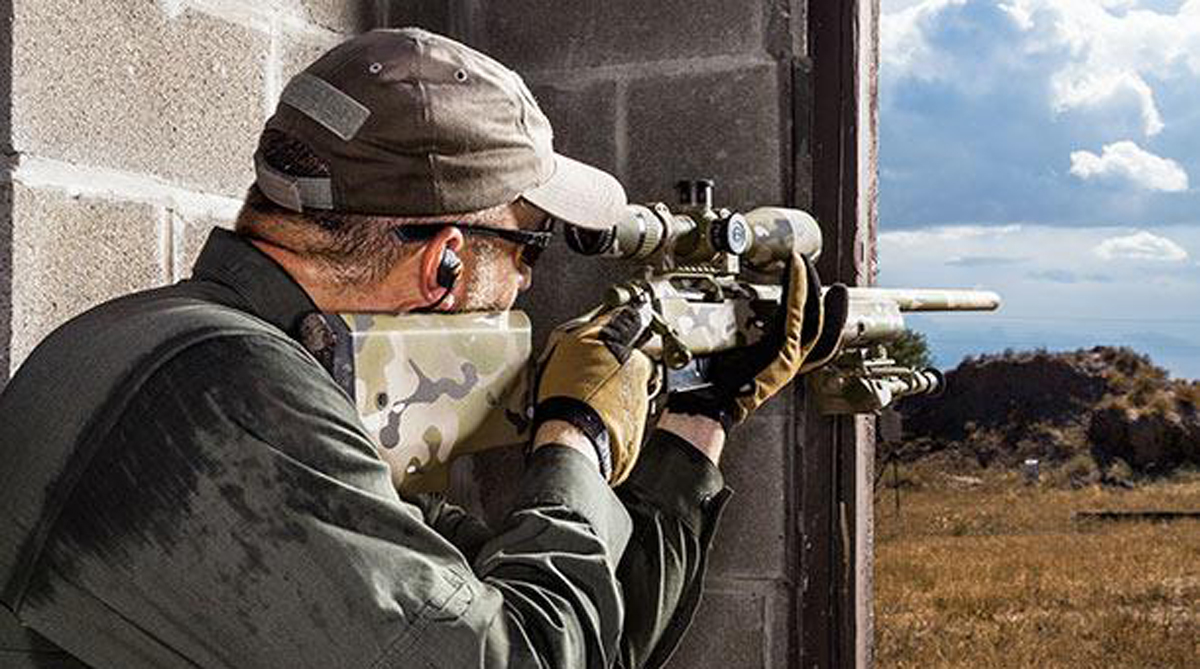
To add to the realism, you can do this with a pack on your back that you then use as a rest, or you can go right to a kneeling or sitting position before shooting.
Your goal is to make a good killing shot on your target, which should duplicate the vital zone of the animal you’re planning to hunt, within the shortest time frame possible.
Here are some tips to keep in mind:
Settle your breath
The faster you can get your breathing under control the better. One trick used by biathletes, who know more about shooting under physical stress than anyone else, is to take three very large, deep breaths while setting up for the shot. After filling your lungs, let the air out in a controlled smooth fashion. This not only makes your sights jump around less because you’re not gasping in a ragged manner, but it will also slow your heart rate.
Trust the wobble
With this drill, more than any other, your sights are going to be moving all over the place, usually in a pattern like a figure 8 that has been turned on its side. If you’ve mastered your rifle’s trigger so that you’re not jerking the sights around as you trip the shot, and can keep that wobble within the confines of the target, then you are going to hit what you’re aiming at.
Developing good shooting form, which goes back to the drills we were doing in week one, getting in good physical shape, and practicing good trigger control, will contribute to a smaller sight wobble.
See you next week.
Miss a week? We’ve got you covered:
Week 1: Dry Fire Drills
Week 2: How to Really Zero Your Rifle
Week 3: Rapid Fire Drills
****Week 4: One Dot Drill