
We may earn revenue from the products available on this page and participate in affiliate programs. Learn More ›
Long before the days of dip-coating and silk-screening, outdoorsmen were using spray paint to dress their gear with custom camouflage. Nowadays, even though production camo application is durable and available in a number of proprietary designs, there are still a number of advantages to picking up a “rattle can” and applying your own camo pattern. A Krylon paint job will give your gear a layer of additional protection from the elements, and your custom pattern can match the colors and shadows where you’ll hunt, all for a fraction of the price of production patterns. With a few simple techniques, you can create great-looking spray paint camo.
Step 1: Apply the Base Layer
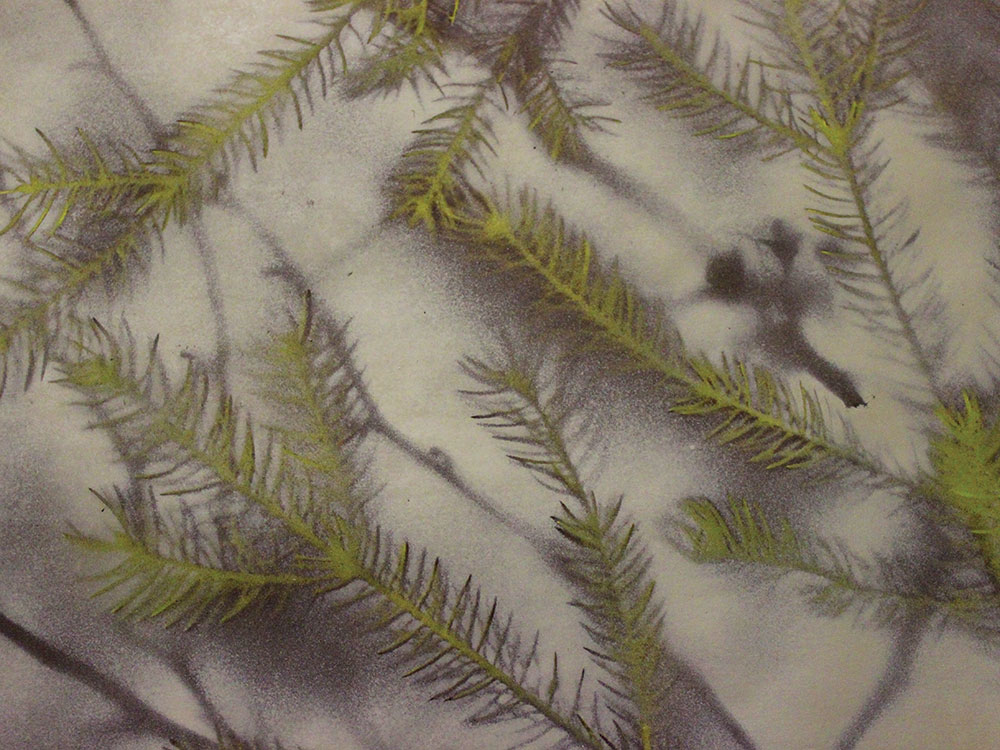
Your base layer won’t be the primary color of your pattern. Rather, it should be a secondary color that you want your stenciled items to be. If you want to start with green leaves, choose green. then, you’ll layer your additional colors in reverse order. It’s important to use paint with a flat finish—glossy and satin finishes are too reflective. While you’re painting, make sure to spray in short, brief strokes. Light coats of paint will dry faster and won’t bleed under your stencil items as easily.
Step 2: Layer Sticks, Foliage, and Other Stencil Items

A shortcoming of many spray paint camo patterns is that they are painfully two-dimensional, with large swaths of unbroken solid colors and lines that are too crisp. Their foliage elements are often so realistic they aren’t ideal in a range of places. Your rattle-can pattern should balance lines and shadows to break up the outline of whatever it is you want to disguise, while matching the generally neutral colors of the environment you’re trying to mimic.
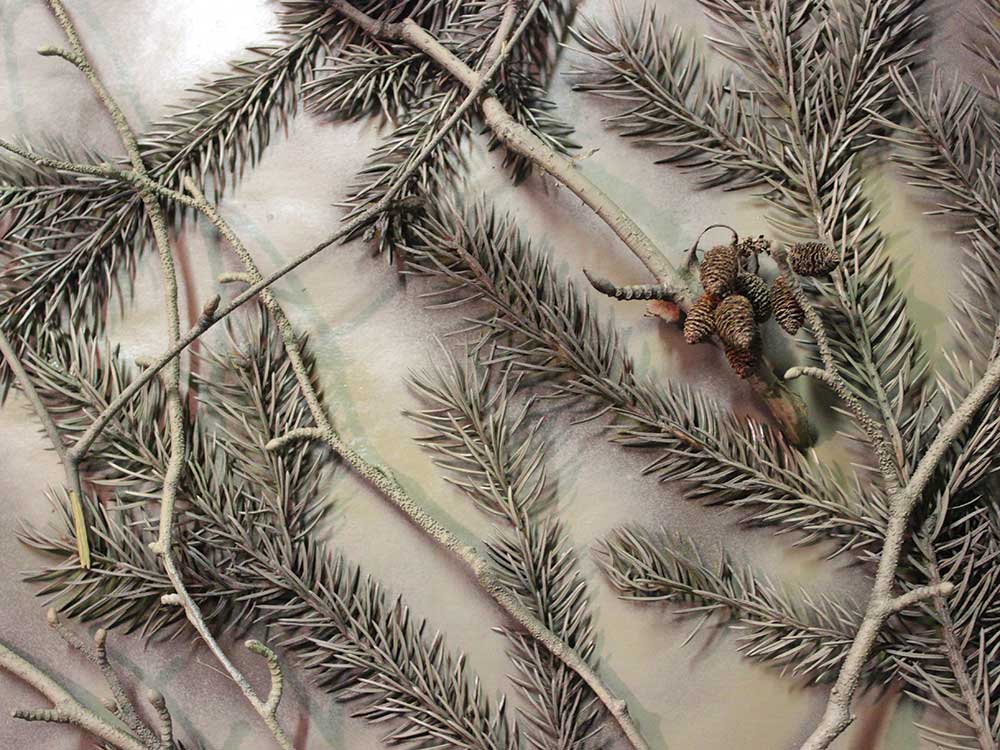
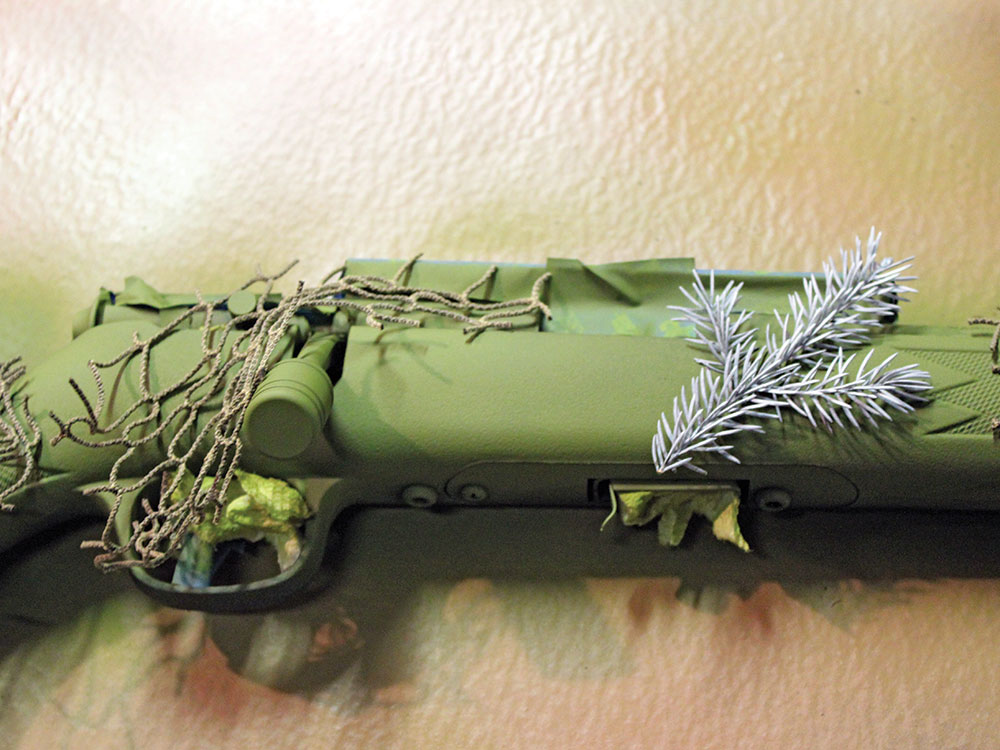
One of the oldest tricks of spray paint camo is to use natural foliage as an element of your pattern. Use twigs, leaves, clumps of grass, or even unnatural items like keys, rifle shells, or knives to give your work a distinctive look. If you want green foliage and brown sticks, lay the greens on top of your green base layer, then spray a layer of brown. After it dries, set a layer of sticks on it, then paint with another color. Make sure to leave all your stencil items in place until you’re done layering, letting the paint dry completely between coats. Once it’s all dry, you can remove the items.
Step 3: Remove Stencil Items from your Spray Paint Camo
Step 4: Add More Depth to your Spray Paint Camo
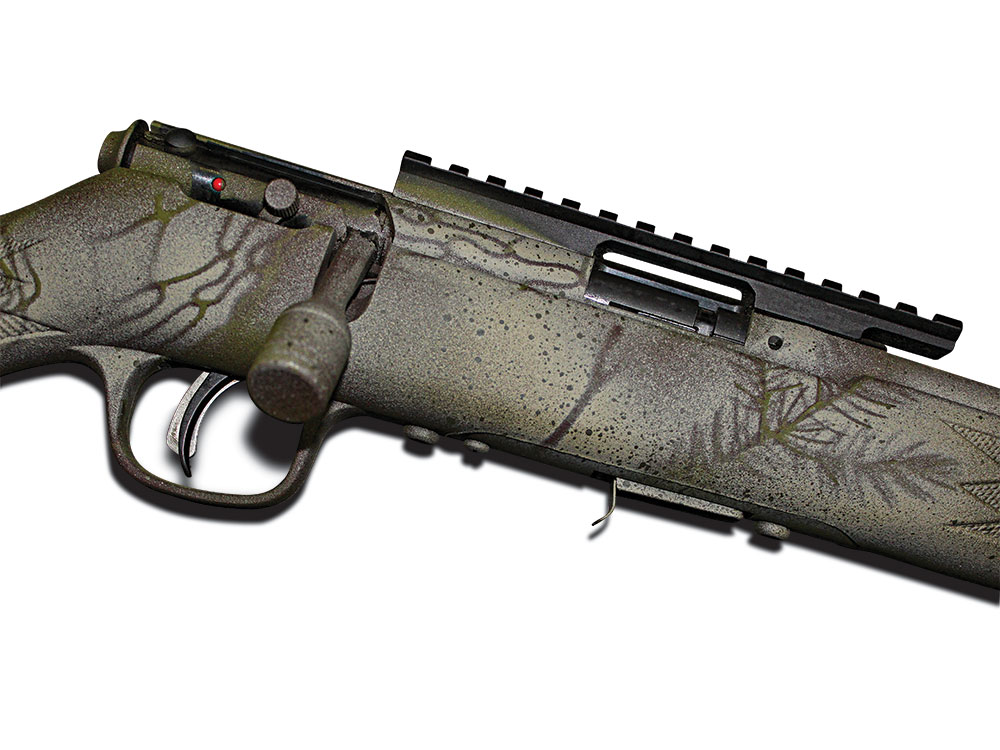
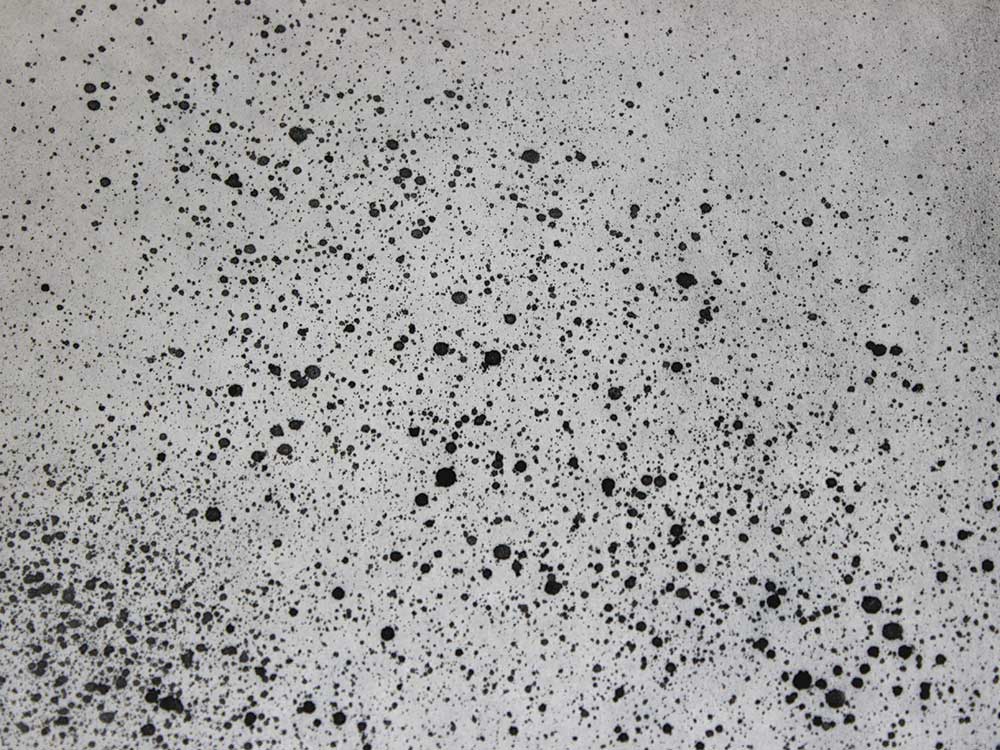
Once you have your basic spray paint camo pattern, there are a few things that you can do to add more depth. You can incorporate netting or webbing with some light and patchy spray at any point in the painting process—be as creative as you want to. Another great technique for finishing off a pattern is to drizzle the paint over the pattern. If you depress the spray nozzle just enough to let the paint spatter out. This will leave droplets across your pattern, breaking up any solid color areas you might have and will make your spray paint camo appear more three-dimensional.
Read Next: Best Long Range Rifles of 2023
Final Thoughts on Spray Paint Camo
Spray paint camo might not be a great option for every gun or piece of gear you have, but it can be a good option for some items. Make sure you use masking tape to cover anything you don’t want painted. Be patient, be creative, and have fun with it!