Plaques, hangers and braided rope to mount your deer’s rack can be purchased from a taxidermist, many local sporting goods’ stores, or from major sporting goods’ catalog retailers. You can even custom build your own plaque if you have the skills.
How to Mount Your Own Antlers
If your buck is plenty good for the wall, but not quite big enough for the taxidermist, consider this easy DIY antler-mounting project.
Necessary Tools to Mount Your Deer Antlers
A drill, wire brushes, Borax, Clorox bleach, drill bits, glue gun and glue, scissors, drywall screws, a hammer, and a few other odds and ends.
Step 1: Getting Started
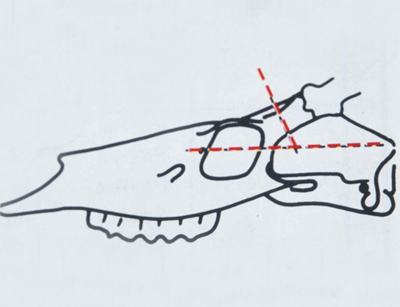
This diagram shows how to saw the deer’s skull plate for a standard skull mount. A hand saw or hack saw will do the trick.
Step 2: Dry the Skull

Borax is a drying agent and helps to clean flesh from the deer’s skull.
Step 3: Grind the Skull Plate
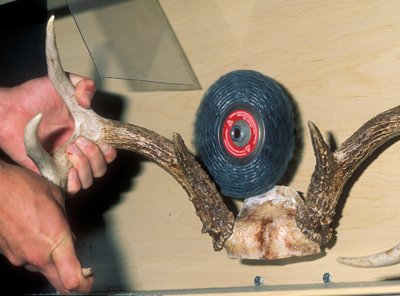
A wire brush on a bench grinder helps clean up the deer’s skull.
Step 4: Switch to a Smaller Brush
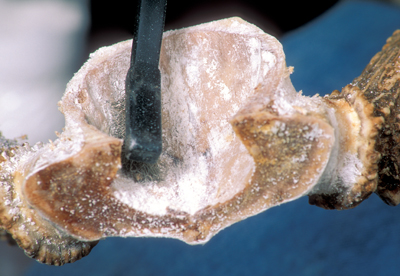
A wire brush works well on the small crevices of a deer’s skull.
Step 5: Remove Dried Blood
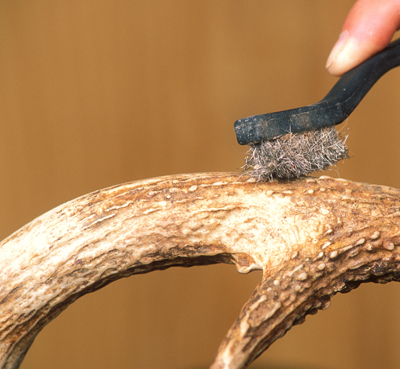
The small, fine wire brush is also perfect for cleaning dried blood from the antlers.
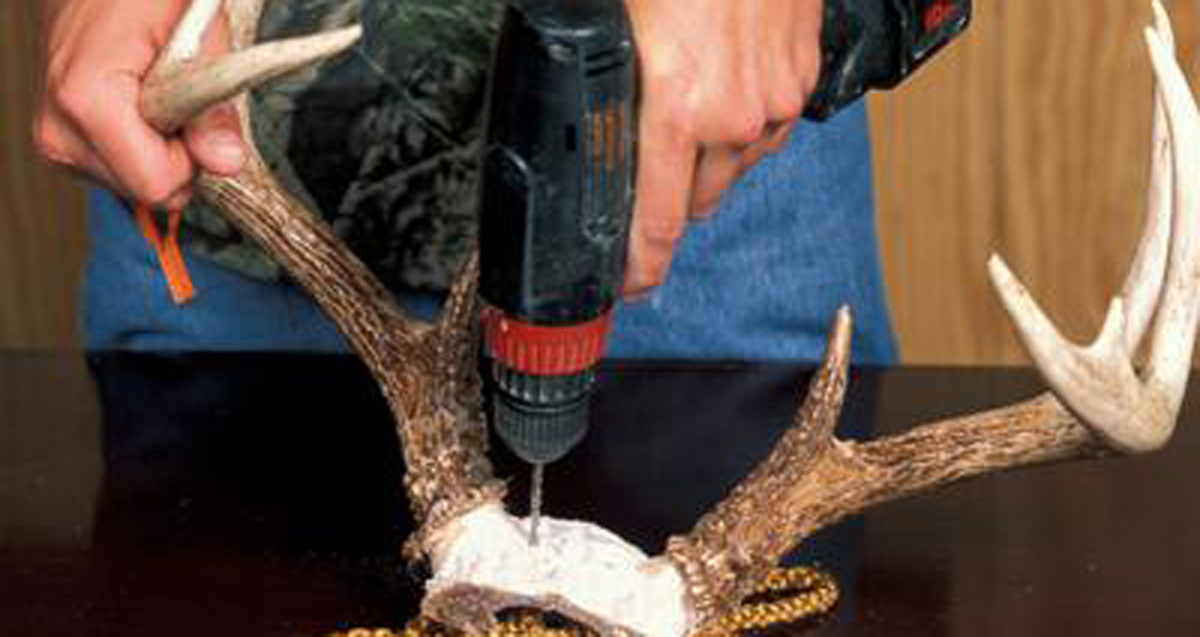
Step 6: Drill Holes in the Skull
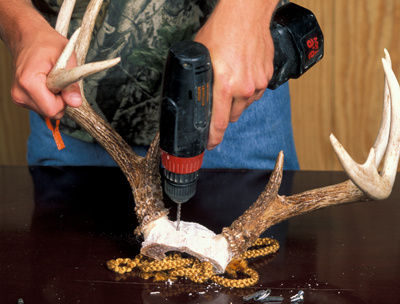
Drill holes in the skull for mounting to the plaque. Three holes are required.
Step 7: Mount the Skull
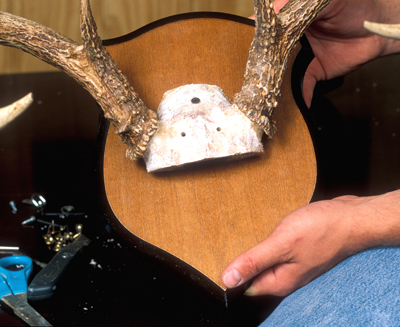
On a standard skull mount, secure the skull to the mounting plaque with three drywall screws.
Step 8: Cover the Skull Plate
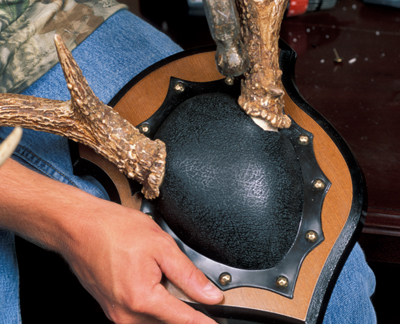
Hammer the brass tacks in from the bottom up, working side to side when attaching the cover material on a standard skull mount.
Step 9: Add a Rope Accent
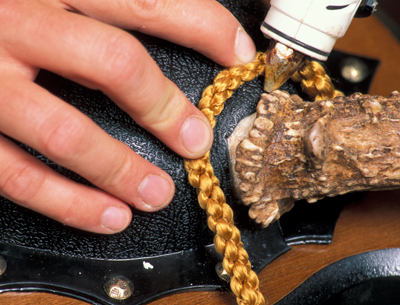
Secure the braided rope around the antler burrs with glue. A glue gun works well.
Step 10: Secure the Hanging Tabs
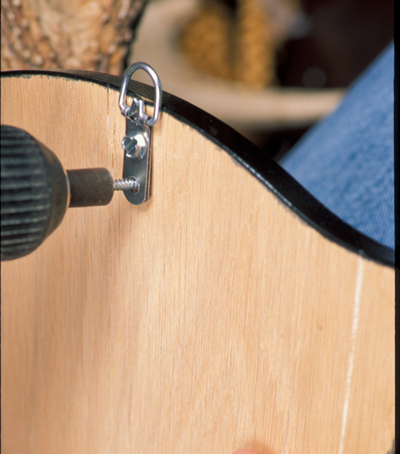
Screws hold the hanging tab to the mounting plaque. A flush holding bracket can also be used.
Step 11: A Finished Antler Mount
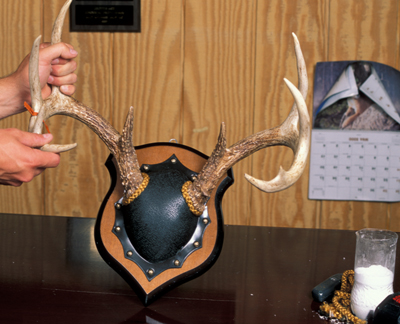
This shows what a finished standard skull mount looks like. You can also use velvet or leather for the skull’s covering. This covering is rubber, which is easy to use.
Step 12: Two Different Mounting Styles
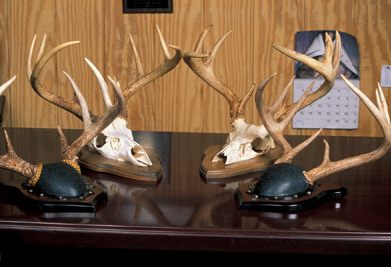
Shown are two finished styles of antler mounts you can do yourself; the standard skull mount and the European mount. The European mount is attached with drywell screws from the back side of the plaque. Also, on the European mount, you will need to boil the skull in Clorox bleach until it is clean and white. Don’t get bleach on the antlers. ––Brad Herndon
A New Take on the Euro Mount: 3 Kits for Displaying Deer Skulls
Sitting against the wall of my office is a pile of antlers from bucks I’ve killed over the years. It’s a solid collection, ranging in size from 135 to about 155 inches. While I’d love to have shoulder mounts done of them all, I’d also like to make my house payments for the next couple of months.
So I explored options that would allow me to show off my trophies without writing a sizable check or having to find room for all those bulky mounts. Here are alternatives to the standard shoulder mount.
Do-All Iron Buck
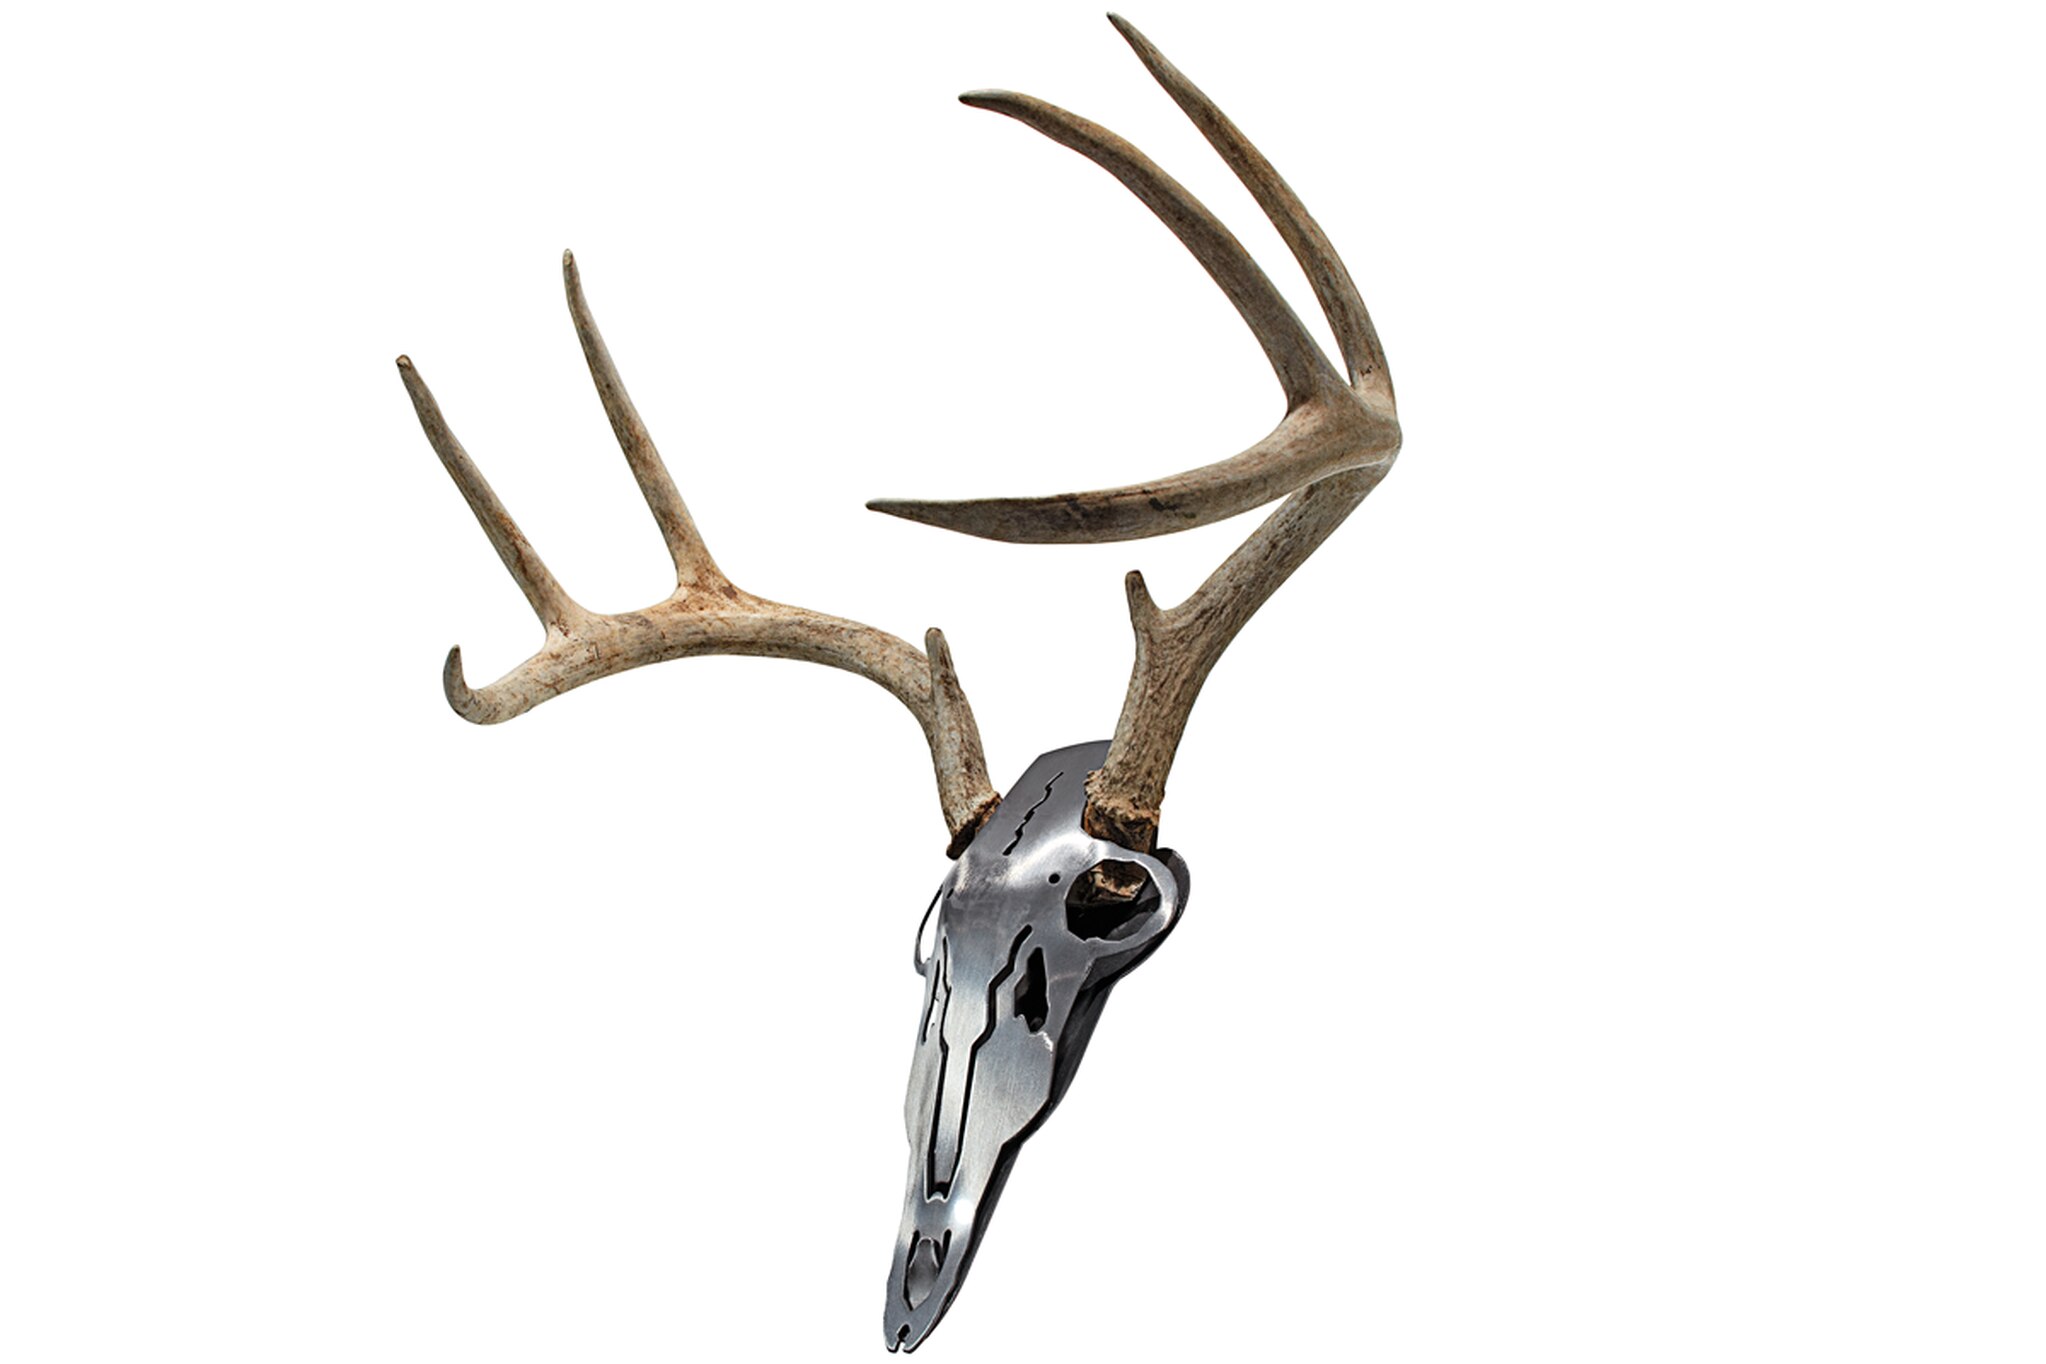
This cool kit ($40) allows you to take a set of antlers that have been cut from the skull and mount them into the steel-looking skull.
Assembly was stupid simple. Insert the skull plate between the two plates and tighten to screws. Done. I did scratch the finished surface a bit during assembly, but that was probably a function of my fumbling fingers more than a flaw in the design.
Once assembled, the Iron Buck will hang on the wall, but I’d recommend some sort of mounting plate to finish the look. Do-All offers plates, but you could also make your own pretty easily.
The Skull Hooker
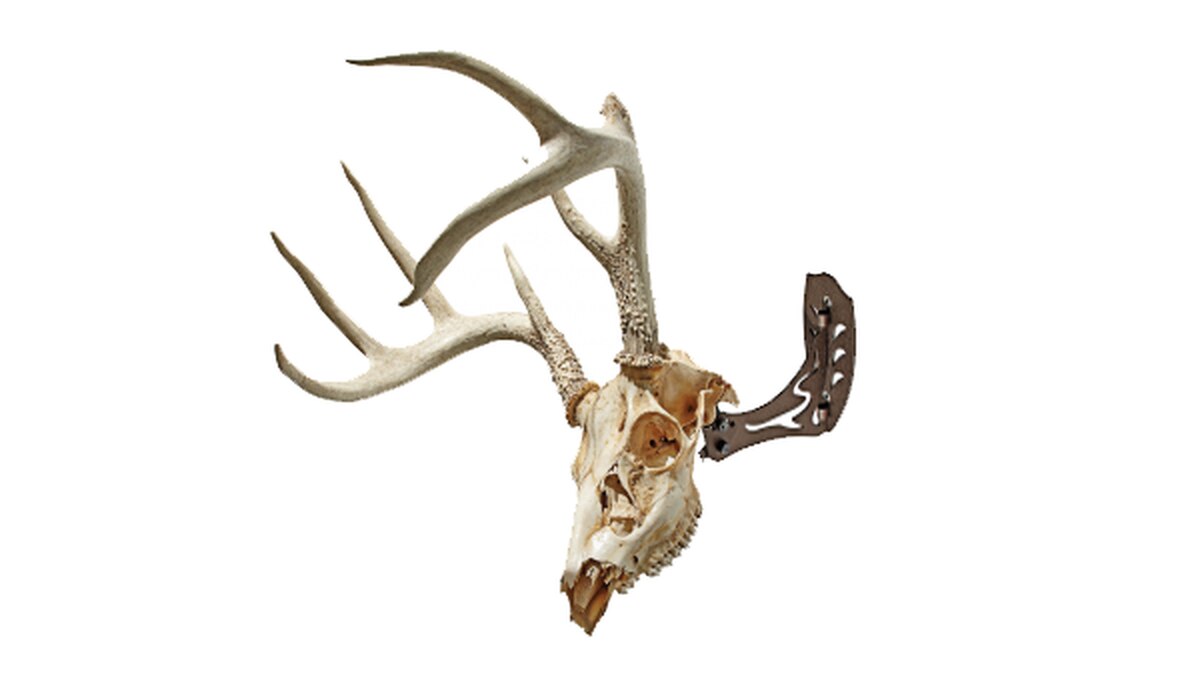
Despite the goofy name, this is a pretty solid product.
The Skull Hooker is designed to display a standard Euro skull mount, using an ingenious hooking system that slips into the spinal-nerve hole at the back of the skull. You can easily adjust the angle of the bracket to tilt the skull to your desired position.
Once I screwed the receiver to the wall, it took me all of 15 seconds to insert the hanger into the skull and attach it to the receiver. I was very happy with the result.
The Hooker comes in two finish types and two sizes: the Little Hooker ($35) is good for deer-sized critters, while the Big Hooker ($60) can support elk-sized game. There is also a tabletop model.
Mountain Mike Skull Master
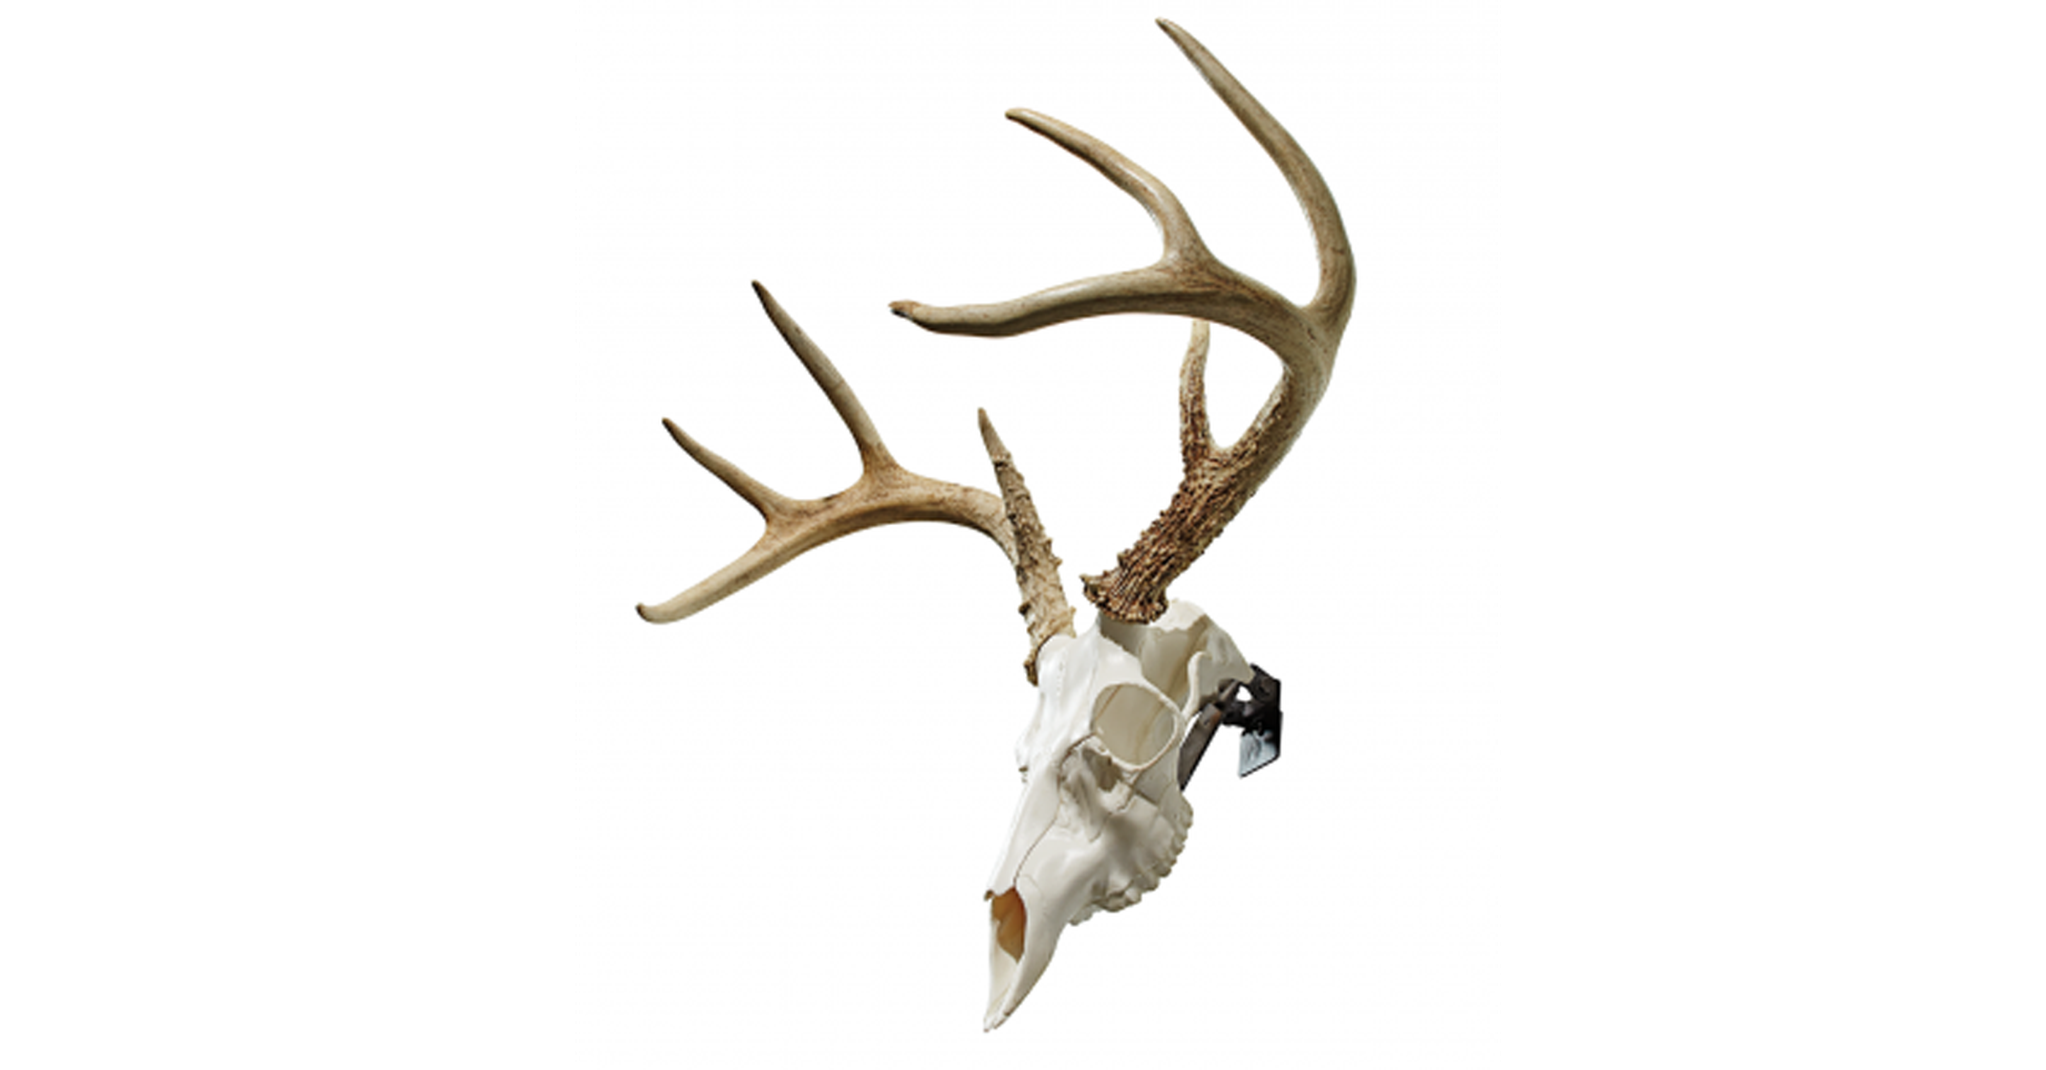
One of the biggest issues I have with skull mounts is cleaning the skull. I’ve tried every variation, from boiling and scraping to burying and allowing bugs to do the work. Both are stinky and tedious processes.
The Skull Master kit gives you the option of a full skull mount without the pains of dealing with the real skull. And if you have a set of sheds, this is a great way to show them off.
The kit includes a plastic skull, two bases of different sizes, and mounting hardware. The process is pretty easy. You drill holes into the base of each antler burr and then screw them to the correct-sized skull top. The kit sells for about $35, depending on variations. ––Tony Hansen