The knowledge of how to transform mud into pottery signifies a major leap forward for prehistoric cultures, and until the development of metal cooking pots, ceramic pottery was the pinnacle of cooking technology. Clay pots are lighter than soapstone and easier to transport. They also heat up faster than stone vessels and can be made in much larger sizes than stone vessels (e.g. big enough to feed a village from one pot). To make your own clay pot, likely smaller than the village sized pot, the first part of the project involves finding the clay.
Make Your Pot
You can harvest clay from creek and river banks, or by digging down in the ground to a clay layer in areas that have clay rich soil. Clay comes in many colors, from white to red to dark grey. It can also have different textures, if sand and small bits of stone are blended in that layer. But all good pottery clay should be able to get tied in a knot. Roll the wet clay into a “rope” shape and tied a knot in it (like a pretzel). If the clay ties into a knot without breaking, it should be a good candidate for pottery. Clay can be harvested fresh and wet, right out of the ground. It can also be collected dry, in more arid climates. Grind your dry clay into powder and add a little water to rehydrate it. Before making your pot, you’ll want to add some sand or stone dust to “temper” the clay. Add one part sand or crushed quartz to two parts clay (temper should be 1/3 the volume). Once blended, the temper and clay mix is ready to form pottery. Your first project can be a bowl or very small pot. Simply shape a concave vessel from your clay mix, smoothing it and compressing it as you go. Allow it to dry briefly, until it is only a little malleable (leather dry). Place a large smooth stone in the concavity and paddle the outside of the vessel with a flat piece of wood. This compresses the walls of the pottery and helps eliminate air bubbles. Set the pottery aside to dry for several weeks, or longer, and then fire it. You can learn more complex pottery production techniques, like coil pottery, after learning the basics with these “pinch pots”.
Get Fired Up
If making a clay pot is the first hurdle to jump in this primitive technology – then firing the pot is the second hurdle. Firing sounds simple enough. You just have to get the dried clay object over 1112 degrees F to drive off the chemically bonded water. This is called the “ceramic change” and it’s irreversible. Once dried “mud” has heated enough to become ceramic, it can never “melt” like mud in the presence of water again. But of course, it’s not as simple as that. Follow these steps to have a good shot at a finished ceramic item, and minimize the chance of making a handful of broken pottery shards.
STEP 1 Let it dry. Your proposed pottery needs to dry for weeks, to eliminate all but the bonded water from its delicate walls. If there is more water than that, it will likely turn to steam and that expansion will cause cracks, breaks or violent explosions. Ironically, you need water to make pottery, but water will also break it.
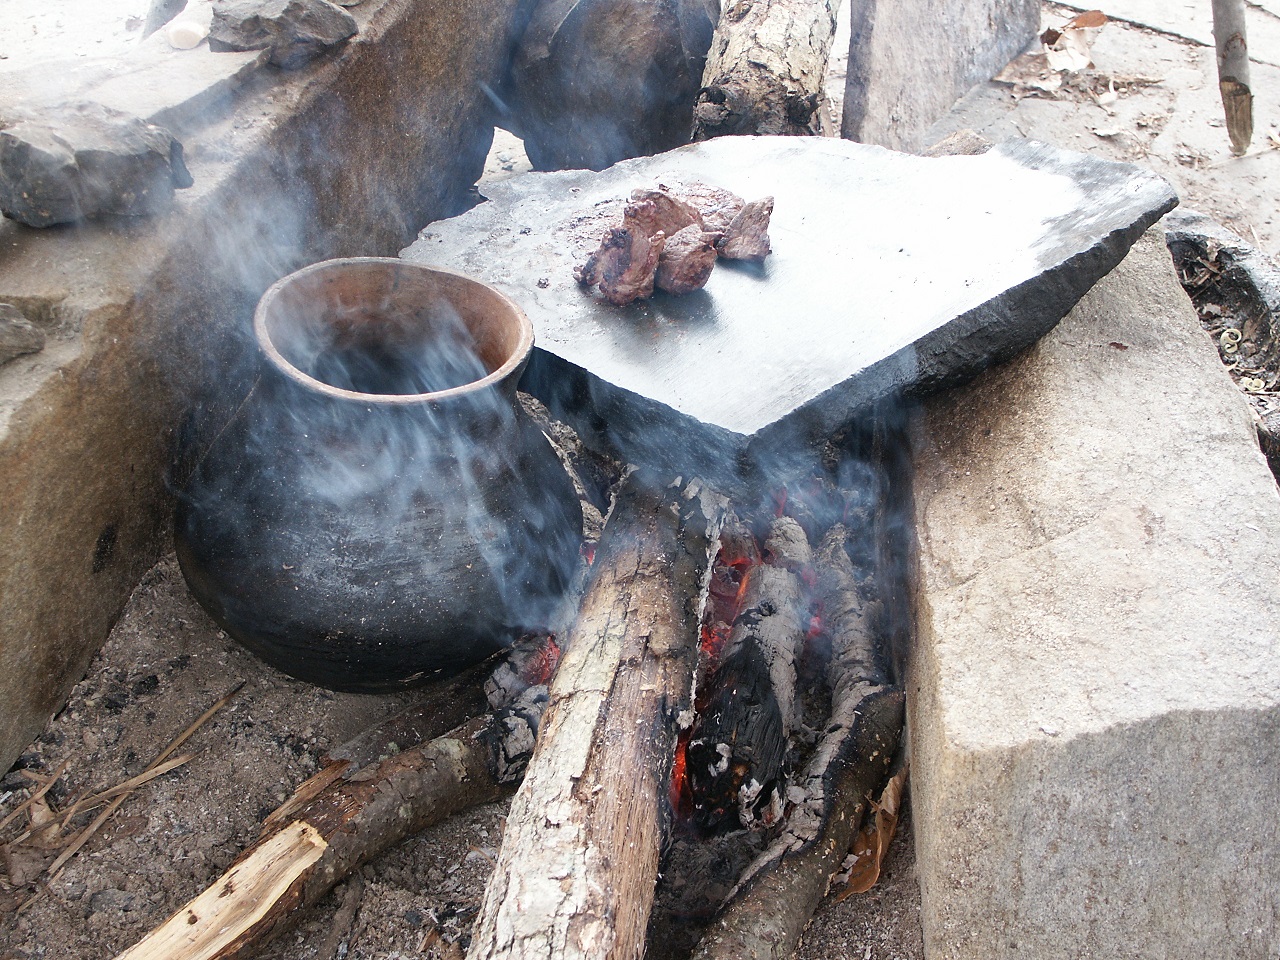
STEP 2 Pre-heat gently. Dry pottery can still explode, if you quickly expose it to thermal shock. Gradually warm it and turn the item near a fire to preheat it. Don’t just a light a pile of sticks over a cold pot. Don’t fire on a breezy day, either. A cool gust of wind can send a cooling shock wave through the vulnerable pottery and break it. The use of a deep firing pit can help to control the temperature and minimize shocks.
STEP 3 Fire thoroughly. Once preheated near a fire, encircle the object or pile of objects with a ring of burning sticks and then push them closer to the pot SLOWLY, over the span of an hour. Once the pottery is very hot, then gently place sticks over it and bury it in fire.
STEP 4 Finish easy. Let the pottery cool down completely before moving it from the ashes of the fire. Inspect it for cracks. If none are visible, flick it with your fingernail. If it rings like a bell – you did a good job. If it doesn’t – you can still use it, but it may not last as long.
Have you ever made your own clay pot with raw clay from the wild? Tell us how you did it by leaving a comment.