We may earn revenue from the products available on this page and participate in affiliate programs. Learn More ›
Medical emergencies can be some of the scariest situations we might face, especially when we’re deep in the wild and far away from the nearest hospital. And unfortunately, such emergencies are an all too common occurrence in the backcountry. Accidental injury and unexpected medical issues are so common, in fact, that a medical crisis is the second-most likely reason you’d find yourself in a true wilderness survival situation. (This is second only to getting lost.)
Everyone could benefit from first-aid skills. Even if all your hiking and hunting buddies are doctors, nurses, and EMTs, you’d better have some knowledge in this topic. You might be on your own when you get hurt, or your partner could become incapacitated. So tilt the odds in your favor and get some wilderness medicine training.
Let’s begin by dispelling a myth that’s spread all too often in survival literature: In a medical crisis, you could improvise a tourniquet from wire, zip ties, or any other strong material at hand.
But if someone truly needs a tourniquet, they’ll be bleeding out harder than your best pressure dressing can control—and faster than the time it would take to cobble together some kind of makeshift tourniquet. So where does this leave us?
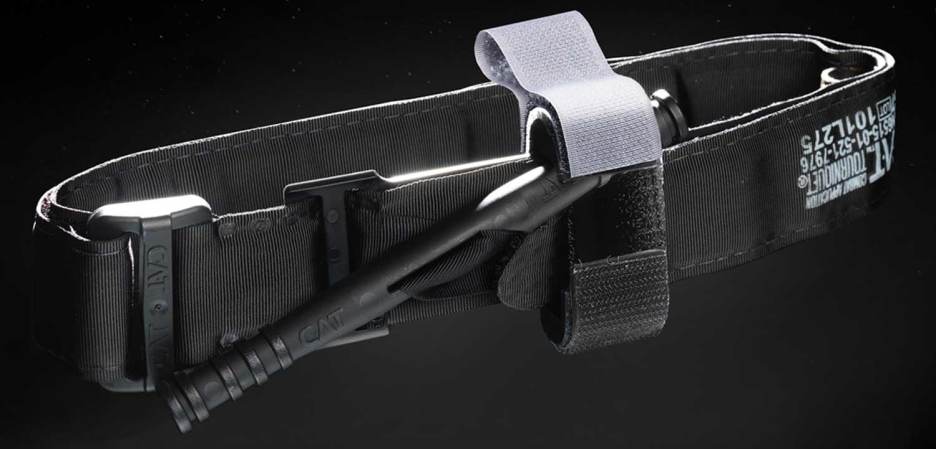
The two-part solution is simple. Part one is to carry a ready-to-use tourniquet (or several) in your medical kit. I keep mine in the top of a zipper pouch in my med kits, for fast access.
Part two is to train with tourniquets periodically. You should be able to put it on yourself or someone else in 15 seconds or less. Why so quick? Because a limb injury that is bad enough to require a tourniquet will cause you or your patient to suffer such massive blood loss that the patient can slip into unconsciousness in under one minute. Death could occur in two.
So you don’t have a second to waste when it comes to tourniquets. There are many cheap CAT tourniquet knock-offs on the market, but you get what you pay for, so spend the $28 and get a real CAT.
I also recommend the SWAT-T tourniquet. It takes a little more practice, but this big, stretchy piece of material can serve a tourniquet, a pressure dressing, or a chest seal as needed.
For the average knife accident or campsite cut, applying pressure with clean bandages is usually enough to stop the bleeding. But what happens when you are far from civilization, the wound is deep, and it won’t stop bleeding? Once someone has lost a significant volume of blood through a wound, you’re facing a deadly medical emergency, and ordinary pressure dressings may not save someone.
If you’re faced with such an injury, start with direct pressure. This is our natural and instinctive response to pain and bleeding, to cover it and squeeze the wound shut. If it’s a wounded limb, it can help to elevate the wound above the heart. If you’re familiar with arterial pressure points, try applying pressure to those, too.
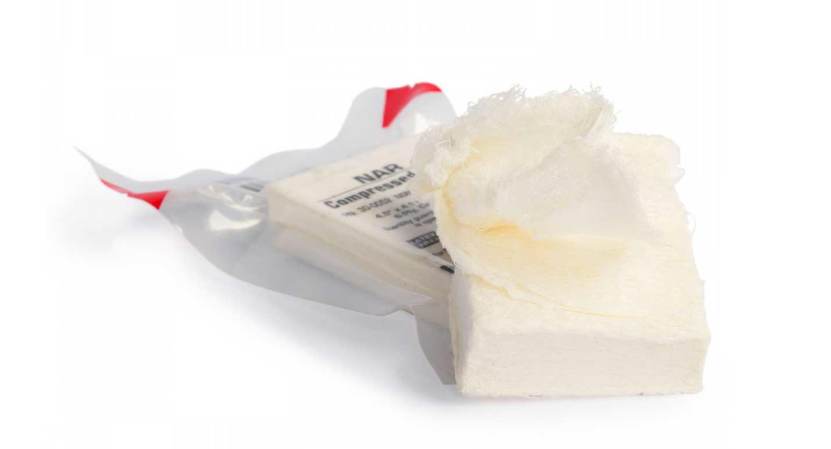
But what do you do when direct pressure isn’t working, and you have a tourniquet-worthy wound at a site that can’t be crimped, say in the shoulder or the hip/groin area? Forcefully inserting gauze into the wound cavity may be your only way to stop the bleed.
For large, deep wounds—like a large knife stab or a gunshot—you can use an EMT trick called a “power ball” to create internal pressure from within the wound, which can stop bleeding that surface pressure won’t control. Make your power ball by wadding up the end of a gauze roll. Make a ball that is little bit wider than the wound opening appears to be. Cram the ball of gauze aggressively down into the wound and then continue to stuff in more gauze until the bleeding stops. Finish binding the wound with a pressure dressing, and get the victim to a surgeon ASAP.
Pro tip: Don’t use a power ball anywhere from lower abdomen to collar bone. Instead, use a chest seal between those areas.
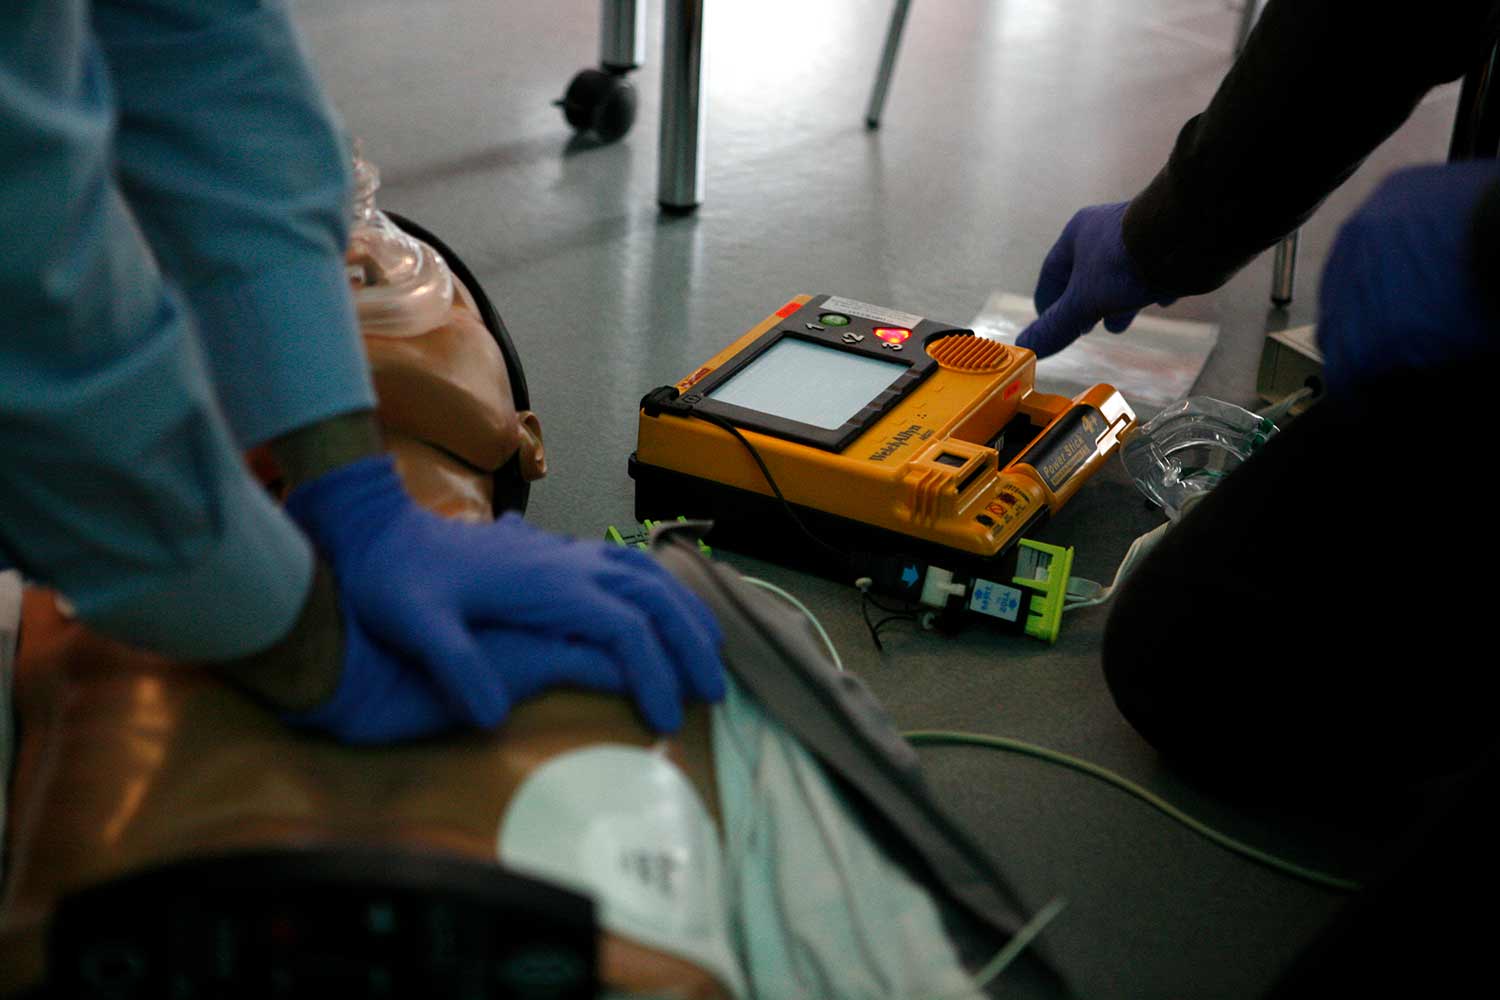
This one is a big deal. Everybody needs to know how to perform cardiopulmonary resuscitation, or CPR. This is the emergency procedure that manually moves the heart and lungs, thereby preserving brain function, until breathing and heartbeat can resume on their own. It’s a simple technique, but you need to know where to push, how far down the chest to push, and the speed at which you should push.
Interestingly enough, the roots of CPR date back to the 1700s, though the technique has changed a little bit over the years. Today, this form of resuscitation is being taught as a hands-only method, without the more mouth-to-mouth component. But for CPR in the wilderness, you may have to breathe for your victim eventually.
For the best practice in remote areas, opt for 30 compressions for every two breaths. Keep it up as long as you can, until the victim revives or you can’t go anymore. For classes and certification, check out the Red Cross.
Pro Tip: If you want an easy way to pace yourself, just remember the Bee Gee’s disco hit Staying Alive. That’s the perfect beat to use.

Hypothermia is the chilling of the body’s core temperature, and it’s a common hazard in the outdoors. Prime conditions for this deadly malady can seem innocuous: Your clothing gets wet, the wind picks up, and the air temperature drops. It’s very important to stay alert to the environmental conditions for hypothermia, and the following signs.
Mild hypothermia often starts with numb or tingling skin, slurred speech, and sluggish muscles. You may also notice some shivering. Moderate hypothermia is usually characterized by strong shivering, pale skin, blue lips (also blue ears and digits), and clumsiness. Severe hypothermia victims will have trouble speaking and walking. They may also be sleepy, forgetful and do irrational things (like taking off clothing or burrowing into snow).
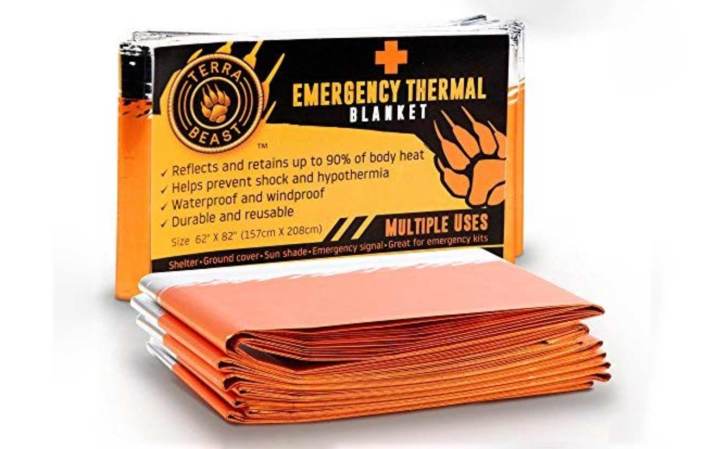
Rewarming your victim is the main treatment, and it can be done in many different ways. For mild cases, replace wet clothing with dry clothes, and provide high-calorie food and warm beverages to “jump start” the victim’s own heat-generating ability. You may also add mild warmth, which is called external rewarming. Placing hot water bottles under their armpits or skin contact with a warm person can help.
Pro tip: Never get aggressive with external rewarming. Hot baths, hot tubs, and saunas can cause dangerous heart conditions in a hypothermia victim. And never drop a hypothermia victim while carrying them, or give them a strike to the chest, as this can also cause fibrillation, which can be deadly without quick and proper treatment).
Got a headache? Haven’t peed all day? Been sweating hard? You’re a real candidate for dehydration. We all know that it’s important to drink enough fluids every day, but in a stressful emergency setting, we may not see hydration as the survival priority that it really is. Getting enough safe drinking water may be a supply issue—when you’re lost in the desert, for example—or it may be a delivery issue. When a member of your party has lost consciousness, you can’t exactly pour water down their throat (they’ll drown).
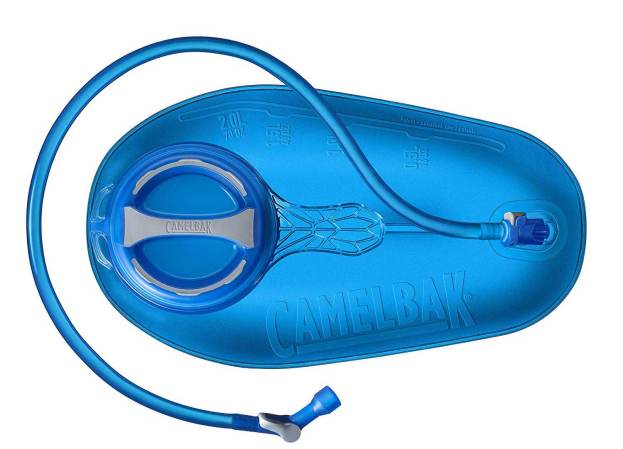
So if you don’t have the knowledge and medical supplies to give intravenous fluids, there is a way to get fluids into an unconscious victim. You don’t need years of medical training to do it: You’ll just need gumption and a hydration bladder full of water.
This unusual hydration technique is called proctoclysis and it was created by WWI surgeon John Benjamin Murphy as a way to provide water to wounded soldiers who couldn’t wake up.
Here’s how it goes. Lie your patient on their belly, pants down. It’s best to do this near something that you can hang the hydration bladder onto, like a bush or small tree branch. Cut off the mouth piece from a hydration bladder tube and pinch it closed near the cut end. Carefully insert the tube into their rectum and hold it in place with the hydration bladder hanging nearby. Don’t squeeze the hydration bladder, just let it gravity feed. Use tape or hold their butt cheeks together to create a good seal. Provide at least two quarts a day via this method until first responders are on scene. This procedure could also be used if your victim has received trauma to the mouth or throat, and cannot drink, or if they are vomiting too much to keep fluids down. Do ask permission and explain yourself if they are awake for this.
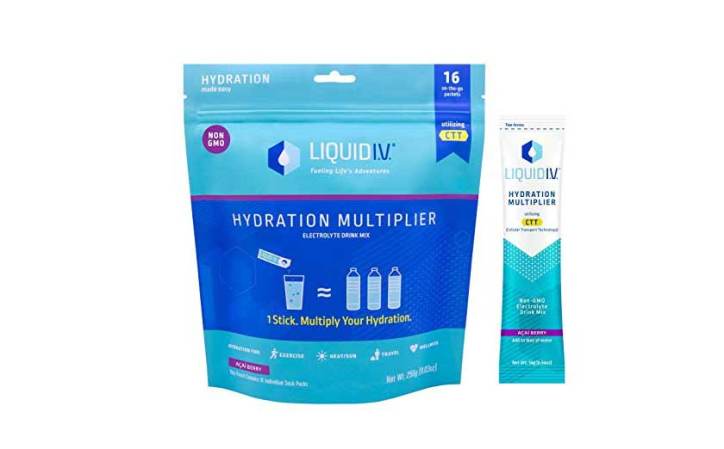
After an extended period of intense sweating or a prolonged illness with severe vomiting or diarrhea, the normal level of sodium in your blood can hit rock bottom. This condition is called hyponatremia, and it can be fatal. Certain chronic conditions of the heart and kidneys can also make a person prone to hyponatremia, and the symptoms of this sneaky ailment can be subtle and varied. The victim may start with a headache, restlessness, tiredness, or confusion. The condition may progress to muscle spasms, cramps, an altered mental state, or something more severe like seizures or decreased consciousness. If the condition is misdiagnosed in the field, it can proceed to coma and death.
So if you or someone in your party are sweating like pigs for days on end, or plagued by persistent vomiting or diarrhea (from a virus or any other reason), you have to stay fueled with salt and other electrolytes. Just a pinch of ordinary table salt in each jug of drinking water can keep this condition at bay. Better yet, carry an electrolyte replacement product in your med kit. Various products exist in the form of drink mixes and tablets, and they might just save the day.
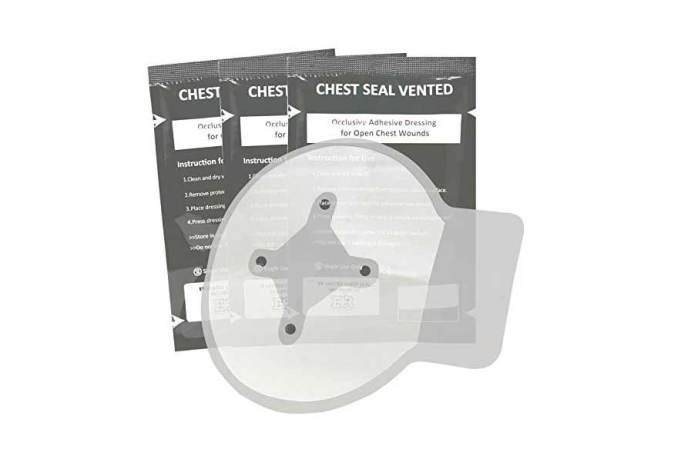
God forbid, one of your hunting buddies is accidentally shot. This can be one of the worst and scariest situations that an outdoorsperson can face, particularly if the wound is in the chest. Even if the vital organs have been spared, this type of penetrating injury can still kill via the complication of a collapsed lung. When air enters the pleural space (the area between the lung and the chest wall) through a new hole, it can build up an air pocket that prevents the lung from expanding properly. It’s like your lung is being squeezed from the outside, and this can cause suffocation. This is serious stuff, and your buddy needs to get to the hospital right away.
But in the midst of this high stress situation, there’s an easy preventative measure to help prevent a fully-collapsed lung (called pneumothorax). Carry sticky plastic chest seals in your med kit to be prepared for thoracic injuries like a gunshot wound. These seals are like big, airtight band-aids that can cover entry and exit wounds to seal off the chest wall. For any penetrating chest injury that leaves an open hole, wipe off the blood, peel off the backing of the seal and stick it over the wound. Make sure you have at least two chest seals in your kit, to seal both entrance and exit wounds. And in a pinch, duct tape can make a fine chest seal.
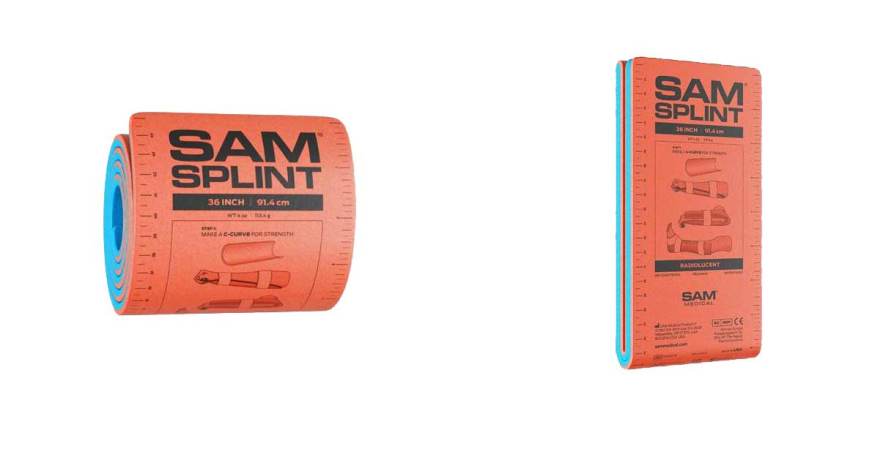
Falls are one of the most common outdoor injuries, and our arms and legs usually take the brunt of the damage. And since there’s a distinct shortage of X-ray machines in the wilderness, we won’t always be able to tell just how bad the injury might be. That’s why knowing how to splint is a great skill. Splinting restricts movement in an injured limb, preventing additional pain and limiting further damage to the area.
Splints don’t have to be fancy, they just need to provide padding to the area and restrict movement. You’ll typically go to the next joint up (toward the torso). For example, if you suspect a broken wrist, splint up to the elbow. Use clothing and sleeping pads to create padding, and tie or tape sticks around the padding to provide rigidity. Make sure you don’t bind the limb so tightly that circulation is reduced, and get yourself or your friend to definitive medical care. If you plan to add splinting supplies to your kit, SAM splints are amazingly effective and light enough to carry anywhere. Couple these with some flexible bandages and you’re in business.
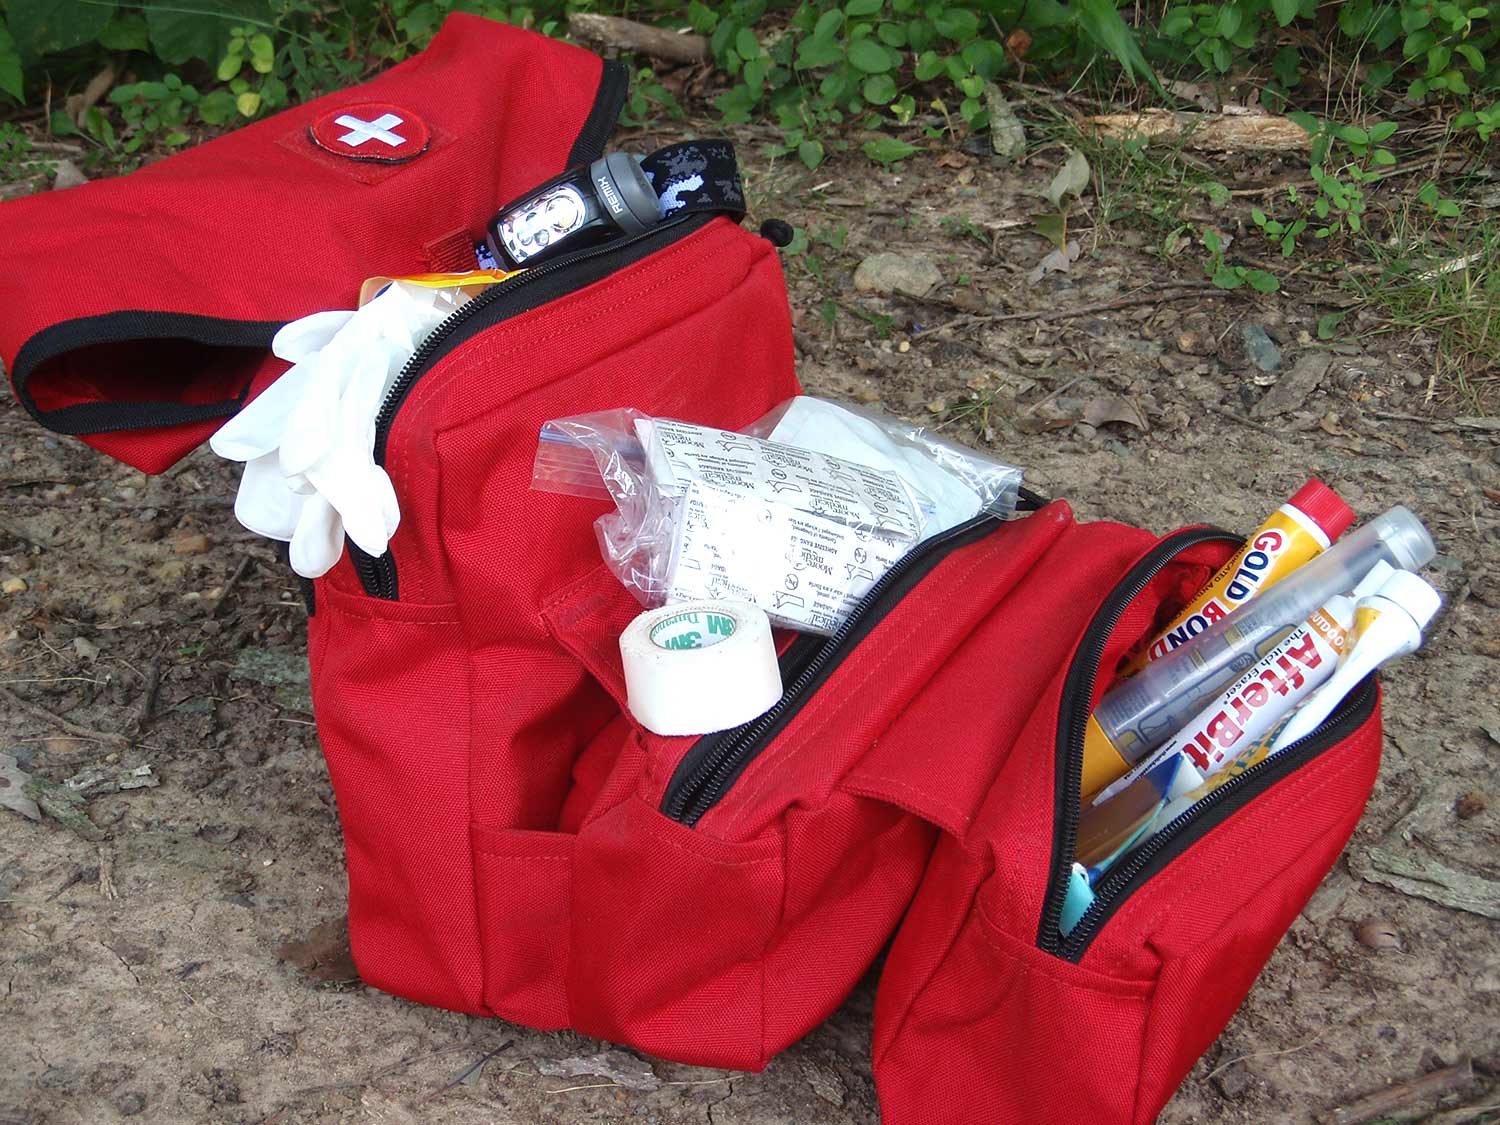
One of the most overlooked aspects of first aid is ensuring your supplies and gear are organized and accessible. If your tourniquet is at the bottom of your first aid kit, and that’s buried at the bottom of your backpack, you may not be able to reach it before you lose consciousness.
Your medical kit should be well organized, with your most urgent gear right on top. And you’ll be better served if you have some kind of gear every place you go. Consider your average campout: The first thing you might do when you get to a new camp is to drop your pack, set up a shelter, start a fire, and then head to the creek for water. Maybe that creek is a half-mile downhill, and maybe that’s where slip on a mossy stone and slice your arm open on a bit of broken glass (this exact situation happened to one of my best friends). Now you’re bleeding quickly and you’re still a half-mile away from your medical supplies. There are plenty of ways to carry a tourniquet, some combat gauze, an Israeli bandage, and a space blanket, including in your jacket pockets, an ankle strap pouch, and/or a belt pouches.
No matter how you carry it, just make sure to bring it along wherever you go. Carrying some kind of modular first-aid kit could mean the difference between life and death.
This isn’t exactly a medical skill, but it’s such an important facet of dealing with a backcountry medical emergency that we have to include it in our list. Let’s say your outdoor skills group has a member with an injury so serious that they’re immobile. Some of the group members elect to stay with their patient, and some choose to go for help.
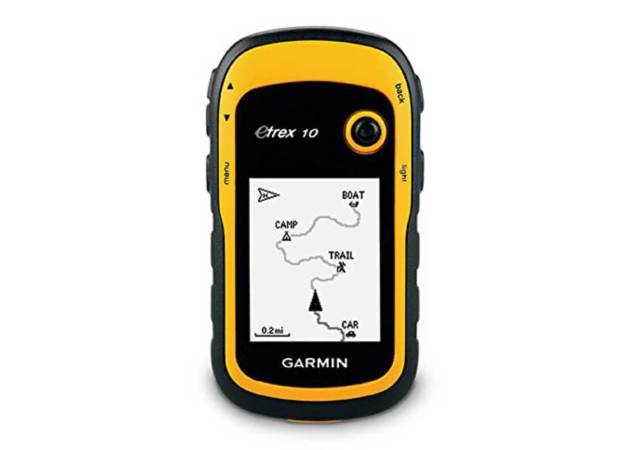
Those who leave the site to find help will need to be able to lead first responders back to their injured friend. There are different ways to accomplish this, depending on your gear and your exact situation. With a GPS device (or if you’re good with maps and have a local topo map), you’ll be able to give the latitude and longitude of the location where your friend is injured and waiting.
Without any coordinates, you could blaze a trail and create markings as you go out, which will give you and the rescuers some guidance back along your route. Take advantage of any major landmarks too. For example, the people you left behind could set up a base camp at an easy-to-find locale (like a fork in the river). Do your best to create a route and a camp location that first responders can find, even in the dark or during bad weather.