We may earn revenue from the products available on this page and participate in affiliate programs. Learn More ›
Boat trailers are the bane of every angler’s existence: there’s always something going haywire and giving you a headache. These three projects will keep things simple, from hooking up your trailer to rewiring the taillights.
Trailer Backup Flags
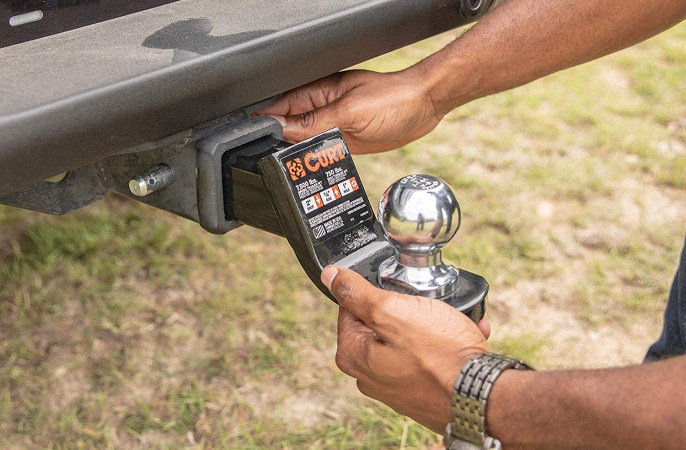
You can solve the excruciating process of backing up a trailer by yourself with two flexible flags (remember those old-school flags you used to fly proudly off the back of your bicycle?) and a pair of magnets. Find bar magnets online. I bought two 3-packs of them for about $5 on Amazon. Use five-minute epoxy to laminate the magnets together. Next, smear epoxy on the side of the magnet stack, and press one of the flagpoles in place. Repeat with the second set. To use, simply place a magnetic flag on both the trailer tongue and the hitch ball when you need to back up. Now you can line up your trailer without leaving the cab.
Rewire a Boat Trailer
Trailer lights have been the bane of the traveling angler’s existence since Thomas Edison first flipped that light switch. But they don’t have to be.
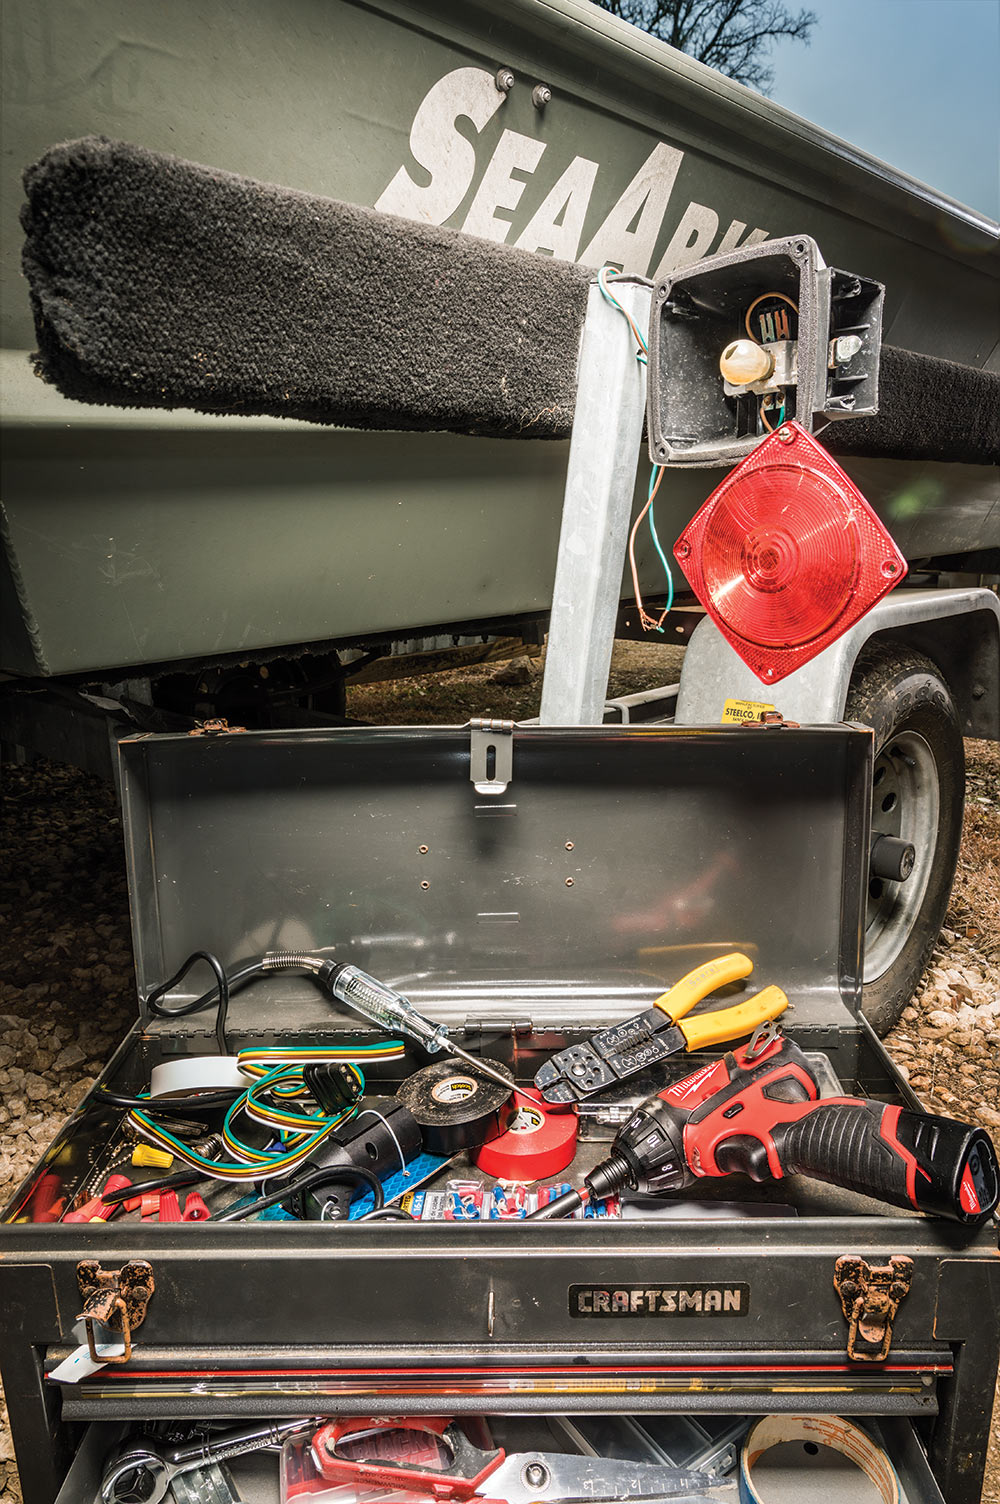
Trailer lights are nothing more than a series of simple circuits. If a light doesn’t work—assuming you’ve already made certain the bulb is functional—it’s because the circuit isn’t complete. Complete the circuit, and you’re in business. So whether you’re wiring up a new trailer or fixing issues with an existing setup, the first step is always the same. You’ll need a basic circuit tester, which should cost less than $20. Choose one made for DC current that lights up when a circuit is complete.
In most cases—especially when troubleshooting existing trailer lights—it’s best to begin your search at the vehicle, where you’ll likely find a good circuit.
You Will Need
- Electrical wire
- Wire strippers
- Wire nuts
- Electrical tape
- Circuit tester with light indicator
- Hitch connectors
- Flathead screwdriver
- Phillips-head screwdriver
- Scratch paper
- Pen/pencil
Instructions
Grab a piece of paper and a pencil for note taking, then ground the tester by attaching the alligator clip to the vehicle’s frame. Now insert the probe end of the tester into each wire in the vehicle’s trailer wiring harness. Make sure the headlights are on, and test each blinker and brake light. When you test each wire, a light on the device should indicate a complete or broken circuit. Write down the colored wire that controls each light (right blinker, left blinker, brakes, etc.). The wire colors on your vehicle’s connector should correspond to the connector used for your trailer.
Finally, simply run each wire from the trailer connector to the appropriate light for a new install, or trace each wire to its respective trailer light, using the tester until you find the point at which the circuit is interrupted. Once you’re done testing, remember to disconnect the battery before beginning any repairs or new electrical work.
When making repairs, splice each wire securely. I like to twist at least 2 inches of each wire together, and finish with shrink tubing or liquid electrical tape for a weatherproof seal.
Once you’re done, don’t forget to reconnect the battery.
How to Repack a Wheel Bearing
Maintain your trailer’s wheel bearings annually (or every 10,000 miles) to prevent breakdowns on the road.
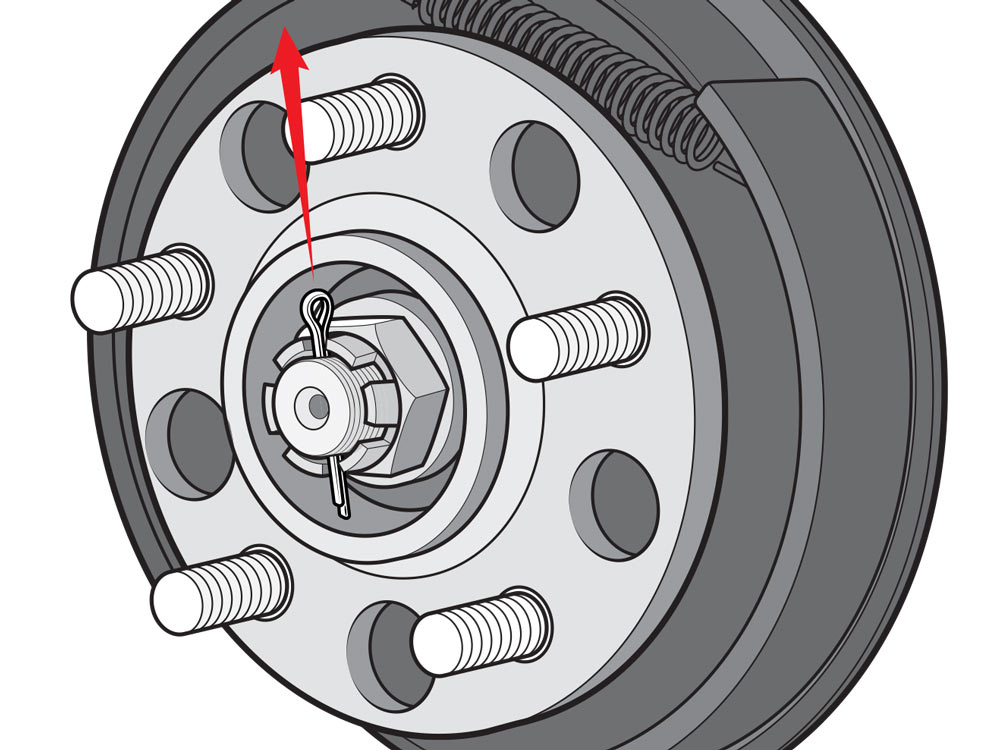
Jack up the trailer and remove the tire from the axle. Use a hammer and a flat screwdriver to remove the dust cap. You’ll see the castle nut, which is held in place with a cotter pin. Using pliers, pull that pin and spin off the castle nut. Next, pull the wheel hub toward you. The outer bearing should slip off the axle.
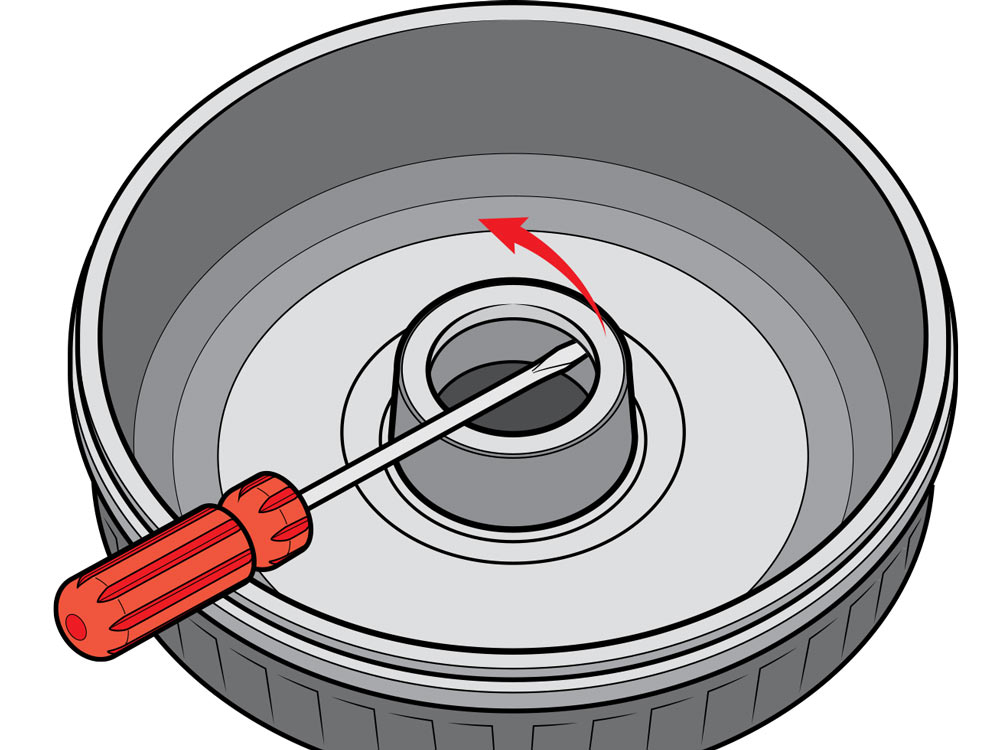
Pull the wheel hub off completely. At this stage, gently remove the inner-bearing seal and inner bearing. Be careful not to damage the seal during this step. You can get a replacement if you do, but do not reinstall a damaged seal. If the seal is rusted to the hub, use a little WD-40 to lubricate it.
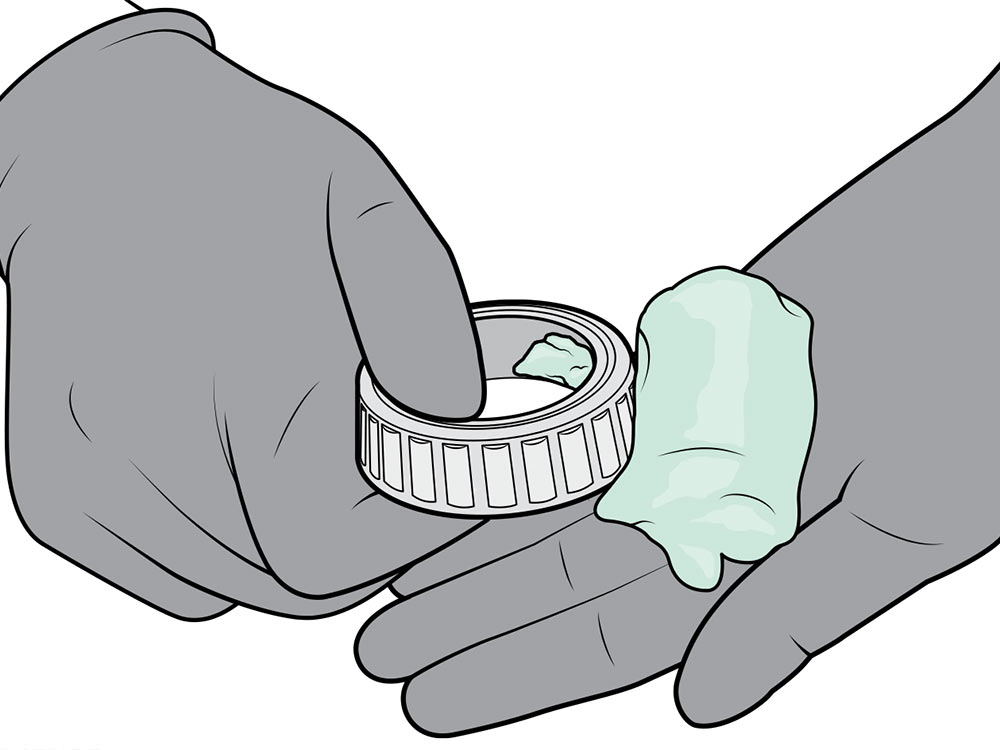
Clean each bearing with brake cleaner. Then, dispense a big blob of high-temperature grease made specifically for wheel bearings into your hand. Wipe the grease into the gaps between the cage and rollers. Completely fill the cage of each bearing with grease, and reinstall everything in reverse.

