
We may earn revenue from the products available on this page and participate in affiliate programs. Learn More ›
Photo by Kyle Thompson
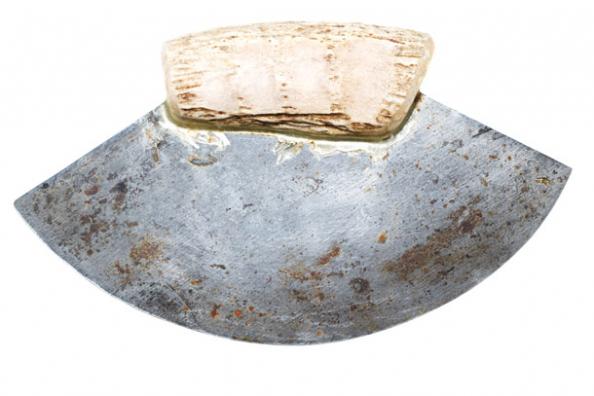
The ulu is the traditional skinning and fleshing knife of Eskimos and other native Alaskans. With the right technique and enough practice, you can flesh hides more easily and cleanly with one than you can with a drawknife.
1. Cut the blade from an old tempered crosscut saw. Lay out the pattern of your blade, typically 120 degrees (the width is up to you), and connect the two sides with a semi-circle, which will be the cutting surface.
2. In order to maintain the temper of the steel, the blade can’t be cut. Instead, take a cold chisel and work it back and forth along the edges of the blade you’ve laid out. It takes a while, but eventually it will get brittle and crack. Smooth off the edges with a slow-speed grinder.
3. I make handles from moose antler. Whatever you use, the handle should fit naturally in your hand. Grind finger grooves for added grip.
4. Use a hacksaw or band saw to cut a groove for the blade to fit into. If the fit is tight, boil the horn, hammer the blade in, and let it dry. You can also use a quality epoxy to glue the blade into place. Or you can drill and rivet it.
5. Use a slow-speed grinder to create the cutting edge–a single bevel on the underside of the blade (20 to 25 degrees). Dip the blade in water frequently to keep it cool. Once your rough edge is established, use a good sharpening steel to work the burr to a sharp edge.