
We may earn revenue from the products available on this page and participate in affiliate programs. Learn More ›
Shooting your broadheads prior to the start of bow season is a required task no matter how well you are grouping practice points. Things—sometimes strange things—happen to arrow flight when you swap from aerodynamic field tips to broadheads. And, yes, that applies to both fixed blades and mechanicals.
Follow these quick and simple steps and you’ll have your broadheads flying where you want them to with minimal fuss in about 30 minutes or less.
1. Lose the Wobble
The majority of broadhead flight issues have nothing at all to do with your bow. But to find its root cause, you’ve first got to test for wobble. Put a broadhead on a hunting shaft and spin the arrow with the tip of the head against a hard surface. If it does not spin true, fix it.
Wobble is triggered by a lack of balance. There are four main culprits: a bent broadhead, a bent arrow insert, an insert that’s not square to the arrow, or some sort of weight issue with the arrow shaft.
To correct a wobble, begin with the insert.
First, make sure the cut end of the arrow is square. You can use sandpaper to correct an uneven cut or, better yet, a G5 Arrow Squaring Device. When you’re confident the arrow is square, replace the insert and spin it again.
If the wobble remains, try screwing on a different broadhead. If the wobble is gone, you’ve got a bad head. However, if it remains, inspect the arrow for anything unusual on the shaft surface. On several occasions I’ve cured wobbling by finding and removing a piece of excess insert adhesive or fletching glue on the arrow shaft.
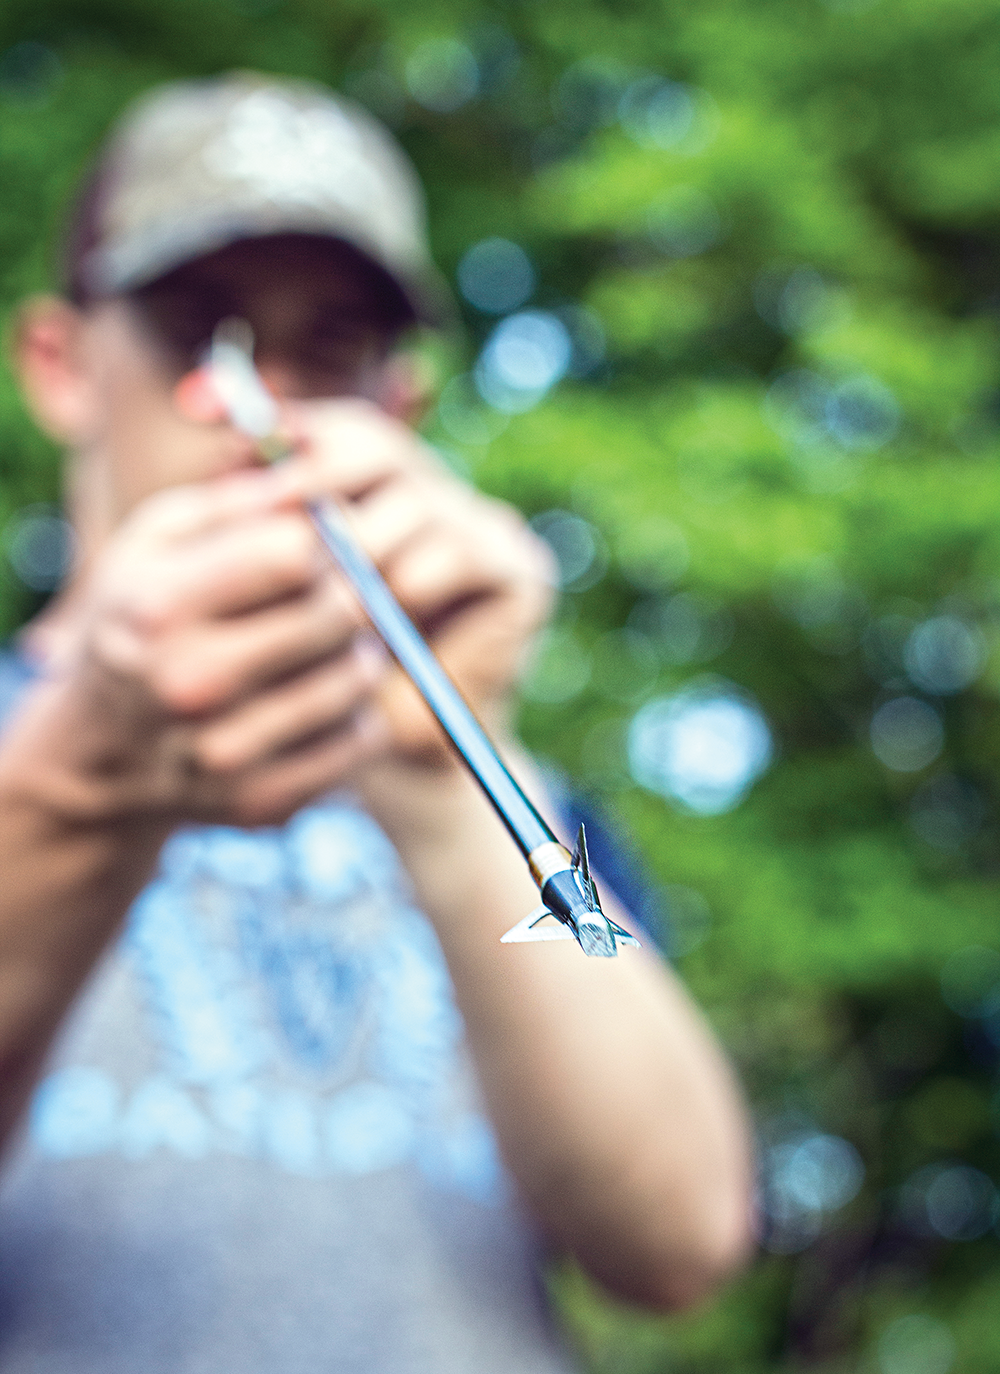
2. Get It In Line
For the best arrow flight, align the blades of a fixed-blade head with the fletching of the arrow. Obviously, this is done more easily when using a three-blade head. When using a four-blade model, index the blades so that a vane is aligned between each blade.
If you can’t make the blades line up when the broadhead is screwed tight, either heat up the insert adhesive and twist the insert slightly until the blades align, or (my preferred method) install a small rubber O-ring between the insert and the broadhead. The O-ring allows you to tighten the head down while leaving enough play for fine-tuning blade alignment.
3. Punch Some Paper
Paper-tuning sounds much more complex than it is. Here’s how to do it:
Cut a hole in the center of a cardboard box and duct-tape a sheet of paper over the hole. From 4 to 6 feet, shoot an arrow through the paper and study the shape of the tear.
What you’re looking for is the classic bullet-hole tear. You should see a tear outline of the center point of your broadhead and each arrow fletch. The tears should be uniform in length, with nothing high, low, left, or right.
If you have a directional tear (meaning the tear is longer in one direction), you’ll need to tune it out. Again, this isn’t difficult so long as the issue isn’t too severe.
You want to “chase” the tear with your rest or nocking point. If the tear is to the left, move your rest to the left. If it’s right, move your rest right.
If the tear is high, move your rest up or the nocking point down. If the tear is low, move your rest down or the nock point up.
Moving the rest is preferable when possible since adjusting nocking points can be tricky. Start by making very minor adjustments. Reshoot and read the tear, and continue making corrections as needed.
Eyeball your hunting shafts to check for proper vane-to-broadhead alignment.