

Of the thousands of bears killed this spring, it’s safe to say the majority of those hunts ended with bears being dropped off rough-skinned at the taxidermist. There’s nothing wrong with that at all, but it can be rewarding and advantageous to be able to hand your taxidermist a tan-ready hide. It’s my opinion that just killing an animal is a relatively small part of the hunt, and I find it very rewarding to see the whole process through and prep my own hides. There’s a bit of a learning curve, but once you get up to speed, you can save money at your taxidermist and even make a few bucks off your buddies.
Although every animal is different, many of the principals are the same. With bears being the animal of the season, that’s what I’ve been working on lately. If you want all the tedious detail of the step-by-step process, see my photo gallery here.
Here’s an overview of the steps:
First, you have to remove the feet from the hide. The whole foot and toes need to be skinned out so that only the last knuckle (that the claw is attached to) is left in the paw. The first thing I do is cut around and skin the pad off the foot bones.
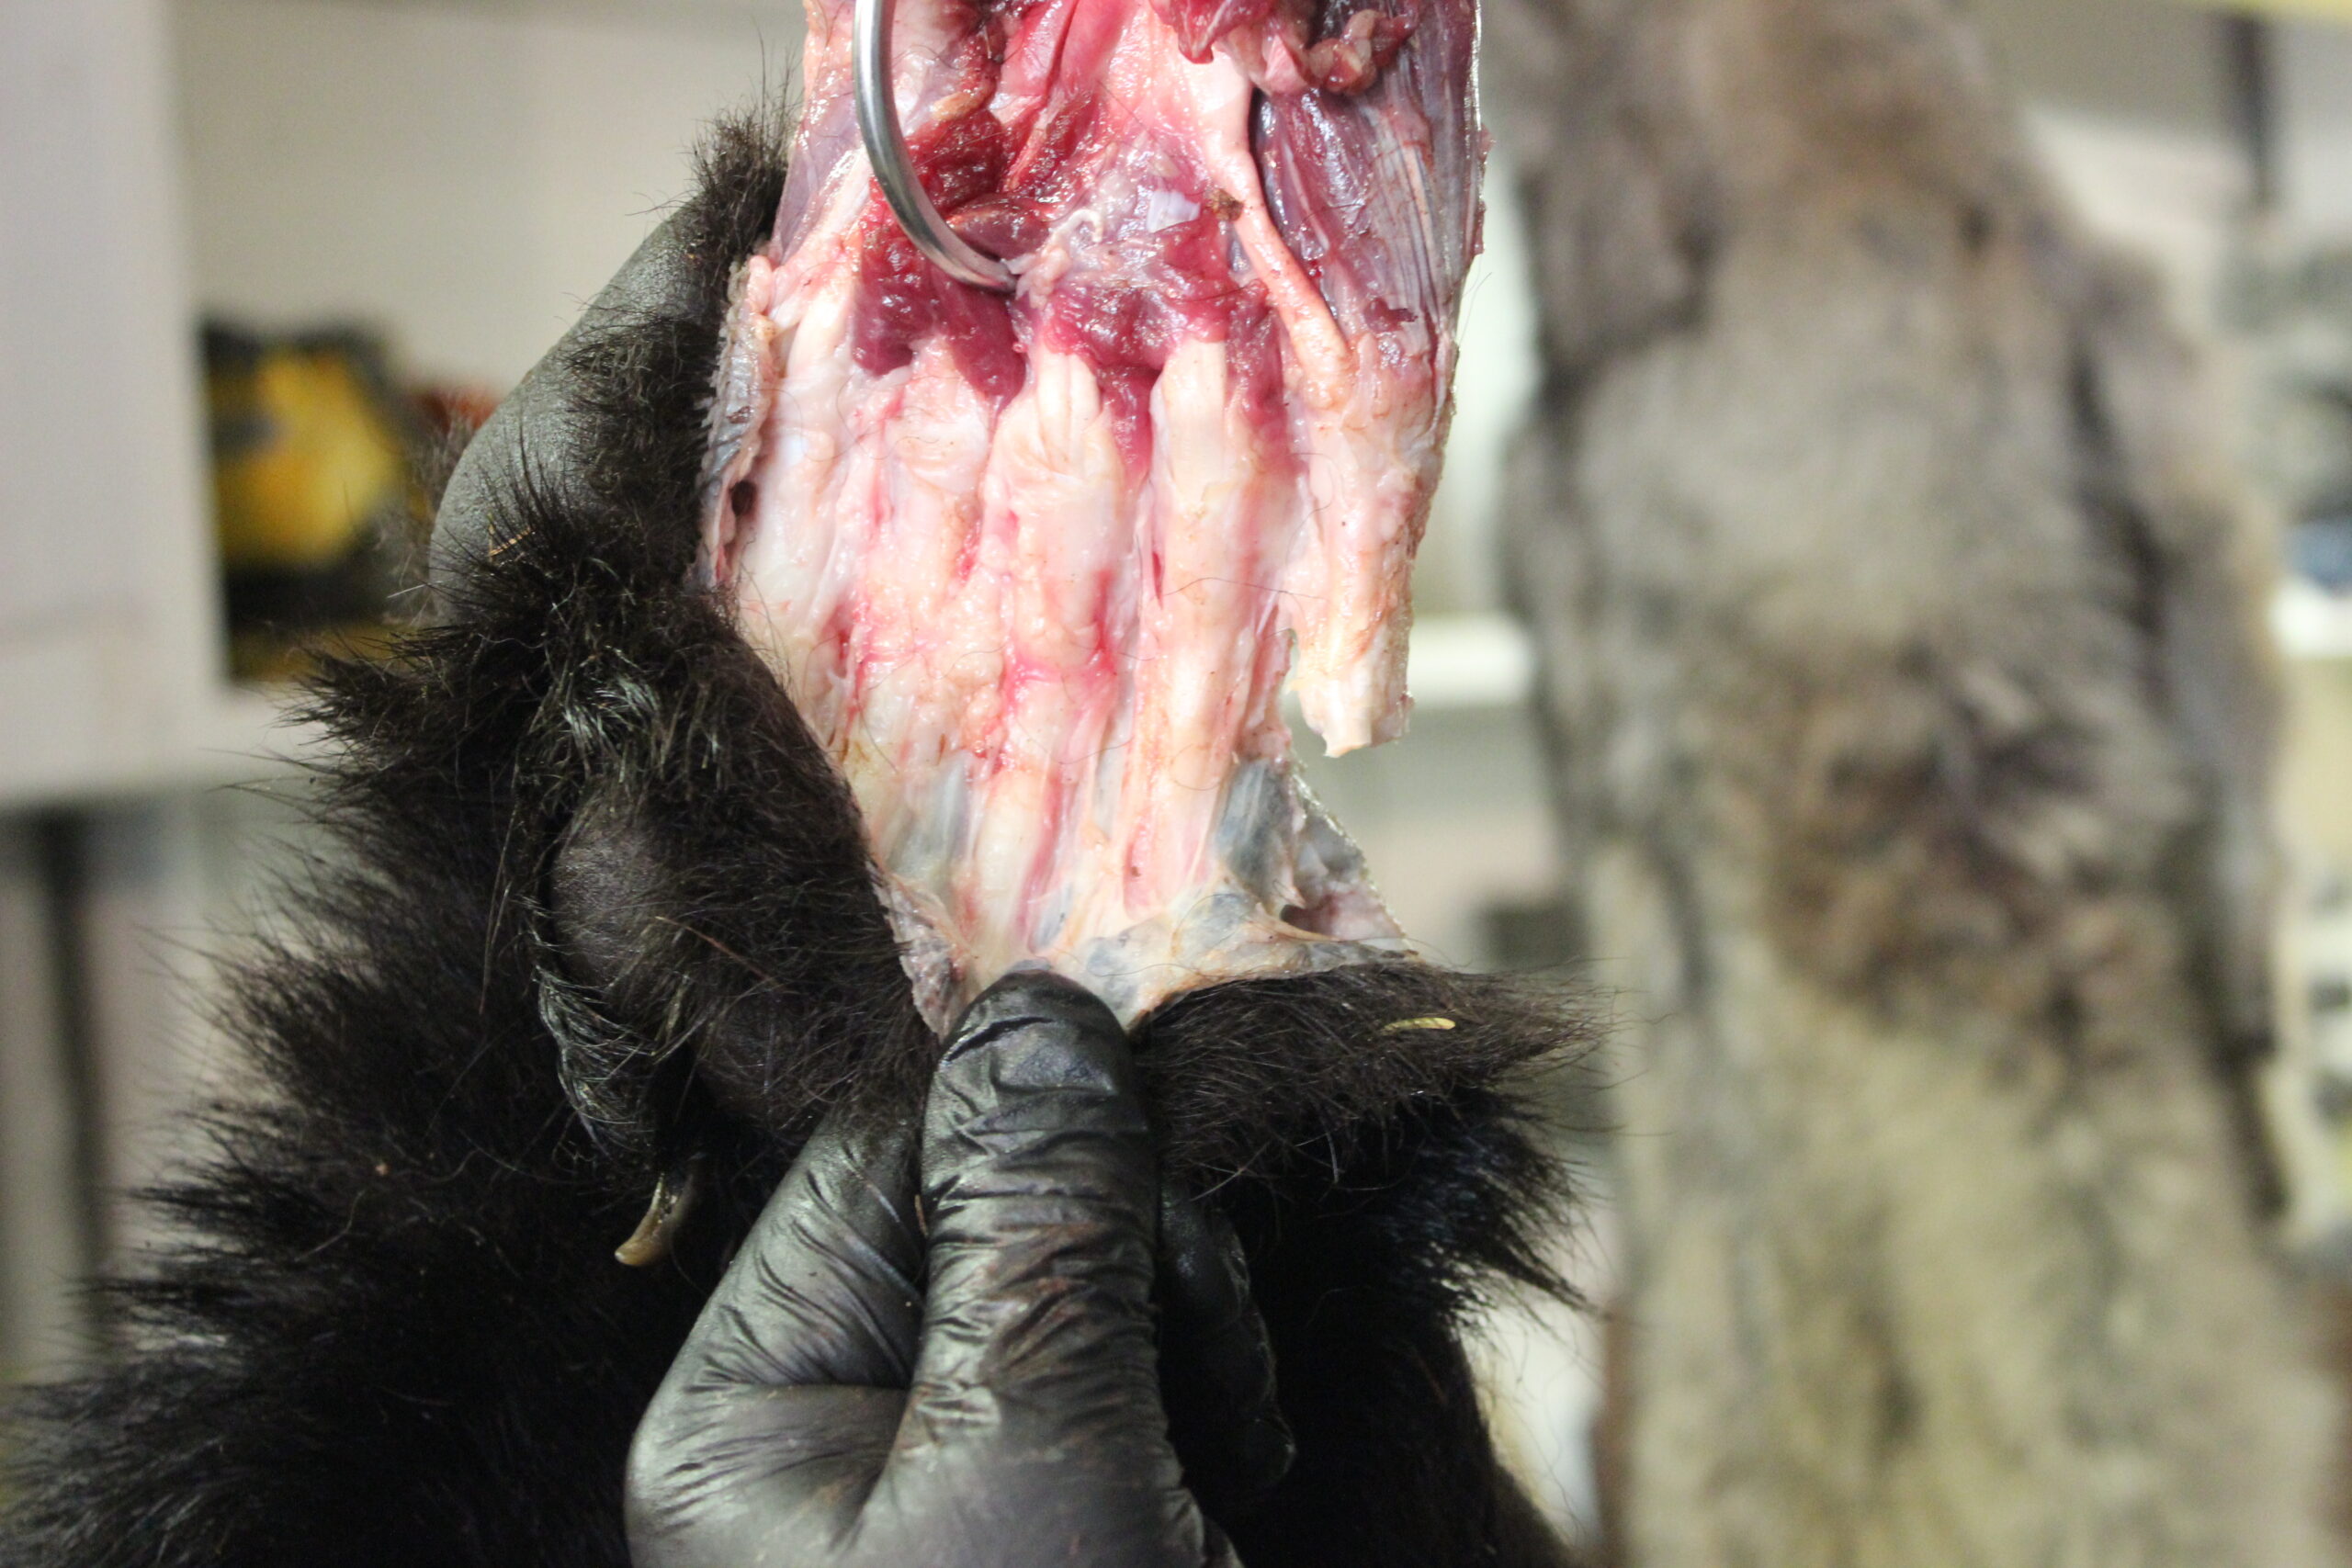
After I skin all the feet, I start working on the head, starting with turning the lips so salt can penetrate and hair on the muzzle won’t slip. After turning the lips, I split the nose. If you don’t do this, often the skin surface will slip off the nose during tanning, requiring a fake nose for a mount.
The eyes also need to be fleshed well, and finally, turn the ears. If you’re not familiar with it, it means to literally turn the ear inside out, separating the skin on the back of the ear from the cartilage, so it can dry out.
Stay tuned for a step-by-step photo gallery
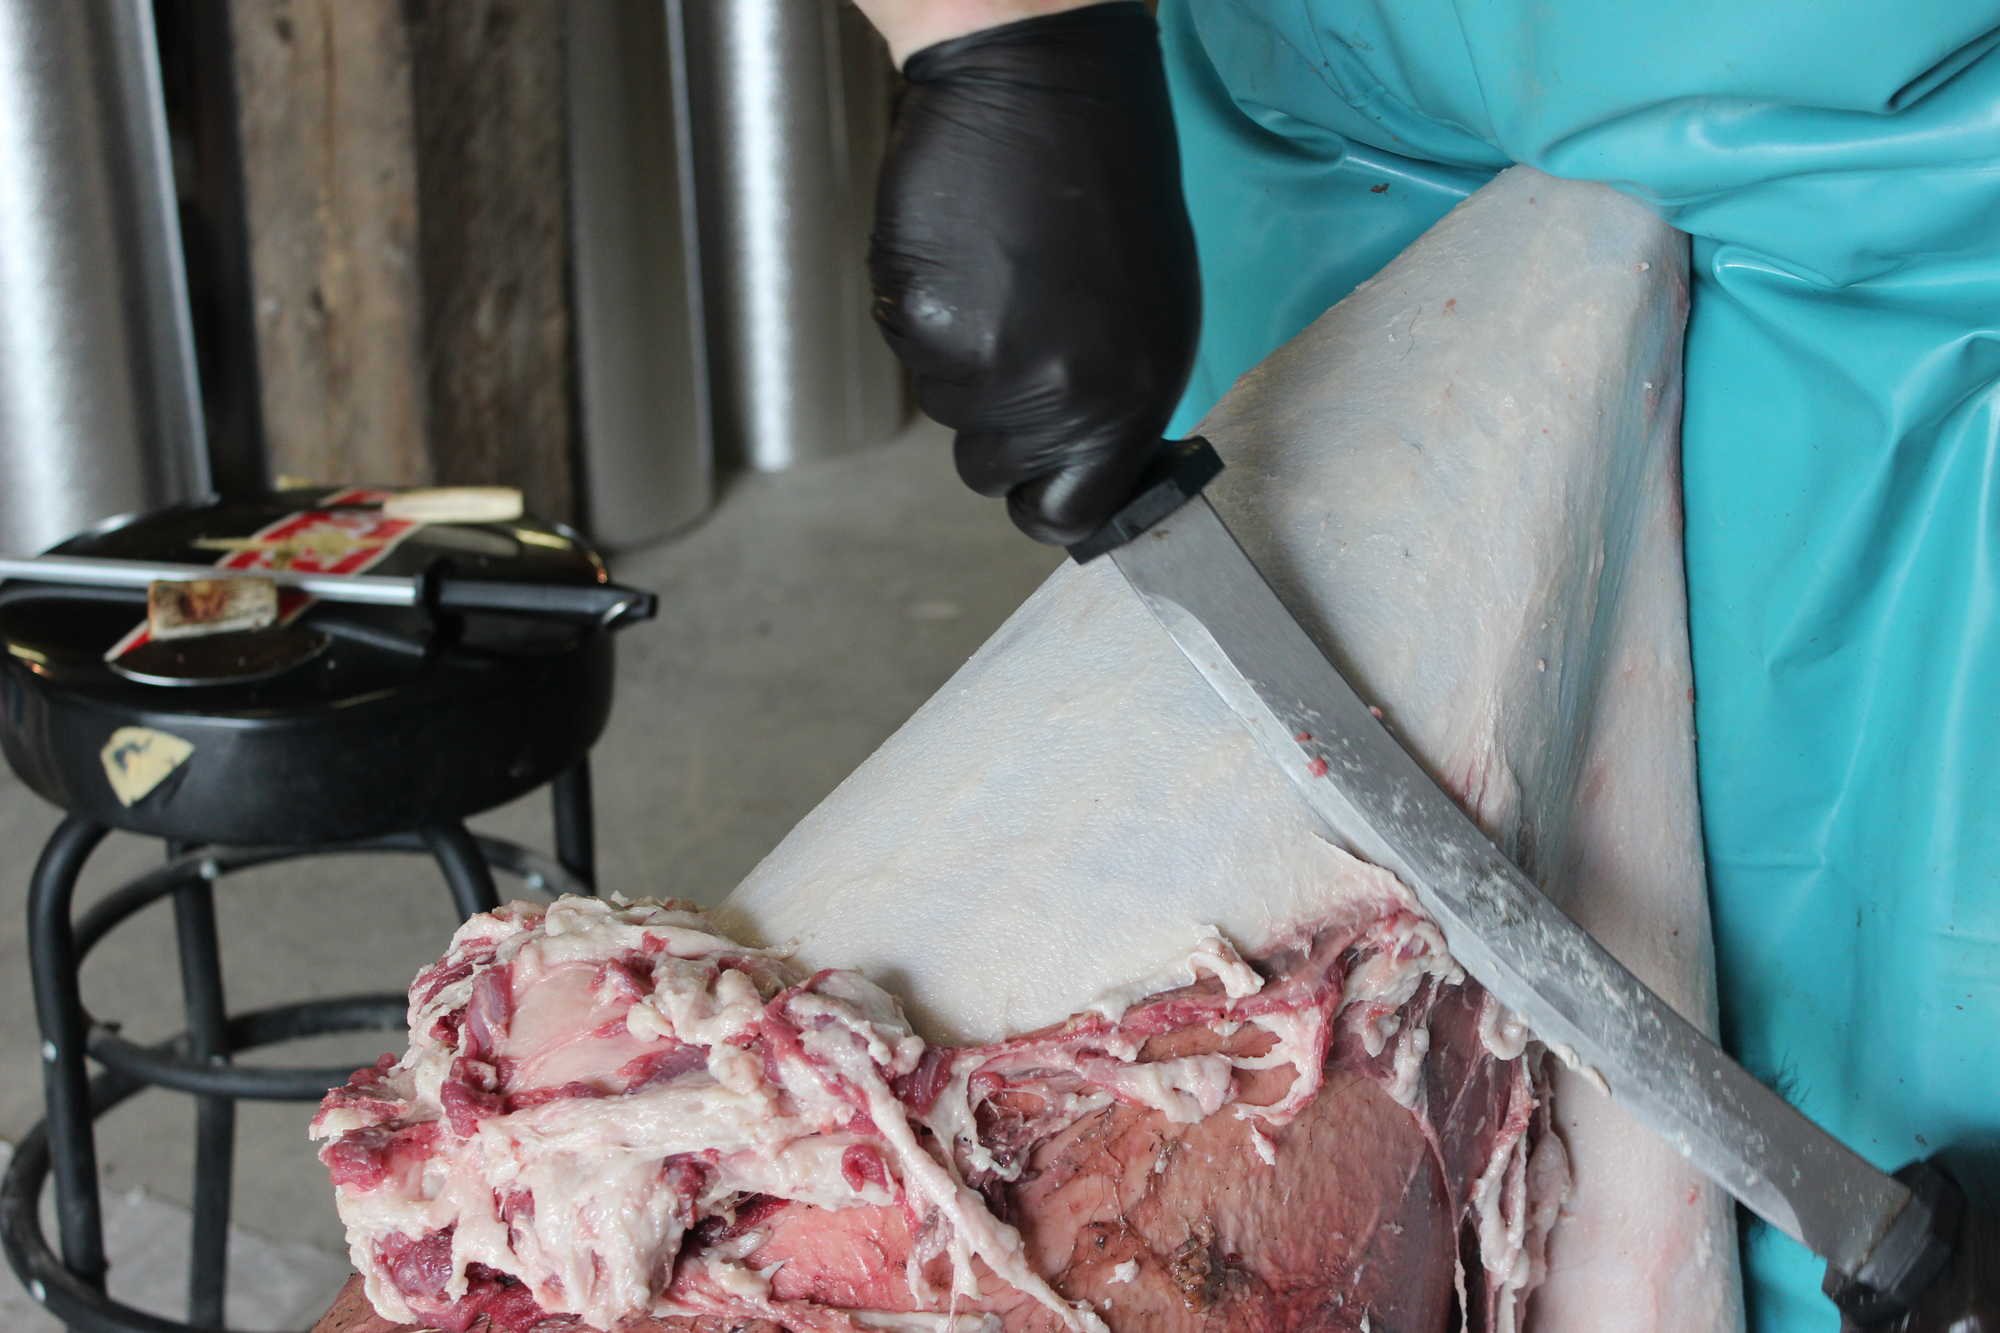
Now the hide is ready for the fleshing beam. Everyone’s fleshing beams will be a little different to suit individual needs and heights. My bear beam is just an 8-inch spruce long split in half, sanded smooth, and coming to somewhat of a point. On the beam, I start by finishing the head. I flesh the lips, then work the flesh back from the nose down the body. I use an ulu on the head, and it works great for me, but it can be done with a knife as well. You want to remove the meat, fat, and thick scar tissue from the hide, rolling it back in one continuous piece. Be sure to go around all the edges of the hide with an ulu or similar blade. It’s very important to flesh the edges of the hide. It is tedious, and time consuming, but if you don’t get the edges clean, they will likely slip. I work my way all around the edged, fleshing the legs as well, so I am left with one big mass of flesh in the middle of the bear.
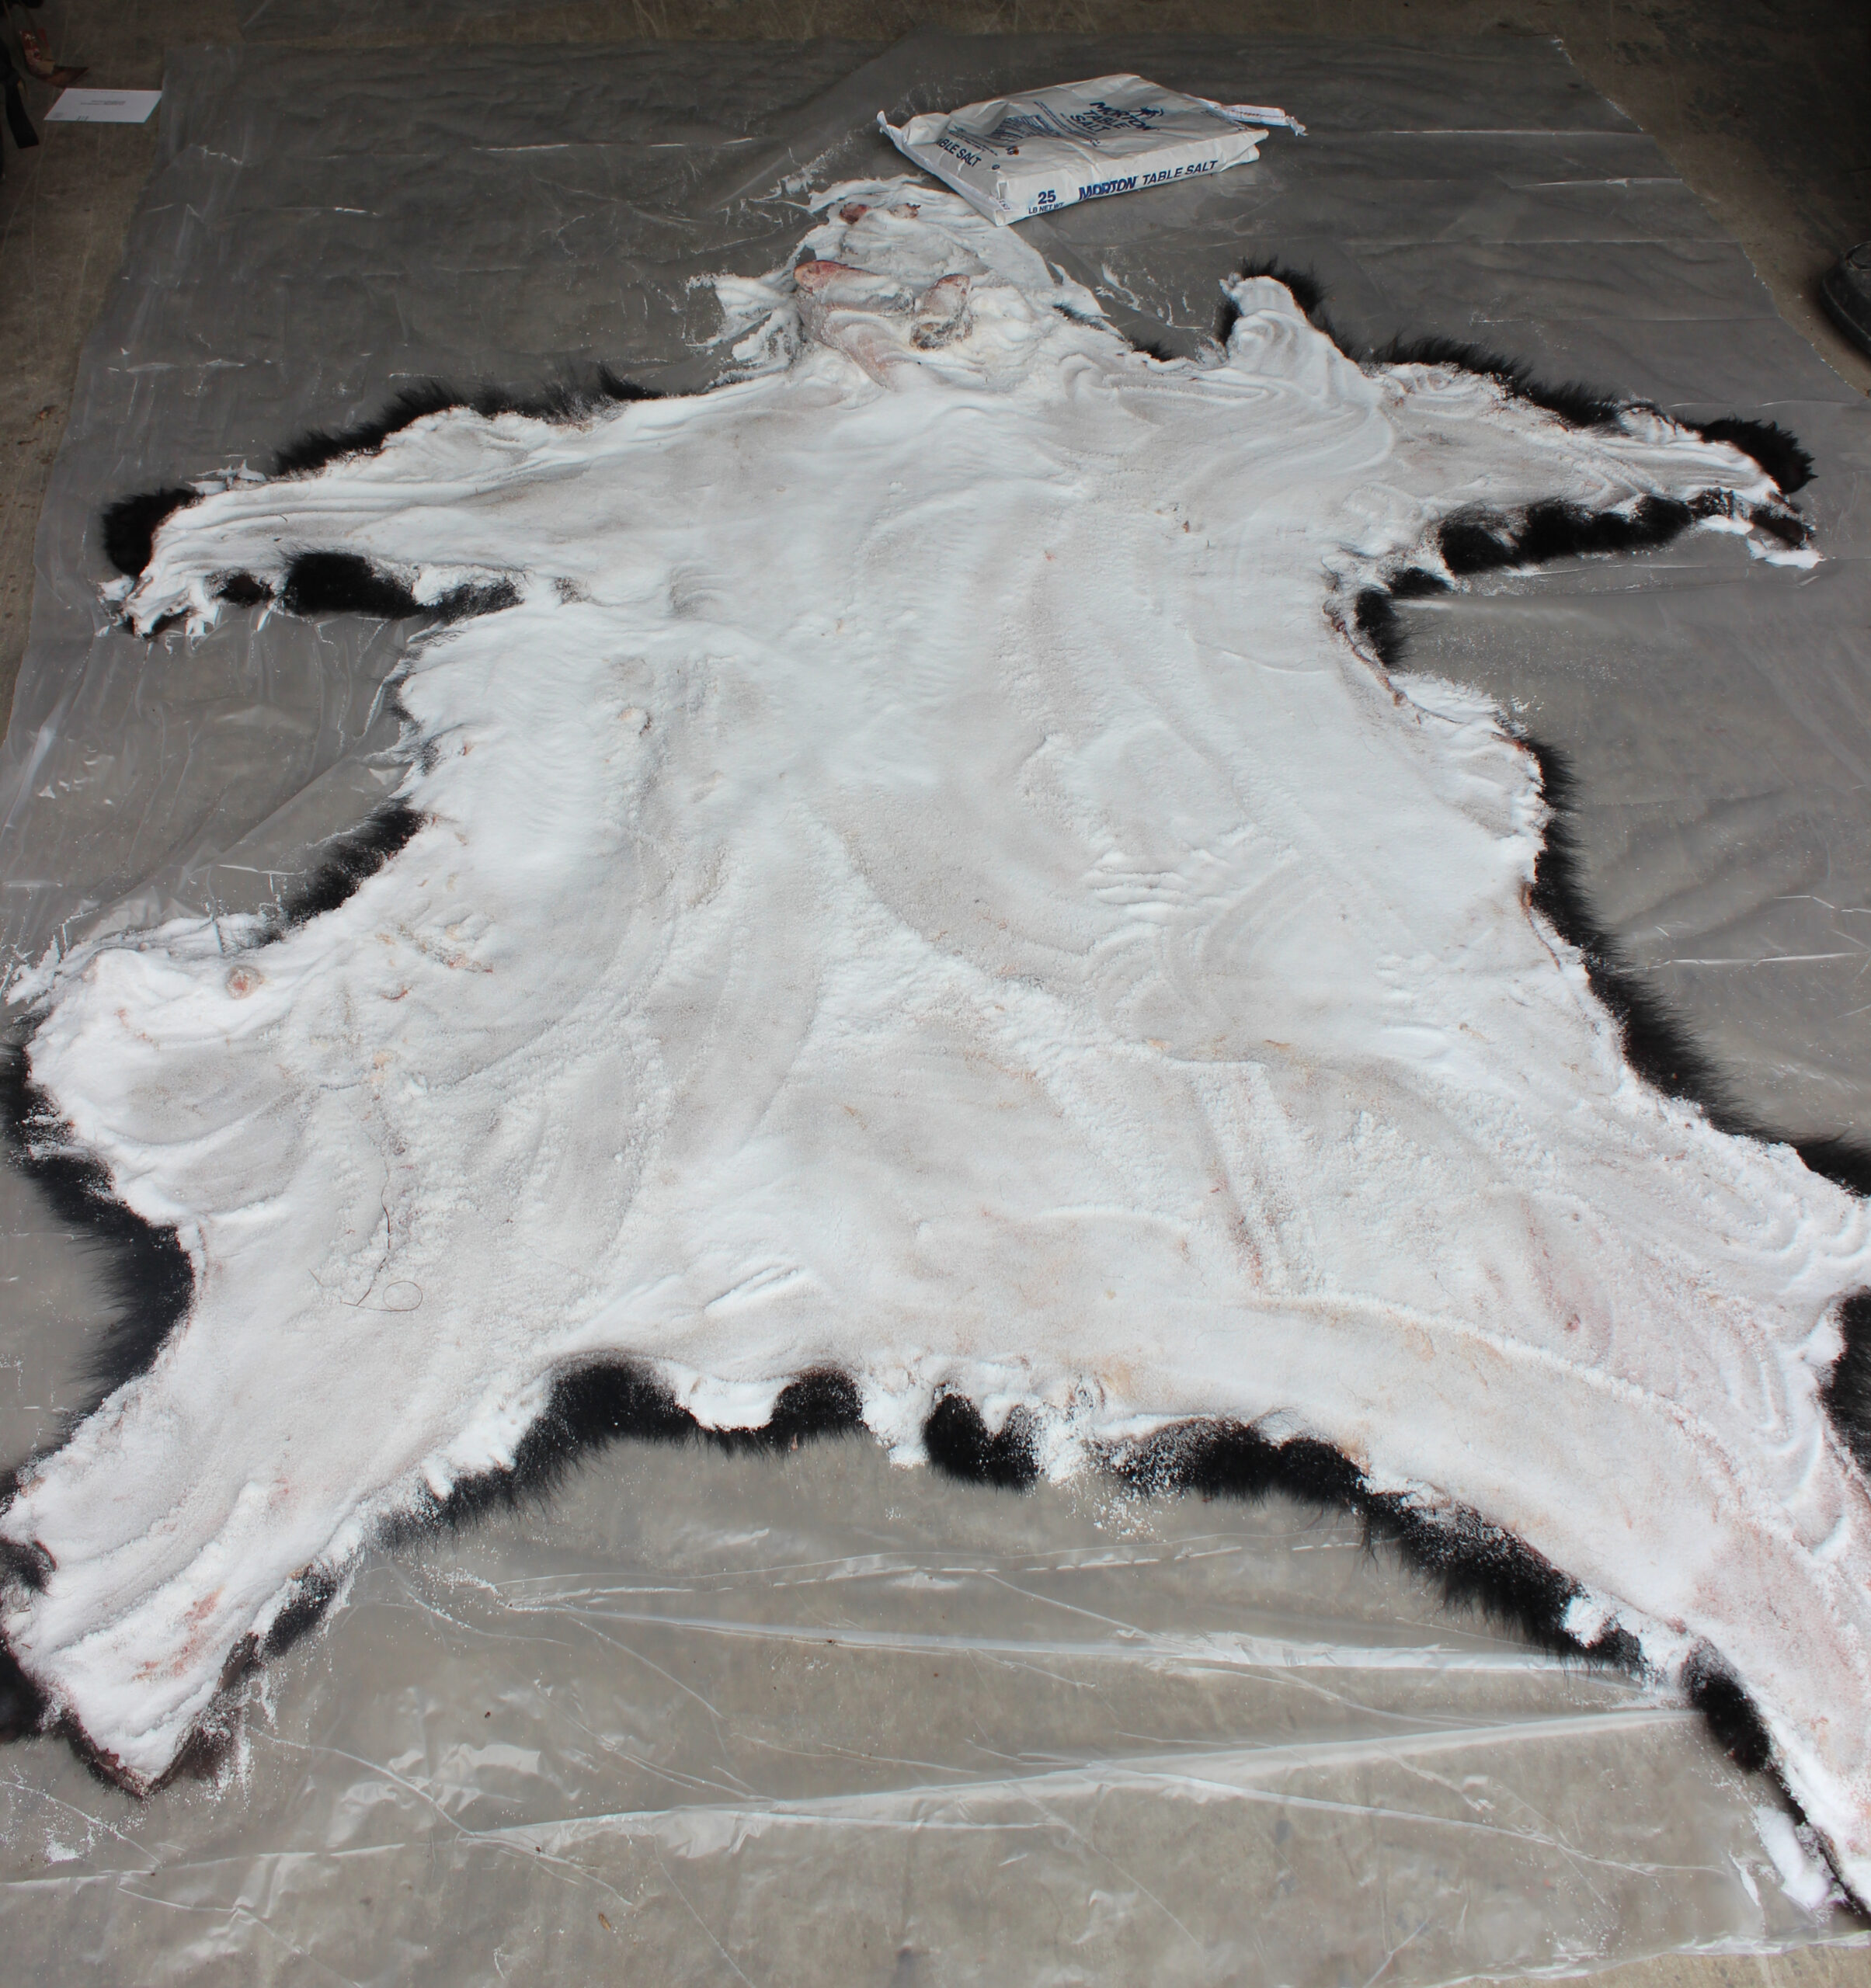
Once all the flesh is removed, it’s time for the salt. I spread the hide on the floor and rub salt into the whole hide. It’s important to get salt onto all the edges, and the ears, face, and lips. I’m pretty liberal with the salt, and usually use a 25-pound bag of it per bear.
Once the hide is salted, I leave it overnight to draw moisture. The next day, I scrape off all the wet salt and hang the hide up over a pole to dry. Everyone does it a little differently, some salt the hide again, and it probably depends partly on where you live. Here, the air is pretty dry, and one dose of salt does the trick. After hanging for a few days, the hide dries out, and while it’s still flexible, I fold it up, and it quickly finishes drying hard as a rock. The hide is now ready to go to the tannery.
It takes practice and can be frustrating to learn how to do this, but whether you hunt bears, elk, or whitetails, I think you will find it very satisfying.