
Here’s a checklist of techniques you can use to help capture great trail camera pictures. They are applicable anywhere, but especially helpful in the public-land backcountry of the West.
1. Point your camera directly north or south. Rising or setting sunshine can ruin photos—all you will get is a blindingly white photo, with a hint of an animal along an edge. Point toward the Poles to avoid blown-out pictures.
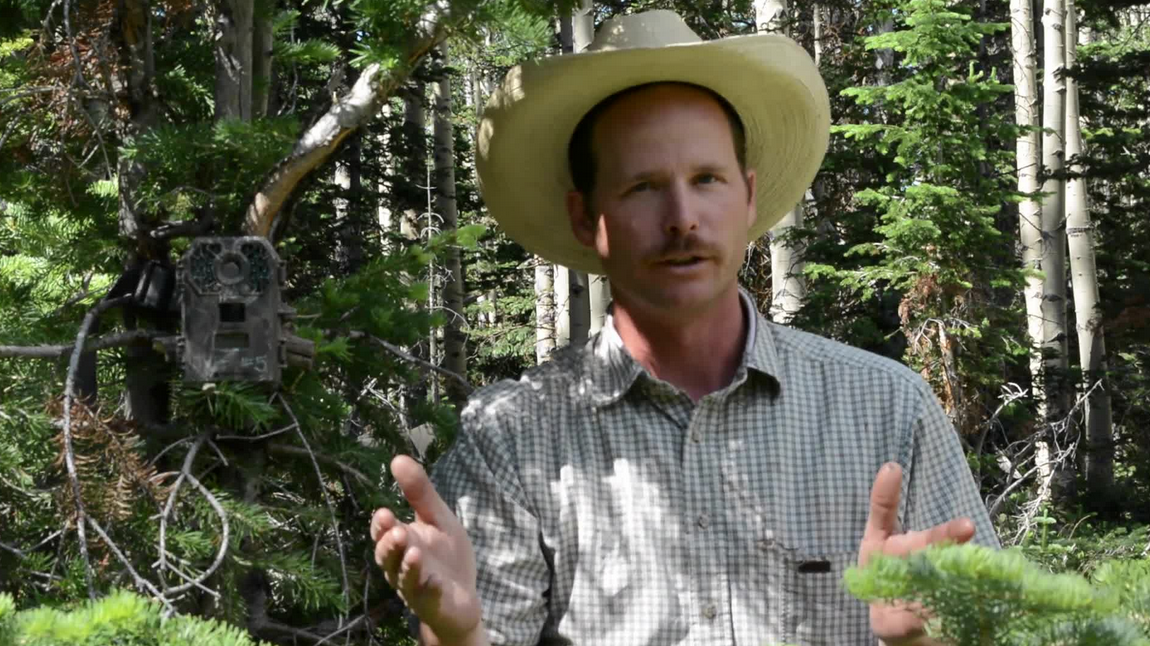
2. Attach your trail-cam tightly to a good tree, and wedge it with sticks till it points perfectly at your target area.
3. Trim away all limbs and leaves that might obstruct the cameras shot.
4. Use an attractant – either a naturally occurring one such as a scrape, rub line, or wallow; or offer a mineral where legal. (Check with state and public land agencies before you do this, including BLM, USFS, game departments, etc.)
5. Place your camera in a secluded place where other people will not find and tamper with or steal it. If needed, chain or cable the camera to the tree and lock the case so that the memory card can’t be messed with.
One more thing: make sure your trail cam is actually turned on and taking pictures before you leave it! It’s a real bummer to hike to a camera that’s been up for a few weeks—feeling as excited as a kid before Christmas—and find that you never turned it on when you set it up.