Few survival skills draw attention like how to start a fire. Perhaps it’s because we still find it magical to take materials from the land and create something that offers both warmth and light. Or, perhaps we know that fire is critical when the mercury drops and darkness settles in. Even if we don’t know why fire skills interest us, we do know that fire building is important.
Fire starting is a broad topic and given the thousands of years of evolution in the skillset, there are many ways we can approach building fire from the most primitive friction-fire methods to the most modern tinder and electronic lighters. You could spend a lifetime studying all the different methods to make fire. But if you only want to learn the most effective, and need a few proven methods for when you absolutely need a fire, this article is for you.
How to Start a Fire in Four Stages
There are four stages to building a fire: fire preparation, fire starting, fire maintenance, and fire extinguishing.
Fire preparation is the act of locating a spot to build a fire, clearing debris from around the central hearth that could accidentally catch, and assembling all the components you need prior to starting.
Fire starting is the act of striking a match, scraping a ferro rod, catching a piece of tinder on fire, or otherwise initially igniting your fire. Fire starting is where the three requirements for fire, heat, air, and fuel must come together in the right ratio to burn properly. These requirements are often referred to as the “fire triangle” and when a fire is not burning well, you can troubleshoot which of the components is lacking.
Fire maintenance requires you to stoke the fire, add fuel to it as necessary, position logs to achieve more or less flame, and otherwise keep the fire going as long as you need it to burn.
Fire extinguishing is the process of dowsing your fire, moving the firewood to the outside of the fire ring, making sure there are no hot spots left behind, and making sure the fire is no longer burning. Your fire should start with an understanding of the final stage first as it is not wise to build a fire you cannot put out.
Choosing the Most Effective Fire Lay

Assuming you’ve identified the location where you want to build a fire, you must think about what type of fire will help you accomplish your goal. There are different ways to arrange your fire that will produce maximum light and heat, burn for a long time, and other ways that allow you to control the amount of heat you use to cook with. How you assemble your fire is referred to as a “fire lay.” Here are the common fire lays and what each is best for.
The Tipi
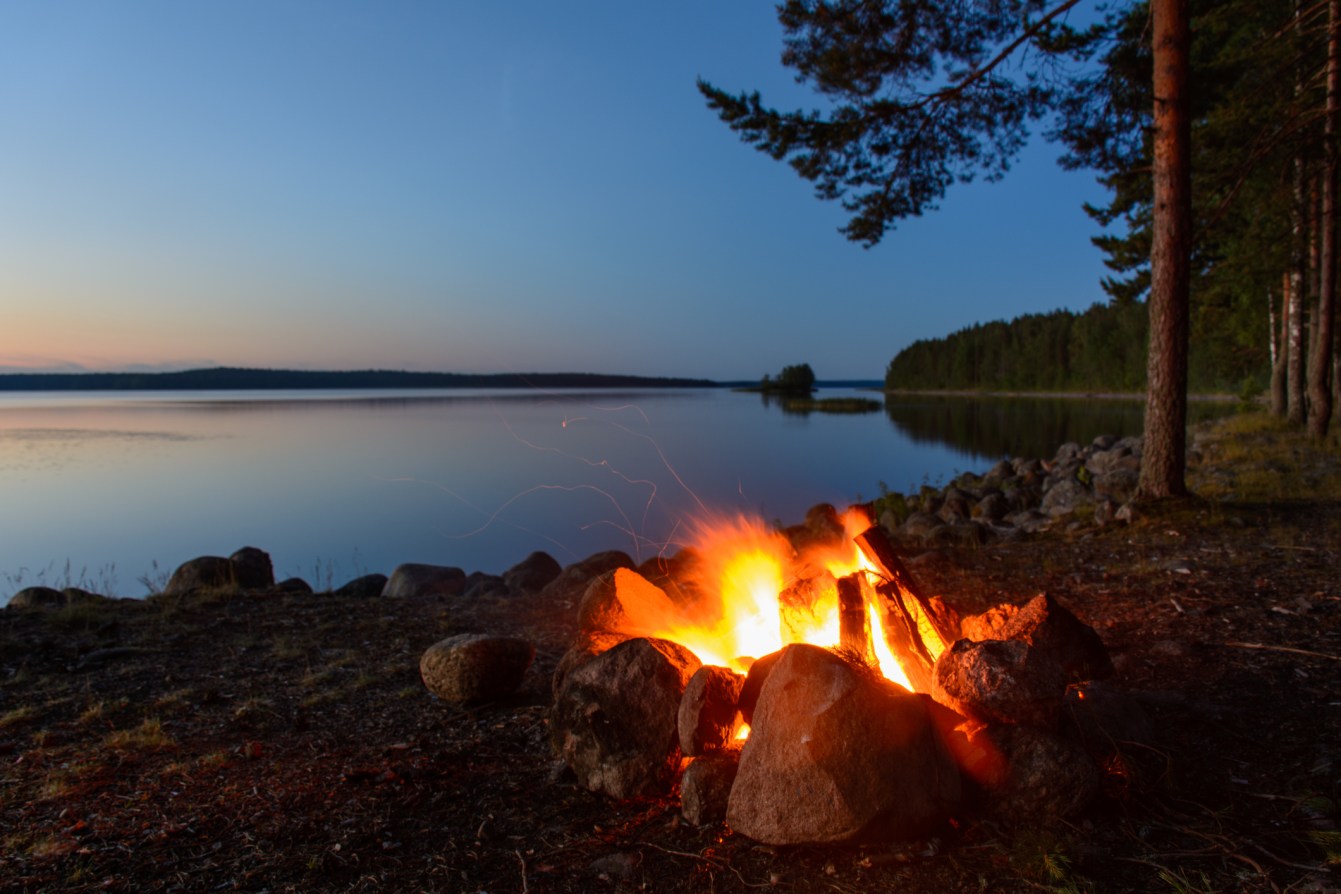
Perhaps the most iconic and easily recognizable fire lay is the tipi fire that draws its name from the cone shaped configuration of firewood. This fire lay burns quickly, much like a wooden match held upside down, and it produces a tall bright flame. It is a good fire lay if you need to warm someone or if you want to illuminate your campsite at night.
Log Cabin
An alternative to the tipi is the log cabin fire lay. Much like Lincoln Logs, this fire lay is built up with perpendicular logs creating a box and it can be used for cooking as it burns very steady and doesn’t flare up.
Platform and Brace
A hybrid of the log cabin fire lay is another called the “platform and brace”. Think of this firelay like a single corner of a log cabin built up on a heavier log that allows for airflow. The corner of the platform and brace points in the direction the wind is blowing and the initial fire is lit to the inside of the corner. This forces the flame into the material you wish to burn.
Long Fires
Additional fire lays include long fires that are built the entire length of a body, resting alongside it. The long fire is popular among winter camping enthusiasts and bushcrafters that use it when temperatures drop and wood resources are plentiful.
Star FireSimilar to the long fire, the star fire is used by groups of outdoorsmen camping next to a fire for the night. The star fire has a central fire with long logs extending out from the center like spokes on a wheel. The campers sleep between the spokes and throughout the night each camper can push the nearby spoke into the fire to keep it burning.
Fueling Your Fire
Your fire will be built with fuel of different sizes and shapes regardless of what firelay you decide will work for your needs. As you assemble and prepare your fire, think of increasing the surface to mass ratio of the firewood. To visualize this, imagine attempting to light a wooden 2×4 with a single match by holding the flame against it. Now imagine taking that same 2×4 and carving it into thousands of toothpick-sized shavings.
The same match would easily light the pile of shavings because the wood has more surfaces and edges to catch flame on. Also, as you build your firelay, don’t jump in fuel diameter too large too soon. Limit yourself to using fuel no more than two times the diameter of what you are currently using as you build your fire larger.
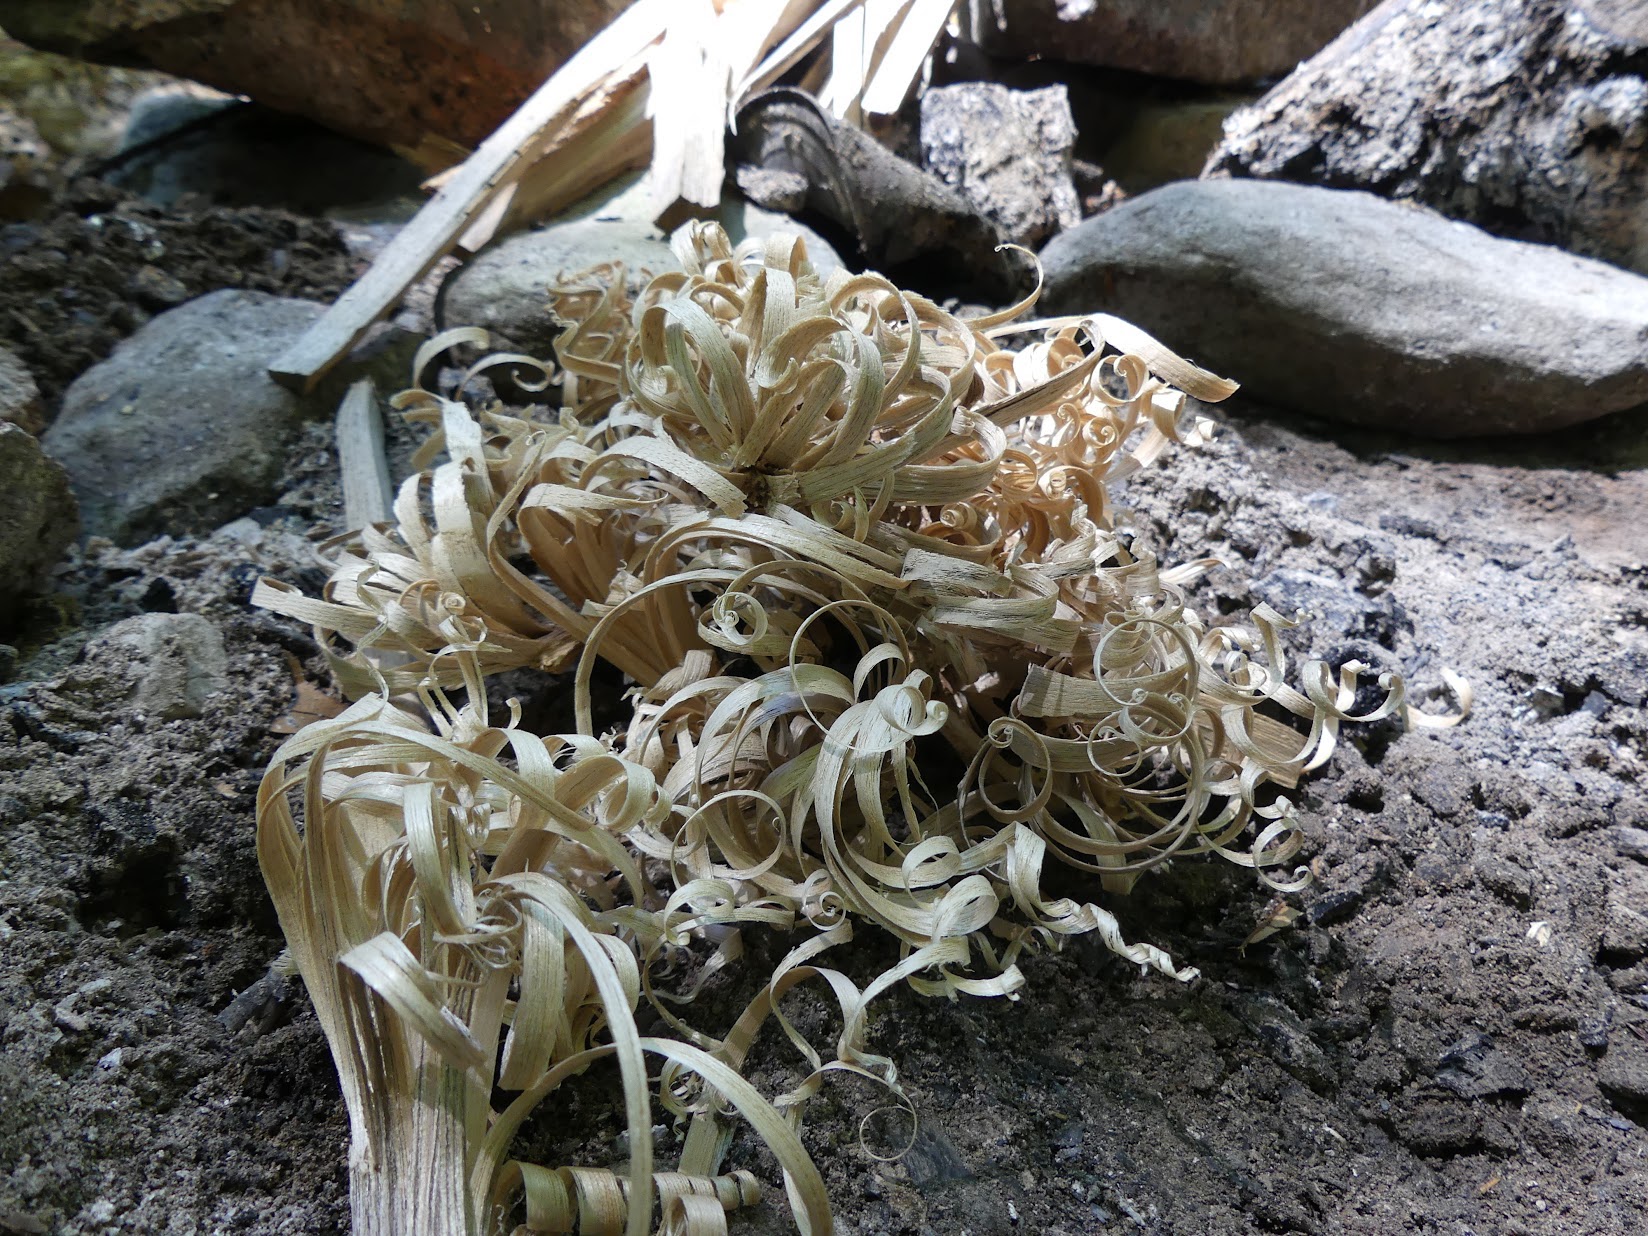
Tinder
The fuel you use should always start with tinder. Think of tinder as fuel that is light and fluffy and can light with just a spark. Some common examples of good natural tinder include birch bark, dried leaves that haven’t fallen from trees, actual old bird’s nests, and cedar bark. This type of fuel will likely flash and won’t burn long but it provides a starting point for your campfire. From tinder, the next type of fuel you’ll want to use is kindling.
Kindling
Kindling is more substantial than tinder, but unlike tinder, it probably won’t start with just a spark. Kindling will light with a brief exposure to a flame and kindling can be either found on the land ready to go in the form of “squaw wood”, found on the underside of evergreen trees, or cut down to size from a larger piece of firewood. Kindling is pencil lead thickness and it should have a distinct crack when you bend it. There is an old expression, “if it doesn’t crack, throw it back.” The best kindling is that from softwoods like the conifers since this type of wood burns very hot and very fast. It isn’t the type of wood you want to use in your campfire the whole night but it is the best to get it going.
Adding Fuel
After you gather an appropriate amount of tinder and kindling, you must direct your attention to the fuel that will sustain your fire for as long as you need it to burn. Small fuel is approximately pencil to finger thickness, medium fuel is wrist size, large fuel is the thickness of your arm, and primary or main fuel is fuel up to the thickness of your thigh.
Be forewarned, it is easy to jump too soon from one thickness of fuel to the next. Instead of rushing the process, monitor how your fuel is burning. If you notice there is a lot of smoke, consider your fire triangle of heat, fuel, and air. Perhaps you have too much fuel and not enough heat. Perhaps you have heat and fuel but not enough air.
Troubleshoot as you adjust your fire and the fuel you add to it. As you burn more of your small fuel and medium fuel, you’ll notice a bed of small coals forming at the base of your fire. When you add more medium and large fuel, the coals will become more substantial as your fire continues to burn. Eventually, you’ll be able to place more fuel on top of your fire and it will ignite from the heat coming off the coals.
Ignition Sources
Modern fire starting utilizes modern methods of making fire. Thanks to technology, an inexperienced person can be equipped with the means to make fire anywhere and as long as they carry these tools and use them properly. Modern fire starting doesn’t have the same drama as primitive fire starting and it may actually be too easy to even raise any doubt you’ll struggle.
READ NEXT: The Best Fire Starters of 2023
Yet, even though technology has greatly improved, you should still plan on carrying redundant layers to ensure success. Use the acronym “P.A.C.E” (Primary, Alternate, Contingency, Emergency) to help you build out the layers of preparedness. Think of spreading out what you carry on your person/pack, instead of carrying all of your kit in one location—so just in case you lose some of your fire starting kit, you won’t lose all of it.
Primary Starter: BIC Lighter

At less than a dollar and capable of making 1,000 one-second fires, the standard BIC lighter is hard to beat for fire starting. The BIC goes right to flame making it an excellent tool for starting both kindling and tinder. The best way to operate your BIC is in short durations. Conserve your gas and when you light something with your BIC, use the tip of the flame as that is the hottest point. The only concern you should have with your BIC is removing the child safety feature on the wheel and keeping your BIC warm and dry. If you must store your BIC for a period of time, put a small rubber washer around the top of it where there is a small lip underneath the gas button. That will keep it from accidentally depressing. Also, think about putting your BIC inside of a party balloon to keep it dry.
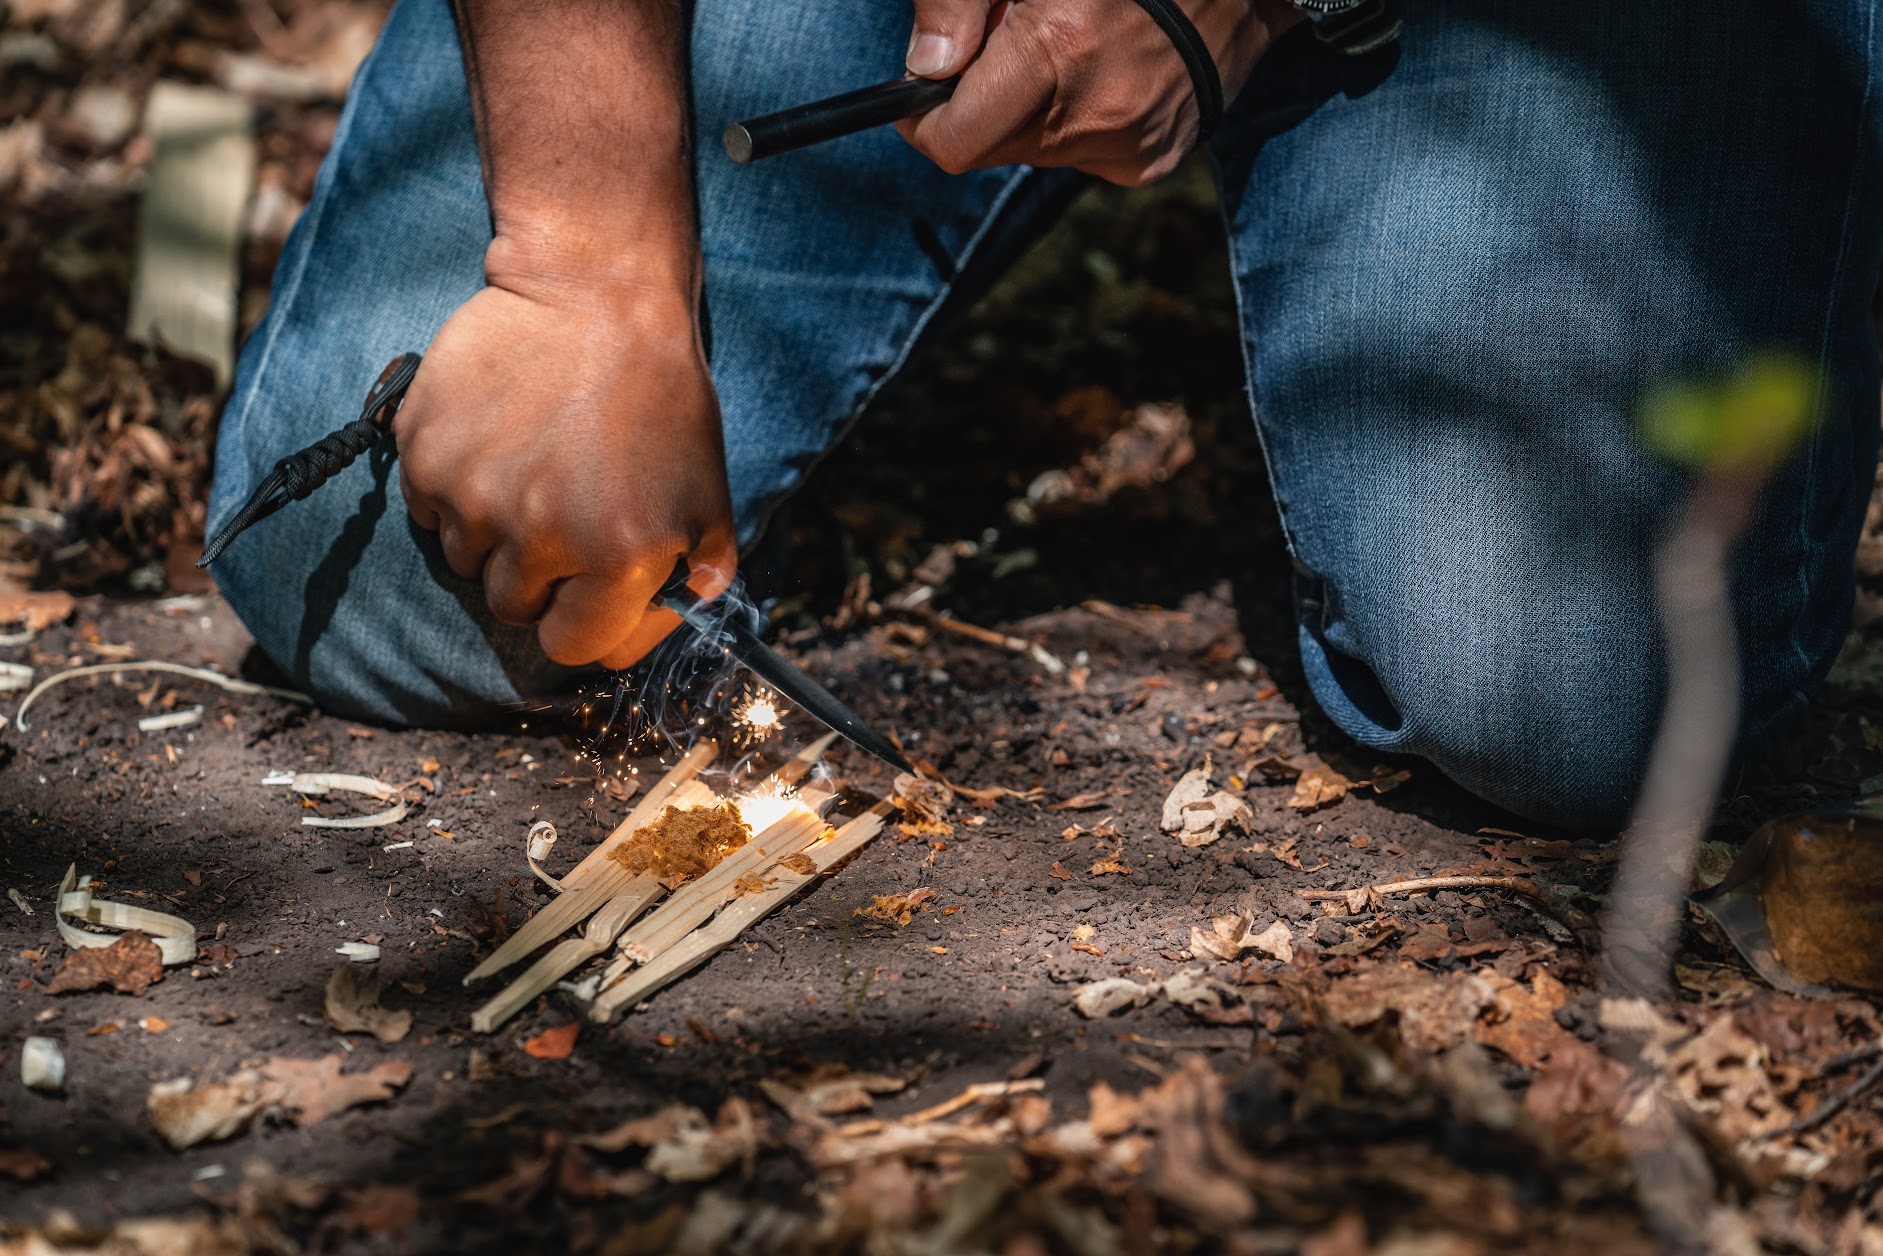
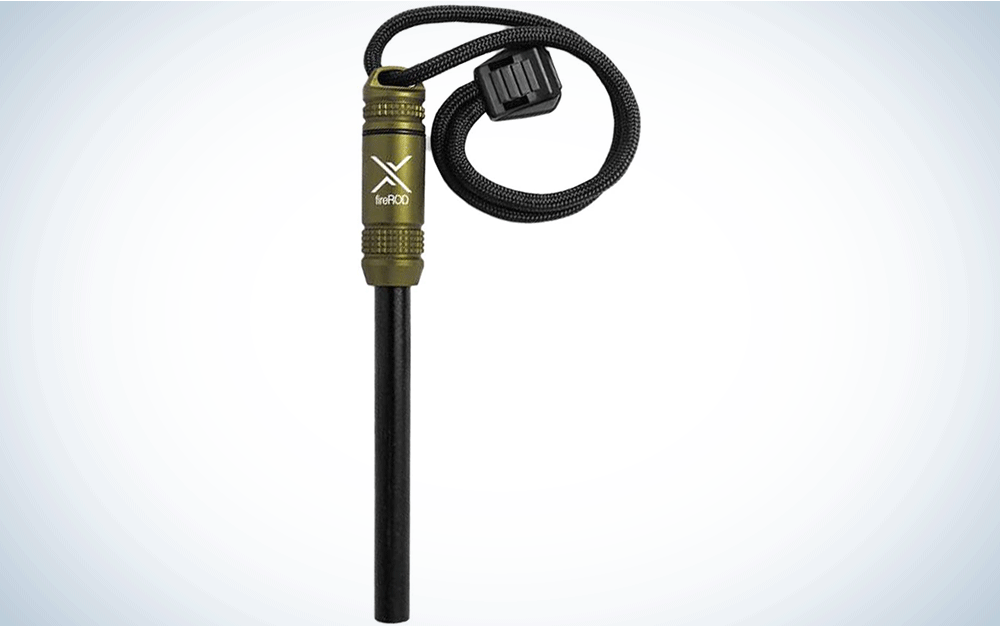
Alternate Starter: Ferro Rod
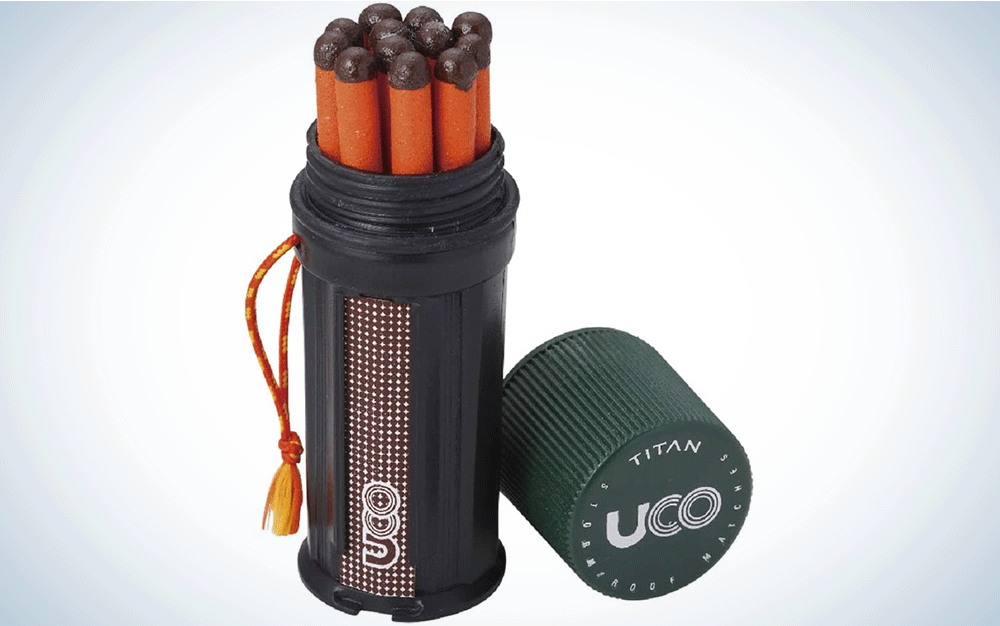
Ferro rods have become incredibly popular for fire starting, providing the possibility of thousands of fires from a single “Scout”-sized rod. The ferro rod serves multi-purpose duty as an emergency night signaling device as well as a quick light to briefly illuminate your surroundings. Since the ferro rod is a spark-based fire starter, it works well to light natural tinder or man-made fire starters.
Pre-made tinder will ignite with fewer sparks and you can use the final third of your ferro rod for that. You can decide if you want to move the scraper and hold the rod still, or move the rod and hold the scraper still. Both techniques are viable and it will come down to personal preference. When you are attempting to light natural tinder, use the full length of the ferro rod and pin the tinder down with the end of it. Scrape harder and attempt to remove more material from the rod with a slower motion. This will create more substantial sparks that will more easily light the tinder you find.
Contingency Starter: Storm Matches
Storm matches are water resistant and windproof. They will, quite literally, burn underwater as long as there is more of the chemical head to burn. These matches burn more aggressively than standard book matches but they do take up more space and the heads are often fragile. That said, they are a “straight to flame” fire starter and most people know how to light a match. Matches make a great back up to back up fire starter and they are intuitive to use. Matches burn the hottest when the head is chemically reacting.
Make sure when you use any match, you ignite the match close to where you will place it. Don’t light it away from your fire to then transfer it while shielding the flame with your hands. If you use your BIC and ferro rod correctly, you may never need your matches. Still, they are good to have just in case.
Emergency Starter: Flare
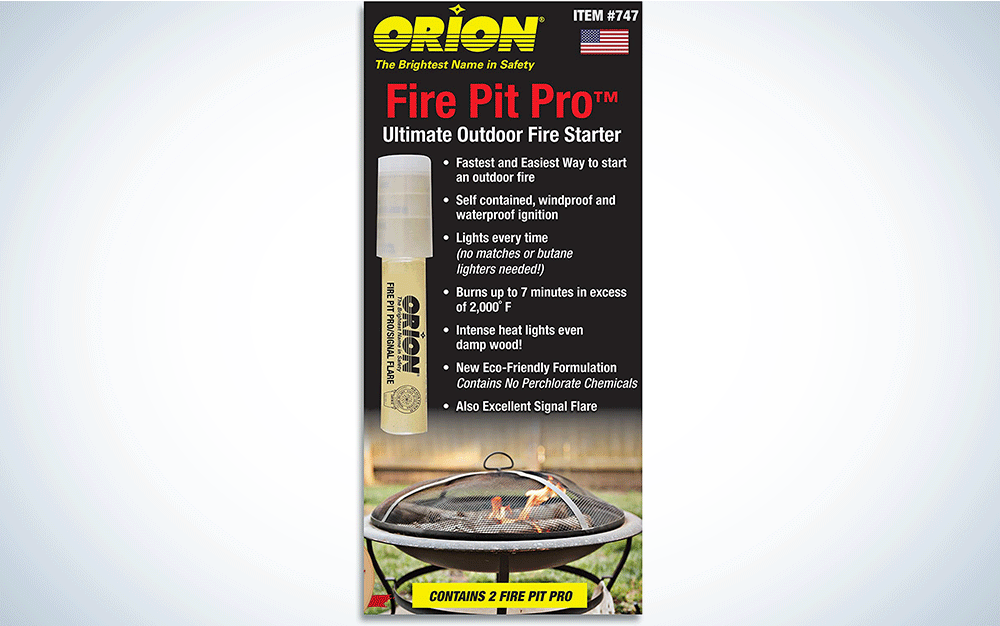
There is no such thing as cheating when it comes to how to start a fire. In an emergency, you do what you need to do and worry about how others will perceive you later. There could be a time when you exhaust your primary, alternate, and contingency means. That’s when you reach for your emergency option.
I am not opposed to packing a road flare, or a cut down flare, as an emergency fire starter. I’m also not opposed to packing copious amounts of pre-made tinder. Road flares can burn for minutes and the magnesium used produces brilliant light that can be used as a signal too. A good road flare can burn hot enough to dry out small fuel and provide enough heat to get your fire going. It shouldn’t be used as an “every time option” but there may be a time when this survival tool is the only option.
Banking your Fire or Extinguishing your Fire
As your skillset improves, you will have less difficulty starting fires. You won’t even break a sweat thinking about how to get a fire going. Maintaining your fire will come down to collecting and processing wood as fuel. What you will have to decide each time you make a fire is if you want to extinguish your fire or, if you’re camping, bank it for the next morning. Extinguishing your fire is best accomplished by drowning it with water. Cover it completely to the point where no smoke rises from the firelay.
If you decide to bank your fire (save it for later), you will cover it with hardwood ash, which smothers it and prevents the remaining wood from burning efficiently. Banking a fire slows down the burning process and the amount of wood used up overnight. The next morning, the ash is removed and air is introduced to the coals. This will create more heat and you’ll easily ignite the fuel again.
5 Mistakes Rookie Fire Builders Make
- Picking materials off the wet ground. Many people are conditioned by signage and training to gather loose dead fuel that’s fallen down, but in an emergency (or any other time you’d like to have fire-making success), you’ll have better luck breaking off the dead branches, twigs, crunchy leaves, and brown pine needles from standing woody plants, shrubs and trees. This is typically the driest fuel in any environment.
- Using rotten wood. Sticks should splinter when they break, not break off in blunt-ended chunks. You’ll also want to avoid branches with fungal growth, like shelf fungi, mushrooms, witch’s butter, wood ears, etc.
- Choosing the wrong ignition method. Twigs aren’t likely to light from sparks alone, though an open flame may make them light. Flame-based ignition sources are the most versatile form of heat, but even these have vulnerabilities. Matches are easily blown out in the wind, and butane lighters can lose their gas if the button is pushed in storage. In the end, you’ll need to have an ignition method that’s compatible with your fuel materials.
- Failing to use enough tinder. One or two dead leaves won’t cut it. For ordinary circumstances, I recommend two big handfuls of tinder material as a foundation, and a third heaping handful on the side as a backup. If you’re really in trouble and need that fire, get even more tinder. Materials like dead crumbly leaves, brown pine needles, crunchy dead grass and fibrous inner tree bark are some of my favorites. Like the sticks you’d collect, your tinder should be dead and dry – but so long-dead that they are not rotten.
- Choosing a bad location. Before you shave that first spark from your ferro rod or strike that match, consider whether the conditions are even safe for a fire. Every summer wildfires consume acreage across western lands, some of which have been caused by human negligence. All it takes is a little wind and a spark to unleash hell on earth in a field of dead grass or a dry pine forest. If you have any doubt about the potential to start a wildfire, think twice before starting that fire. —Tim MacWelch
Final Thoughts
Modern fire starting doesn’t win ratings—and you won’t see it on reality television shows because with good equipment and training, you’re not likely to experience any issues. If I only have a few hours to train a group of individuals how to start a fire, I start with the most advanced methods first. Once a group has a strong command over modern techniques, I’ll work them backwards through more traditional fire starting methods all the way to primitive friction fire. If nothing else, students gain an appreciation for modern fire-starting equipment by training with inferior methods. The bottom line is carry modern kit, be well-versed in all methods, and never stop training.