We may earn revenue from the products available on this page and participate in affiliate programs. Learn More ›
If you’ve ever found yourself unpacking half your kit in a hurry—to find your rain cover during a squall, mosquito repellent in early evening, first aid kit after a nasty fall—then you understand why an efficient packing job is so important.
A poorly packed backpack can lead to unnecessary back and shoulder strain, resulting in a less enjoyable trip. Let’s take a look at how to pack a backpack in a way that maximizes both accessibility and weight balance.
Step 1: Bottom of Your Pack
- Trash compactor bag
- Sleeping bag
- Sleeping pad
- Camping pillow (optional)
- Extra socks
- Sleeping clothes (optional)
- Book (optional)
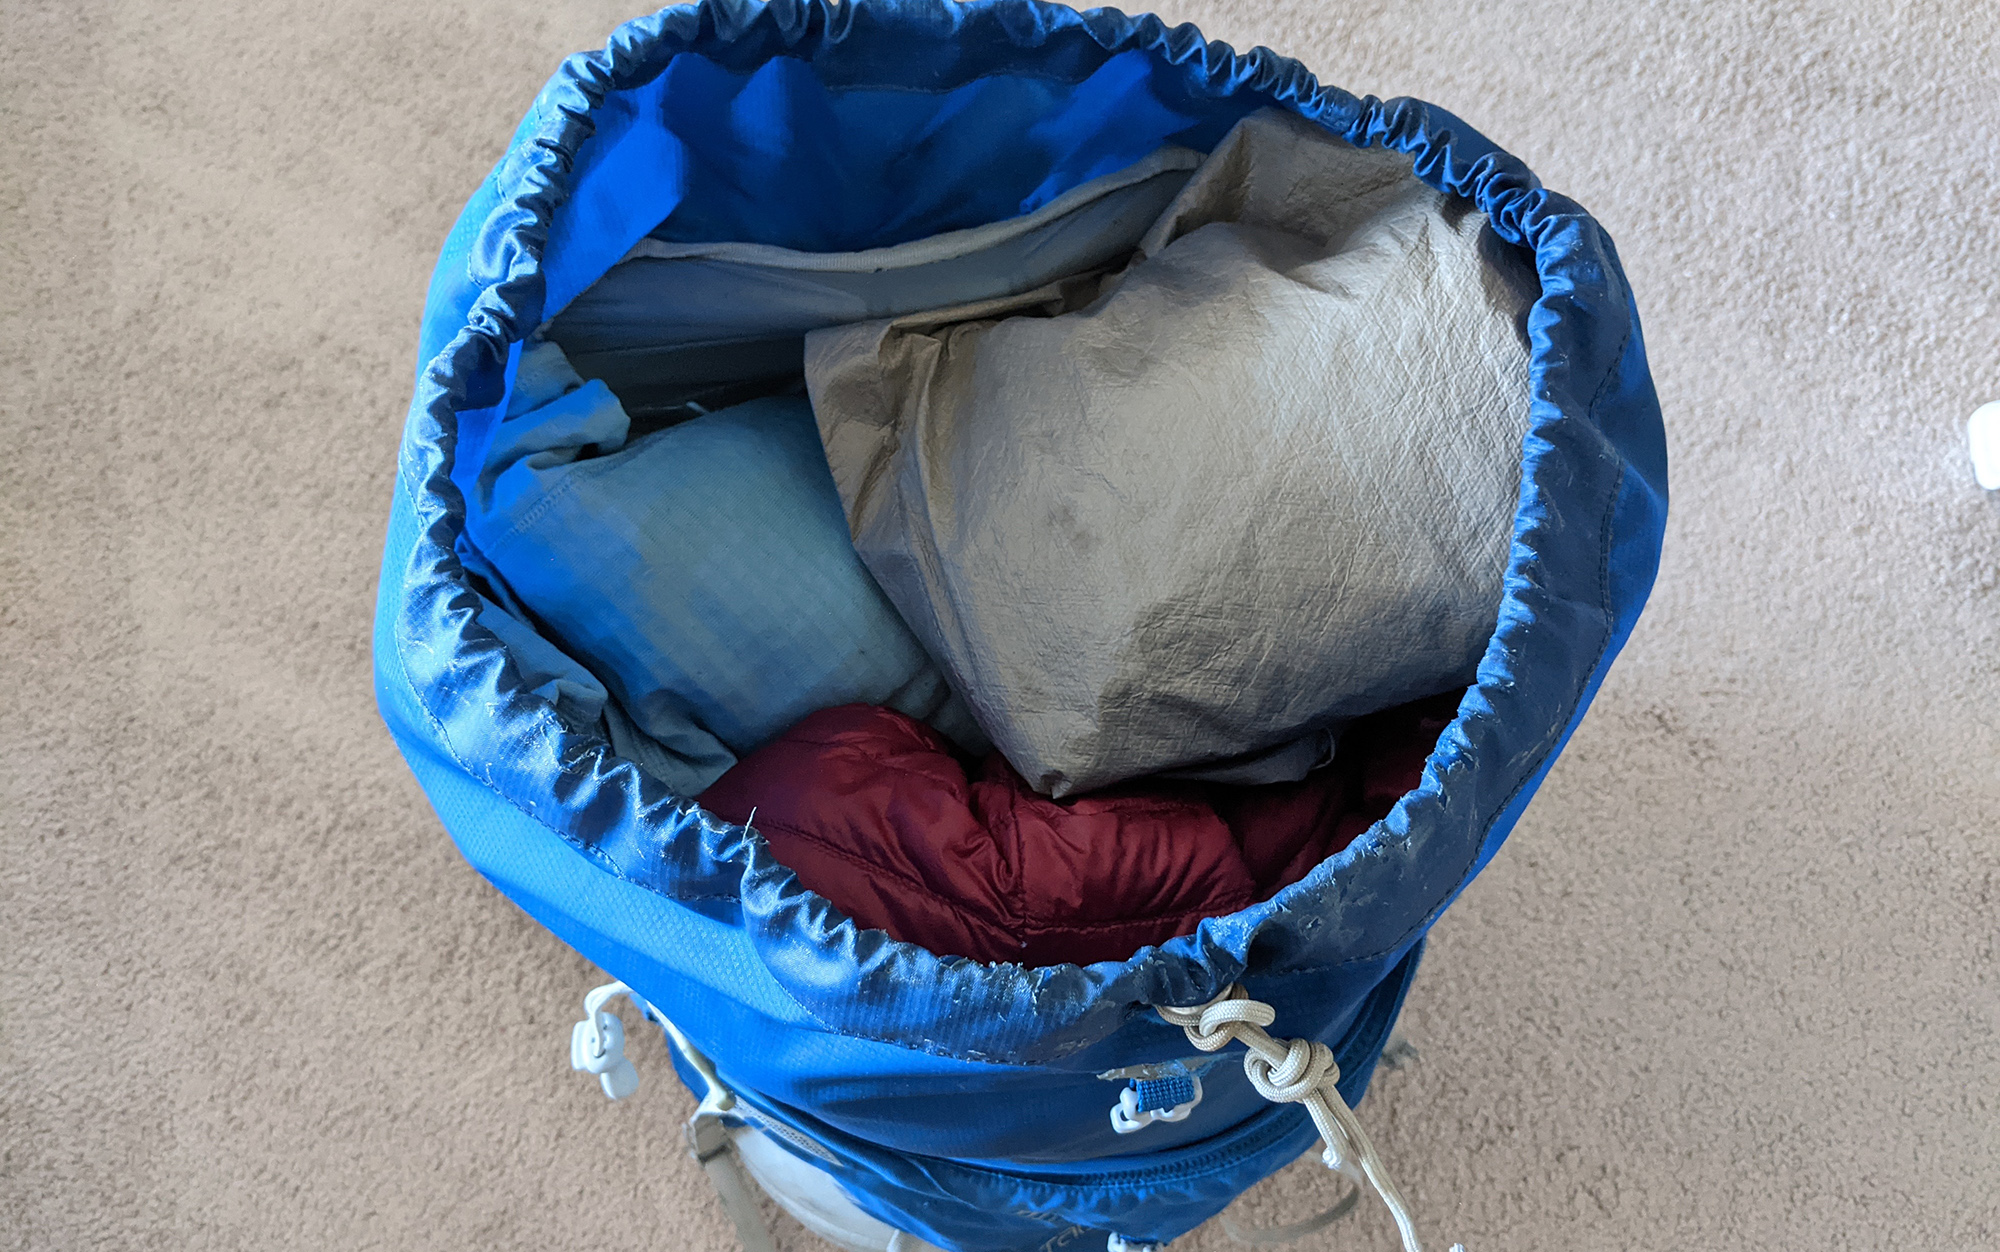
Repeat after me: Sleeping bags go inside backpacks. INSIDE. Not strapped to the bottom using compression straps, not squashed between the top lid and the main cavity. Definitely not attached to the side using bungee cords. Inside.
There are two reasons for this. The first is that you aren’t going to need your sleeping bag until the end of the day, after you’ve set up your tent. So it doesn’t need to be accessible. The second, and more important reason, is that it will help keep your sleeping bag dry in the event of rain, water bottle spills, and deeper than expected river fords. Afterall, keeping your sleeping bag dry should be one of your top priorities.
But before we add our sleeping bag to our backpack, we’re first going to add a pack liner to be doubly sure that no moisture sneaks in (this is especially important if, like me, you backpack in the PNW). Now, you can purchase a liner specially designed for backpacking backpacks, but I recommend using a trash compactor bag instead—you’ve got better things to spend your money on. Plus, when the plastic starts to wear down you can just swap the trash bag out for a fresh one. Keep in mind that the sleeping bag compartment on some backpacking backpacks will not protect your gear from unwanted moisture, and is in most cases, an unnecessary feature.
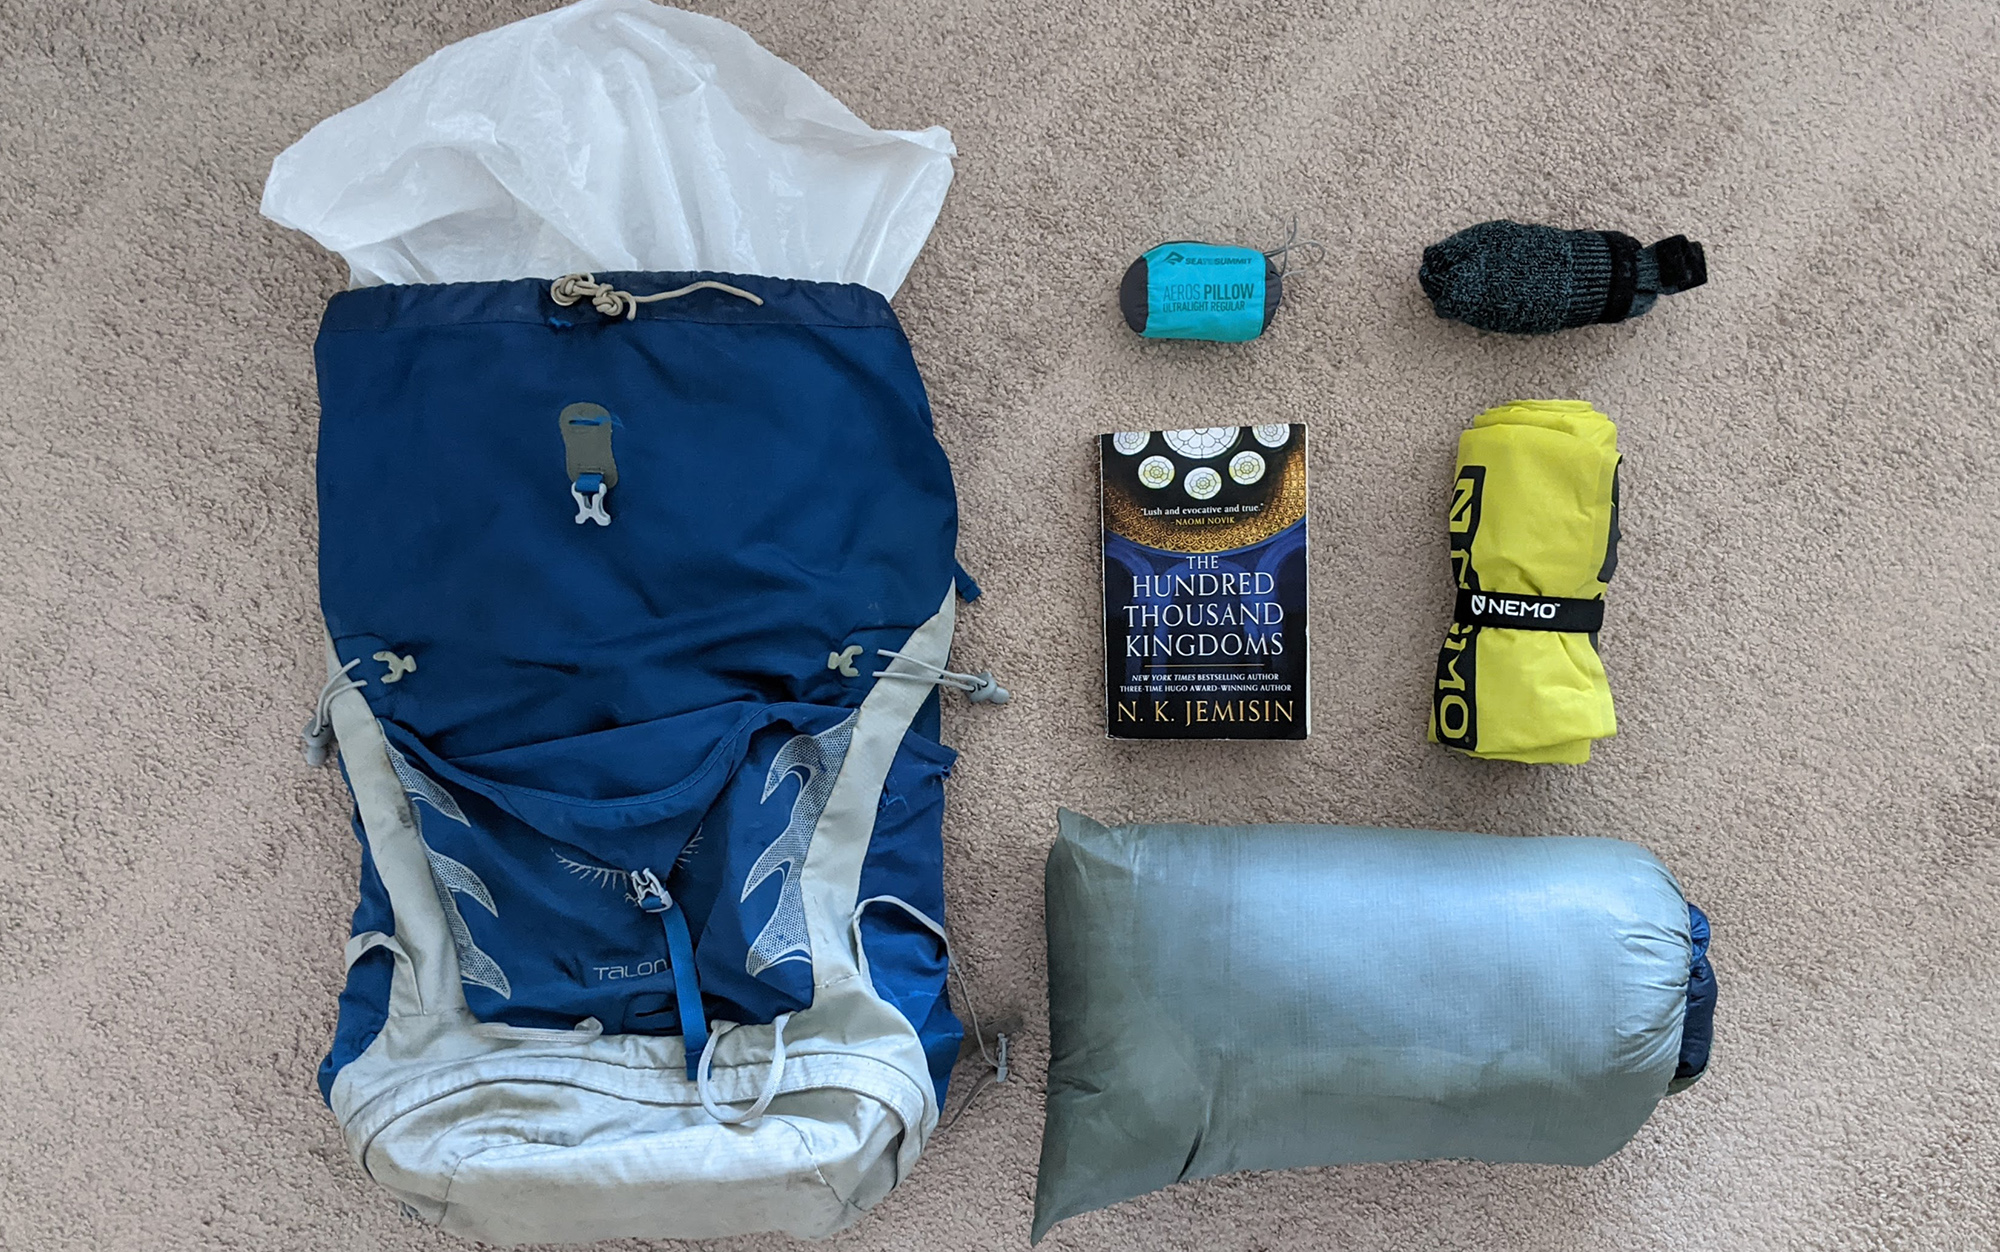
In addition to your sleeping bag, we’re also going to add the rest of your sleep system, including your sleeping pad, camping pillow, and sleep clothes. I also like to add my book, along with clothing I don’t plan to use during the day, including extra socks and underwear, and sometimes my puffer coat. After that, roll down the top of the bag so that the inside is a closed system. Whatever you choose to add, keep in mind that the goal is to not open this bag again until your tent is set up for the evening.
The one exception to the above is if you are using a closed-cell foam pad instead of an inflatable sleeping pad. Closed-cell foam pads, which are often used as sit pads at breaks or for lunch, can be carried either using the compression straps at the bottom of your pack or between the top lid of your pack and the main compartment. While these pads are essentially waterproof (and virtually indestructible), check for any errant moisture before adding to the rest of your sleep system at the end of the day.
Step 2: Middle of Your Pack
- Food bag (minus that day’s snacks)
- Toothbrush, toothpaste, and floss (inside your food bag)
- Cooking gear (pot, stove, fuel, lighter, mug, spoon, etc.)
- Tent (minus tent poles)
- Camp shoes (optional)
Adding 20 to 30 pounds to your back is no joke. Loading the top of your pack with too much weight can throw off your balance while adding too much to the bottom can put unnecessary strain on your shoulders. For that reason, you want to add your heaviest items to the middle of your pack, closest to your back, which will help reduce strain over the long haul.
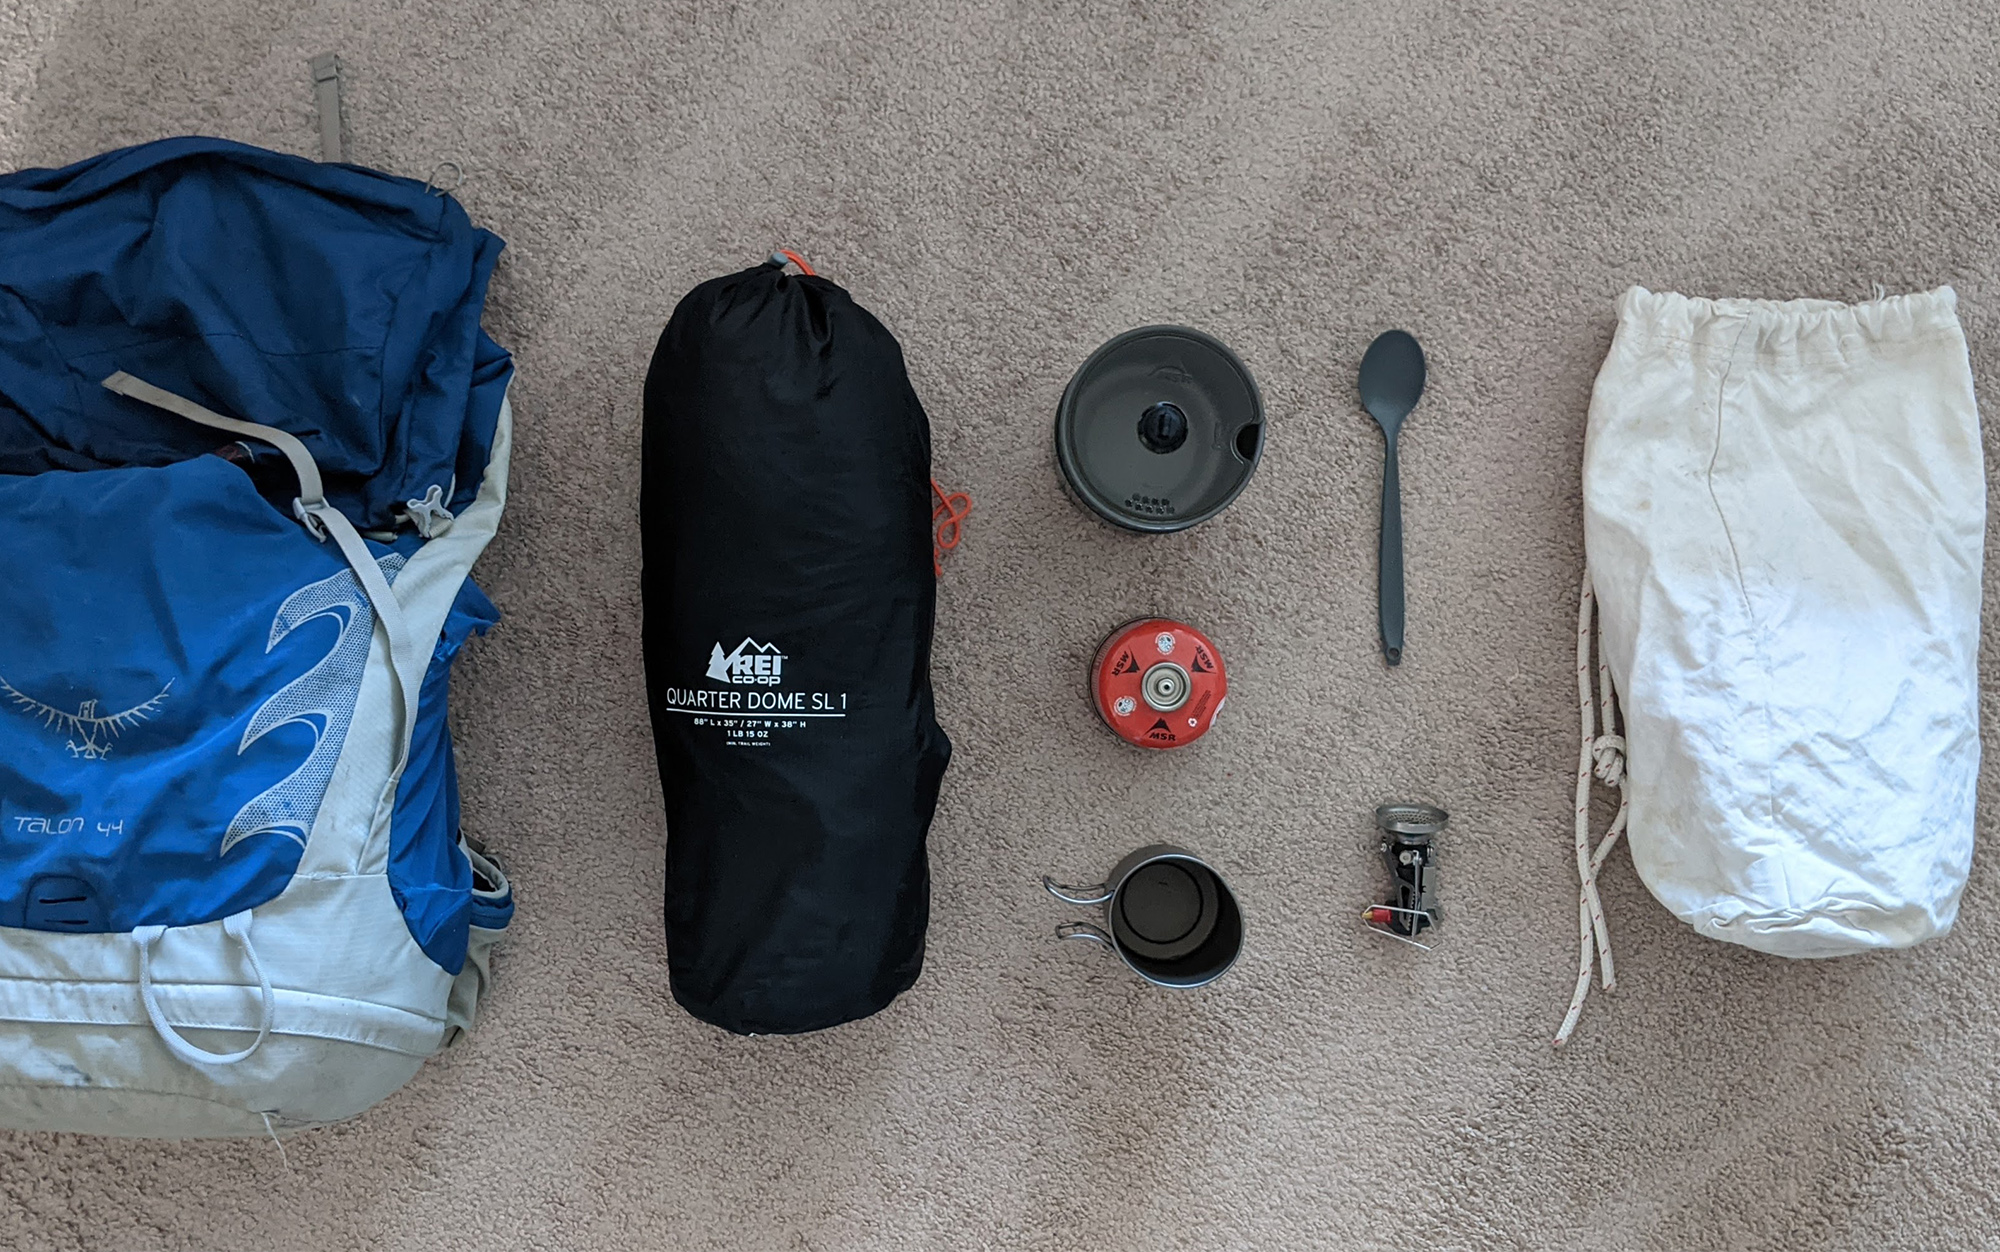
For most people, the heaviest items in their pack will be their food bag (minus that day’s snacks) and cooking supplies—particularly if you are using a bear can—but if you are headed out overnight it might be your tent. When packing your backpacking tent, first take the poles out of the larger stuff sack and set them aside. Those are going someplace else.
The middle of your pack is also a good spot to stash any so-called luxury items for camp, such as one of the best camping hammocks or a backpacking chair. I also recommend leaving your toothbrush and toothpaste in your food bag or bear can, as you’ll want to store it with the rest of your food overnight.
Step 3: Top of Your Pack
- Base layers
- Insulation layers
- Shell layers
Weather can change on a dime, so you want your layers to be easily accessible, but protected from the elements. By keeping them at the top of the main compartment of your backpack, they’ll be easy to grab when you need to add or remove a layer throughout the day.
Step 4: Side Pockets
- Water bottle
- Water filter
- Tent poles
- Bathroom kit (trowel, toilet paper or wet wipes, hand sanitizer, ziploc bag)
- Mosquito repellent
- Trekking poles (optional)

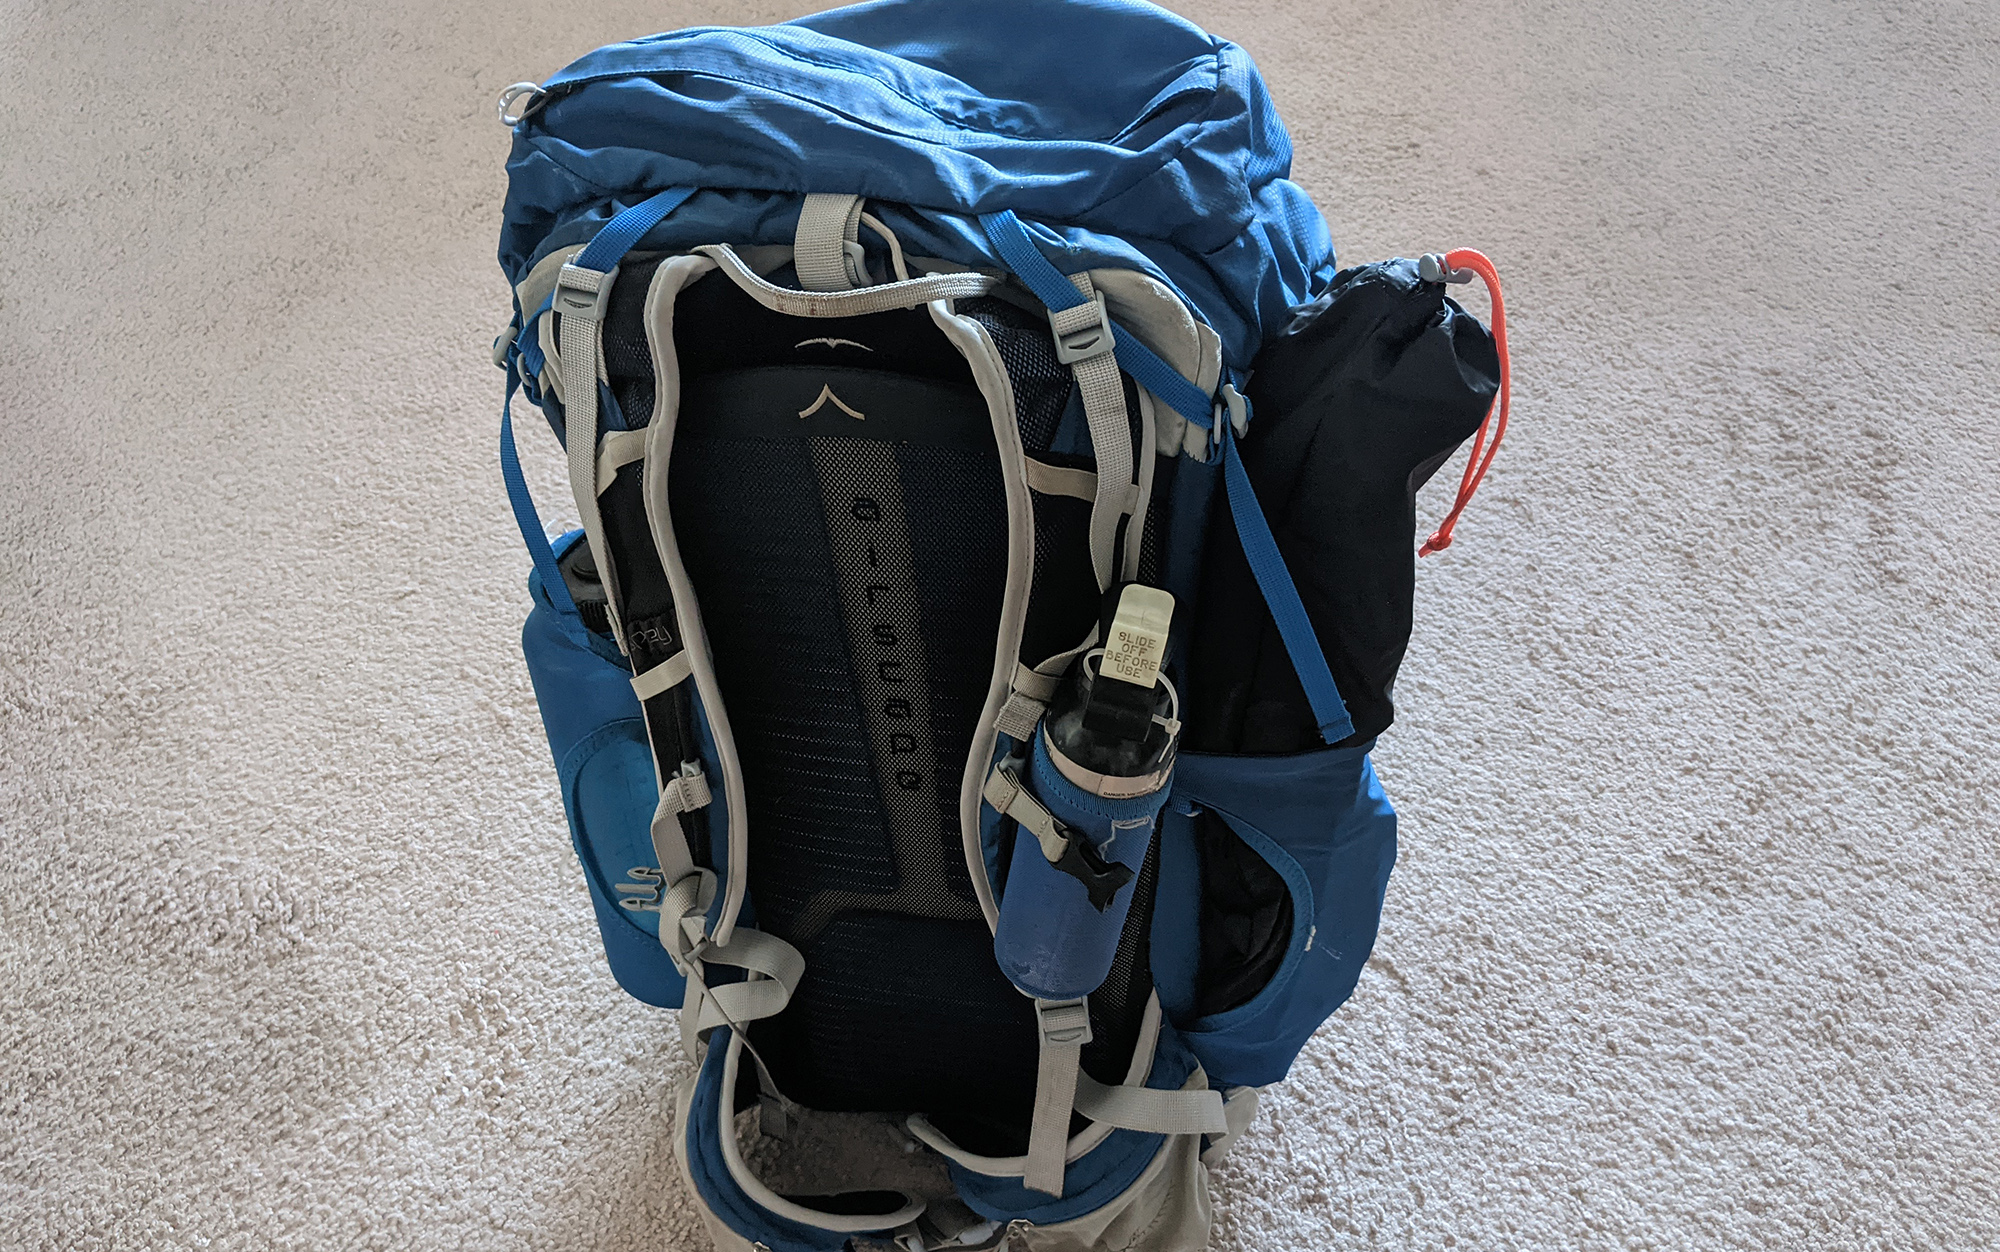
You’re almost through your tutorial in how to pack a backpack, with just a few more key spaces to fill. Most backpacking backpacks have a long pocket on either side of the main compartment. These are useful for holding onto heavy or awkward objects that you don’t want on the inside of your backpack. I like to put my water bottle onto one side, and then balance the weight on the other side of my pack by securing my tent poles (using one of the side compression straps if necessary), along with my bathroom kit and bug spray—two items I don’t want anywhere near the rest of my kit. The side pockets are also a good spot to stash a trekking pole or two when not in use.
Read Next: Hyperlite Southwest 40 Ultralight Backpack Review
Step 5: Back Mesh Pocket
- First aid kit
- Snacks for the day
- Sunscreen
- Headlamp
- Navigation (map, compass)
- Bandana
- Rain cover
This is the workhouse pocket of your backpack, its junk drawer. When you wonder, “Where did I put…?” The answer is going to be the back mesh pocket. Any small item that you think you will want to access during the day while hiking goes into this pocket.
Step 6: Top lid (aka, the brain)
- Sunglasses
- PLB or satellite communication device
- Car keys
- Credit card/cash
- ID
This pocket is a trap. It’s so tempting to add all the odds and ends here that you didn’t find a spot elsewhere in your kit. I get it. Sometimes the backpack will even tempt you to double up on what you’re packing in the lid by having a zip pocket on both sides.
Don’t do it. Remember what we talked about in Step 2—if you overload the top of your pack with dense objects, like your phone or your snacks or your first aid kit, then you’re going to be compromising your balance. To help keep yourself from falling into the trap of the top lid pocket, only use it for items that you access infrequently (if at all) on your trip: PLB, car keys, credit card/cash, and ID.
The only real exception I’ll make is for your sunglasses, as this is the place they are the least likely to be inadvertently crushed against the ground or a rock. (You could add your headlamp here as well if you are worried, but brands built for the outdoors will do fine in the back mesh pocket as long as you don’t drop your backpack off a cliff). Otherwise, it’s best to act like this pocket doesn’t even exist; in fact, it often doesn’t on backpacks aimed at serious backpackers.
Read Next: Best First Aid Kits for Hiking
Step 7: Front Straps
- Bear spray
If you are traveling in a part of the country where bear spray is recommended, take it seriously. Carrying the bear spray in a mesh pocket on the front of your backpack straps ensures it is secure and easily accessible, and that it won’t interfere with your walking stride.
Step 8: Hip Belt Pockets
- Snacks for the next few hours
- Lip balm (optional)
- Phone
These pockets are for the items that you want to have readily accessible. Some packs don’t have them—which is fine. You can keep your phone in your pants pocket and other items in the aforementioned mesh pocket.
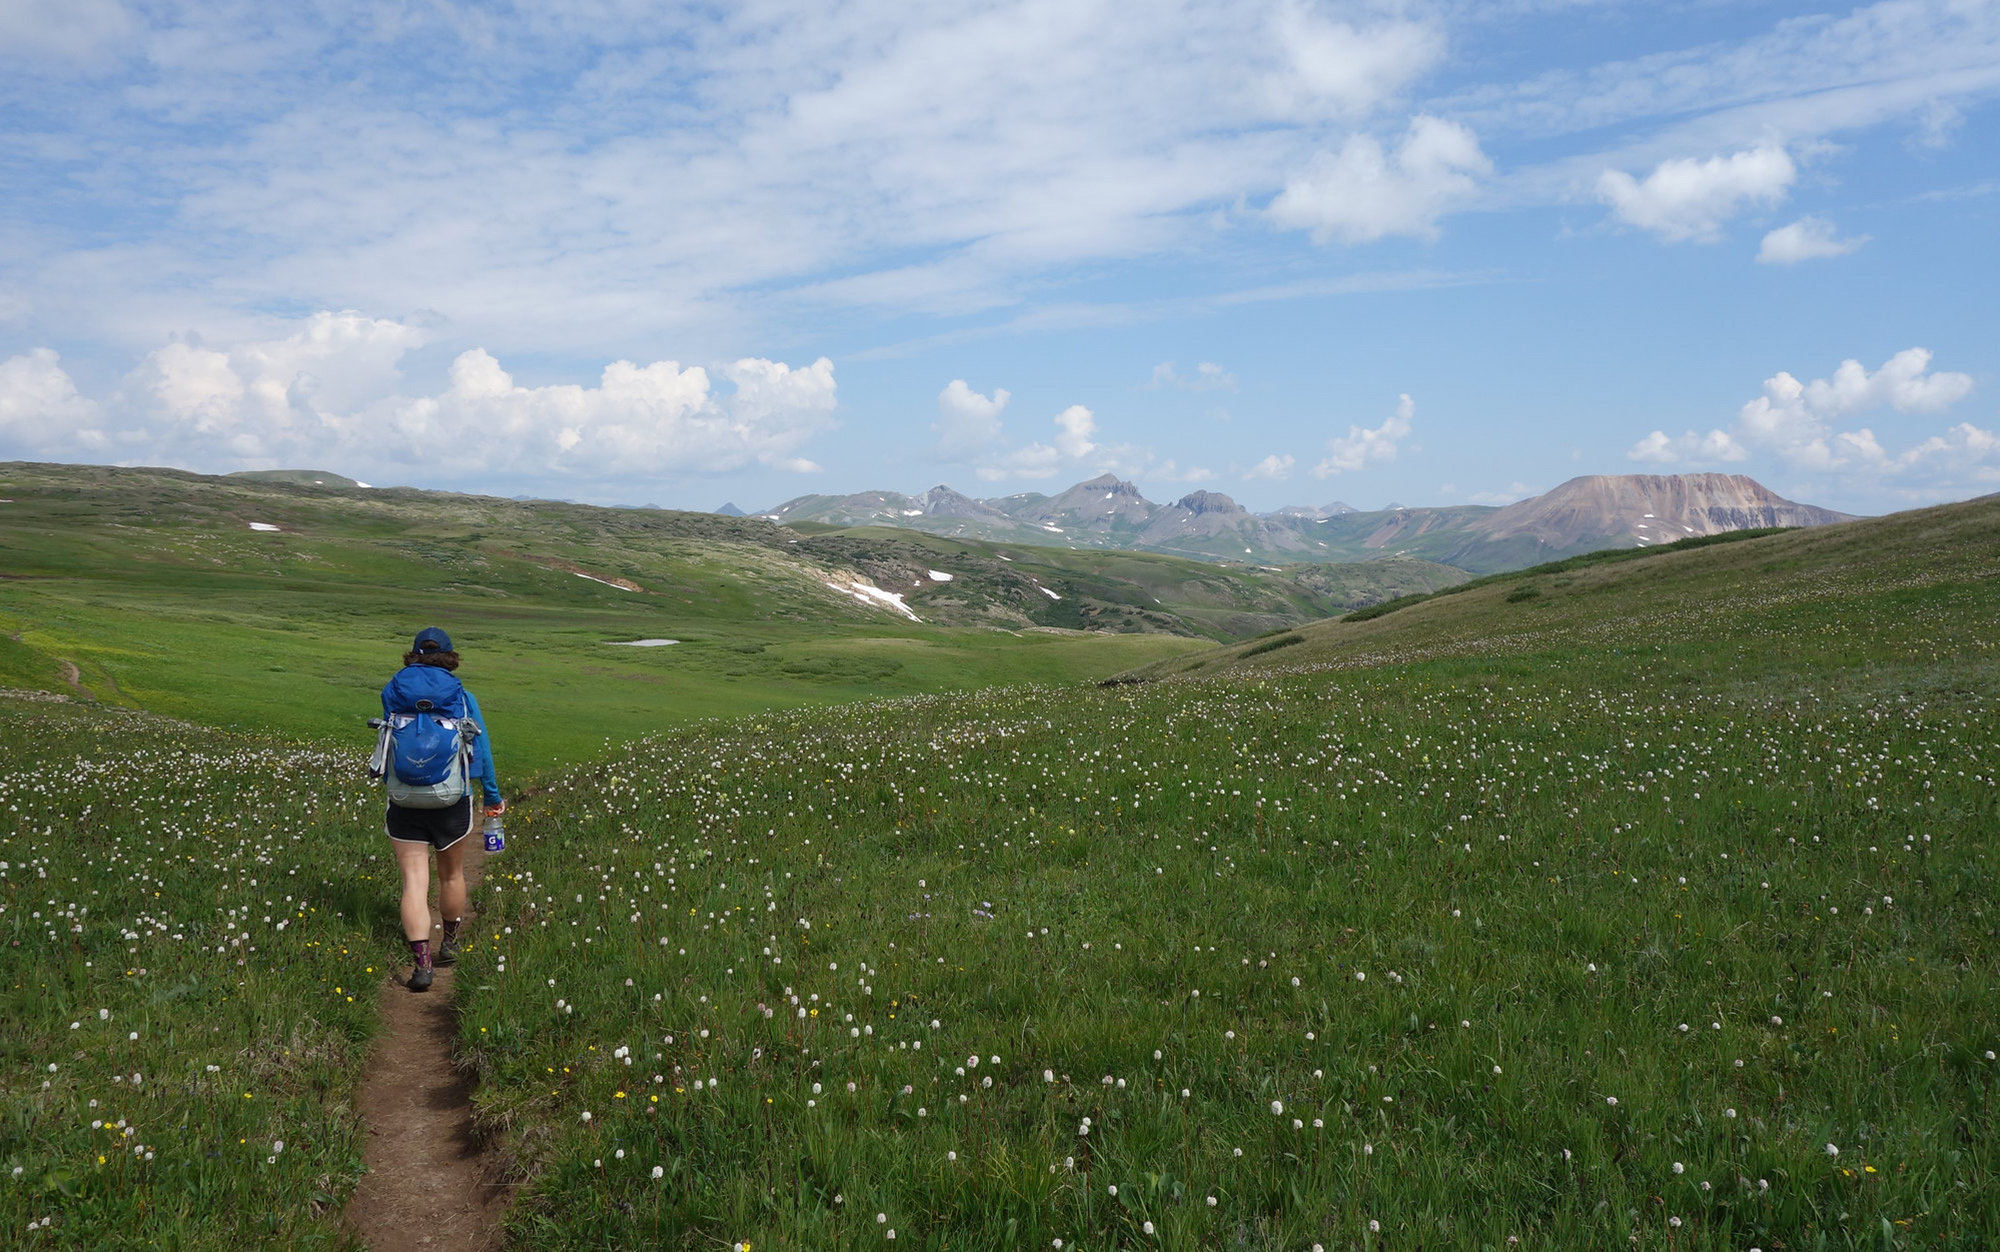
If you’ve made it this far, you’ll have noticed something about your pack: it’s looking pretty sleek. No carabiners. No bungee cords. No major (or minor) pieces of gear lashed to the side. You look like a pro that knows how to pack a backpack.