
We may earn revenue from the products available on this page and participate in affiliate programs. Learn More ›
A serrated blade is great for ripping through heavy rope and other fibrous materials, and also keeps an edge longer due to its increased surface area. But, the reality of using knives is that even the best serrated knives with great steels will eventually dull, and need to be sharpened. I’ve sharpened many serrated blades of my own and in my knife sharpening business. I’ll share my techniques on how to sharpen a serrated knife, so you can maintain your blade to last a lifetime.
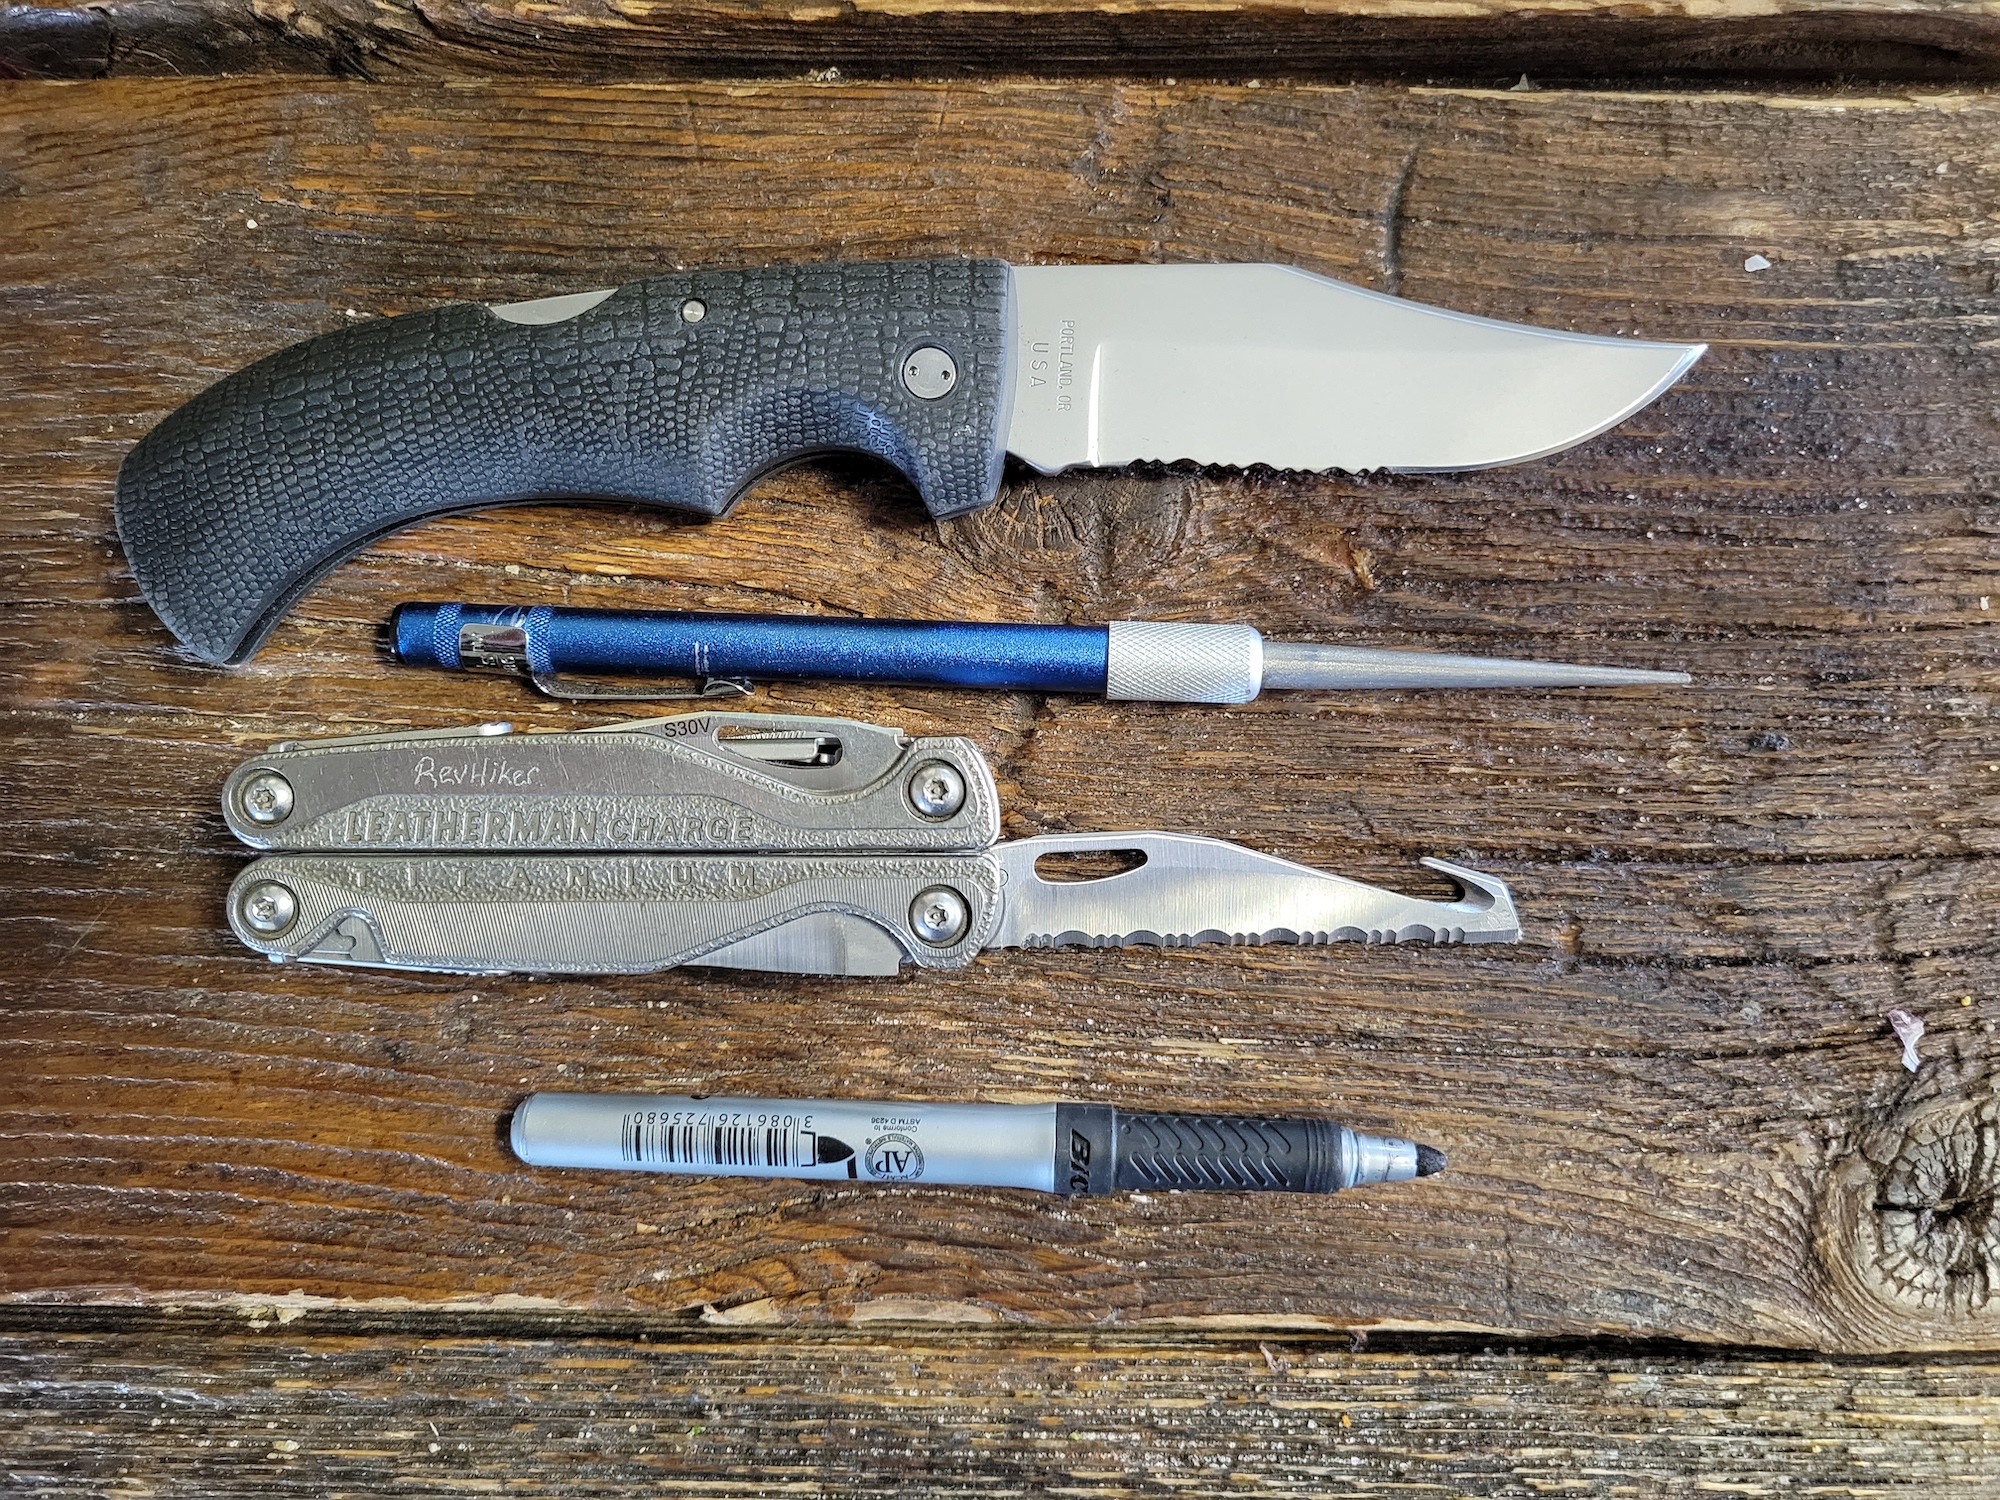
What You’ll Need
- Tapered diamond or ceramic sharpening rod
- Permanent marker
To sharpen a serrated blade, you will need a diamond or ceramic knife sharpening rod, preferably a tapered rod so you can use it for different sized serrations. If you don’t have one, or can’t find one to buy, you could substitute with a thin screwdriver wrapped with high grit sandpaper.
I have sharpened with a screwdriver and sandpaper, and it does work. But, a diamond or ceramic rod is much easier to handle, and less likely to end up in an injury. If there is heavy damage to the serrations such as deformed points or chips/deep rolls, a rat tail file—such as those used to sharpen a chainsaw—can be used to repair the damage, then refine the edge with a diamond rod.
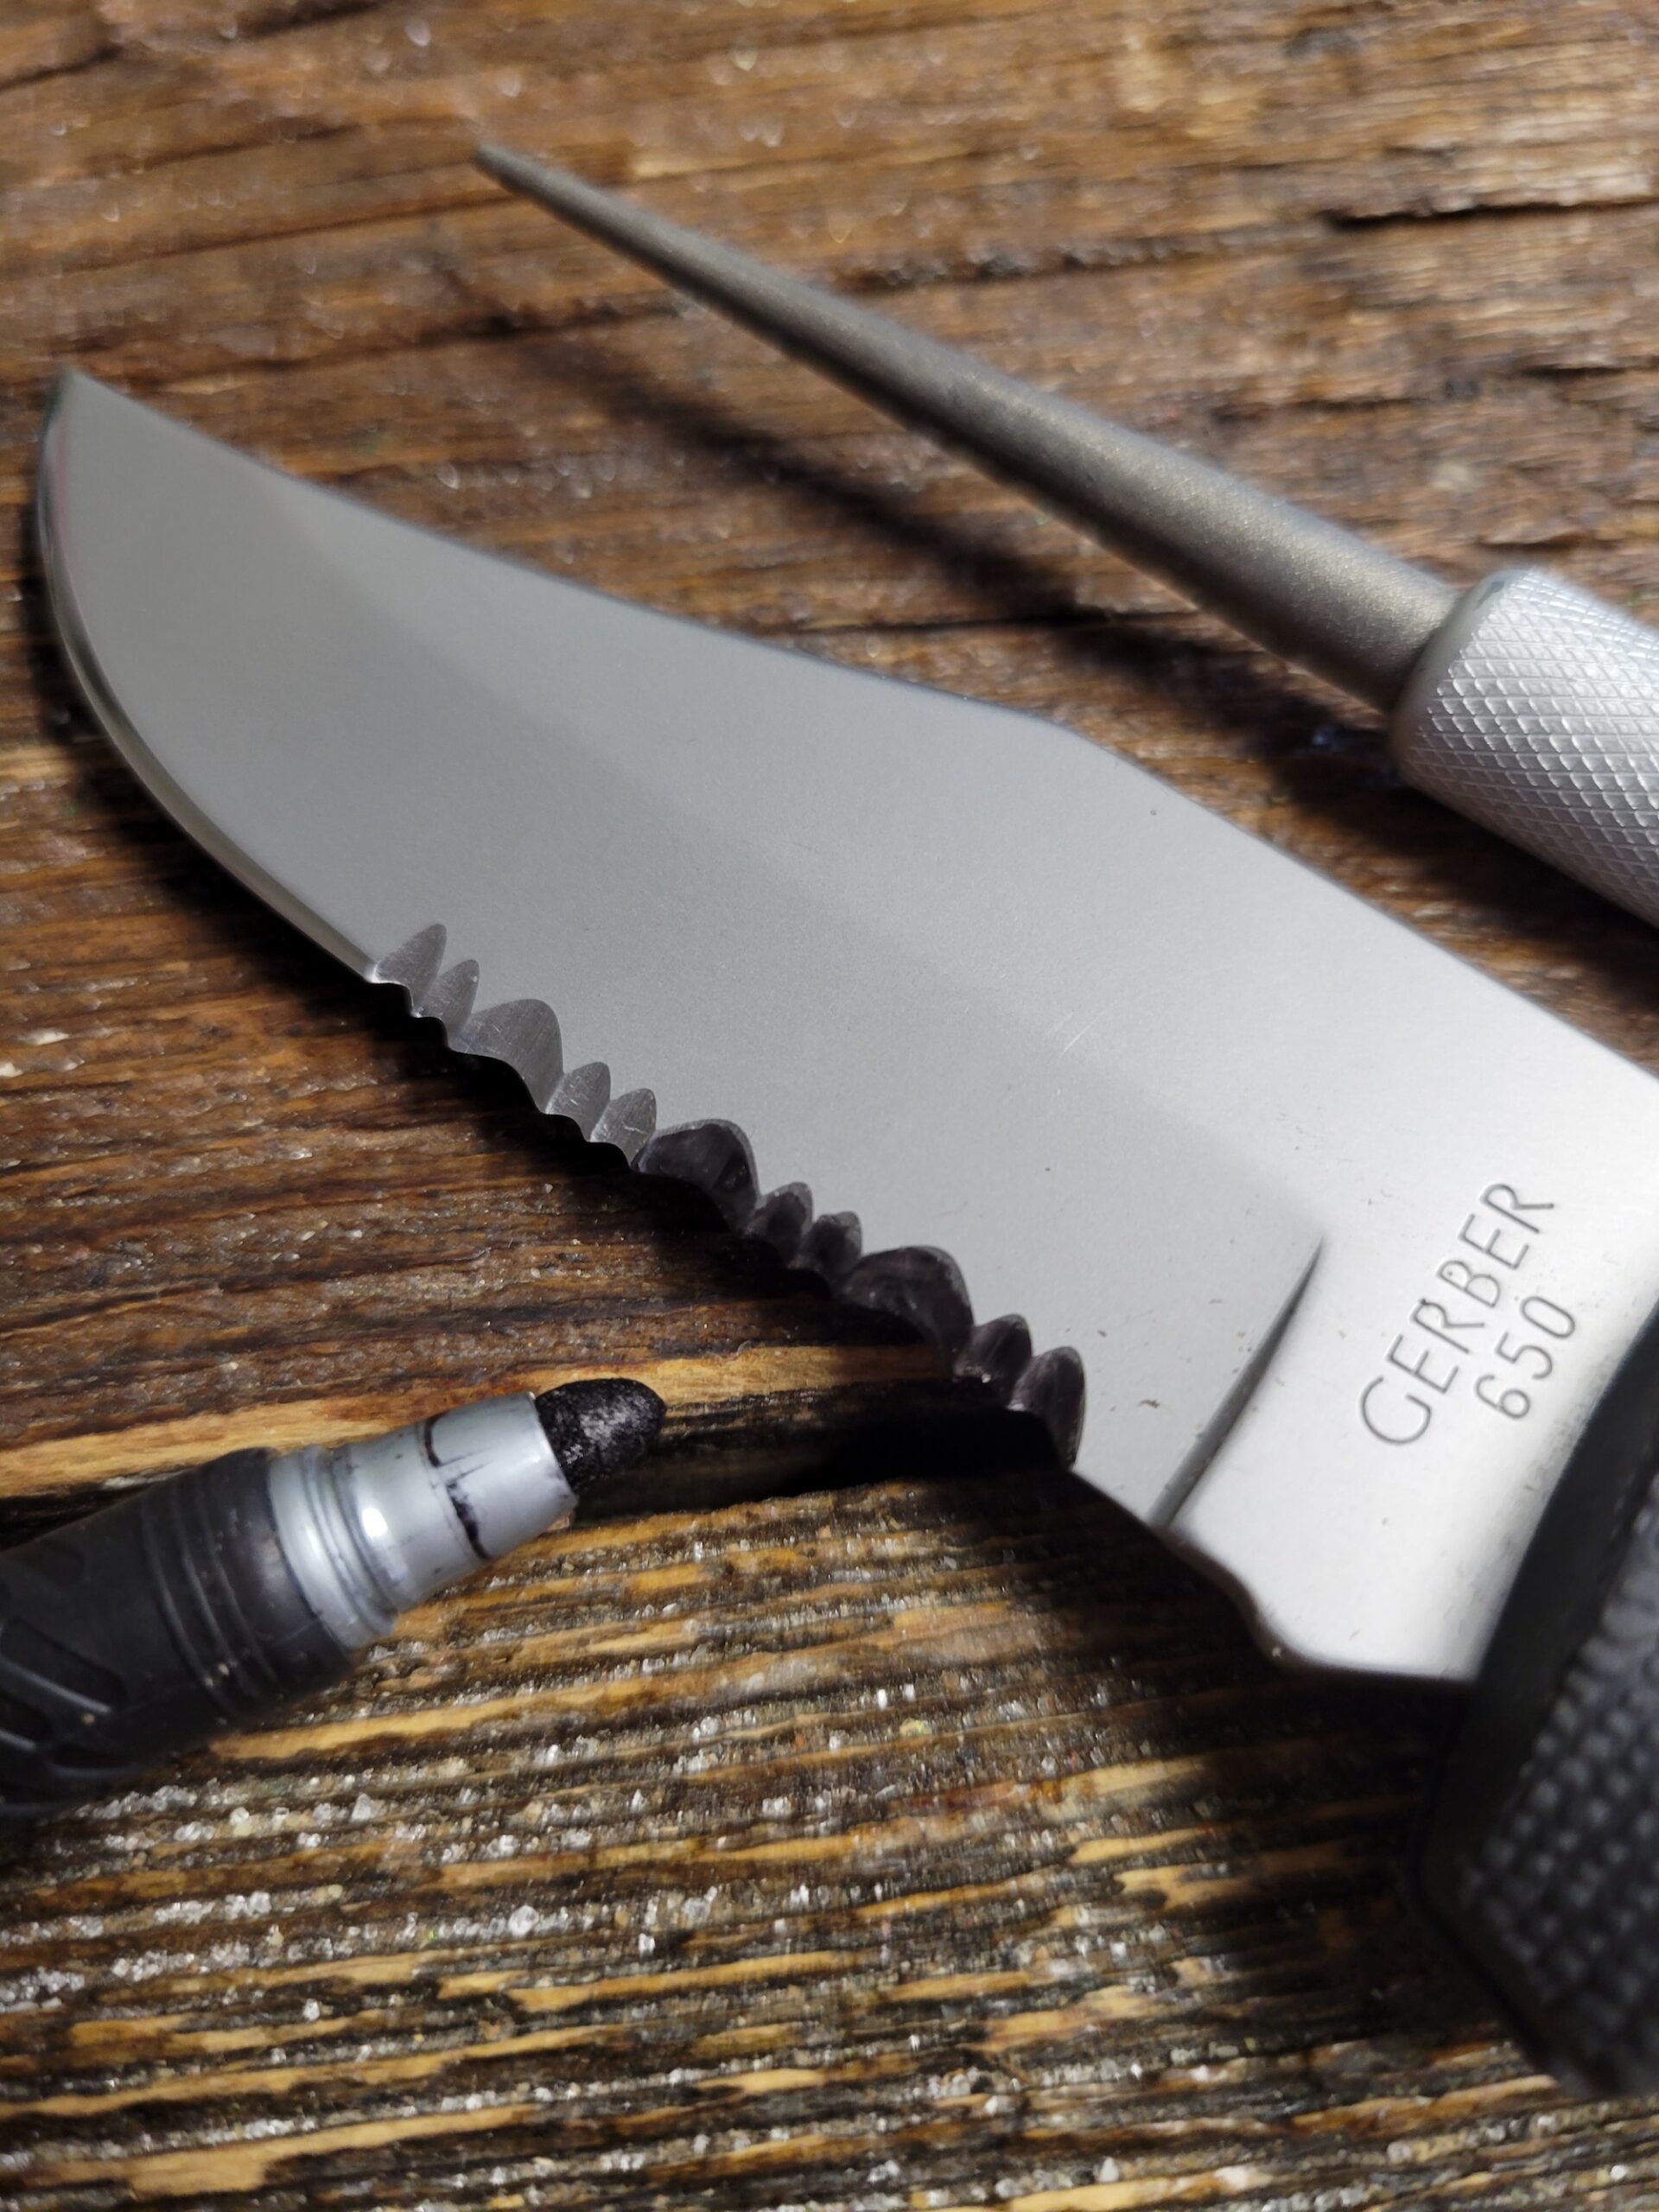
Having permanent markers is also very helpful so that you can “color in” your serrations. This will help you see exactly where the rod is removing material so you can be sure that you are actually making it all the way to the apex of the edge.
Step 1: Match the Grind Angle
If you’re used to sharpening with stones or an electric knife sharpener, you’re probably wondering how to use a knife sharpening rod. If you already know how to sharpen a knife, you’ll find the process familiar. The first step is to find your sharpening angle.
Use your marker to color the grinds of the serrations. This will help you to find the angle at which the serrations are ground into the blade. Typically, they are all ground in from one side of the blade, which is called a chisel grind. This will make sharpening a bit easier. After you have colored in the edge, try to match the angle of the rod to the angle of the edge. You’re also trying to match the width of the rod to each serration as well. Different serrations will utilize different portions of the taper. When you have matched it up by eye, make some short, light strokes on the edge and then look to see where the marker is worn off. This will let you know how to adjust your angle and position on the tapered sharpening rod.
If you’re only hitting the center of the serrated bevel, move to a thicker portion of the taper. If you’re only hitting the sides and not the center, go to a thinner section. If you’re only removing marker at the apex, your angle needs to be a little shallower, whereas if you’re only removing marker at the top of the grind, you need to adjust to be steeper so you reach the apex.
Step 2: Raise a Burr
The reason an edge is dull is actually because of damage, even if the damage is very minor. When you sharpen a blade, you’re removing metal to grind the damage away, and then refining the edge to make it smooth and sharp again. The finer the edge, the sharper it will be. In this step, you will be making short strokes with a tapered rod or long ones with a non-tapered ceramic rod. You can also spin the sharpening rod with your fingers to remove material until the damage is removed.
You can feel it or even see the burr when it’s raised. The metal on the blade will fold over the edge as you remove material and leave a tiny flap of metal. When that tiny flap is noticeable on the entire curve of the serration, you have removed the damage and are ready to refine the edge to make it sharp. If there were chips or deep rolls in the serrations, this process can take a while. But, you can leave some of the larger damage because it will still rip through material. My preference is to remove all the chips I can.
Once you have raised a burr in all of the individual serrations, you can move to the next step in how to sharpen a serrated knife—refine the edge and remove the burr.
Step 3: Remove the Burr and Refine the Edge
Since the majority of serrations are ground in from one side, removing the burr is pretty simple. Take your rod, and go to the side of the blade that is not ground and remove the burr with a few light passes at a very shallow angle, usually around 10 degrees. The goal is to move the burr over to the other side so that it breaks off like a tiny wire.
Once you’ve made light passes on that flat side of the serrations, return to the other side of the knife and make some very light passes to fold the burr back over again. You will go back and forth with light passes on either side until the burr is completely removed and you are left with a clean, sharp edge.
When the burr is gone, I usually move on to a leather strop to refine the edges further and get as much sharpness as I can from them. This is an optional step, and if you have taken your time and gone lighter and lighter on your refining passes, your edge should perform well for you.
By following these steps, you should be able to get your serrations back into fighting form. As with any sharpening, this will take some time in the saddle and practice to perfect, but here are a few tips to help you avoid some mistakes that I made early on.
Tips for Sharpening Serrated Knives
Tip 1: Keep It Short
I know I already mentioned keeping the back and forth strokes short on a tapered rod, but I need to stress that point. If you make long strokes with a tapered rod, you will usually end up with a “crater” at the center of your serration. More of the stroke will be on a portion of the rod that is too thin, and it will remove much more material from the center of the serration, leaving you with a serration within your serration.
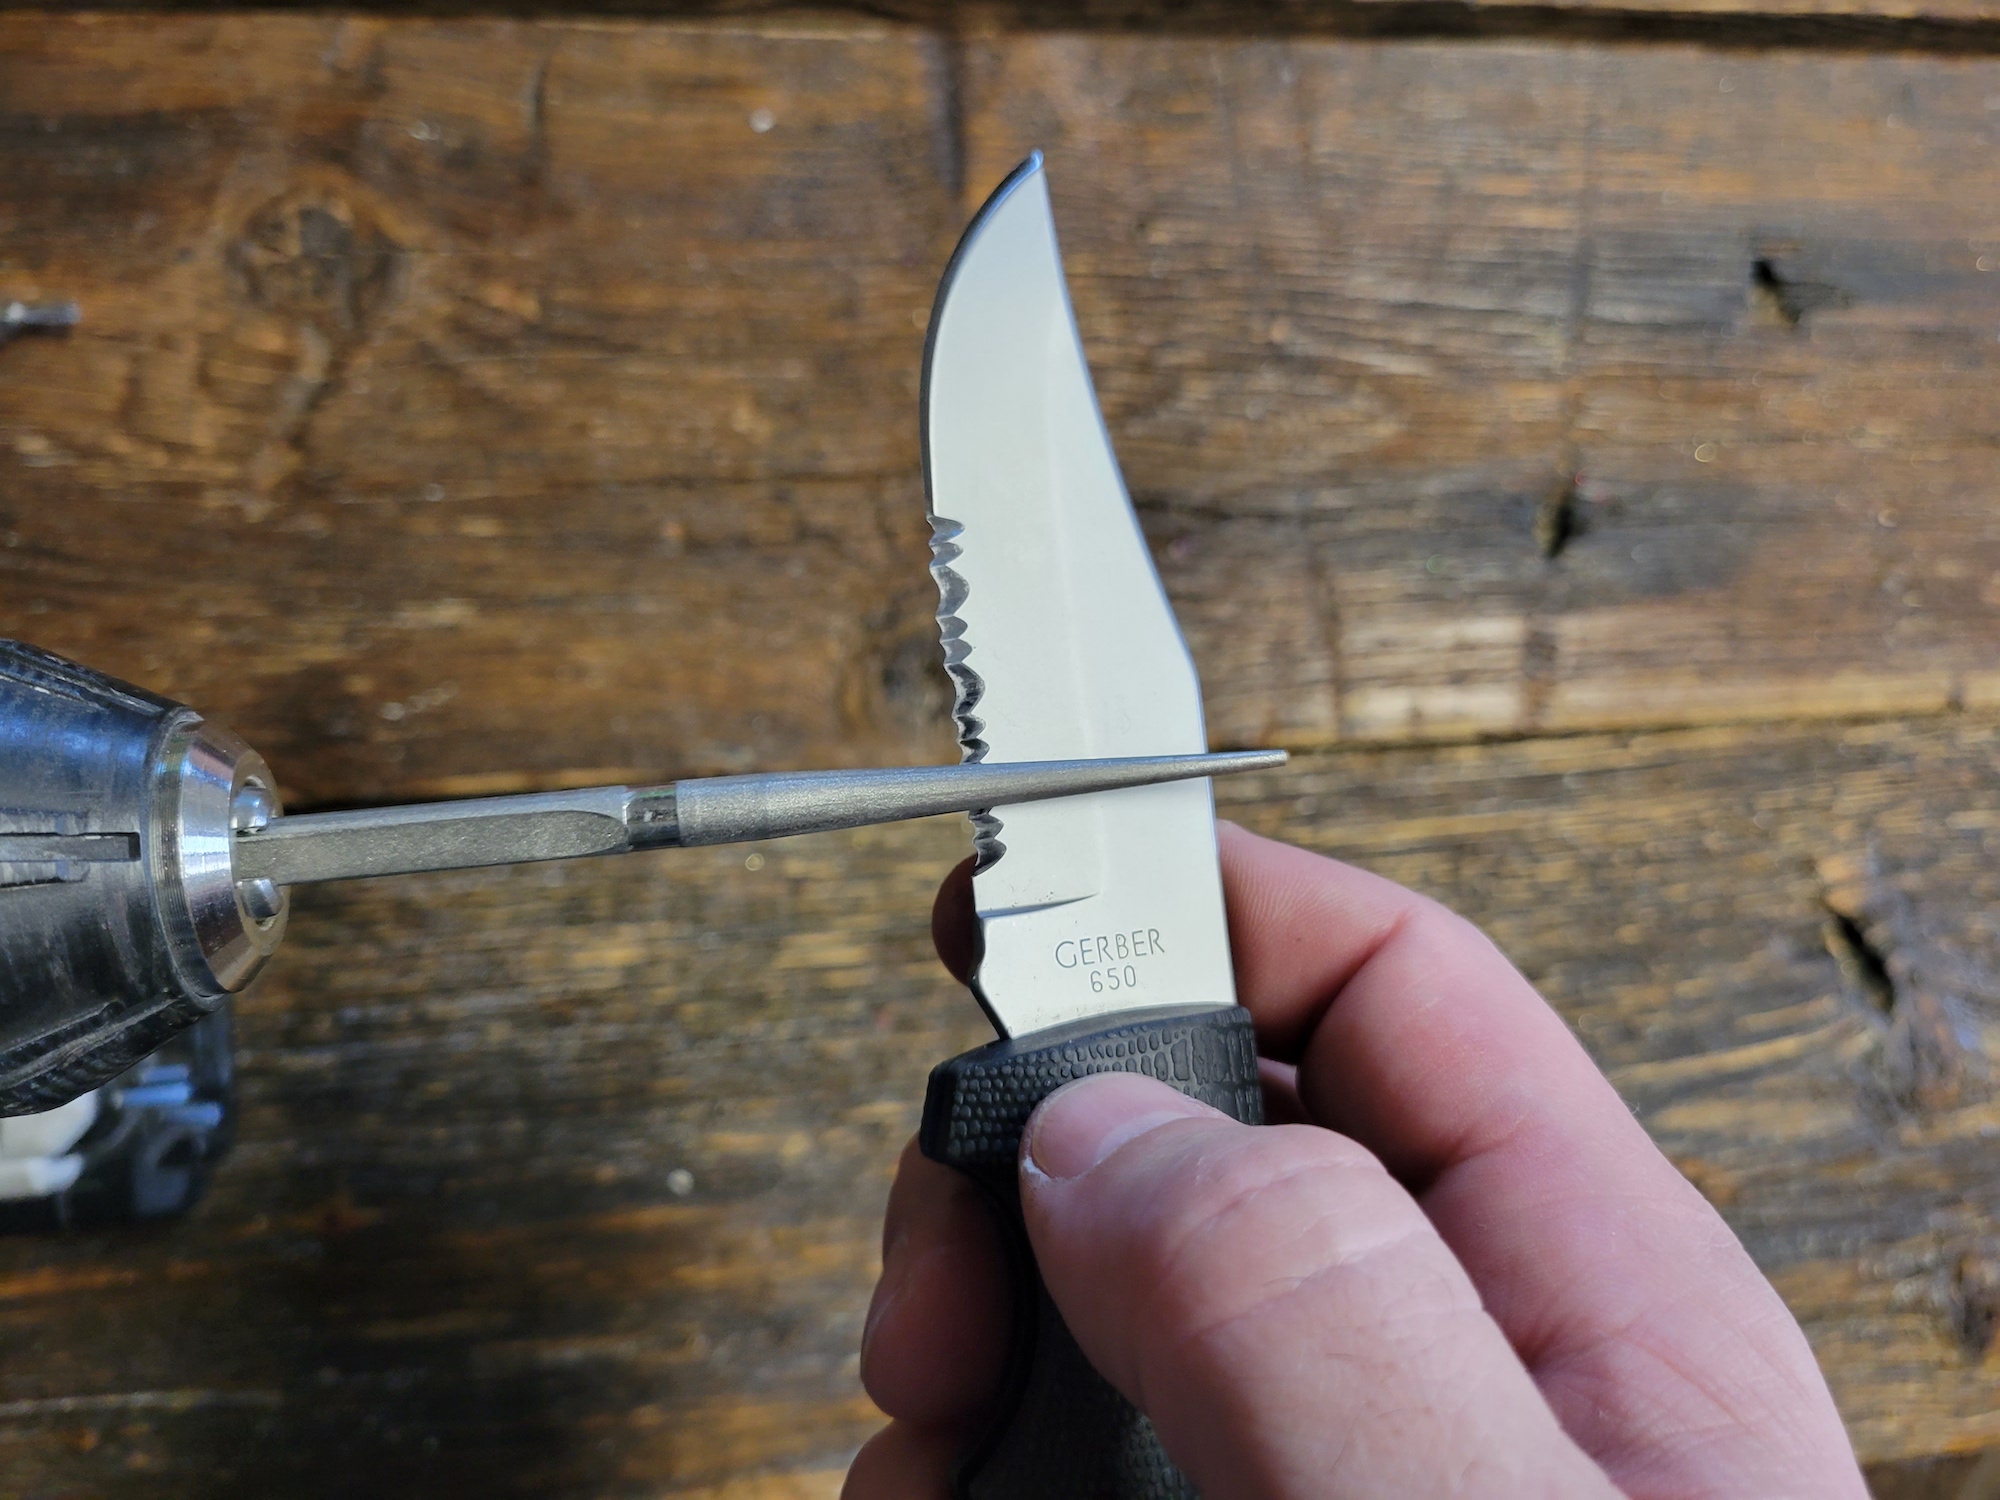
Tip 2: Power It Up
Perhaps the best way to use a tapered rod is to spin it because you will be using the right diameter portion of the rod the entire time. It will provide the best match for the serration. Doing this by hand can be tedious, so I put the sharpening rod in a cordless drill. Adjust your drill to a low speed, and start out very slow.
Power makes things happen faster, and that can be a help, or it can get you into trouble. If done with care, this can speed your process and produce great results, if done with a ham fist, this can ruin your blade.
Tip 3: Watch your Fingers
Especially while your hands are moving towards the edge, keep your strokes light and slow. If you are putting a lot of pressure on the rod and blade and you slip, you’re probably going to end up with some stitches. A lighter touch works best when moving towards the blade. You can add a little pressure while moving away, but it’s best to not exceed more than a few pounds of pressure.
Final Thoughts on Sharpening a Serrated Knife
As with any method of sharpening, doing light preventative maintenance on your serrations is the best policy. If you wait until they are completely dull and beat up, the sharpening process will be much more time consuming. The best way to do this is to make a few passes each week to keep it sharp and only do a full sharpening if you end up with significant damage from something. An ounce of prevention is worth a pound of cure.
Follow these steps on how to sharpen a serrated knife, take the tips into consideration, and practice on a cheap knife first, and you will have your serrations as sharp as the day you bought your knife… or better.