We may earn revenue from the products available on this page and participate in affiliate programs. Learn More ›
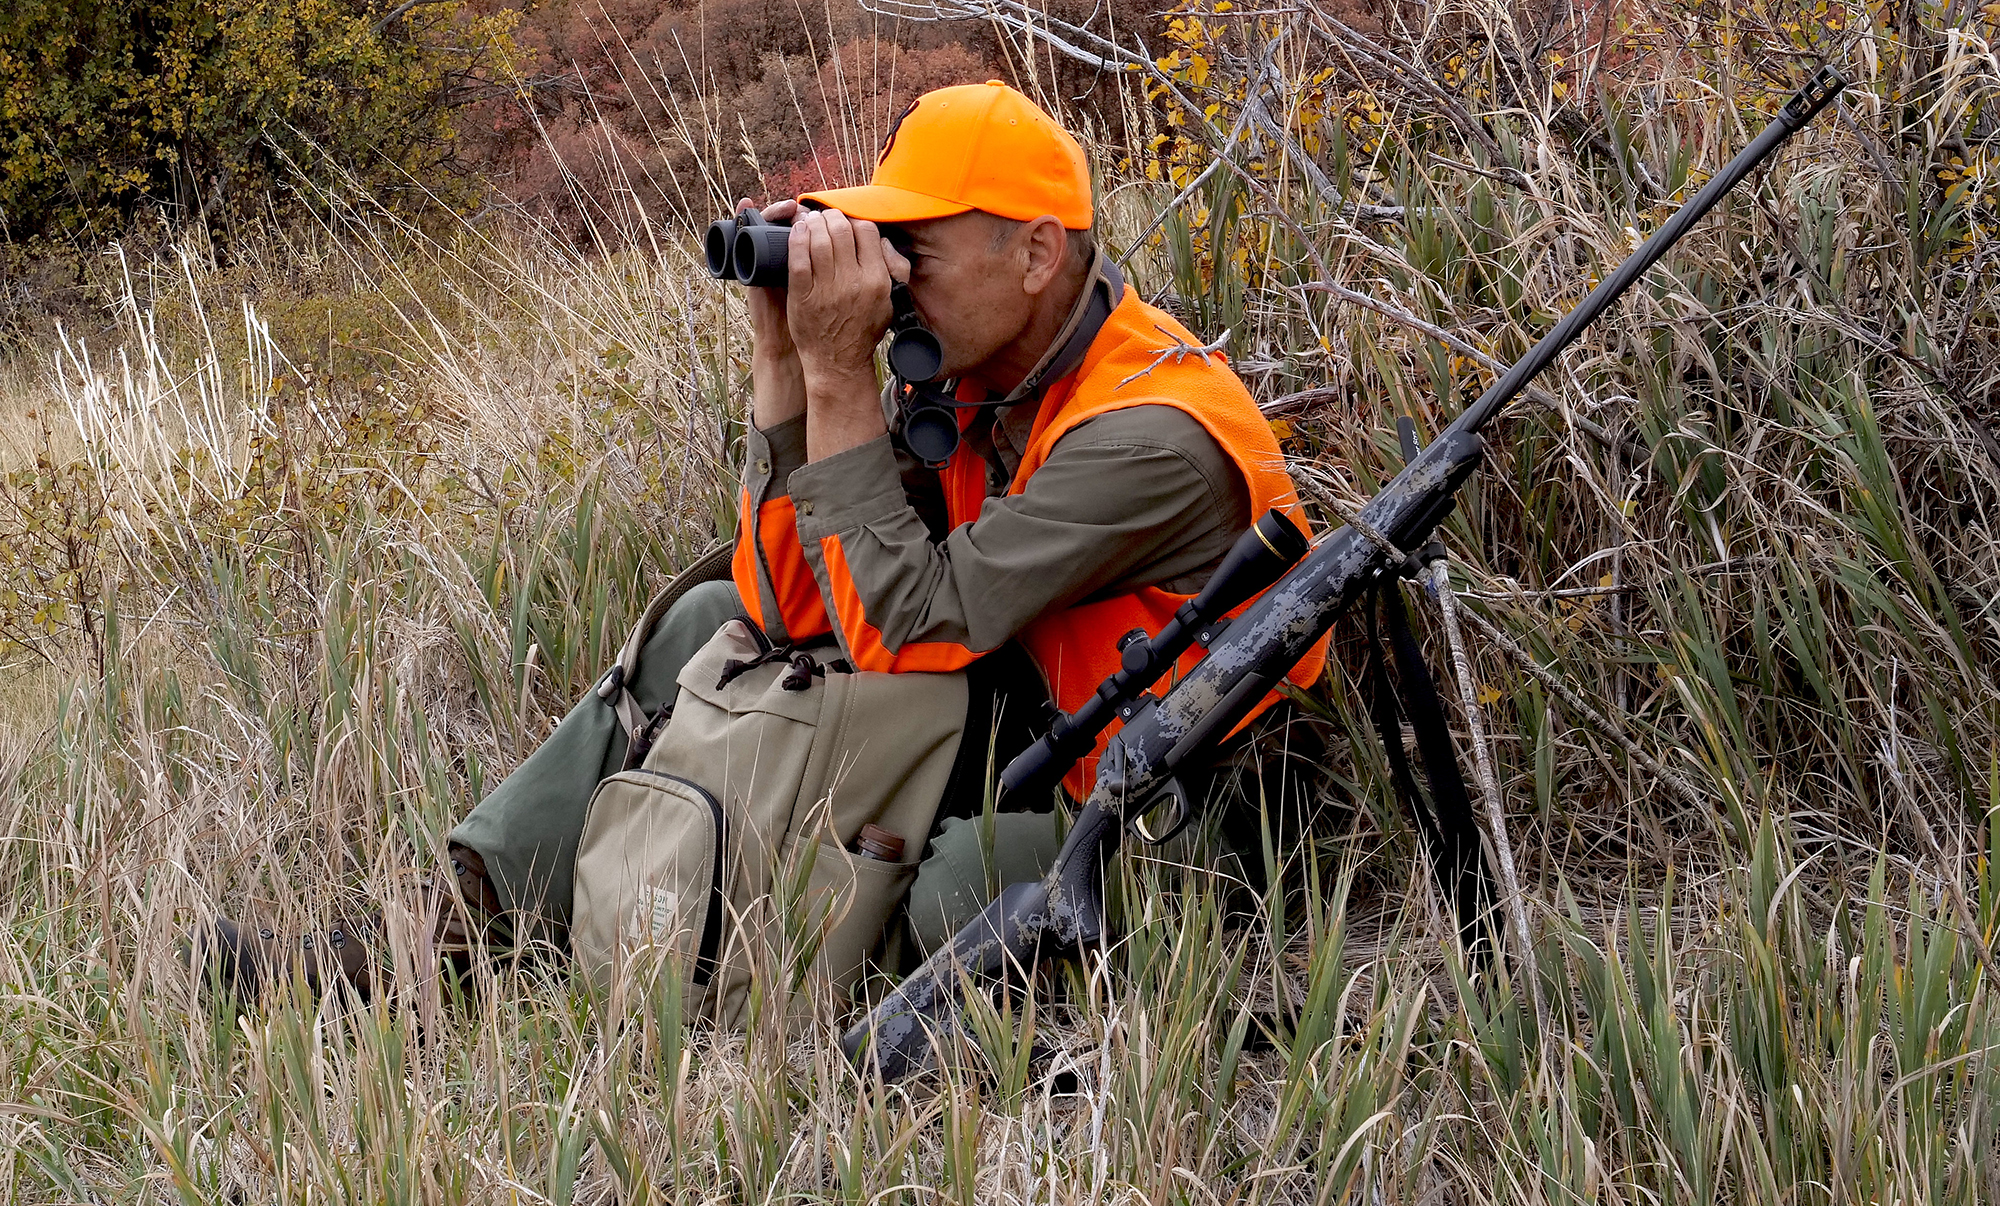
By now we’ve covered how to choose the best rifle, cartridge, and riflescope for hunting big game in the West. But all this fine equipment is useless until you set your rig up properly. Do this the right way and you’ll be ready for a lifetime of hunting and shooting success.
The process is pretty straightforward: clean the rifle and test its functionality, choose the correct rings and bases, mount your scope, bore sight it, and zero it. I’ll cover each step in detail.
Cleaning and Functionality
Start by cleaning the bore. Any conventional solvent should suffice. The bore will be dirty because all rifles are function fired before shipping. Some may show copper fouling. Use a copper solvent on those.
I like to remove the stock from the barreled action to clean and wax or oil all the metal. Waxing is like waxing a car. Water beads off, but there’s no oil to attract dust. Clean to bare metal with rubbing alcohol first so the wax sticks. Auto wax is fine.
If the stock doesn’t fit tightly at the recoil lug, you might want to glass bed it. If the barrel touches the channel inconsistently, you might want to sand judiciously to float it. If that doesn’t work, you can later pressure bed or even full-length bed. But postpone all of this until you’ve range tested for accuracy. There’s a good chance the rifle will shoot beautifully without any tweaking.
Before scoping, you might want to function test the rifle. At the range, fill the magazine and rapidly cycle all rounds through the action without firing. This tests feeding and extraction. If all’s well, fire a live round. If you have plenty of ammo, run four or five rounds through rapid fire to test full function. Next, you can mount your scope.
Select Your Rings and Bases
Scope mounting is easy IF you have the right parts. Consult your ring manufacturer for ideal fit. If rings are too low the objective bell will hit the barrel. Sometimes the eyepiece power ring will hit the bolt shroud. If rings are too high the scope towers over the rifle, unbalancing it and forcing you to raise your cheek off the stock to see through it. This is why some rifles have adjustable combs. Those that don’t can be fitted with slip-on comb risers. Look for a perfect cheek weld that puts your eye smack down the centerline of the scope’s axis. Most of us can and do automatically adjust our head position for proper and quick target acquisition. Scopes are forgiving that way. But a firm and consistent cheek weld is best for accurate shooting.
Mounting a Riflescope
With the right rings, follow directions and mount everything loosely. If it all fits, tighten bases to manufacturer specs, but leave rings just loose enough to slide scope fore and aft for proper eye relief at the highest magnification. To avoid compensating by shifting your head for perfect eye relief, mount the rifle with eyes closed so that the hold feels natural. Then open and see if the scope is too near or far. Adjust it. Repeat until you’re looking down the scope when you open your eyes. Next, a highest power, nudge the scope slightly forward until you just begin to see edge blackout. Lock it there. This assures you’ll have maximum eye relief to avoid “scope eye” at high power. At low power eye relief isn’t as critical and usually increases slightly anyway.
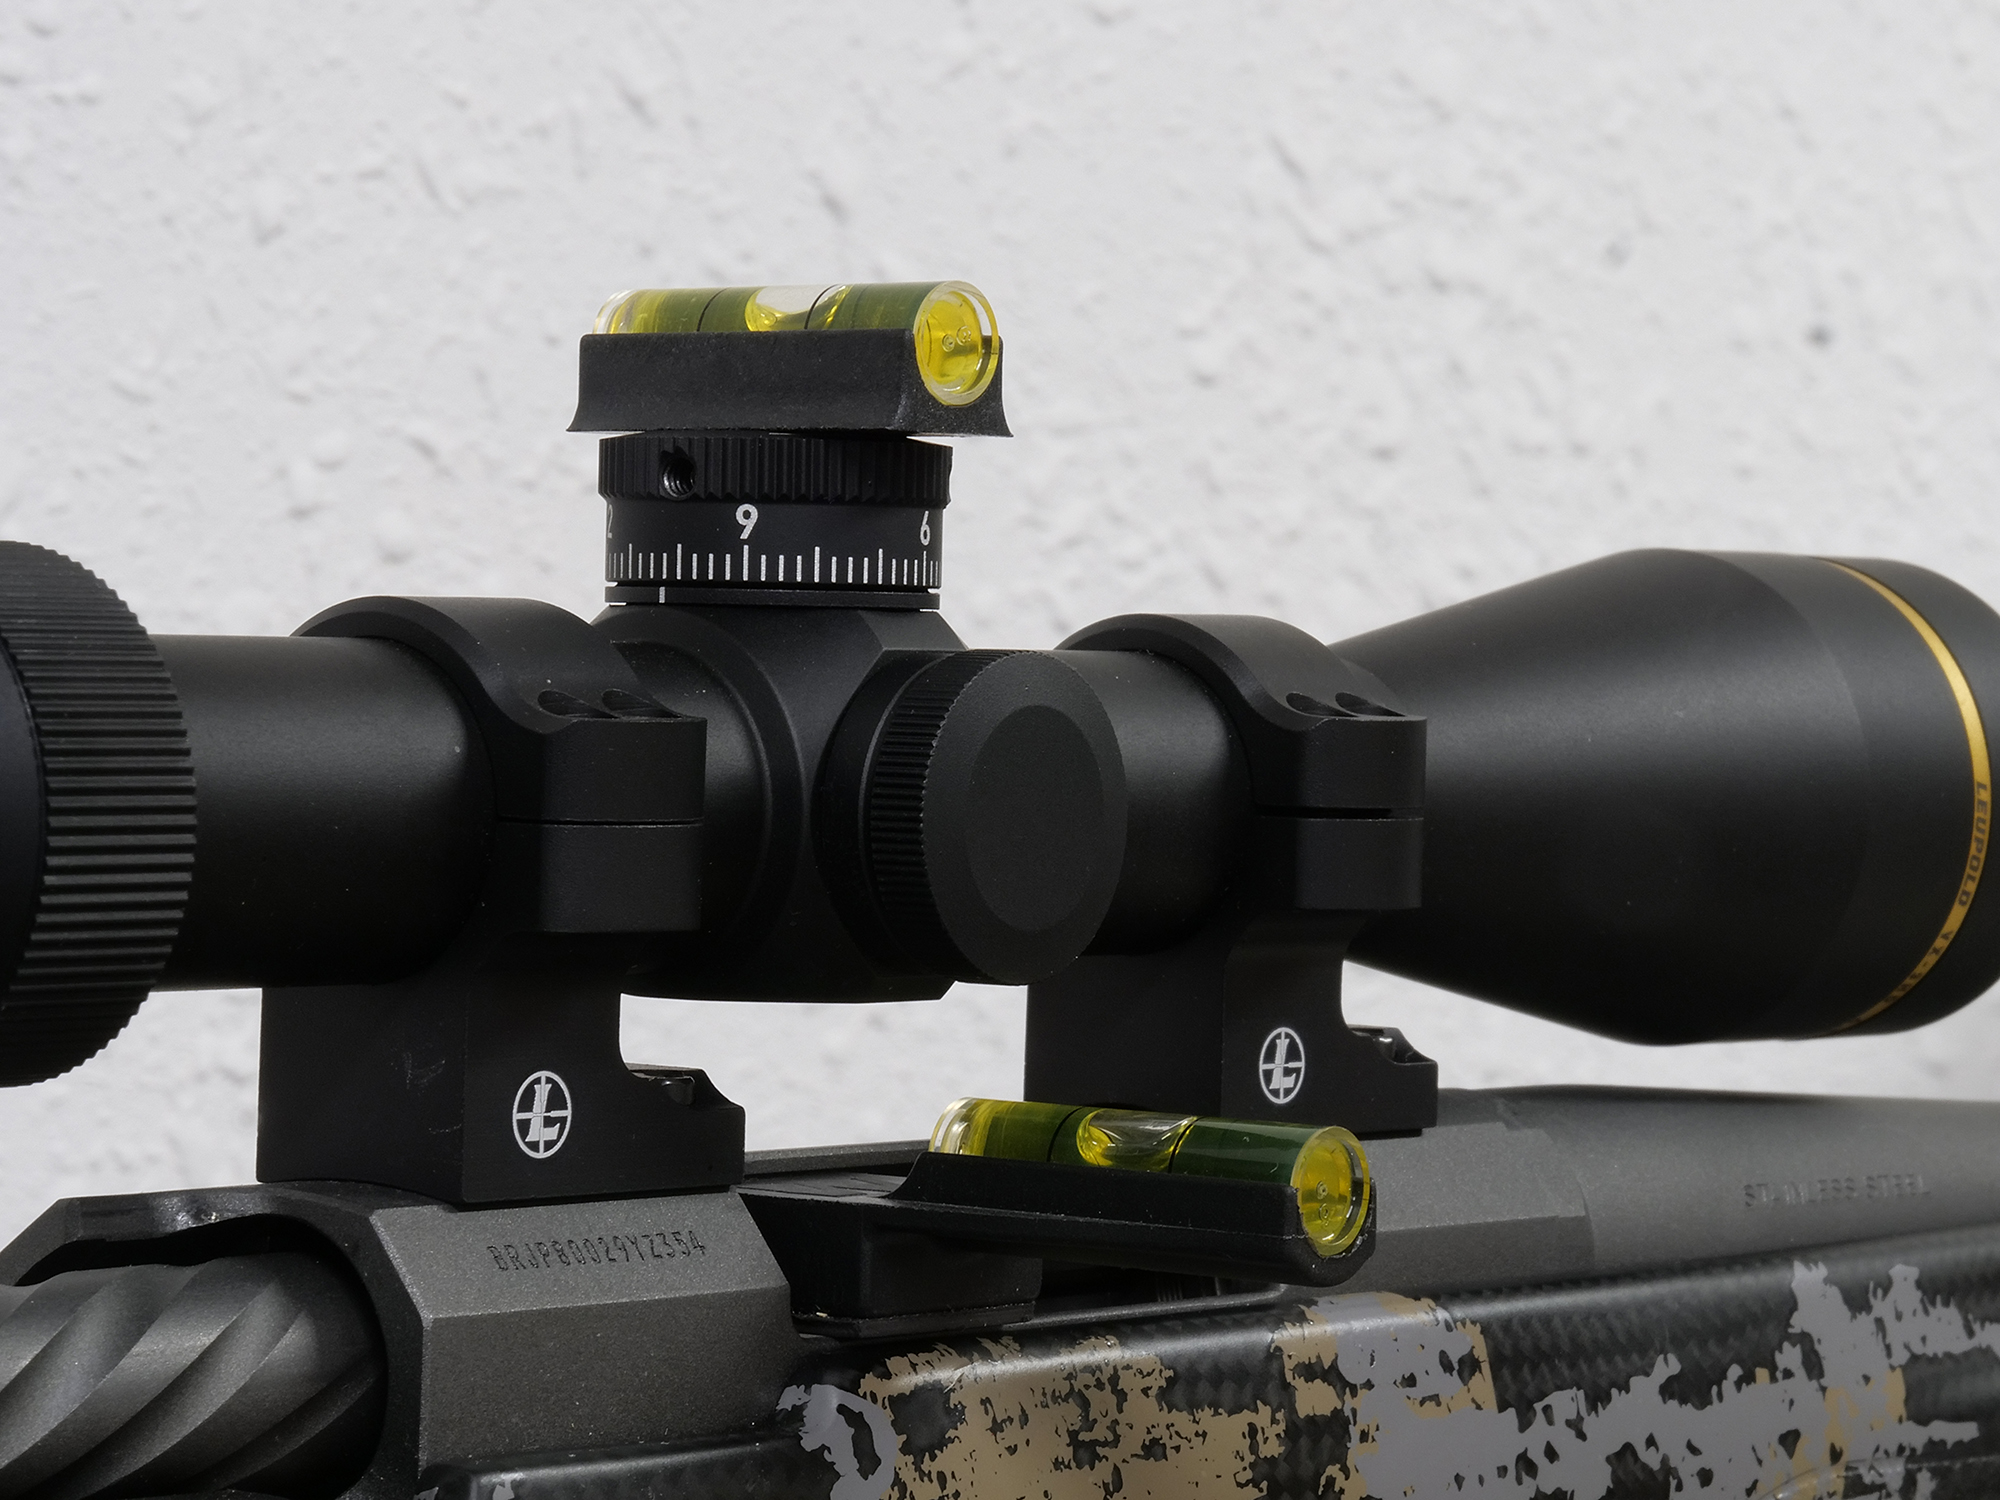
With all this done, snug ring screws to manufacturer specs. You can use removable locking liquids on the screws or just oil (to prevent rusting) and proper screw torque. Manufacturers usually specify base screw torque at 20- to 28-inch pounds, but some go much higher. Rings are usually around 20-inch pounds. Gradually tighten each screw, alternating much like tightening lug nuts on a car wheel.
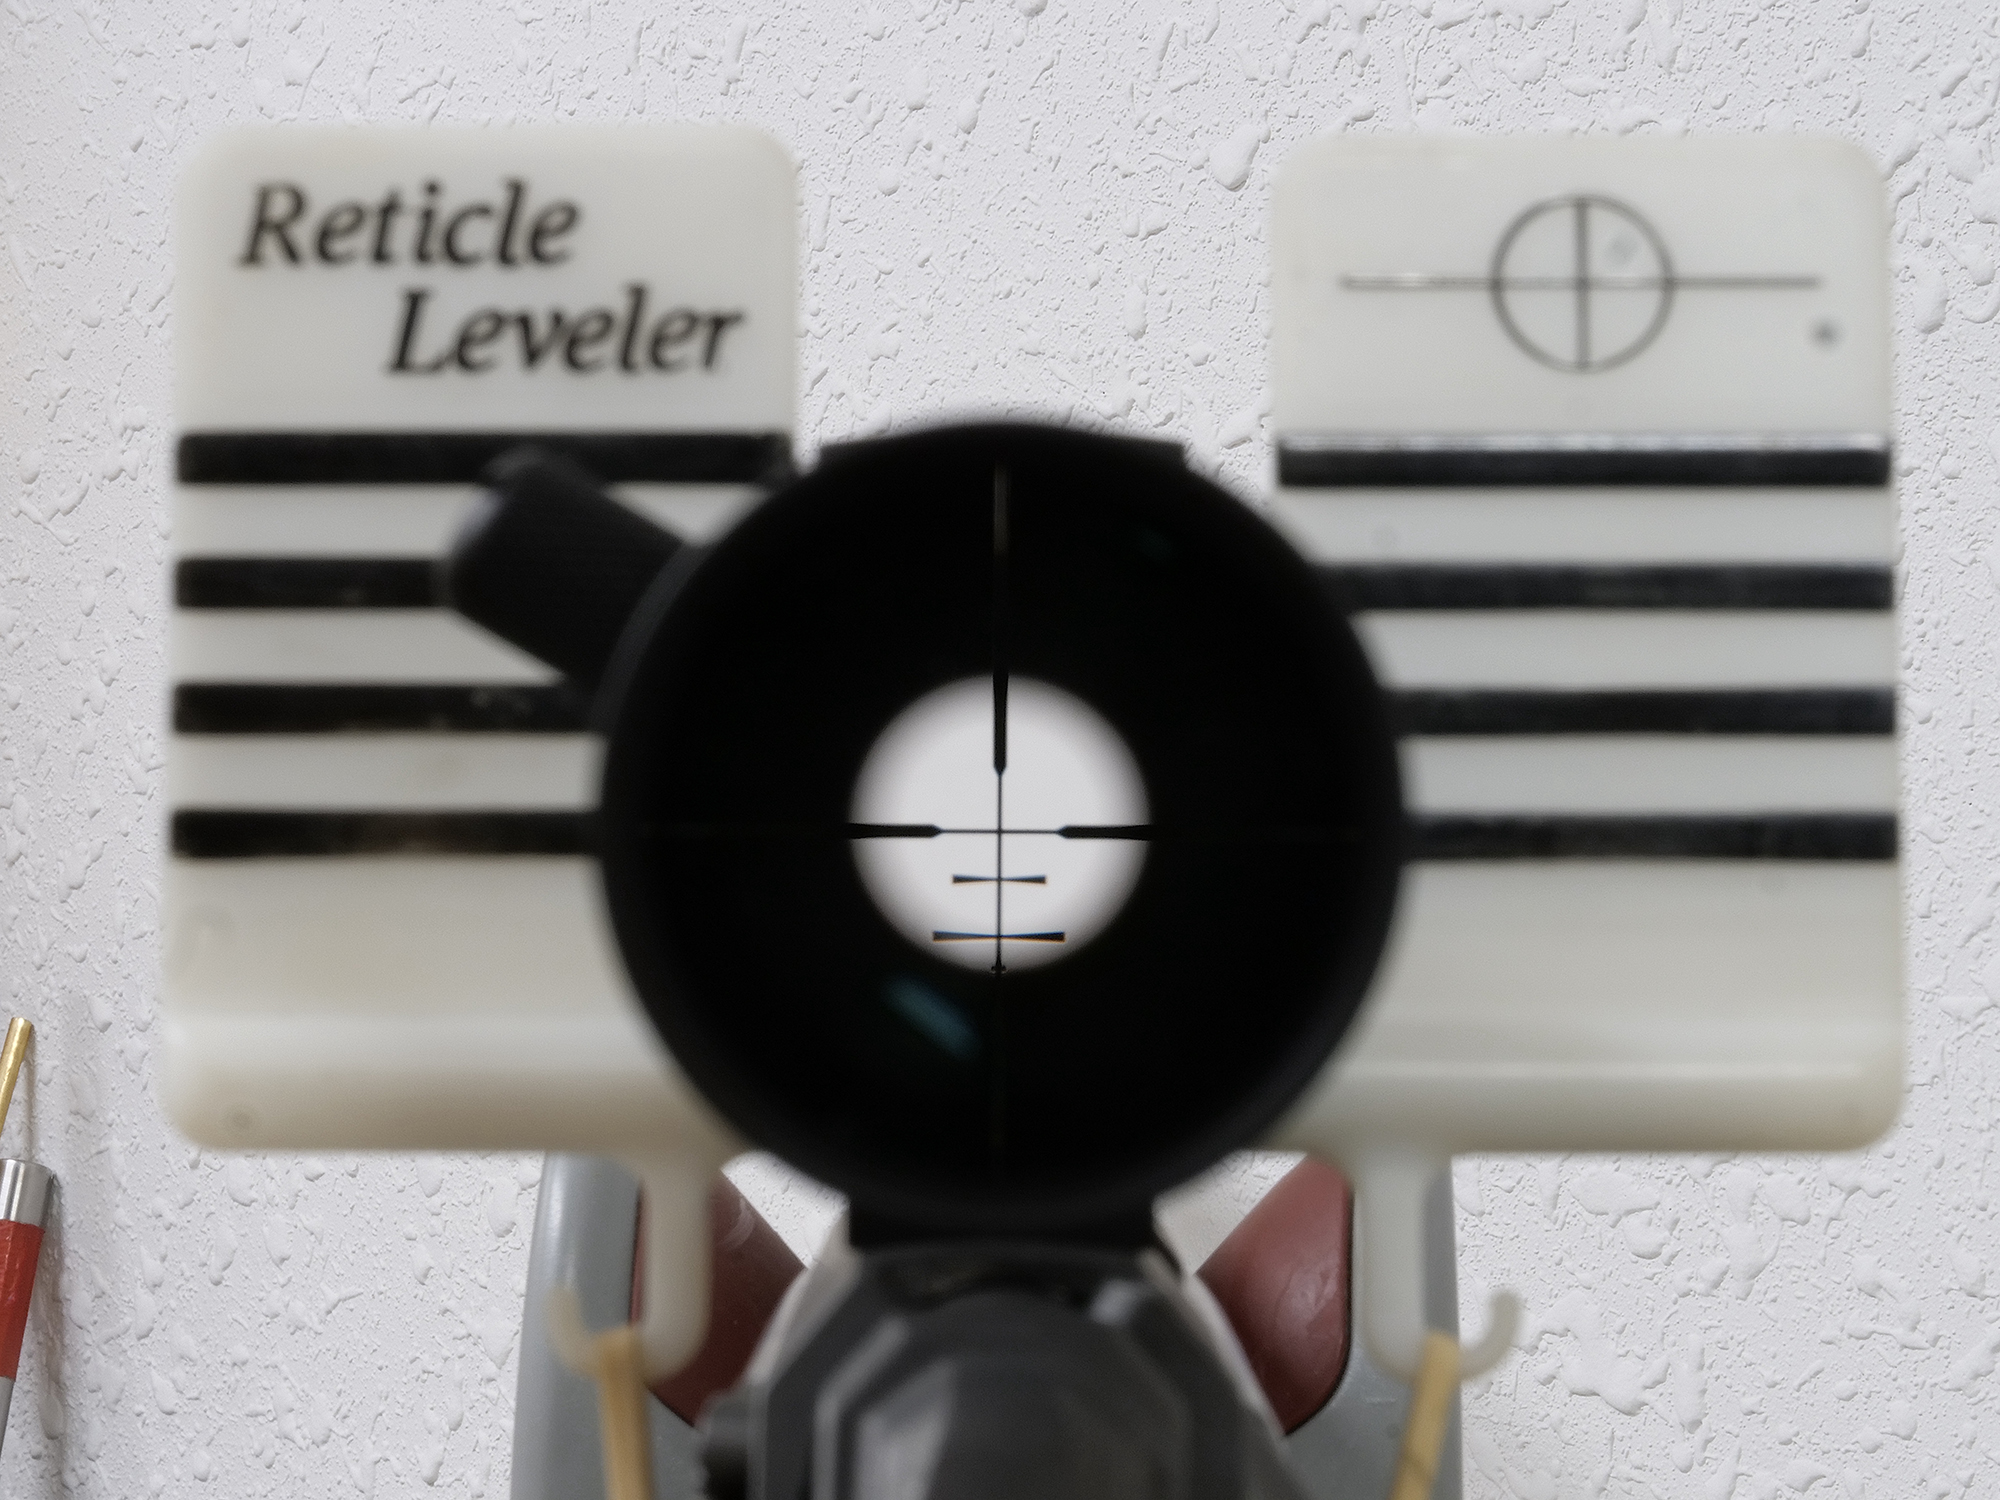
Some rings will drag the scope off level as you tighten, so watch for this. To get the reticle level, use a commercial reticle leveling device or aim toward a plumb line (edge of a doorway) while a buddy watches to see that you’re not twisting the rifle excessively right or left. When the vertical reticle matches plumb, slowly tighten the rings.
One thing to beware are base mount screws protruding into the action. This can bind the bolt. If this happens, get shorter screws or carefully file down the long ones (here’s a full guide to mounting a riflescope).
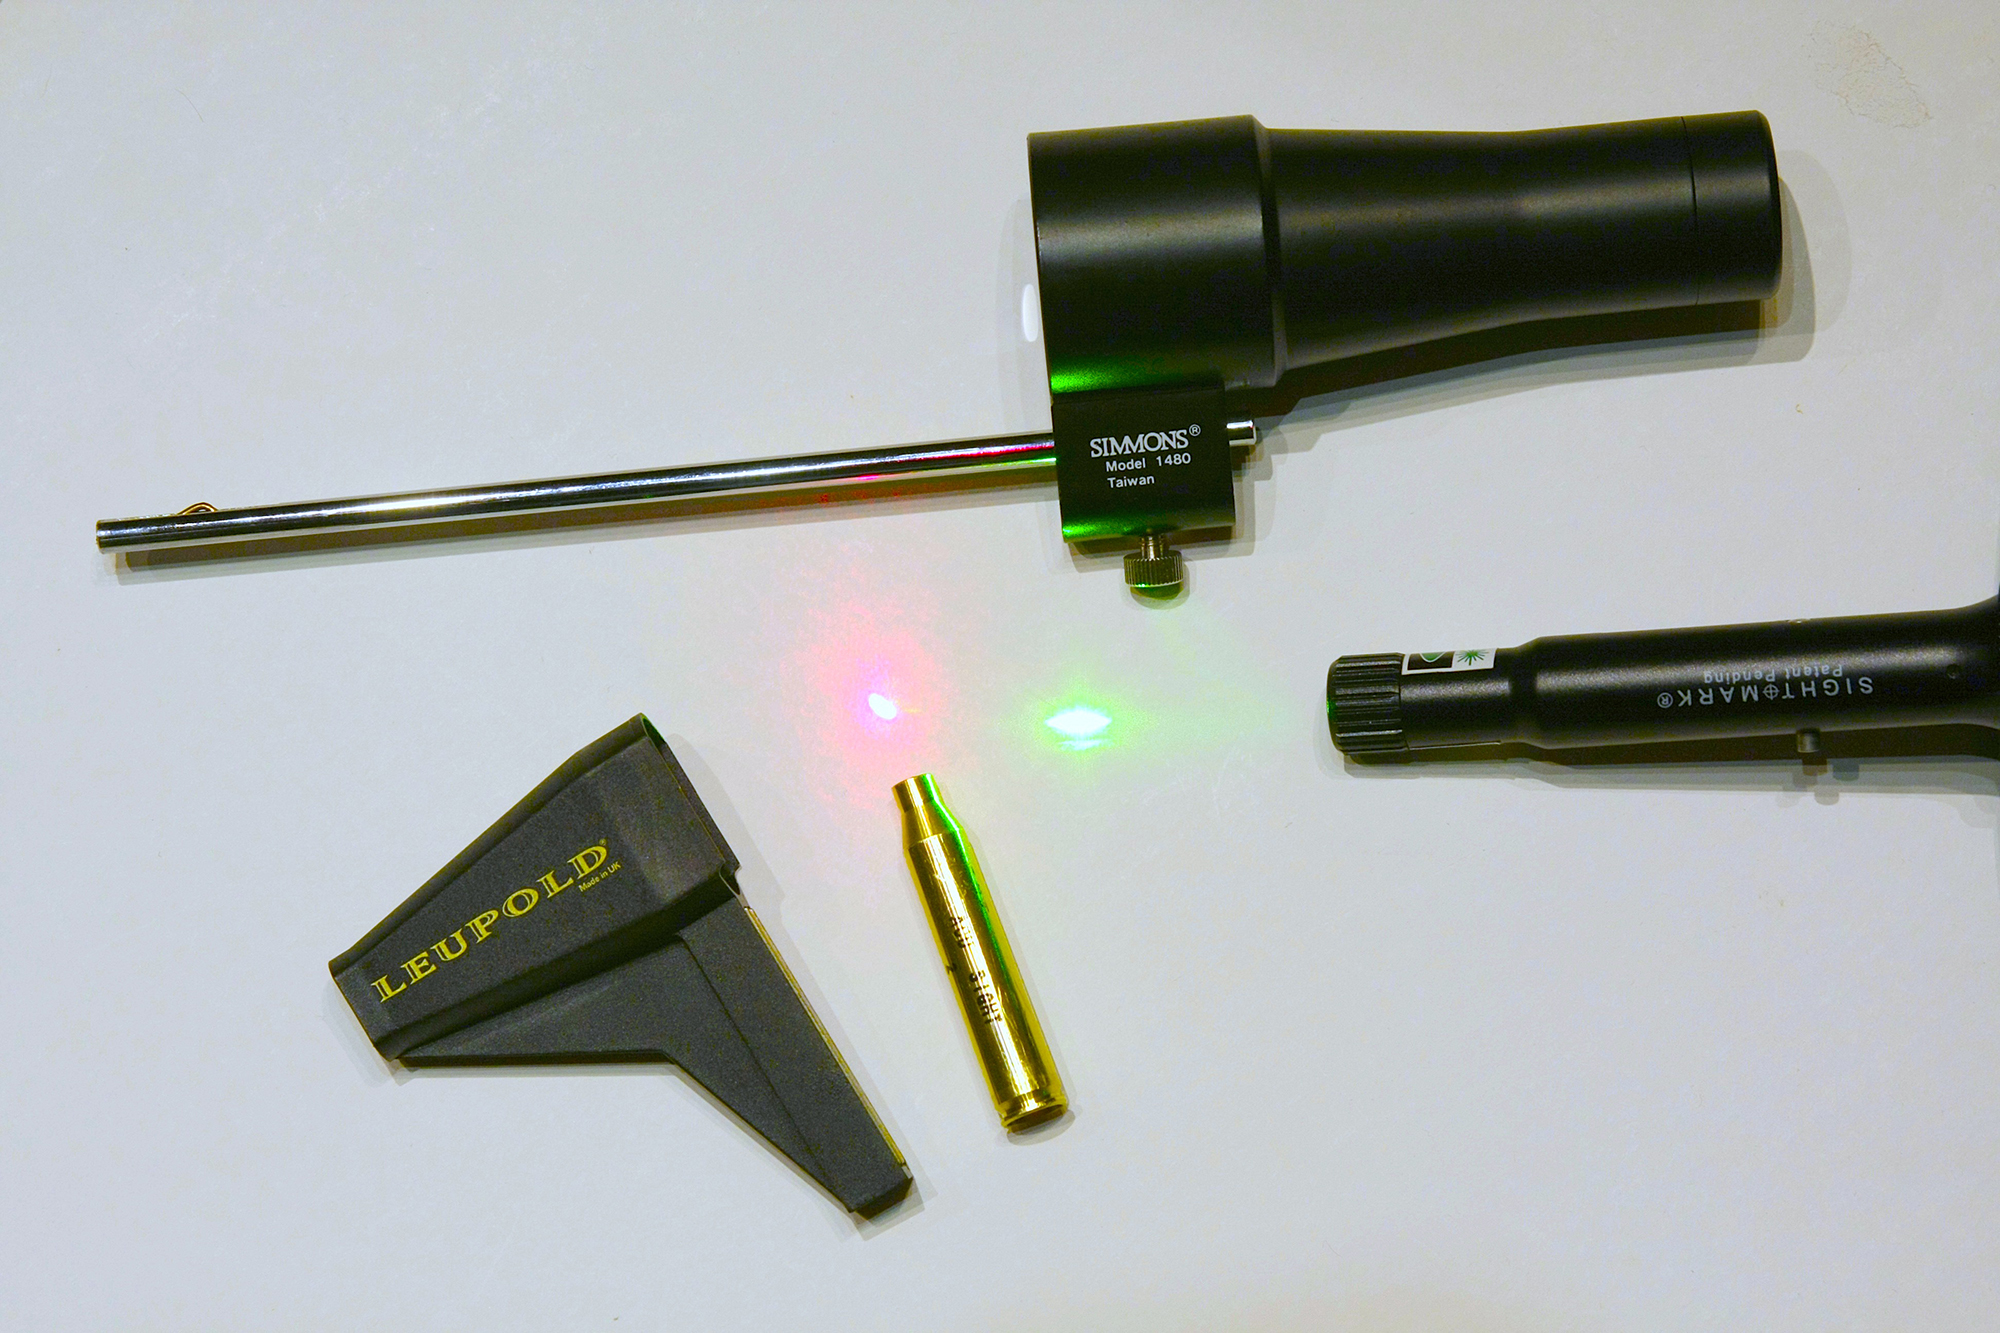
Bore Sighting a Rifle
Before shooting groups, you need to bore sight to get the scope near where the barrel is putting bullets. Various bore sighters do this, but you can also eyeball it. Just remove the bolt, look down the barrel, and center an obvious aiming point at about 30 yards. Without moving the rifle, look through the scope and turn the elevation and windage dials until the reticle hits the same aiming point. It’s critical to keep the rifle locked in place. You might need to weigh it down with sand bags. Double check the bore-centered target against the reticle position as often as necessary to line them up.
You may next fire at the 30-yard target to confirm or move to 100 yards, but if your eyeballing wasn’t accurate, you could miss the 100-yard paper. However you do it, before taking your second shot, realign the sight as you held if for your first shot, then — if necessary — adjust the scope reticle until it has moved over that bullet hole. Scope and rifle are now looking to the same place.
Shoot Groups and Zero the Rifle
Using your best form, shoot three on target and note group size. If unsatisfactory, try other ammo and loads. Shoot over a chronograph if possible and record your data for later use in building a trajectory table. When you have a satisfactory load, move to your final zero adjustment. Now you’ve got a decision to make: you can either use a Maximum Point-Blank zero method or, you can zero at 100 yards and rely on turret adjustments for longer shots. I’ll dive into both methods in the next post.
However you decide to zero your rifle, practice with your new set up until you can run it quickly and naturally without stumbling or trying to remember what goes where when and how. Get into the field to practice shooting from realistic hunting positions. When you begin confidently hitting 10” targets at mixed distances, you’ll be ready.
But before you go, fit that rifle with a sling. Alas, slings are becoming as varied and complicated as scopes. Thank heavens none yet require batteries. I’m old school, so a quick -adjust shoulder sling serves me well. I adjust length so that I can wrap my arm into a hasty sling. I keep width and mass down to prevent accuracy-robbing swaying should I not have time to wrap up. I avoid wide, heavy slings that sway side to side.
If, while working with your rifle, you find it uncomfortable to carry, hold, or operate, figure out why. Is length-of-pull to short or long? Is the comb too low or high? The fore-end too fat or skinny? The trigger too heavy or light? Many modern triggers are user adjustable. I recommend at least 3.5 pound, as much as 4 pounds to prevent accidental firing. I’ve used some 1-pound triggers but in a hunting scenario its too easy to set them off while still getting on target, especially with gloves on.
Make tweaks and keep practicing until your rifle fits like a glove. Then you’ll be ready to hunt.