Editor’s Note: This is part 1 of a 9-part Respect the Game series on habitat improvement, whitetail management, and the tradition of deer hunting. We’ve partnered with Polaris to tell the story of the world-record buck, and the group of buddies who worked together to hunt the deer last fall. Stay tuned for more tips, stories, and videos from this series.
Farmers are many things. They are dedicated. They are often stubborn. Resourceful. Tireless.
There is at least one thing, however, that they are not. They are not magicians.
Growing crops is a feat based in science and made possible—or foiled—by nature. One could argue there is some art involved, but it is not wizardry. Germination is nothing more than the product of a simple formula of dirt, seed, sun, and water. Keep it that simple, respect the process, and you can grow crops that are every bit as lush and green as those planted by the pros.
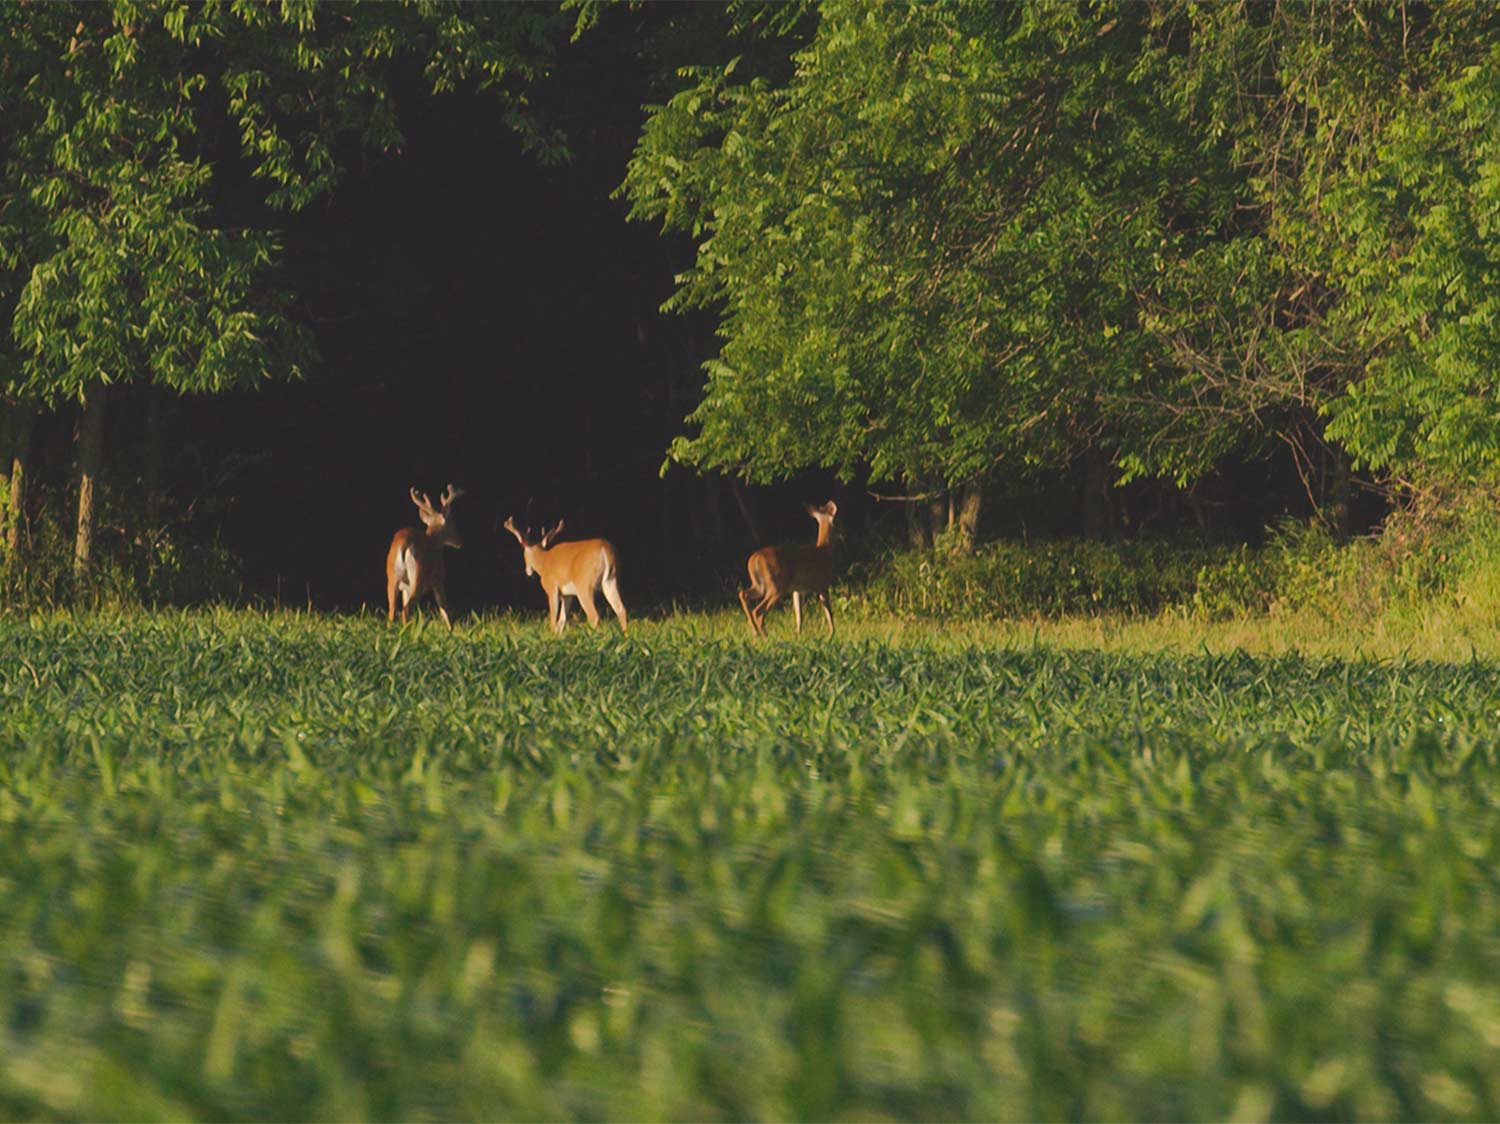
Most hunters and habitat managers who develop food plots do so with much smaller parcels. I prefer to install plots that are less than an acre. That’s because I’m not planting for a harvest. I’m interested in providing forage and nutrients for wildlife, and—hopefully—for the opportunity to kill a deer on that plot come bow season.
The Gear
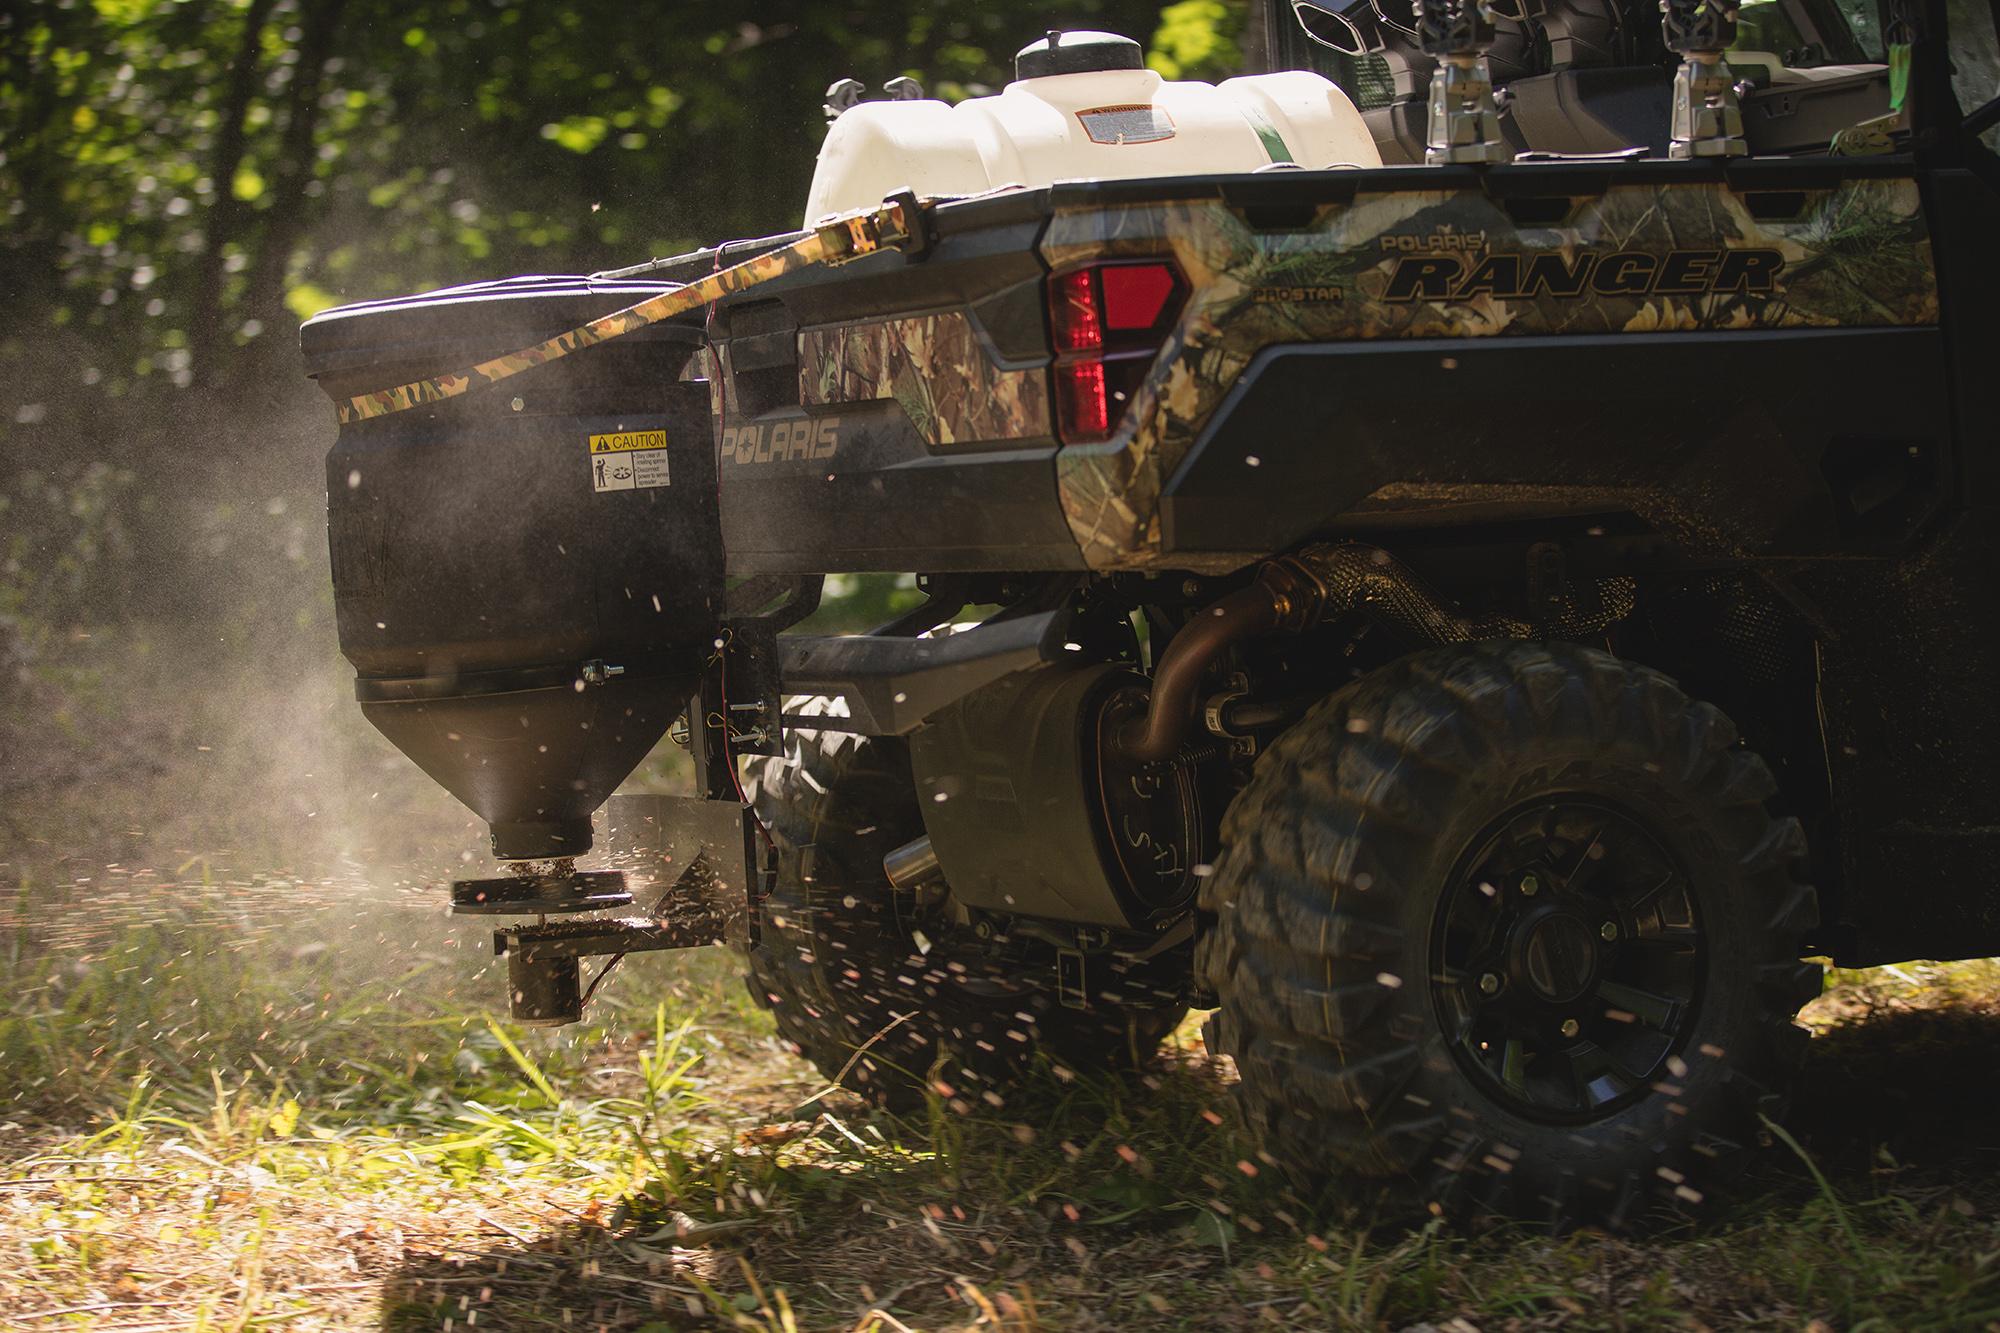
Most of my plots are about a half-acre big, although I will plant up to an acre at a time. The tools on my list are minimal: a UTV, sprayer, harrow drag, and a chainsaw.
When I first began planting food plots, I made do without the use of any machine. Then I picked up a used ATV, and life became so much easier. When I upgraded to a UTV, things got downright pleasant. The ability to haul equipment, gear, seed, sprayer, and other necessities in a single trip not only saves me a ton of time, but it also helps ensure my plots are as good as I can make them. Efficiency impacts efficacy. When you’re not making multiple trips to the field because you forgot something or had to leave it behind, you spend more time getting work done.
Ground Work
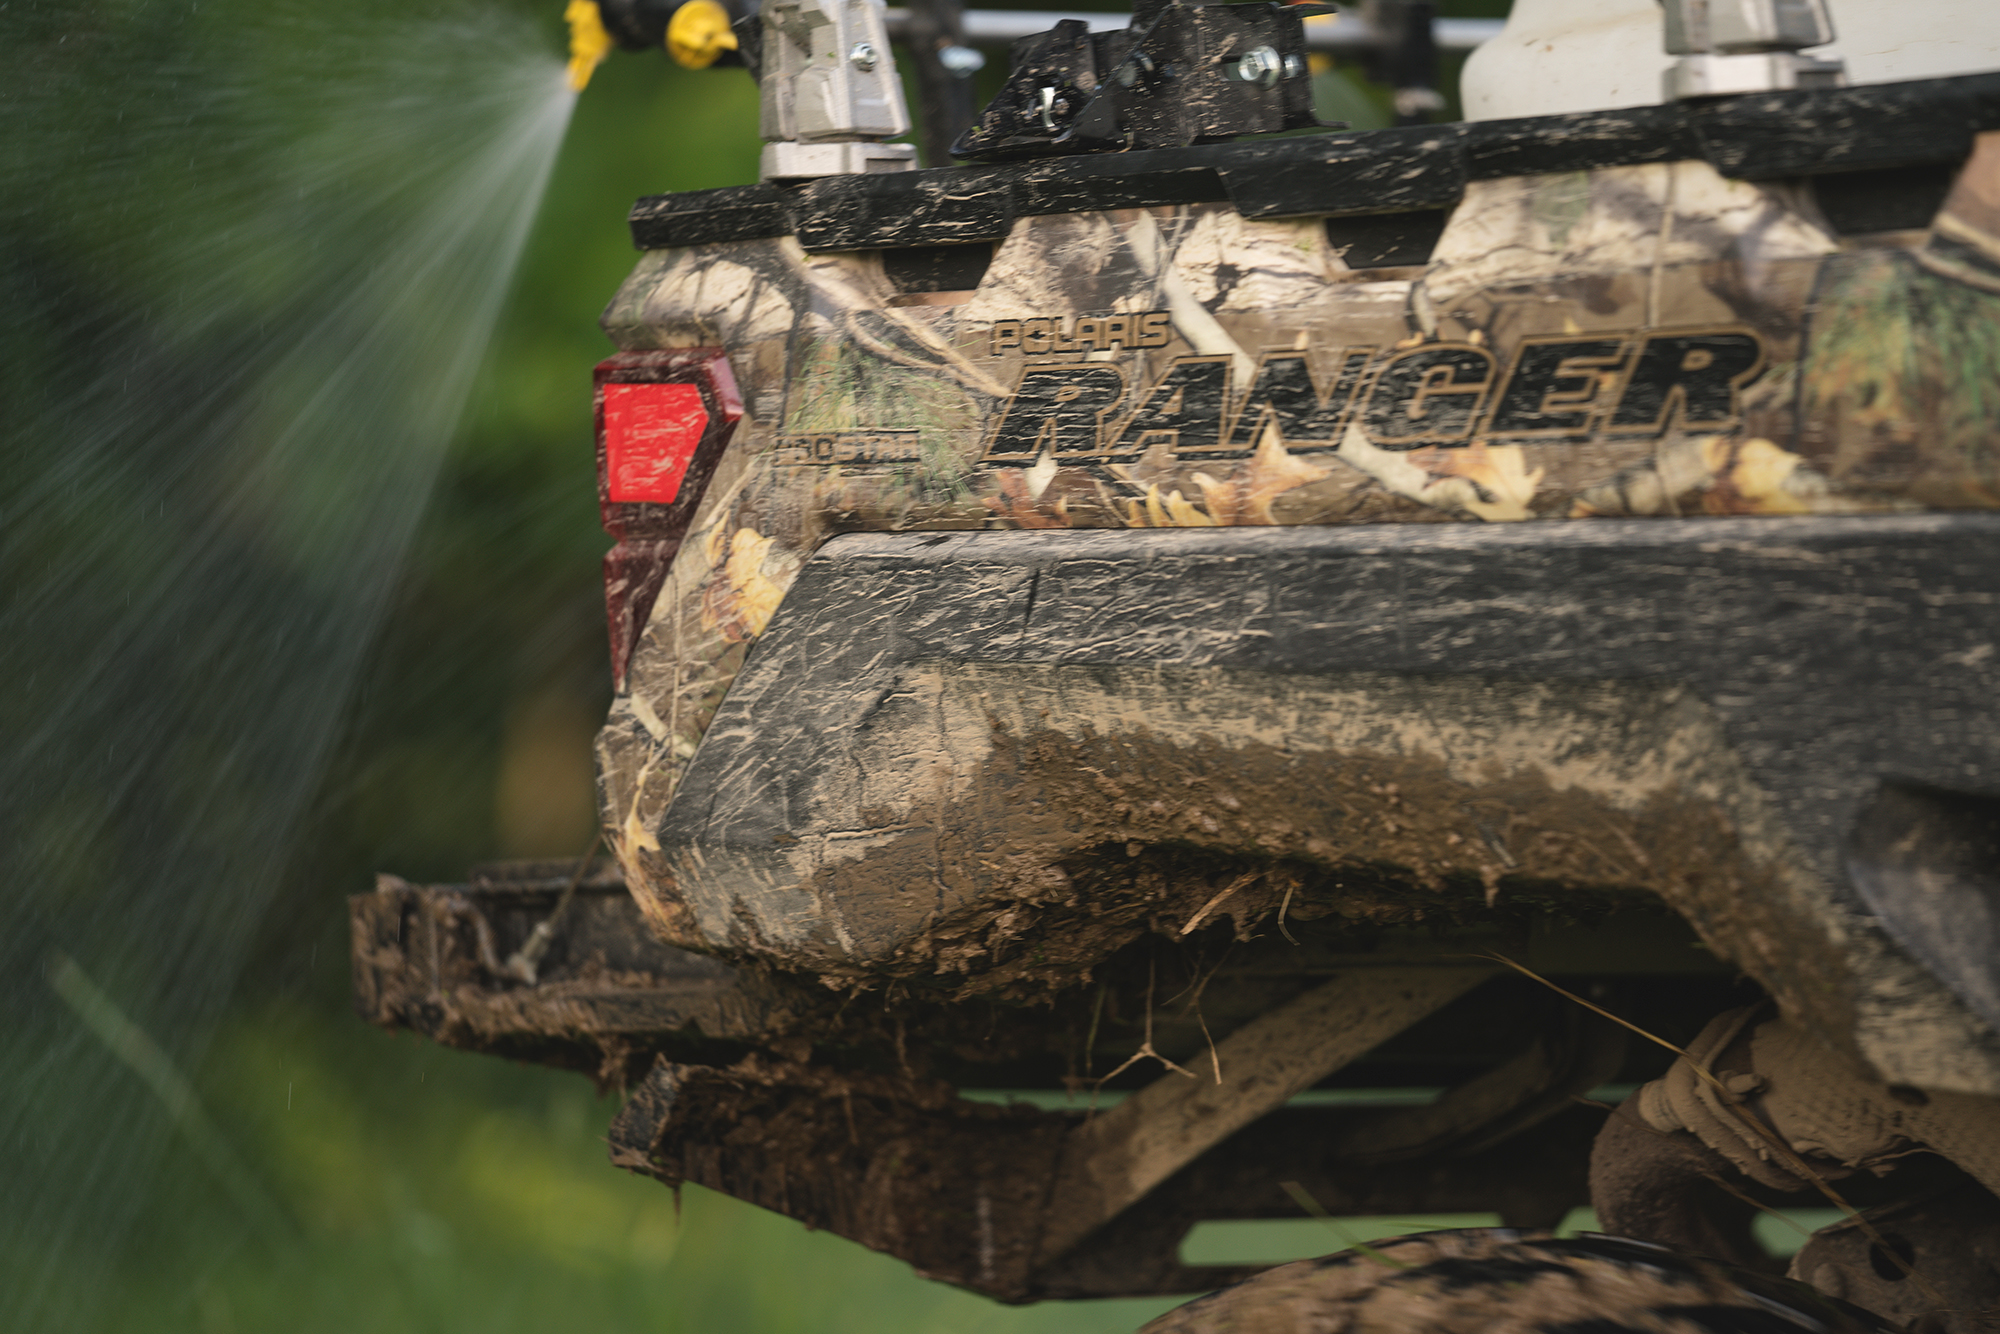
The most critical part of the task (by far) is properly preparing your desired plot location. That’s where the sprayer and chainsaw come in.
Plants—no matter what type of forage you choose to sow—simply will not flourish without adequate sunlight. Sure, some plants do better in shade than others. But I’ve yet to find any seed blend that will thrive when tossed on the ground in the middle of thick hardwood cover. Choose a clearing of some sort, and if you don’t have one, create one. A few hours behind a chainsaw can work wonders when it comes to clearing canopy cover and letting sunlight hit the floor.
In existing openings, hook up the sprayer to your UTV or set one in the bed, and hit the weeds and other undergrowth with a round of herbicide. Use glyphosate, and be sure to follow the label directions.
For new plots, I apply glyphosate about a month before I intend to plant and revisit the site about two weeks before planting to ensure everything in the plot has been killed. If any green remains, I hit it again with the herbicide. This is also when I take a soil sample to determine PH and fertilizer needs. (More on that here.)
Game Day
When it’s time to plant, I’ll tackle the dead foliage by hooking a harrow draw to the UTV and making multiple passes. The goal here isn’t to clear the plot to bare dirt. Instead, I want to knock down all the dead vegetation. This acts as a makeshift mulch layer to help retain soil moisture and protect the seed from birds.
Once the plot is prepped, it’s time to lay down the seed. Because my plots are small, I simply broadcast by hand. You can also use a material spreader for this if you prefer. Once the seed is down, I hit the plot again with a few passes of the harrow drag. This mixes the seed with the mulch layer, and helps with seed-to-soil contact.
Tricks of the Trade
After much trial and error over the years, I’ve come away with a few best practices for my plots.
First, I add clover to every plot I plant, regardless of what type of seed I’m planting (a brassica blend, a simple soybean patch, etc.). Adding clover will do very little for the plot during the first season, true. But you’ll notice the benefits in the spring when that clover starts growing back.
Clover offers a great spot to hunt turkeys, and it also gives you the option of tilling the plot under for your next planting, or simply allowing the plot to become a clover patch. Tilling the clover back into the ground is a great way to incorporate organic matter into the soil, and this method will save you cash on fertilizer over time. If you choose to do nothing and leave the clover alone, your plot work is already done for the year.
Another trick is to add pelletized when sowing the seed. (This should be done according to the results of a soil sample.) Fertilizer does little good just sitting on top of the dirt—it needs to be near the plant’s roots. And by broadcasting fertilizer and seed simultaneously, you’re ensuring that both the fertilizer and the seed are being incorporated into the soil at the same depth when you use the harrow drag.
That’s it. Now pray for rain, and watch your plot grow.