
We may earn revenue from the products available on this page and participate in affiliate programs. Learn More ›
When most people hear of tanning a deer hide, it makes them automatically think of the traditional method using brains. Though that is definitely still one way to tan a deer hide, there are easier ways that are just as efficient and cheaper than sending it to a tannery.
Deer Hide Tanning Supplies
3 lbs salt
Sandpaper
Dish soap
Safety glasses
1. Fleshing (Removing All Flesh From the Skin Side of the Hide.)
If you’ve ever fleshed a hide by hand before, you’ll know it can be a tedious task. But never fear, there is a more modern solution. If your hide is in the freezer, you’ll want to make sure it’s thawed completely before starting the fleshing process. If you’re working with a fresh deer hide, proceed as follows.
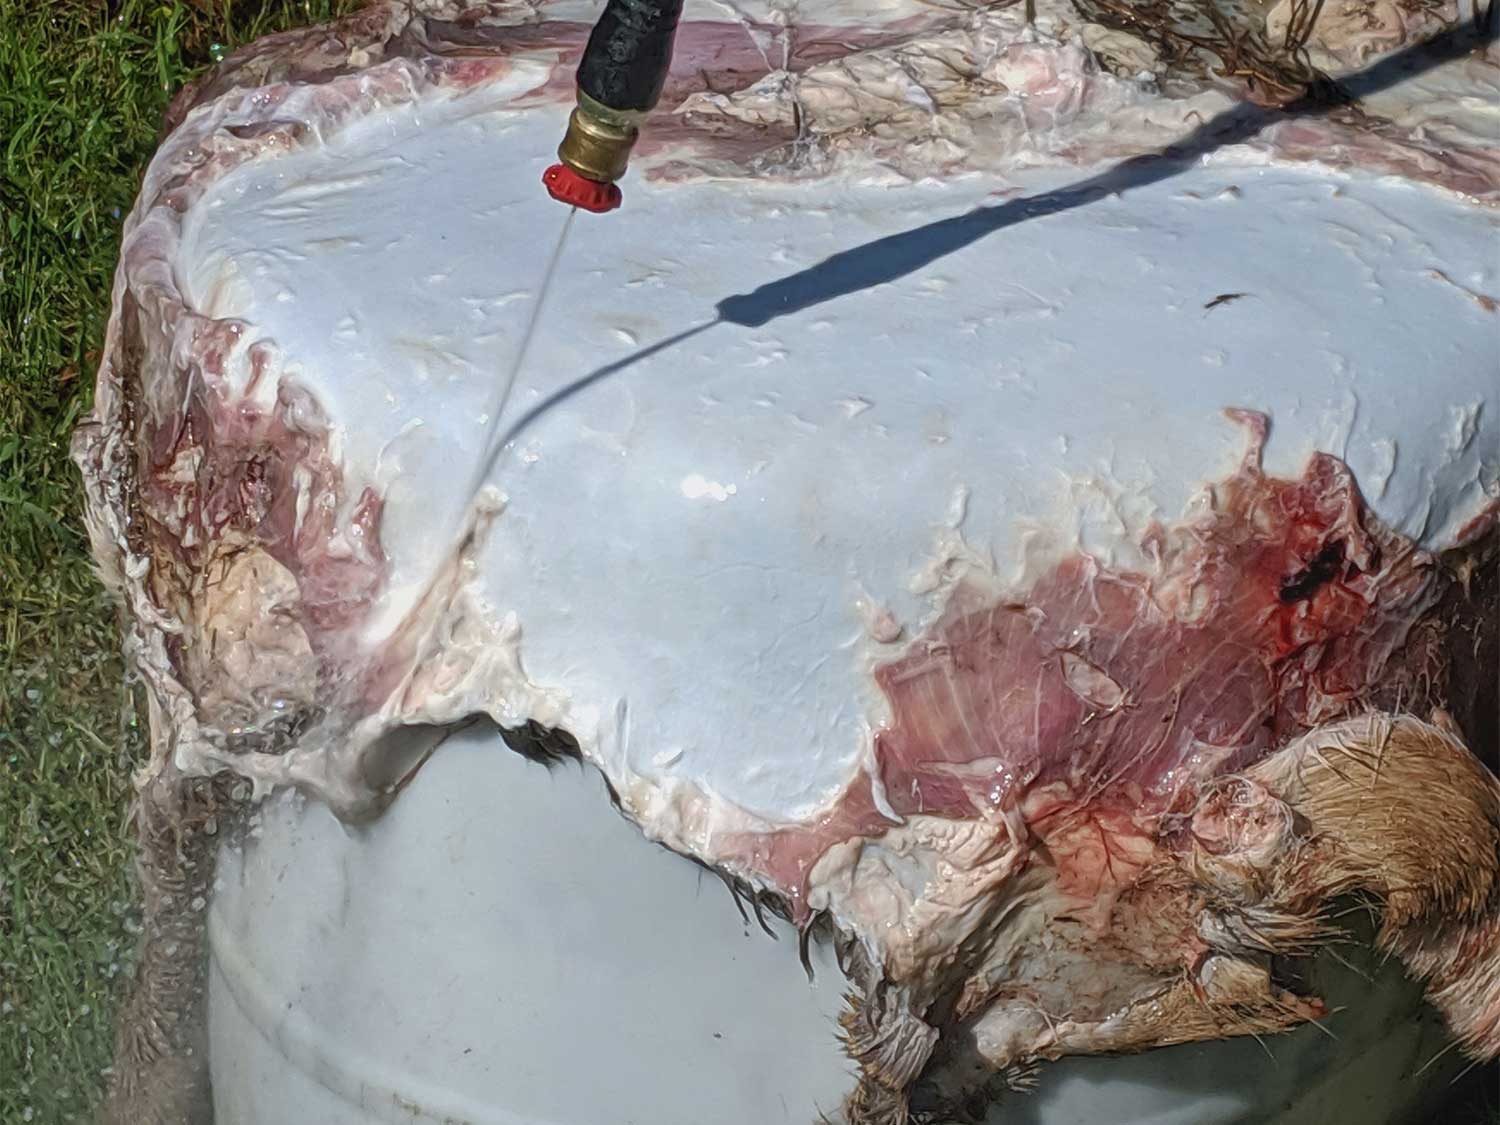
Drape the hide flesh side up over a hard surface such as a large plastic drum, or tack it to a piece of plywood. Take the pressure washer, and simply pressure wash the flesh off of the hide. You’ll need one that is 1800 PSI to be able to peel the flesh back, and most household pressure washers will work for this project. I recommend testing the pressure on a corner piece of the hide to ensure that it’s not going to rip. It’s also important to keep the stream of water moving across the hide fairly quickly as holding the water in one spot will result in a hole. It can be a little messy, so you’ll want to wear safety glasses.

Make sure the flesh side is clean and white before proceeding to the next step. All of the flesh-colored pieces should be gone, leaving this side of the deer hide smooth. You’ll want to be particularly careful around the edges of the hide as it’s easy to miss small pieces. Use a sharp knife to get the last few bits off before proceeding to the next step.
2. Salt Your Deer Hide
This is the easiest step. You’ll need a few pounds of table salt (any brand will work. I buy the small canisters that are 1/2 lb each), which only costs a few bucks from any store. Pour the salt liberally over the flesh side of the hide until it’s completely covered. Fold flesh side together, and then roll it up, and put it in a five-gallon bucket. The bucket is crucial as it will help catch any moisture that leaks out of the hide.

Leave the hide for 24 hours. Then take it out, shake the old salt off, and reapply fresh. Fold flesh sides together again, roll and place in the five-gallon bucket. Leave it for 24 hours and then move on to the next step.
3. Salt Bath
Mix a salt bath in a separate bucket with enough water to immerse the hide. Use 1/2 lb of table salt per gallon of water and extremely hot water to dissolve the salt. Mix thoroughly until salt is dissolved and let the water cool.
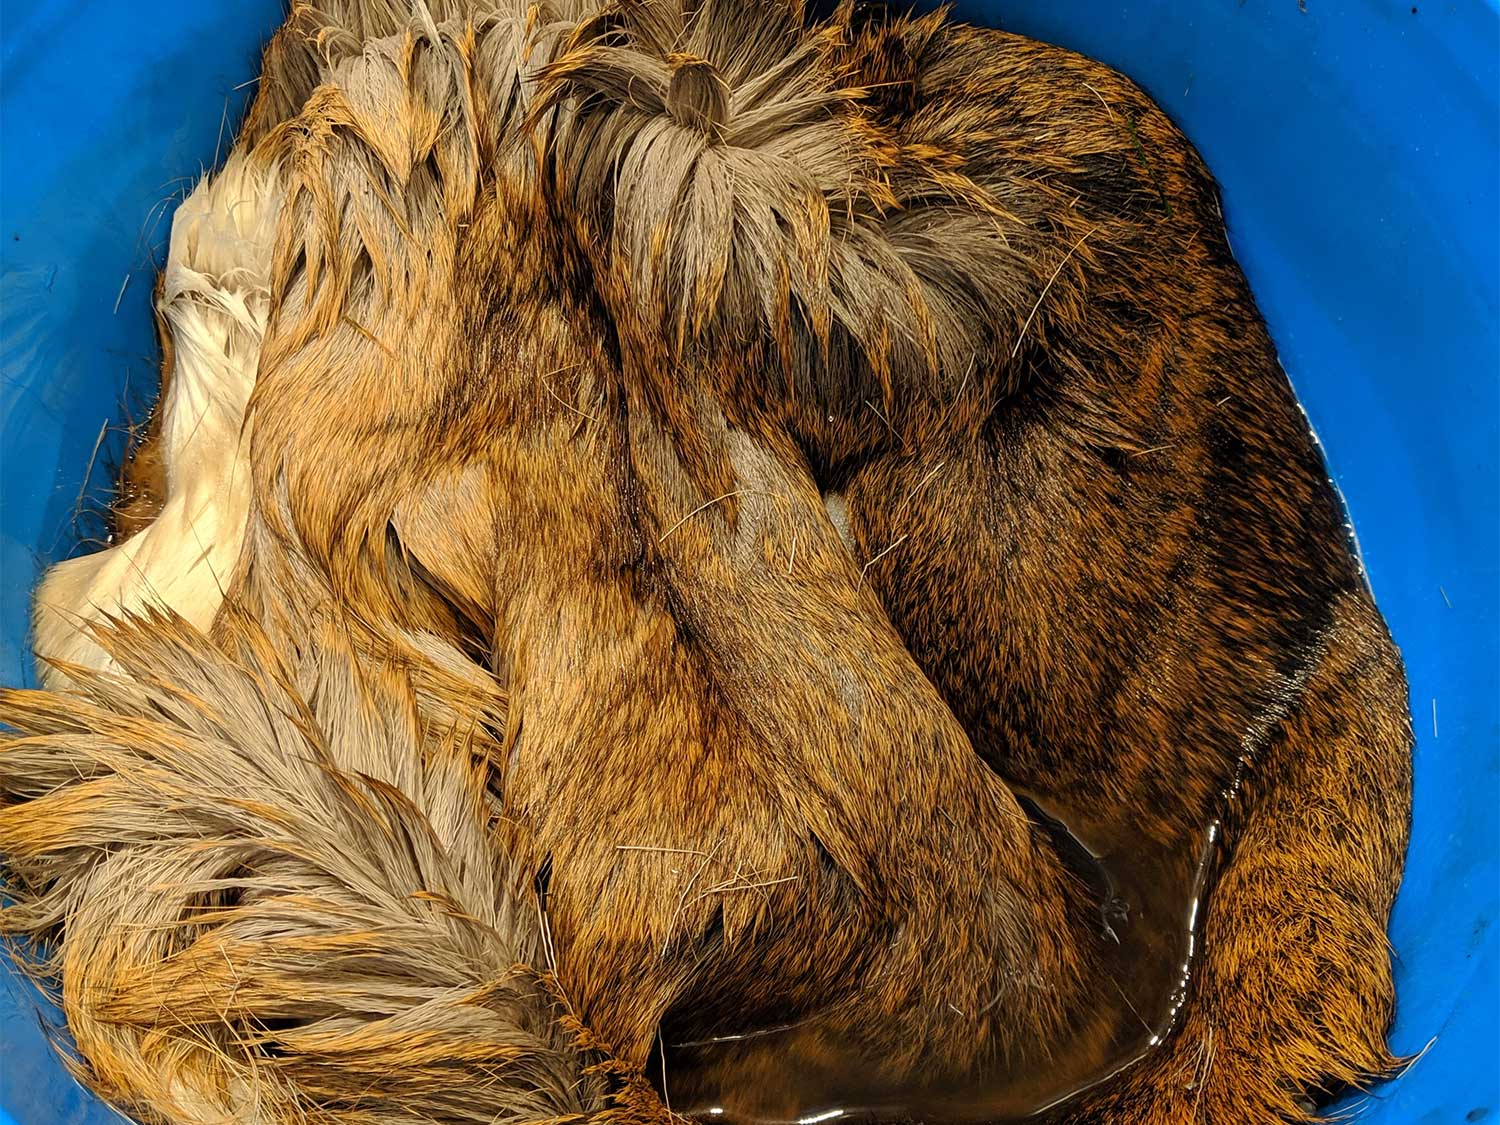
Immerse the hide in the solution and leave for six to eight hours. Overnight is fine, but if you leave it too long, the hair will start falling off the hide.
4. Wash and Prep The Hide for Tanning
Remove the hide and make sure you have no remaining pieces of flesh. If there are, simply scrape them off with a sharp knife. This is an important last step as any remaining bits of flesh will eventually make the hide smell if not removed.
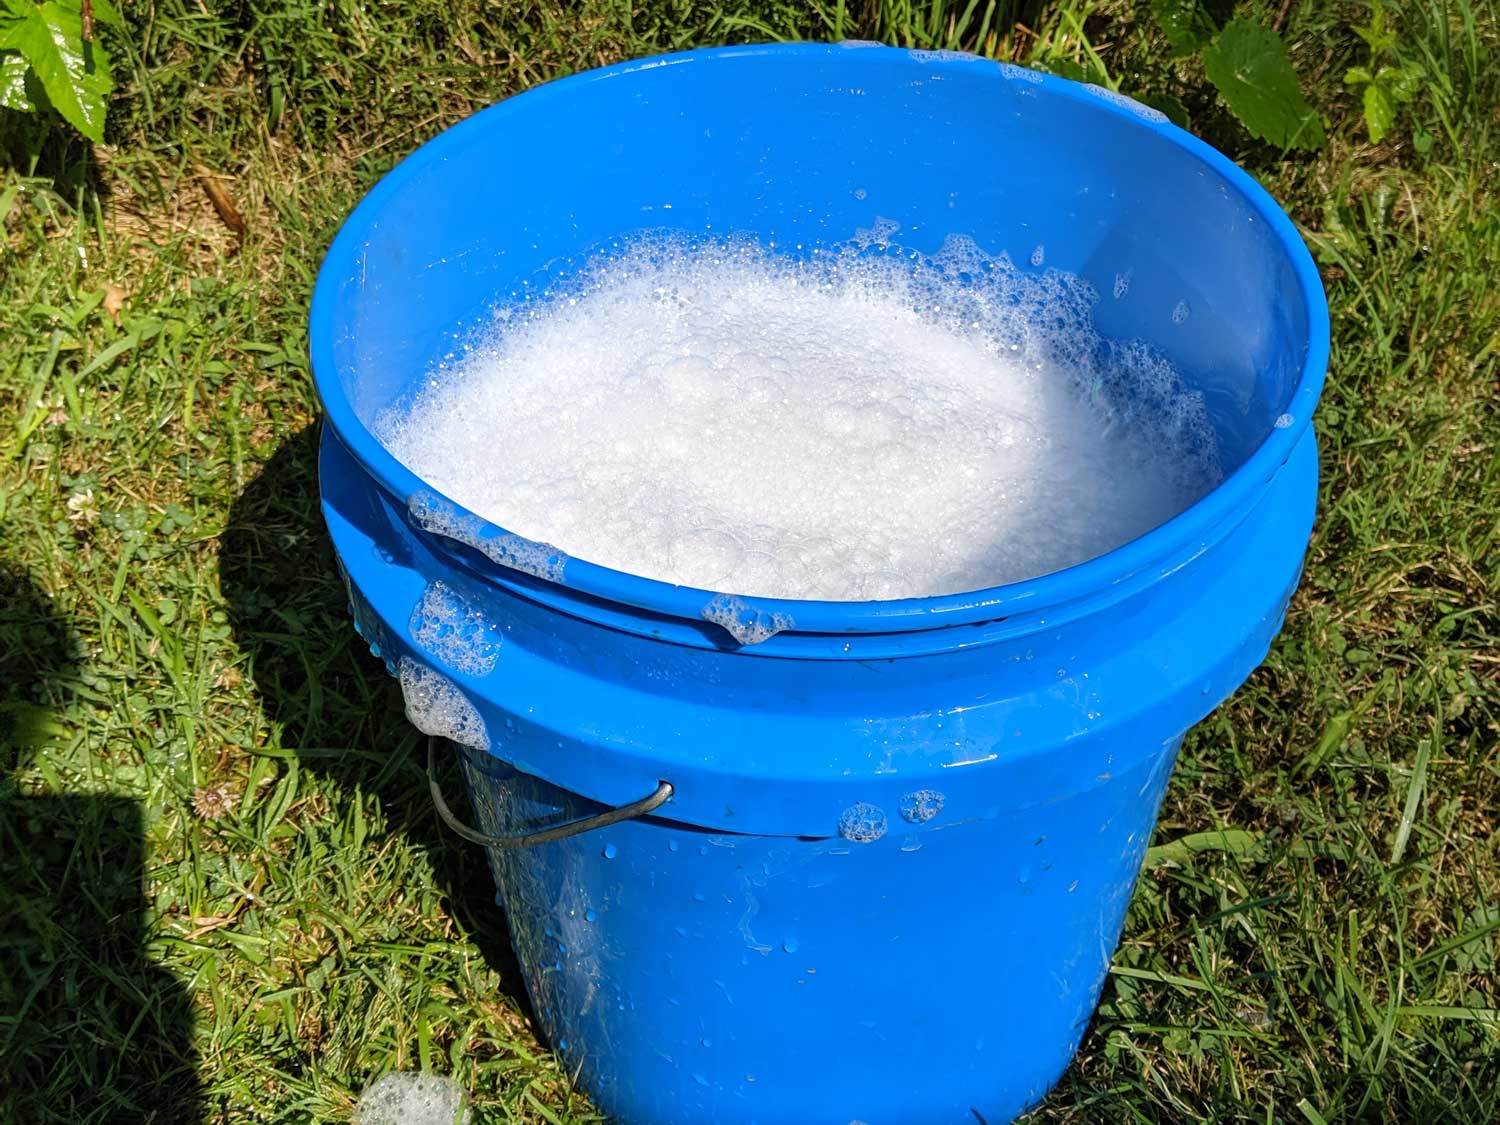
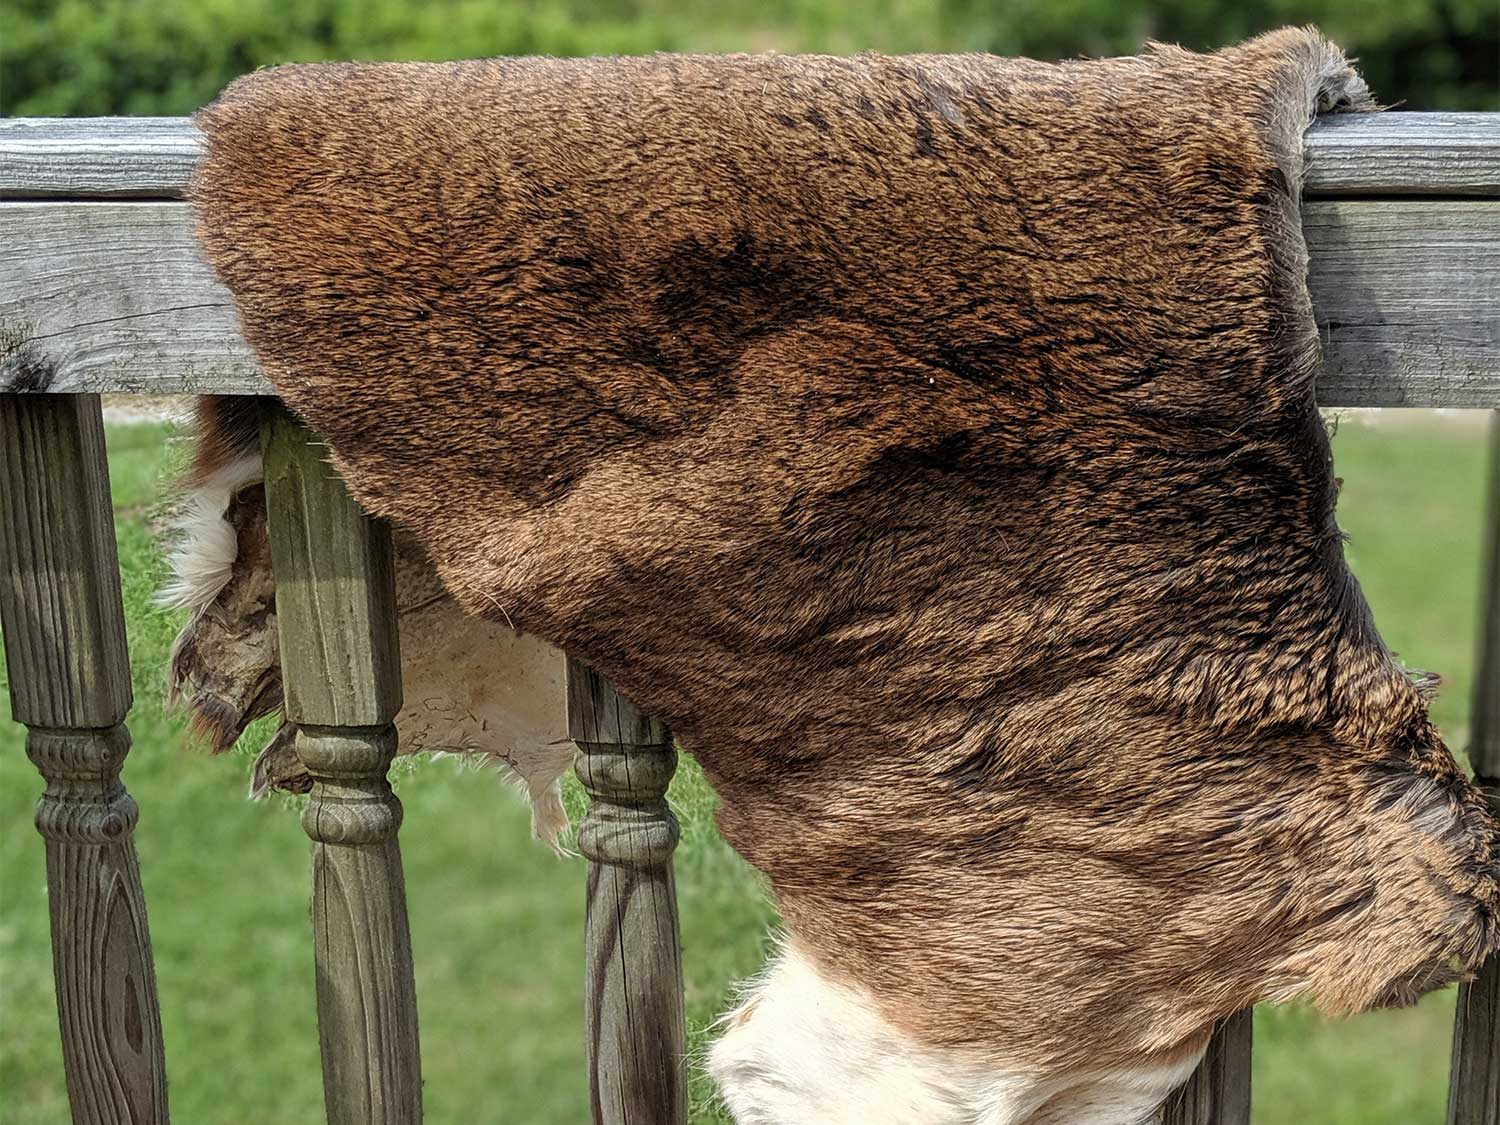
Wash the hide in water and dish soap to remove all excess grease and salt. You can reuse your five-gallon bucket and use your hands to wash and move the hide around. Rinse the hide off with a hose or in the tub until there are no remaining soap bubbles. Then, drape it over a railing or clothesline, and let it drip dry until the hide is only slightly damp and still pliable.
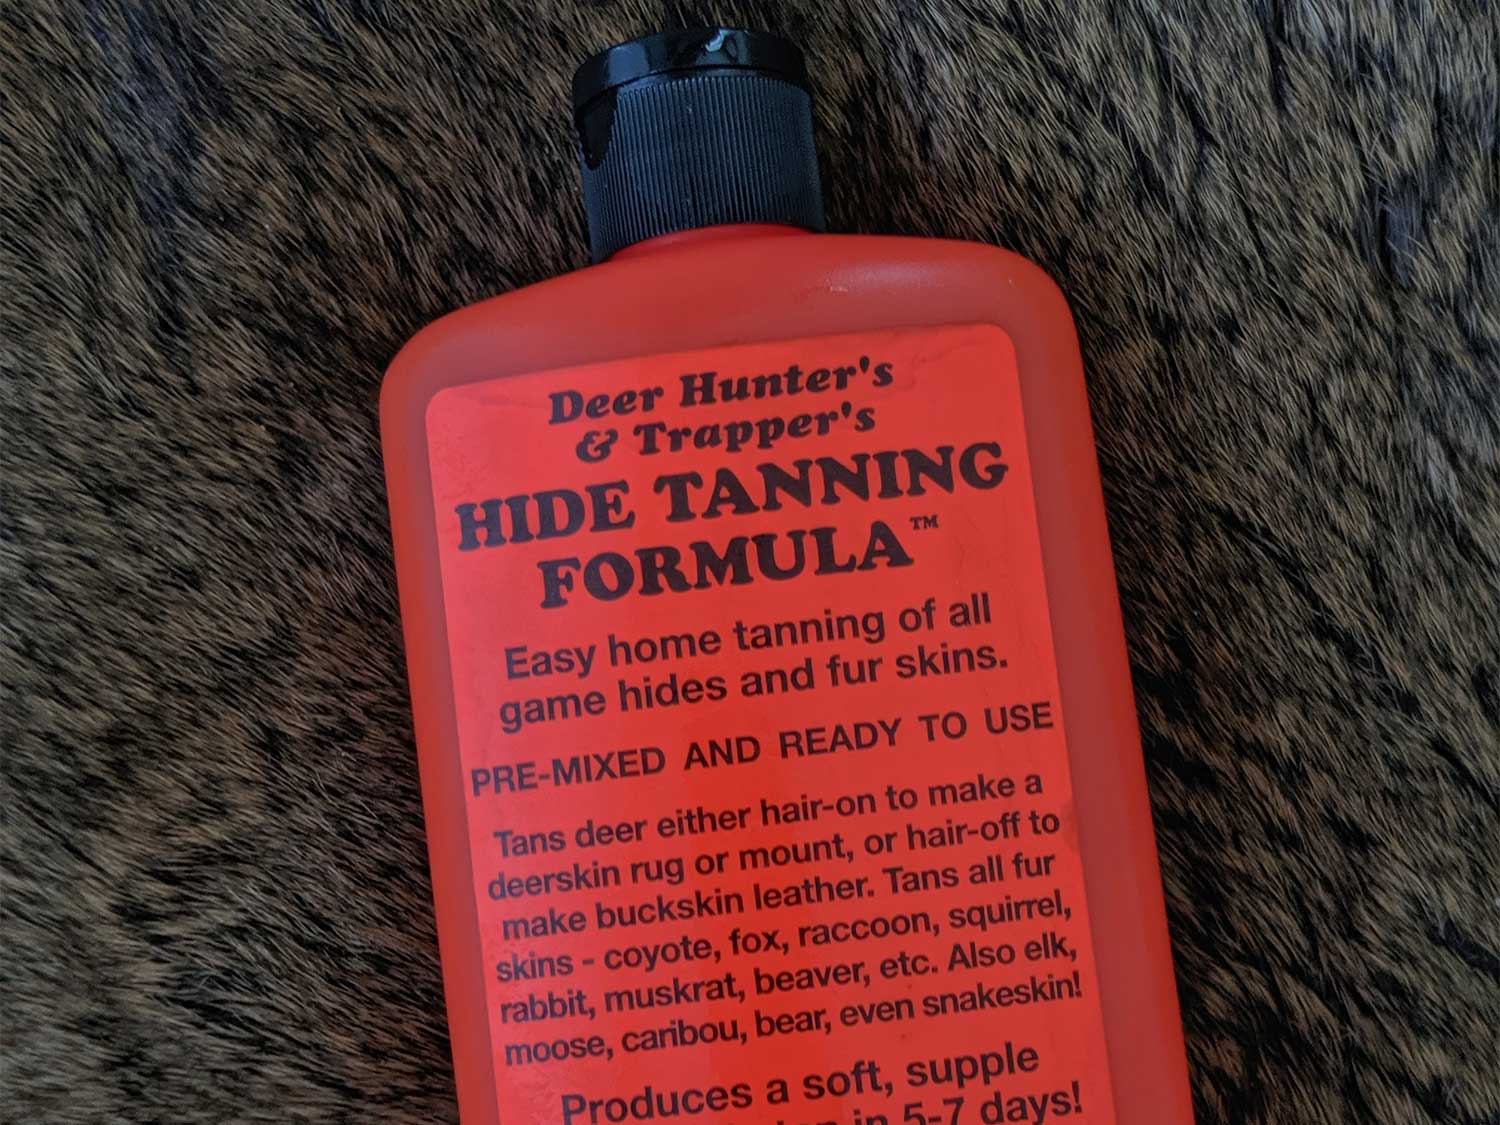
5. Apply the Hide Tanning Formula.
One bottle of hide-tanning formula from Bass Pro Shops, Amazon, or Cabela’s is more than enough to do one full deer hide. I’ve used it on several different types of hides and swear by it.
You’ll want to warm the formula by setting the bottle in a pot of hot tap water for 30 minutes. When it’s time to apply the solution, I advise wearing gloves as it’s not necessarily something you want on your skin.
Lay the hide open, flesh side up. Apply the solution directly from the bottle to the hide. Pour small amounts at a time onto the hide and use a large paintbrush to spread it around. If you’re wearing gloves, you can simply use your hands. It’s important to make sure you cover every bit of the flesh with the solution. Massage it in and fold the flesh sides together again. Leave overnight 12 hours and then open the hide and let it continue drying. Keep in mind that the formula has an odor. Although it’s not totally bad (similar to musty wet leather), you’ll want to keep the smell in mind when storing the hide during this process. It will quickly permeate a room. I suggest putting the hide in the garage, basement, or shed where no animals can get to it.
6. Stretching/Softening
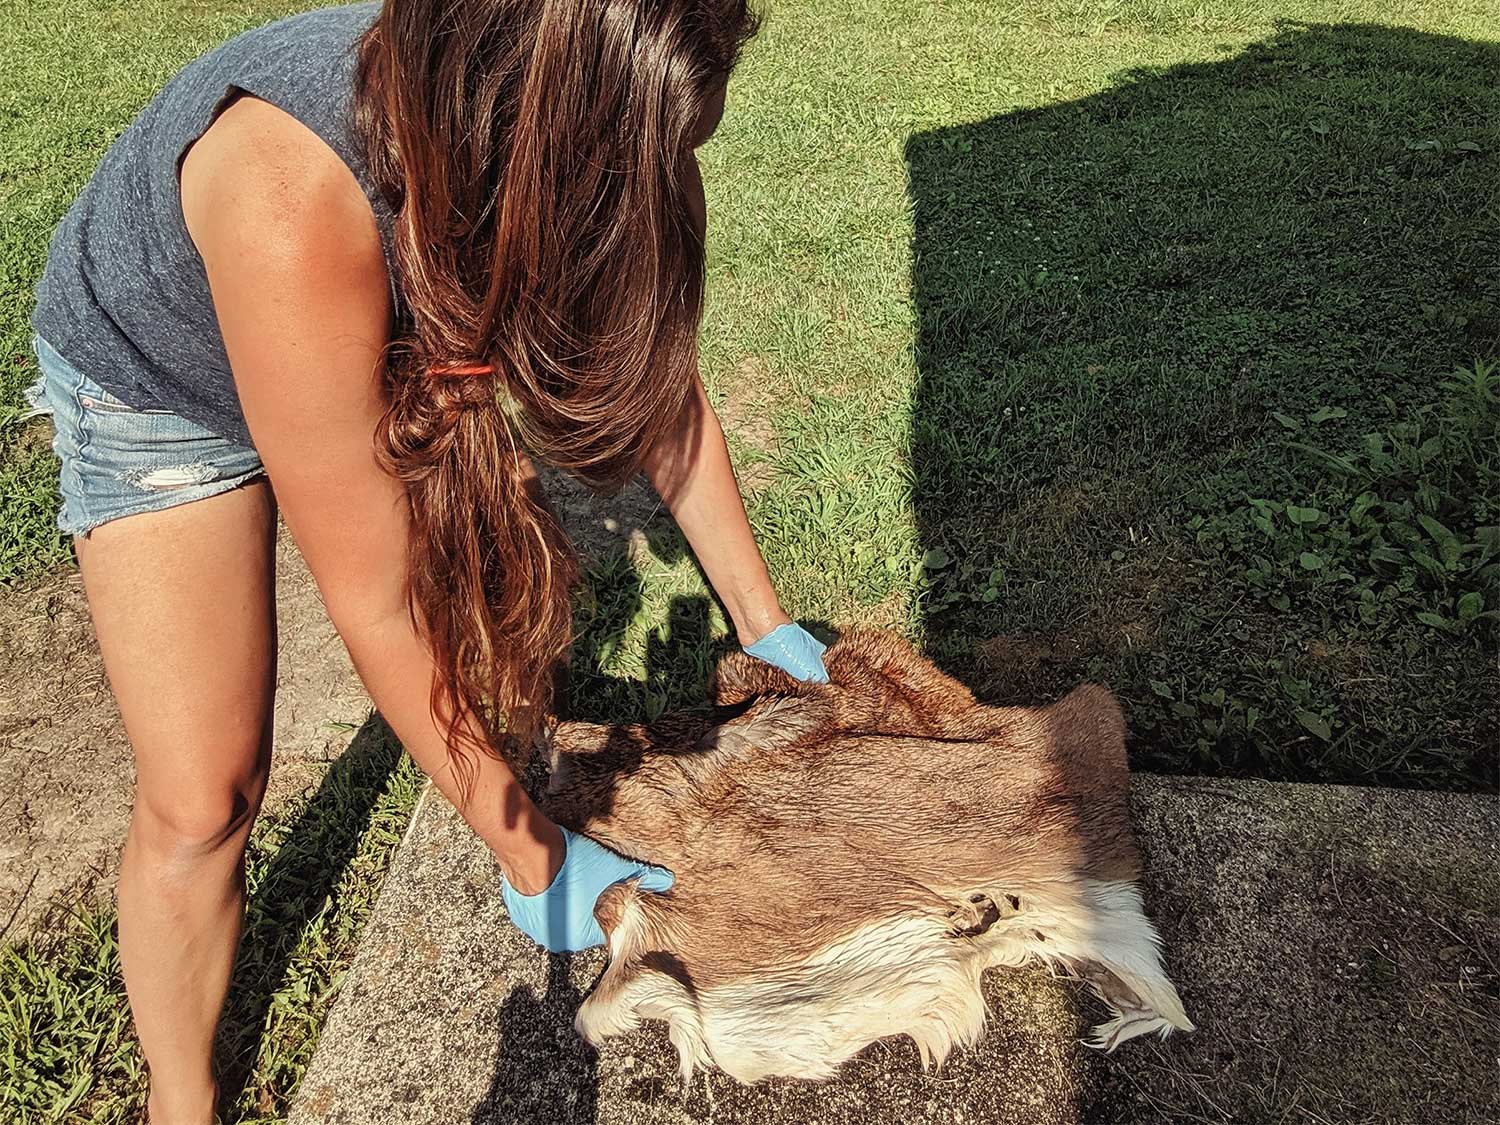
The hide will take roughly 2-3 days to dry completely. During this time, you’ll want to work the hide while it is still slightly damp to make it soft and pliable. Skip this step, and your hide will be as stiff as a board. Some Native Americans used to chew on hides to soften them, but if you like your teeth, I don’t really recommend it.
Stretch and fold the hide in all directions. Pulling it back and forth (flesh side down) over a taut rope or hard surface such as a railing or a fence. I used the edge of a concrete pad to soften this one. When the hide is completely dry, sand it with corse-grit sandpaper—either by hand or with an electric palm sander—on the tanned-flesh side to soften it even more.
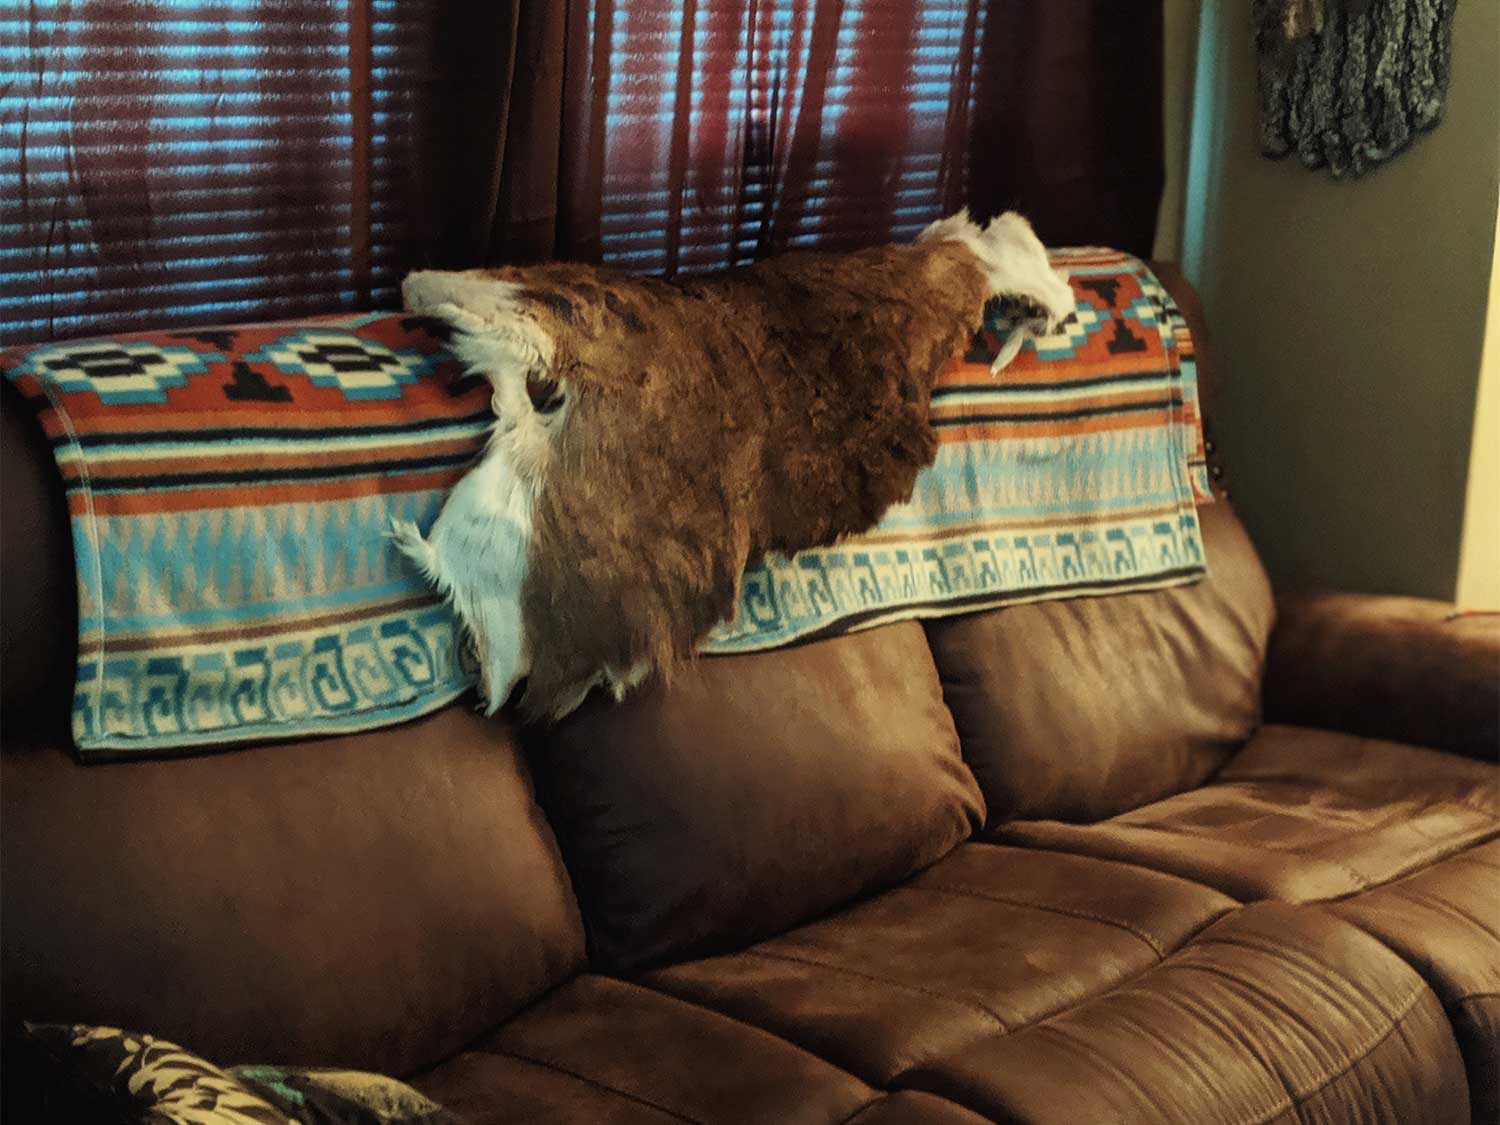
Trim up the edges, and find a place to display your finished deer hide.