We may earn revenue from the products available on this page and participate in affiliate programs. Learn More ›
The adage that B.O.A.T. stands for “break out another thousand” speaks volumes to the fact that outdoor equipment can fall apart and prevent you from doing what you enjoy if you’re not servicing or maintaining it correctly. That said, one of the most overlooked and undervalued pieces of equipment you might own is a trailer, whether it’s for your boat, camper, or even a flatbed to haul ATVs and other toys. Trailers require just as much maintenance as anything else you own, and if you ignore it, you open yourself up to an expensive disaster. The good news is that with a little bit of proactive care and knowledge about your tires, lugs, and electrical connections, you can drastically keep expensive and untimely repairs from occurring. Now that the seasons are slowly changing, take some time to tackle these few tasks before you hit the road, or the water.
Give the Lugs Some Love
One of the most problematic and fixable trailer issues usually involves the wheels and tires. Flats, blowouts, and busted rims are a regular problem for everyone that drives anything with wheels, especially if you travel over rough terrain. Here are a few steps to ensure you can get a wheel off your trailer should a problem occur.
- Loosen and tighten your wheel lugs annually or semiannually. This is a good safety measure to make sure the wheels are properly tightened, and it lets you “break free” any corrosive buildup so you can loosen wheels later without much trouble. When the lugs are off, spray the threads with a corrosion-inhibiting spray to prevent the lugs from seemingly welding themselves onto the bolt after you put them back on. Don’t forget to do the same process to your spare wheel if it’s also mounted on threaded bolts.
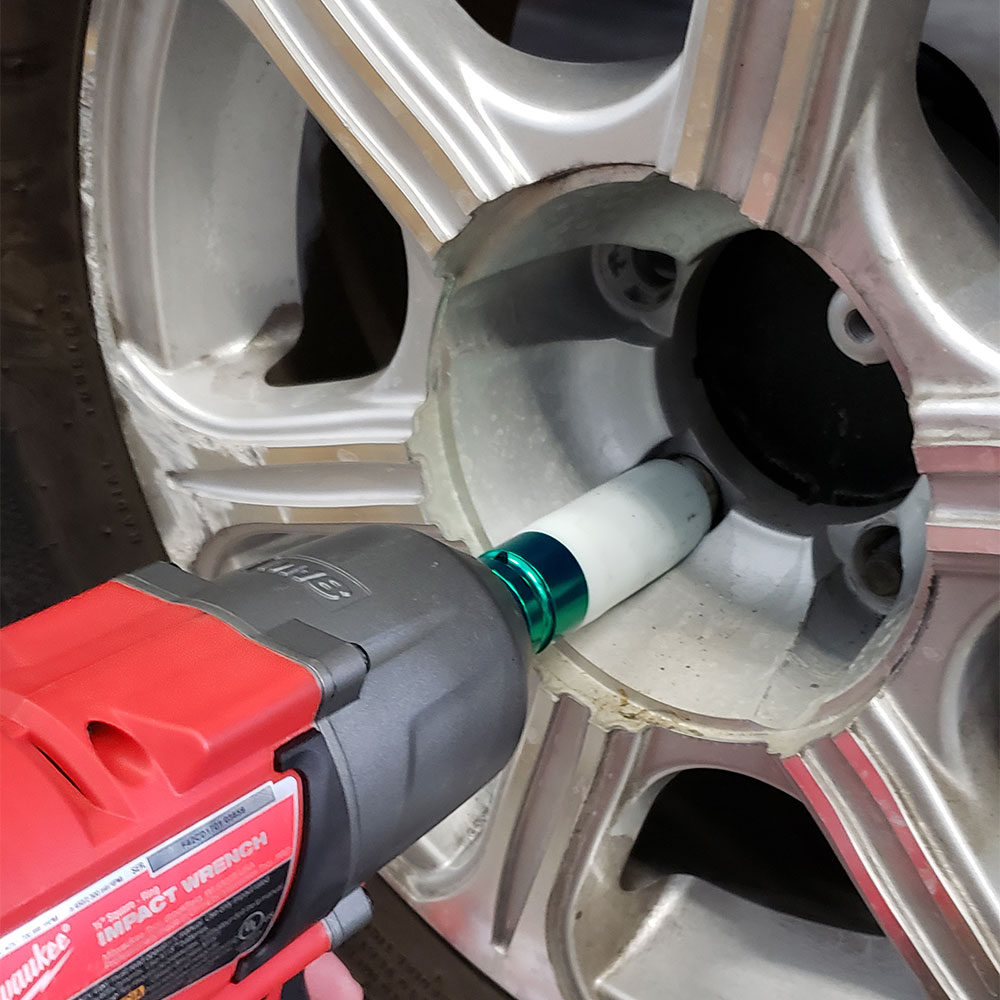
- Ditch your four-way lug wrench and carry a large breaker bar with a socket instead. Take the time to make sure you have a socket that fits into the rim and fits over the nuts you might need to work with, and maybe even keep a backup in your dashboard storage, just in case. Remember, some trailer wheels have tight fittings that require a thin walled socket, and if a bolt is especially long, you’ll need a deep well socket that fits all the way over the bolt. For all around peace-of-mind, there are thin-walled, impact-rated socket kits that have a plastic outer coating available that won’t damage your rims.
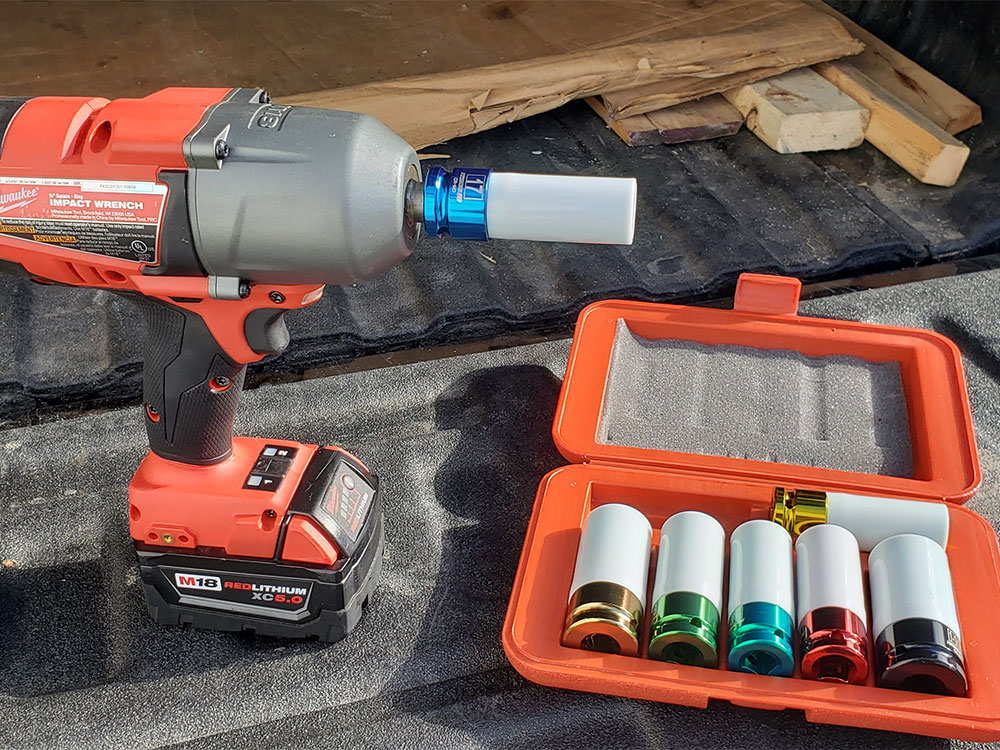
- While a breaker bar provides much more leverage than a four-way lug wrench or the chintzy wrenches included with your vehicle, having more power on hand is rarely a bad thing. If you have space to store it, carry a cordless impact drill in your vehicle, and make sure it’s charged before you leave home. It’s a great way to get through a fix as fast as possible instead of waiting hours for roadside assistance. There are some models available that have as much power as pneumatic tools.
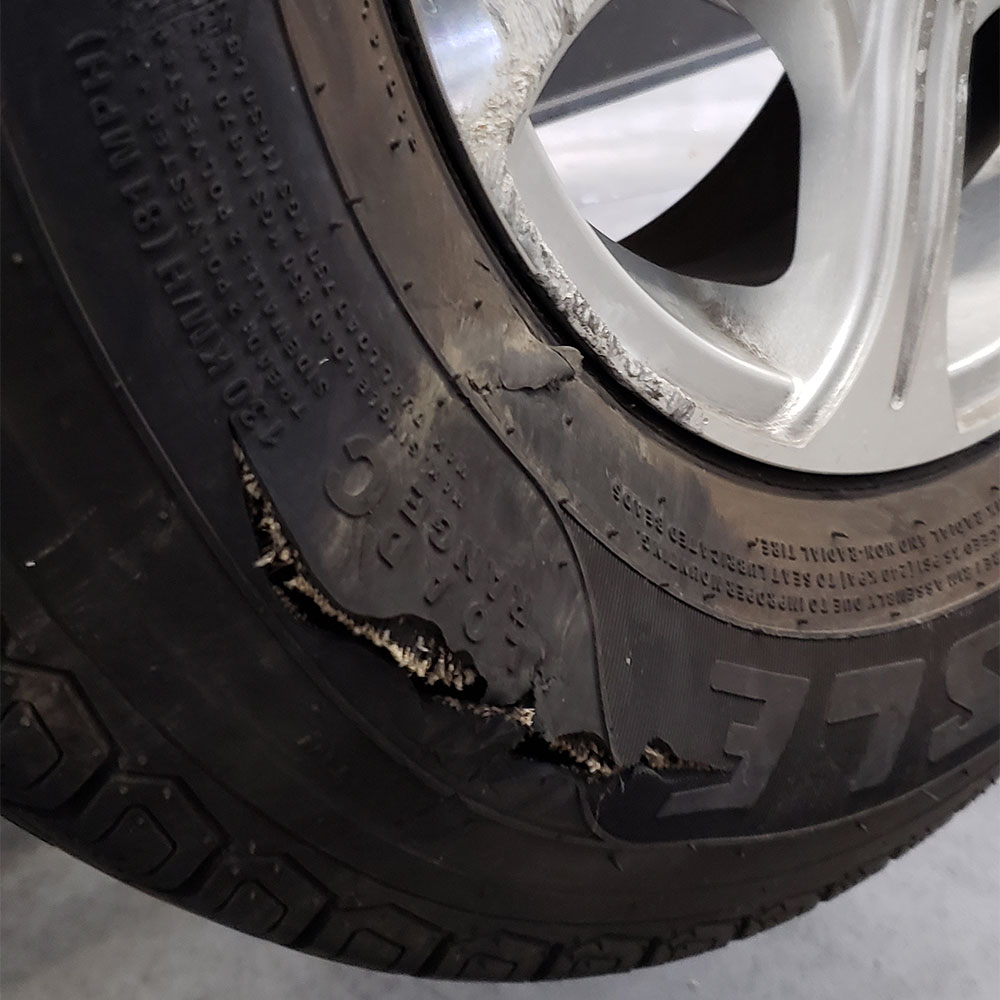
Inspect Your Tires
It may sound trivial, but maintaining the correct tire pressure will improve your gas mileage, make for a smoother ride, and reduce the chances of a blowout. While you’re at it, check your spare tire as well. I still remember the day when a pothole took out a buddy’s trailer tire and the spare was so rotten and low on air that it blew out not more than a hundred yards farther down the road. That said, it’s also not a bad idea to cover your spare tire. A tire cover keeps it out of the sun and delays dry rot.
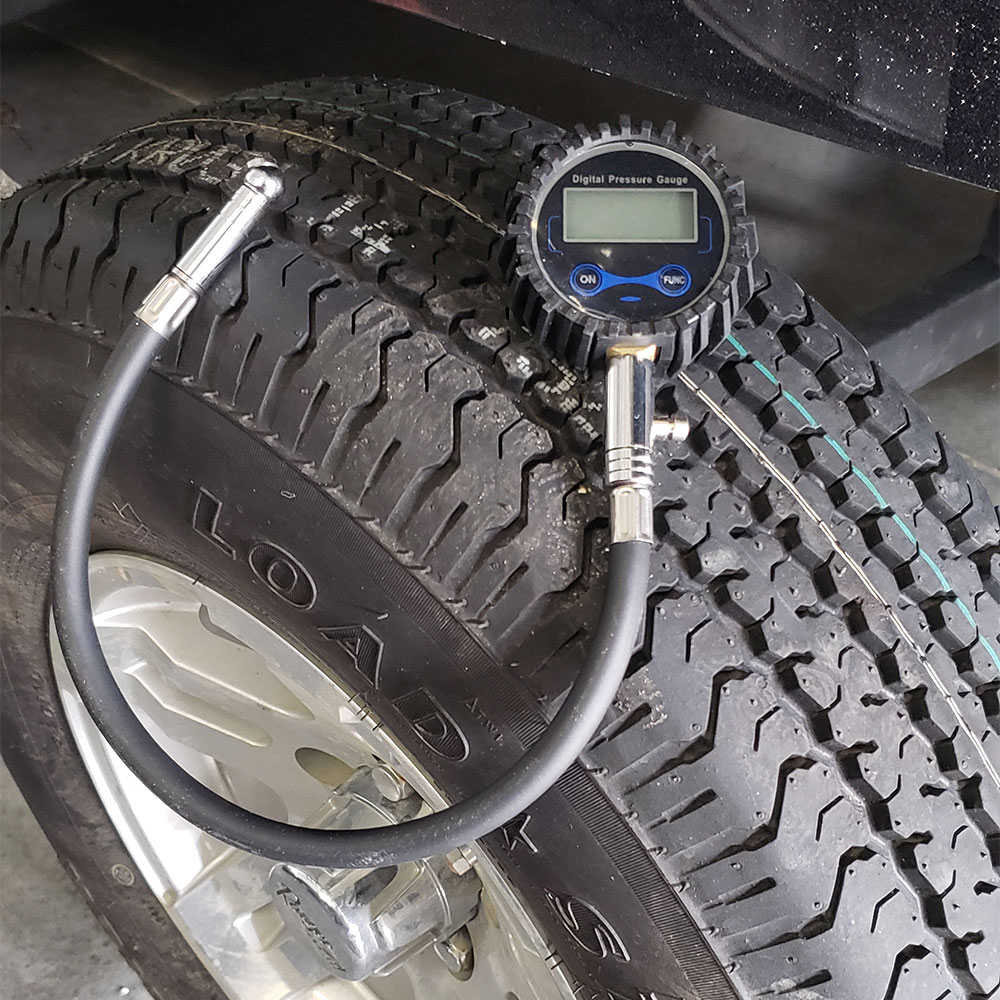
- Ditch your dollar store pressure gauge and spend a few bucks on a decent air gauge, or even a digital air gauge. A good digital air gauge eliminates any guesswork and provides exact psi readings to make filling a tire an exact science. Keep one in the dashboard storage box with the batteries removed so you know it will have power and work when you need it.
- Don’t rely on a weak scissor jack to lift your trailer. Instead, carry a low profile bottle jack. Bottle jacks tackle jobs faster and safer than a scissor jack when you inevitably have to change a tire. If you have the storage space, also pack a few pieces of scrap lumber. It’s handy if you need to create a stable, level base or slightly heighten your jack.
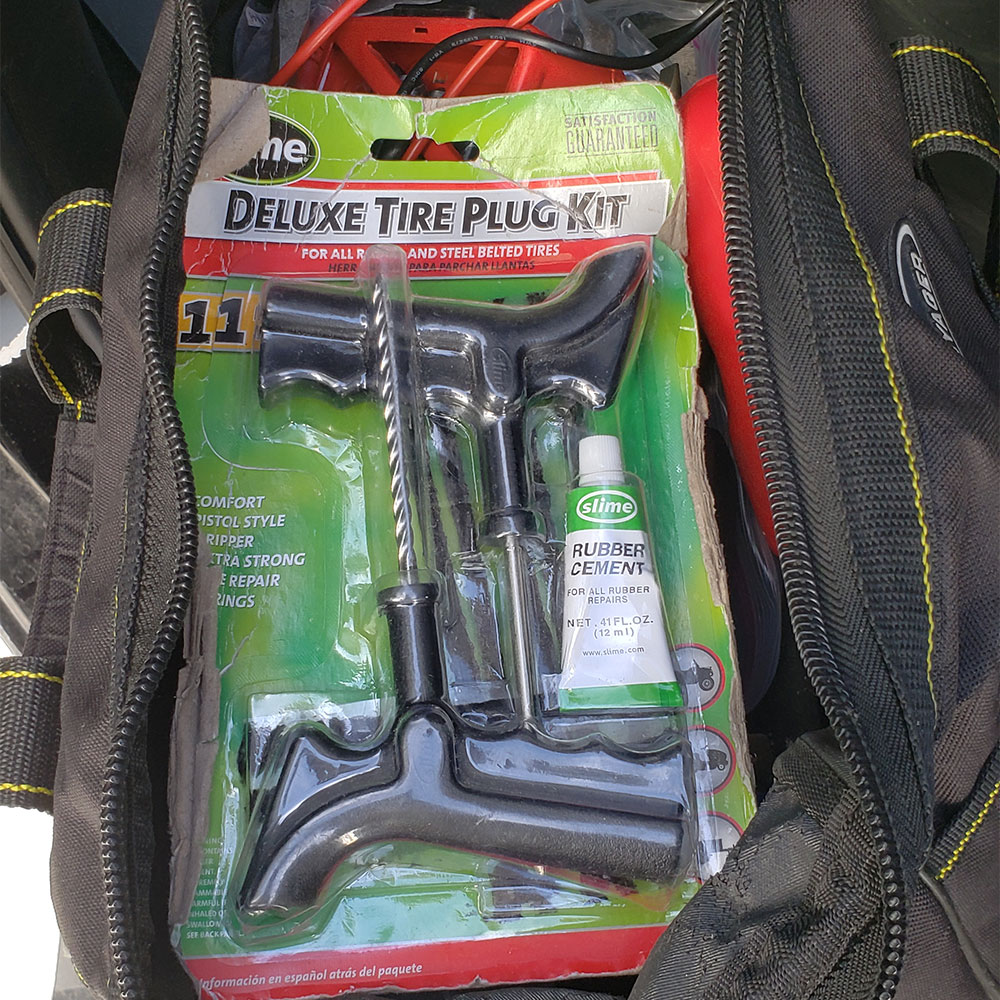
- You can fix some tire leaks, or at least repair a tire well enough to get you out of a jam. Products that inject foam or liquid into a tire to fix a leak are good short-term solutions until you can either get to a safe place or a repair shop to properly fix your tire. But remember, those products can also cause damage. An alternative is a simple patch kit. I always have one on hand, and it has helped me out multiple times.
Read Next: 3 Projects to Keep Your Trailer in Ship Shape
Check Your Connections
Bad trailer connections creep up and become phantom problems when you least expect it. Air temperature fluctuations and traveling over rough roads can take a toll on more than just your wheels and tires. Trailer wires can disconnect, break, or short out, and you might not even know it. Here are a few steps you can take to make sure you’re not struck from behind because your brake lights aren’t working.
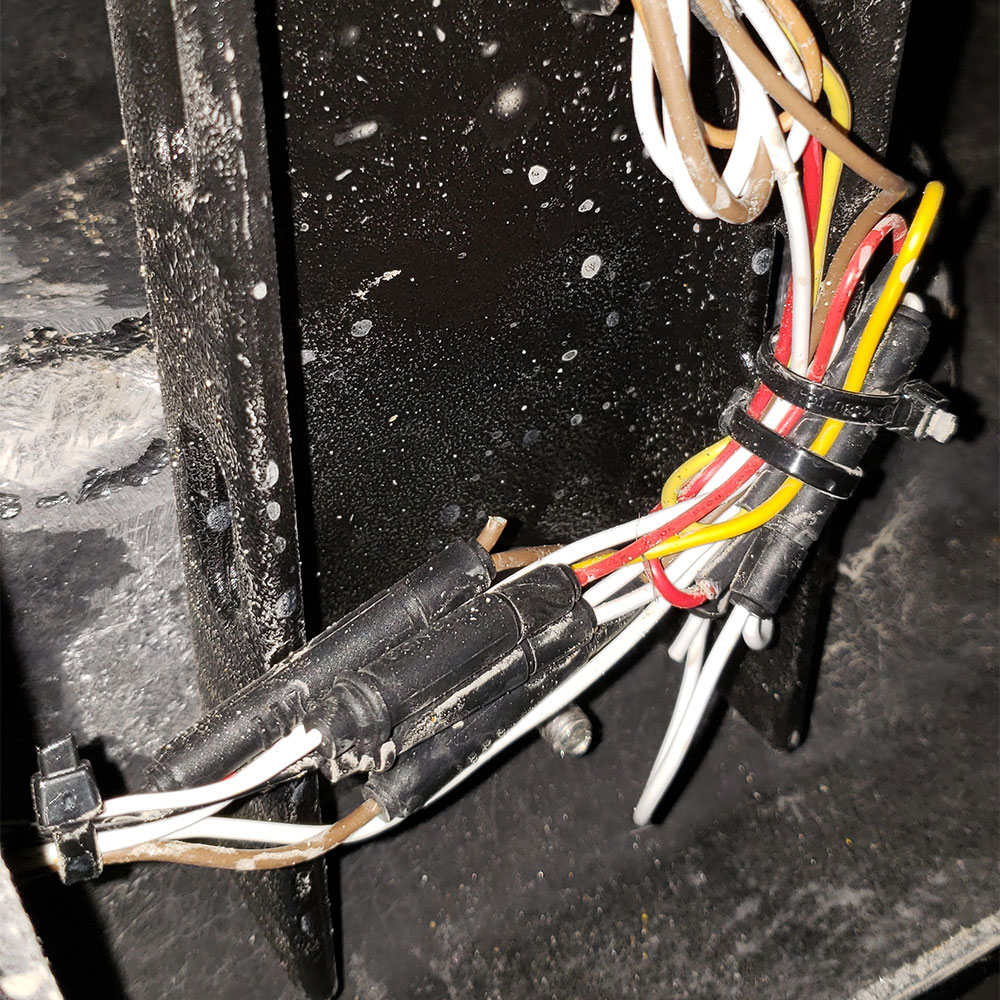
- Trailer light connections typically have a quick disconnect fitting on each wire that can corrode. Before you take your trailer out for the first time this season, disconnect the fittings one at a time and clean them with electrical cleaner. Then, before reconnecting, add a little bit of dielectric grease to the connection and wrap a small piece of electrical tape over the joint to reduce corrosion and prevent the fitting from inadvertently opening up. For unusually loose connections, wrap and bind it together with a short piece of heat shrink.

- If you haven’t made the switch from halogen bulbs yet, LED lights have a much longer life span and require little power to operate. The only drawback is that LED lights require a strong ground connection to function. Most trailer wiring systems use a trailer ball as a ground connection, and it’s prone to rust. Use a wire brush on a drill to clean both the trailer ball on your vehicle and up inside the coupler on the end of the trailer tongue to ensure a clean contact. Adding a little bit of grease on both parts afterwards is messy, but necessary, and will reduce the number of times you’ll have to repeat the process in the future.
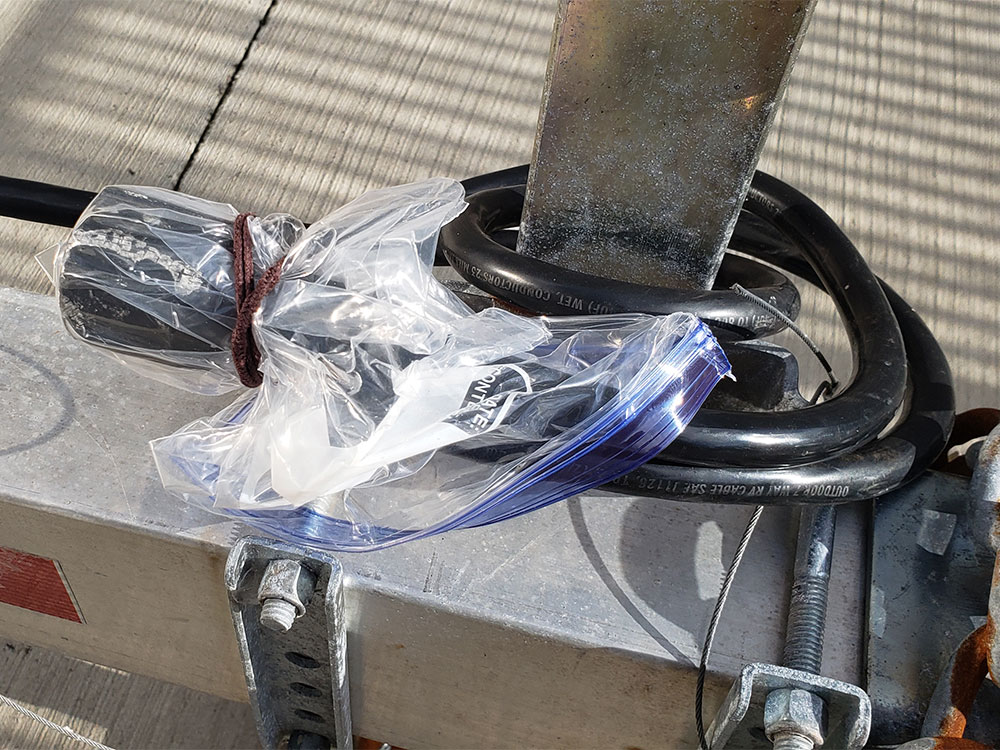
- The trailer electrical plug that connects into your vehicle’s hitch can also give you problems, and most of the time you can blame it on poor (or blocked) connection points. If you’re not getting a solid connection, spray a few light squirts of electrical contact spray on the male and female parts and spread the liquid around with a Q-tip. After the lights are working again, slide a plastic sandwich bag over the trailer connection and secure it with a rubber band whenever the trailer isn’t being used. It should severely reduce the number of times you have to deal with dirty connection fittings. Also, don’t forget to check fuses in your vehicle when lighting failures occur on your trailer.