Practice is only as good as you make it. Spend the off-season shooting your bow at known distances in the familiar range of your yard, and you’ll be quite adept at drilling dots on a block target. But unless you intend to spend the fall drilling dots on targets, that practice can only take you so far. When it comes to the activity you are practicing to perfect—placing arrows on deer, elk, and other animals that tend to show up at unpredictable distances and angles—your training sessions should mimic the real world as much as possible. This is where 3‑D targets shine.
If you’re fortunate enough to live near a commercial course with a full array of 3-D targets, take full advantage of it. But what if there are no clubs or ranges nearby? Make your own. Creating your own backyard (or woodlot) 3‑D course doesn’t have to take up a ton of room or cost a fortune. Here’s how to do it with a minimum of money and space.
BUDDY UP
Targets aren’t cheap. And good targets are downright pricey. But, as with most things, you get what you pay for. Bargain-price 3‑D targets come up short in quality and longevity. Spend a bit more and you’ll get a target that not only looks better, but also lasts much longer.
Partnering with some buddies can make the task of outfitting a course with targets affordable; each participant commits to buying one or two targets and adding them to the collection. Start with four big-game and two small-game targets.
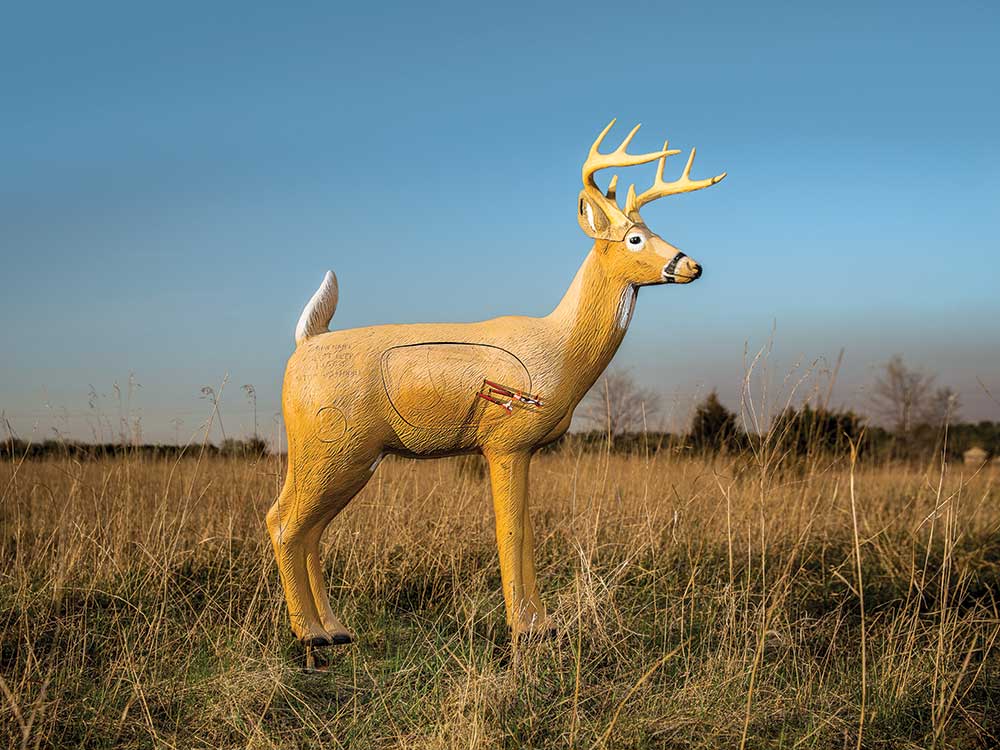
You’ll find there is no shortage of deer targets available. Rinehart and Delta McKenzie are two of biggest players in the 3‑D target game and they make excellent targets. Both companies offer models at two different quality and price levels. Entry-level deer cost about $150 while pro-series targets are $300 and up. You can mix in other species like hyenas, antelope, and axis deer in the same price range if you want variety. Small-game targets—like turkeys, raccoons, and coyotes—cost about half of a deer-size target.
Add up the total cost of the targets and divide it by the number of buddies who want in. A group of four shooters contributing $300 apiece can get a pretty solid assortment of targets. Simply adjust the buy-in amount and budget to match your resources.
LAY IT OUT
The key to creating a useful course in a small space is planning. Mark the boundaries of the area you intend to use with flagging tape. You’ll need more length than width. Now, divide that area in half.
I start with a course about 75 yards long and 50 yards wide. When divided, you now have two shooting lanes that are 75×25 yards each.
Each has a single direction of travel. For example, if your 75-yard lanes run north and south, you begin at the south end of one and move north. Then turn around and travel the other lane. The direction of travel and the order of the targets is up to you; the main point is to have a variety of shots, and ensure that all shooters start and end at the same spot, for safety’s sake. Another safety consideration: ensure that arrows that miss targets land in a safe zone. In my example, each lane should accommodate two of the larger targets set up for shots of at least 20 yards. In between each large target, place a small-game target with the target side facing the sides of the lanes.
Start by shooting the first large target in the lane, then walk forward to shoot the second large target in the same lane. Then turn 90 degrees and shoot across the width of the range at one of the smaller targets. Then make the turn and come back the length of the course, shooting the other two large targets and the second small target.
The course layout can be easily adjusted based on your available space. Simply map it out and start placing targets and obstacles.
MAKE IT TOUGH
Use existing brush, trees, and terrain to make the course challenging. A broadside deer may seem a simple shot at 27 yards—until you have to thread your arrow between two saplings.
You can also mark each shooting location with a stake pounded into the ground. Every shooter must have one foot touching the stake when shooting. For even more of a challenge and variety, add multiple stakes painted with different colors, awarding bonus points for shots made from the more difficult colors.
Don’t have any trees or wooded area? Then get creative. Your kids’ swing set can be an obstacle. Or place garbage cans to partially cover a target, or shoot through a hole in the shrubs.
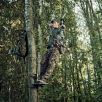
To add even more realism and challenge to the course, and to maximize the number of shot angles, position the course near a tree suitable for a treestand. From the stand, you can shoot any combination of targets depending upon the tree’s location and target angles.
SHOOT UNDER PRESSURE
One of the most overlooked aspects of success in the field is your ability to handle pressure. Anyone who has ever experienced the phenomenon known as buck fever understands just how intense an encounter with an animal can be. To duplicate this, make your trips around the course competitive. Keep score. Challenge your buddies. Messing up a shot while your friends are watching isn’t quite the same as screwing up on a big whitetail, but your heart rate will increase all the same, and with practice you’ll learn to tame your tension as you control your shot.