
If you’ve never eaten whole crispy fish, it’s a real treat. The cooking method is popular in many cultures, but my favorite style of the dish is Cuban. An entire yellowtail snapper is scaled, gutted, scored, battered, and dropped in the fryer. You’re served the entire fish fins, and it all comes with fresh salsa and spicy vinegar-based sauces. This works for me because I don’t mind eating fish off the bone. For most people, of course, bones in fish are a complete turn-off. My point? If your going to catch and eat fish, you’re going to need to know how to fillet a fish.
The average American—whether they catch or buy fish for the table—wants to cook and eat a boneless fillet. Luckily for non-anglers, their local fish market takes care of those bones, selling beautifully prepared fillets ready for the grill. But if you catch your own fish, or if you buy whole fish, it’s up to you to do the knife work. For people new to fishing this can be intimidating, but filleting your catch is not that difficult. Practice will make perfect, and you might miss a little meat in the beginning, but you’ll be slicing like a pro in no time if you follow our guide. We’ll start by answering some common questions, then break down the proper tools for the job and then get into the step-by-step process for filleting a fish.
Are All Fish Filleted the Same Way?
Where filleting can get a bit tricky is when you’re dealing with fish that have abnormal body shapes. As an example, the method for filleting a flat fish such as a flounder will vary slightly from how you would fillet a fish that’s shaped like…well, a regular fish. Likewise, species such as monkfish that carry most of their meat in the tail require some different knife cuts.
Bone structure matters, too. Most fish that will end up on your cutting board will have similar skeletal features, allowing you to fillet them with the steps outlined below. As an example, although a bluegill is shaped differently than a walleye, which is shaped differently than a largemouth bass, they all get filleted with the same process because their bones are structured similarly. Pike, muskies, and pickerel, on the other hand, have an extra set of Y-shaped bones that require some extra cuts and steps to remove if you want truly boneless fillets. The rib structures of trout and salmon also make it impossible to get a bone-free fillet, however, you’d still use the basic method, you’d just have the extra step of pulling those severed rib bones out once the fillets are free of the body.
For our purposes, we’re going to look at the tools and methodology used for basic fish filleting that require no special knife work nor additional steps. This method has you covered for panfish, walleyes, bass, catfish, and myriad common inshore saltwater species like snapper, seatrout, redfish, sea bass, snook, and striped bass.
Read Next: How to Fillet Trout
Tools for Filleting Fish
Fillet Knife
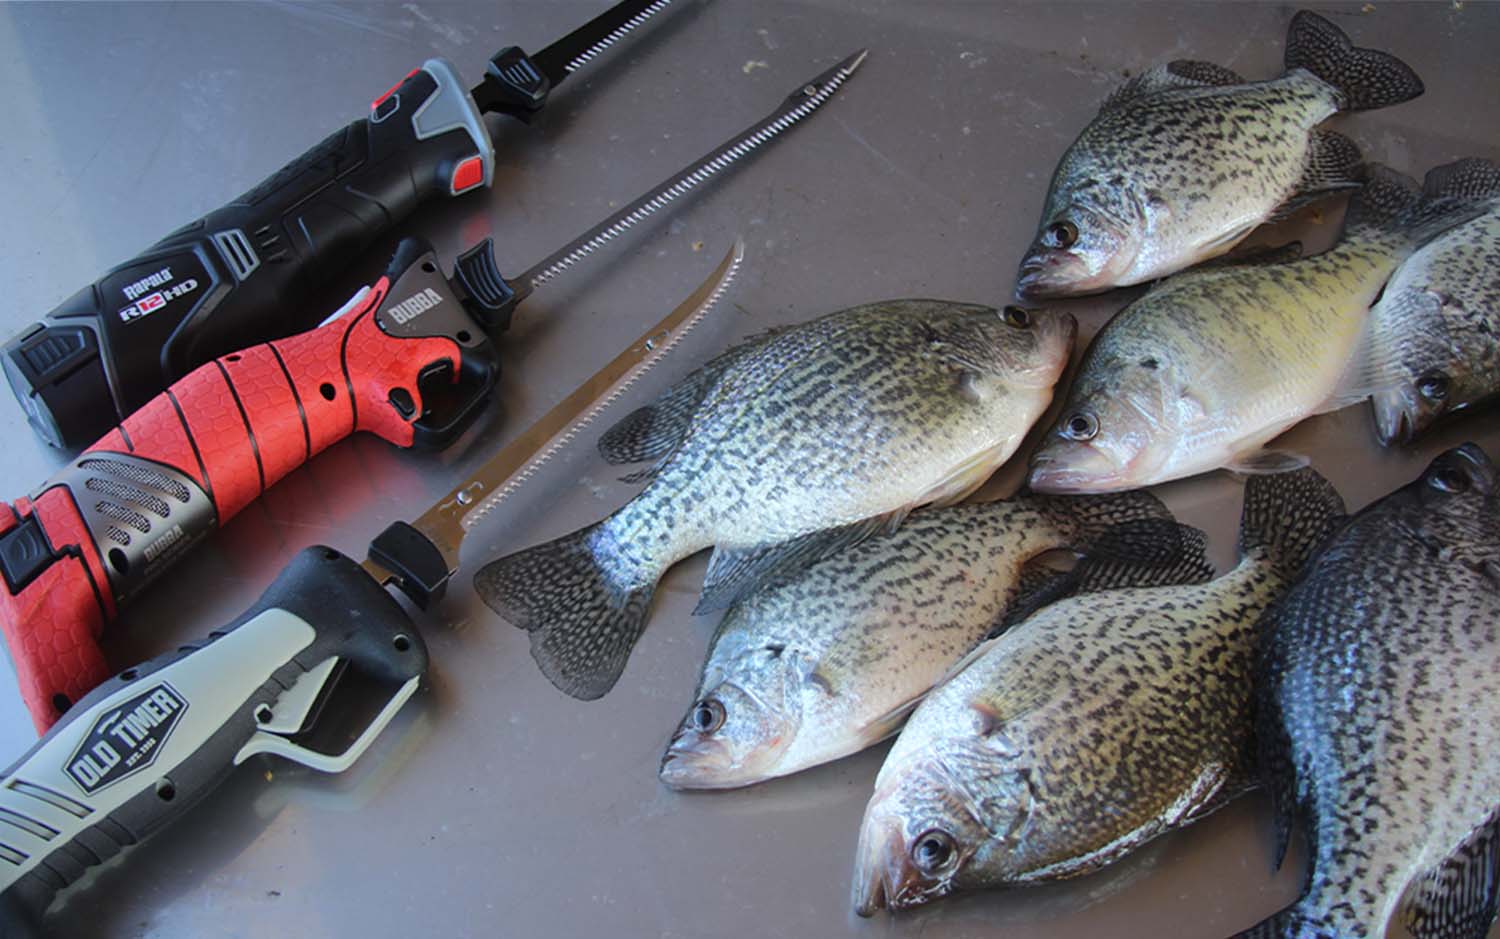
This one is obvious, but before you grab any knife off the shelf, give a little thought to the size of fish you’re going to be filleting most often. A 7-inch blade is what I’d call standard, and it does a fine job on fish of all sizes. However, if you’re predominantly chasing crappies, yellow perch or bluegills, a shorter blade can make quicker work of a cooler full of them. Likewise, if you’re catching a lot of catfish or saltwater species measuring north of 30 inches long or so, you may want to grab a blade that’s 9 inches or longer. Regardless of blade length, you want it to be very flexible. Flexibility is the key to getting the most meat off your catch, and while it may be tempting to use a boning knife or something similar you have in the kitchen already, I do not recommend filleting with a rigid blade. For the last few seasons I’ve been using Bubba’s Interchangeable Blade System, which allows you to swap blade lengths and styles into one handle. Though the set is pricier than buying a single knife, it’s worth it if you cut a wide variety of fish.
Knife Sharpener
Whether you buy a $10 fillet knife or $60 fillet knife, it’s probably going to be razor sharp right out of the package. The cheaper knife will likely be made from lesser steel, so it’ll dull very fast. The more expensive one is likely made of better-quality steel, but make no mistake—after cutting a few fish, it’s going to get dull, too. I never fillet fish without a sharpener at the ready. Not only will a dull blade potentially cause me to waste meat, but it’s also more dangerous.
The sharper the blade, the more cleanly and smoothly it’ll cut and skin your fish. Subsequently, a sharp blade does the work in fewer strokes, and the less strokes you make, the lower the odds you’ll cut yourself. I’m a big fan of Work Sharp’s EDC Pivot Knife Sharpener, and I always keep one with my fillet knives. It’s simple to use and does a great job of touching up your edge in a jiffy. Though this tool is really all you need, I also keep one of Work Sharp’s Ceramic Honing Rods handy to really get the perfect edge after using the sharpener. Note that you always want to check your knife edge before starting, and if you have several fish to cut, re-check and sharpen as needed after each step.
Cutting Board
Far too often, I watch anglers struggle while trying to fillet fish directly on glass tabletops, cooler lids, or cutting boards that are simply too small to handle the fish they’re cutting. Nothing makes filleting more of a headache (and more dangerous) than a fish that’s sliding around or improperly supported, which can force you to work at odd angles. Ideally, you want a non-slip polyethylene or wood cutting board that will fit your entire fish with room to spare around the perimeter. If you insist on filleting your catch on the kitchen table or counter, at least put a layer of newspaper under it first. This will do a fine job of stopping a slimy fish from sliding away from you, however, it’ll also stick to the fish, often forcing you to peel it away and fight with it a bit during the process.
Fillet Glove
Will a fillet glove help you get cleaner fillets? Not really. Will it help you avoid stitches? Absolutely. These mesh gloves have strands of steel yarn woven into the material, and usually just one glove is worn on the hand that isn’t holding the knife. Not only will a fillet glove help you get a better grip on the fish, should your knife slip and contact your other hand, you won’t get cut.
How to Fillet a Fish Step by Step
1. Remove the slime. Before you ever make the first cut, it’s wise to remove as much of the fish’s slime coat before even placing it on the cutting board. Rinse your catch off thoroughly with fairly high pressure, such as from a garden hose. Wipe it dry with paper towels or a clean rag, then place it flat on the cutting board with its back facing you. The drier the outside of the fish, the less it will slide or shift during the process.
2. Make the first cut. Make a diagnol cut from the top of the fish’s head, behind the pectoral fin, and down to the belly. You should feel the knife contact the backbone, and that’s how you know the incision is deep enough. Do not cut through the backbone.
3. Cut down the back. Press down on the head with your non-knife hand to hold the fish in place. Now, insert just the tip of the blade into the beginning of the first cut at the fish’s back. The edge of blade should be facing the tail. Begin making a shallow cut toward the tail. You should feel the back of the blade contacting the ribs as you move. Make sure the blade remains on the top side of the dorsal fin as you work down the body.
4. Push the knife through. Once your knife reaches the area just past the rear dorsal fin, stop moving the knife. You’re now at the thinnest part of the body close to the tail. Still feeling the ribs on the back of the blade, poke the knife straight down toward the belly. Do this slowly and carefully, as you want the point to exit the fish above the anal fin. If the blade comes out under the anal fin, you drove it in too deeply.
5. Finish the cut. With the knife through at the proper angle, slide the blade toward to tail in one firm motion. The blade should exit the fish just forward of the tail, creating a flap.
6. Cut around the ribs. Next, reinsert the tip of the knife at the juncture of the first cut and the cut running along the fish’s back. Once again following the ribs and backbone, begin running the knife down through the cut along the back at a shallow angle. With each pass, hold the incision open with your non-knife hand so you can see the bones, which will help ensure you’re not cutting too deeply. After a few passes, you’ll make contact with the secondary rib cage that protects the fish’s organs close to the head. Let your knife run up and over these ribs following their curve.
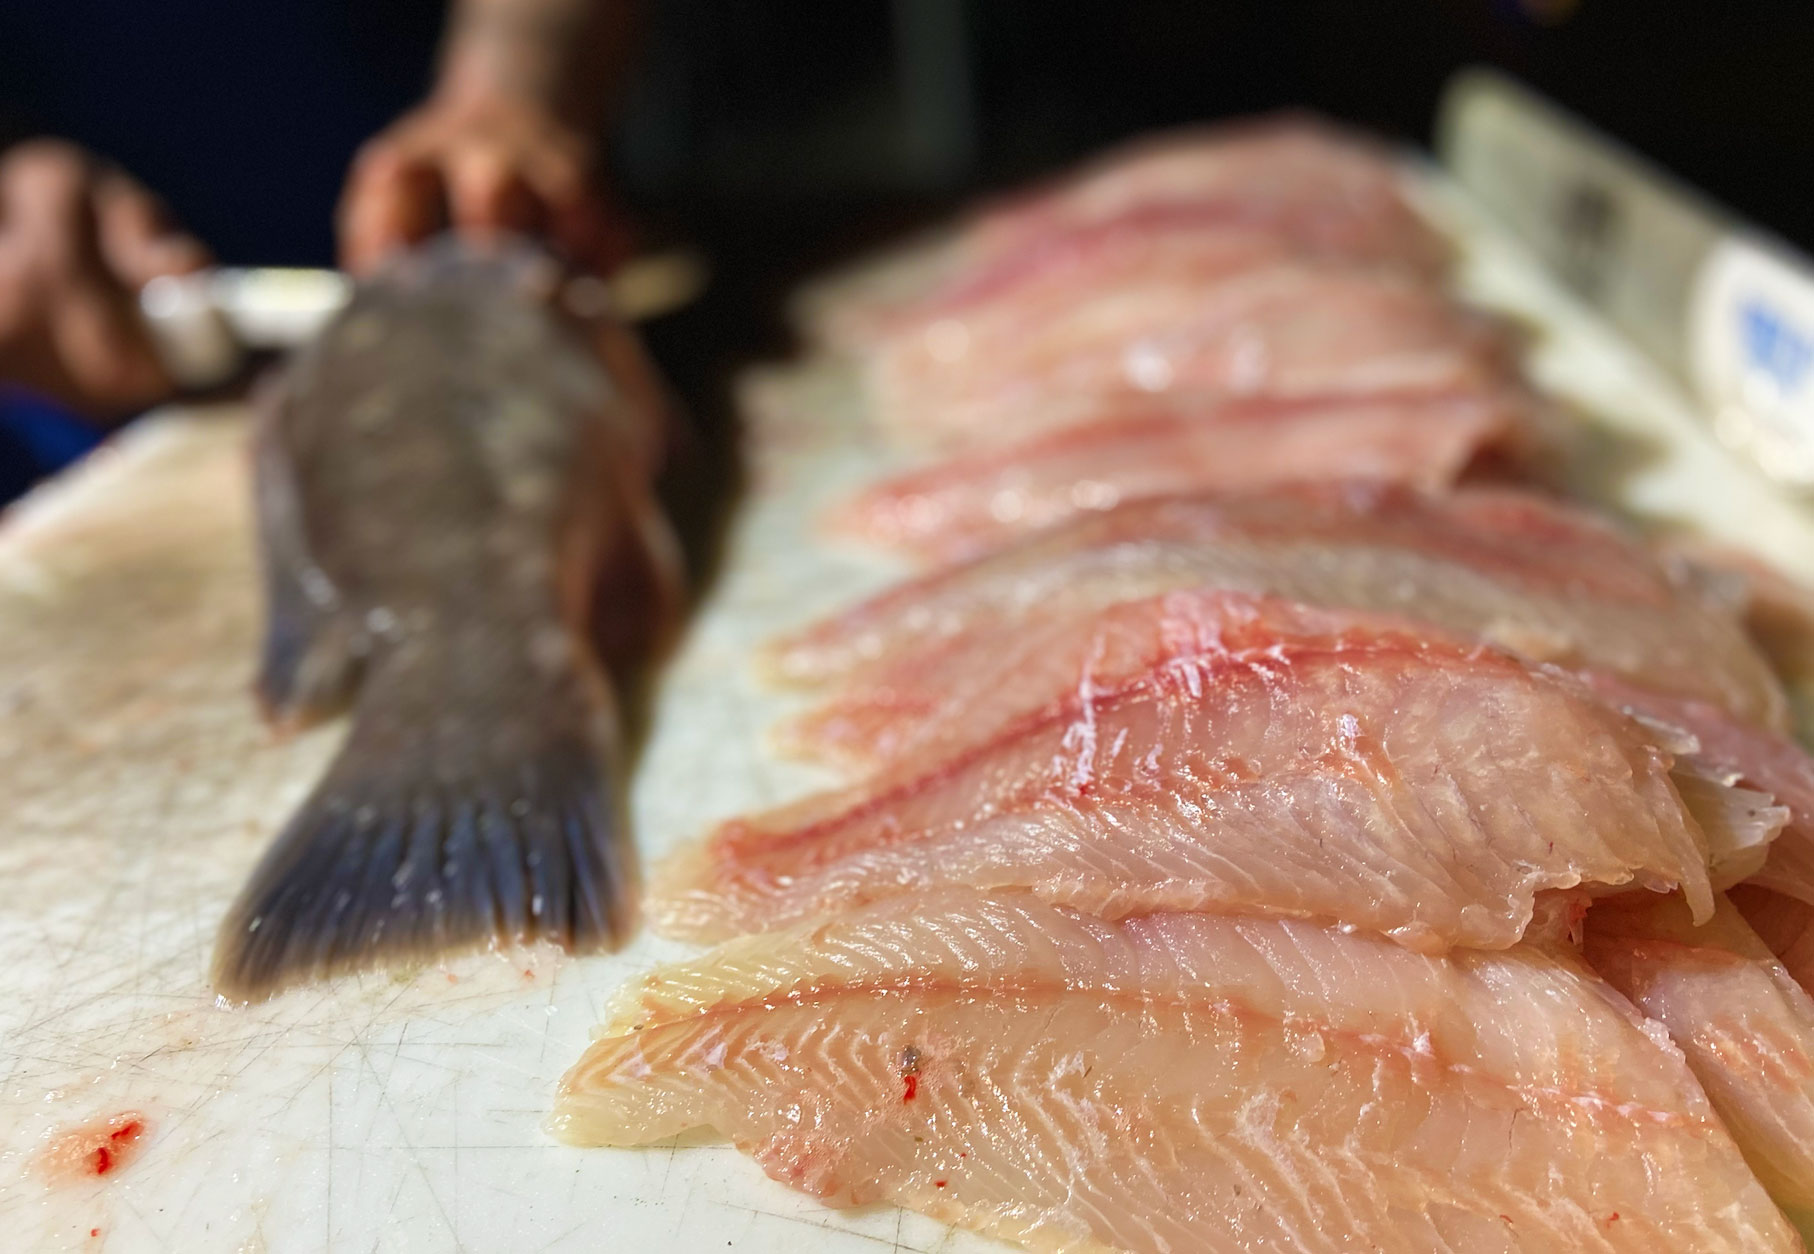
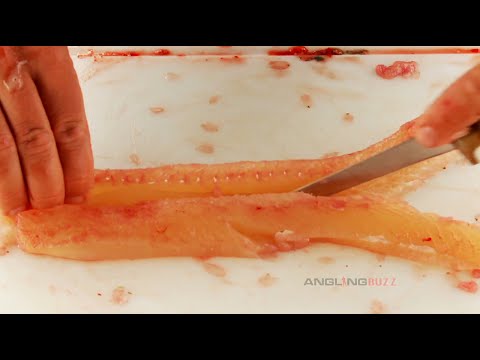
7. Slice away the fillet. Once you get past the rib cage, run the knife straight through until it pokes out of the belly near the head. You should now be able to make one final slice toward the tail that will completely sever the fillet from the body. Set it aside and flip the fish over on the cutting board. You can now repeat steps 2 through 7 on the opposite side of the fish. Done correctly, you’ll wind up with nothing but a head, tail, and skeleton that you should be able to see through with the meat removed.
8. Skin the fillets. With both fillets free of the fish, you’ll want to remove the skin. Now is a good time to resharpen your knife, as a sharp blade makes skinning a snap. Place the fillet on the board skin side down, holding it in place at the thin end with your non-knife hand. With your knife at a very shallow angle, make a gentle cut forward of your fingers being careful not to cut through the skin.
9. Slice skin from the fillets. Maintaining that angle, slowly start pulling the fillet toward you while keeping the blade stationary. Sometimes this requires you to wiggle the fillet back and forth slightly, but the goal is to separate the skin from the fillet without cutting too deeply or shallow, which would leave meat on the skin and create a thinner fillet. Once the skin is separated, repeat the process on the other fillet.
Removing Pin Bones
No matter how long you’ve been filleting fish, nobody does it perfectly every time. You may have to trim out a rib bone that got left behind, or slice pieces of fin rays off the edges of your fillets. This is no big deal. But, you also need to check for pin bones. Many species of fish like walleyes, perch, black sea bass, and snakeheads have a row of very small bones that jut out perpendicular to the spine above the rib cage close to the head. They’re so small that you barely feel them with your knife, and even if you did, you wouldn’t be able to cut around them. You wind up cutting through them and leaving a strip in the fillet. All you have to do is run your finger along the center line of your fillets and if pin bones are present, you’ll feel them. They rarely run all the way to the tail, usually stopping a quarter of the way or so from the head end of the fillet. When your finger finds the last one closest to the tail insert your knife tip next to it and make a slice along the center line toward the front of the fillet. Repeat this cut on the opposite side of the row of pin bins and you’ll be able to pull the thin sliver of meat containing them right out.
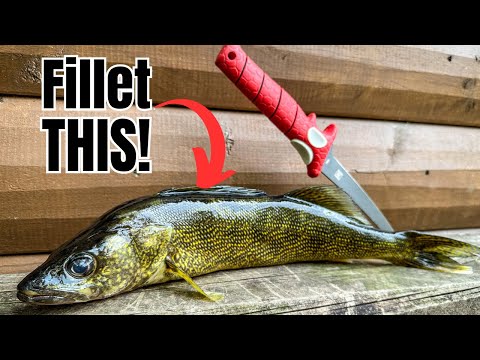
Removing Y Bones in Pike
A lot of anglers avoid keeping pike because of the pesky “Y bones” found in their fillets. There are a variety of ways to remove Y bones from pike fillets, but here’s a simple video on the easiest way to do it.
This works best for larger pike fillets (pike in the 22-inch to 30-inch range). You end up with a bunch of smaller cuts that are a perfect size for the fryer.
Filleting Fish Q&A
How to skin a fish fillet?
Skinning a fillet takes a sharp knife and a good sense of feel. If you search for videos on how to skin a fish fillet, you’ll see a lot of folks demonstrating different techniques, mostly on salmon, which have tough skin compared to some freshwater species like crappie or pike. The best way for all species is to use the method described above.
How to sharpen a fish fillet knife?
Keep your blade sharp by reading our guide on how to sharpen a knife and make sure that you have one of the best knife sharpeners available.
How to cook a fish fillet?
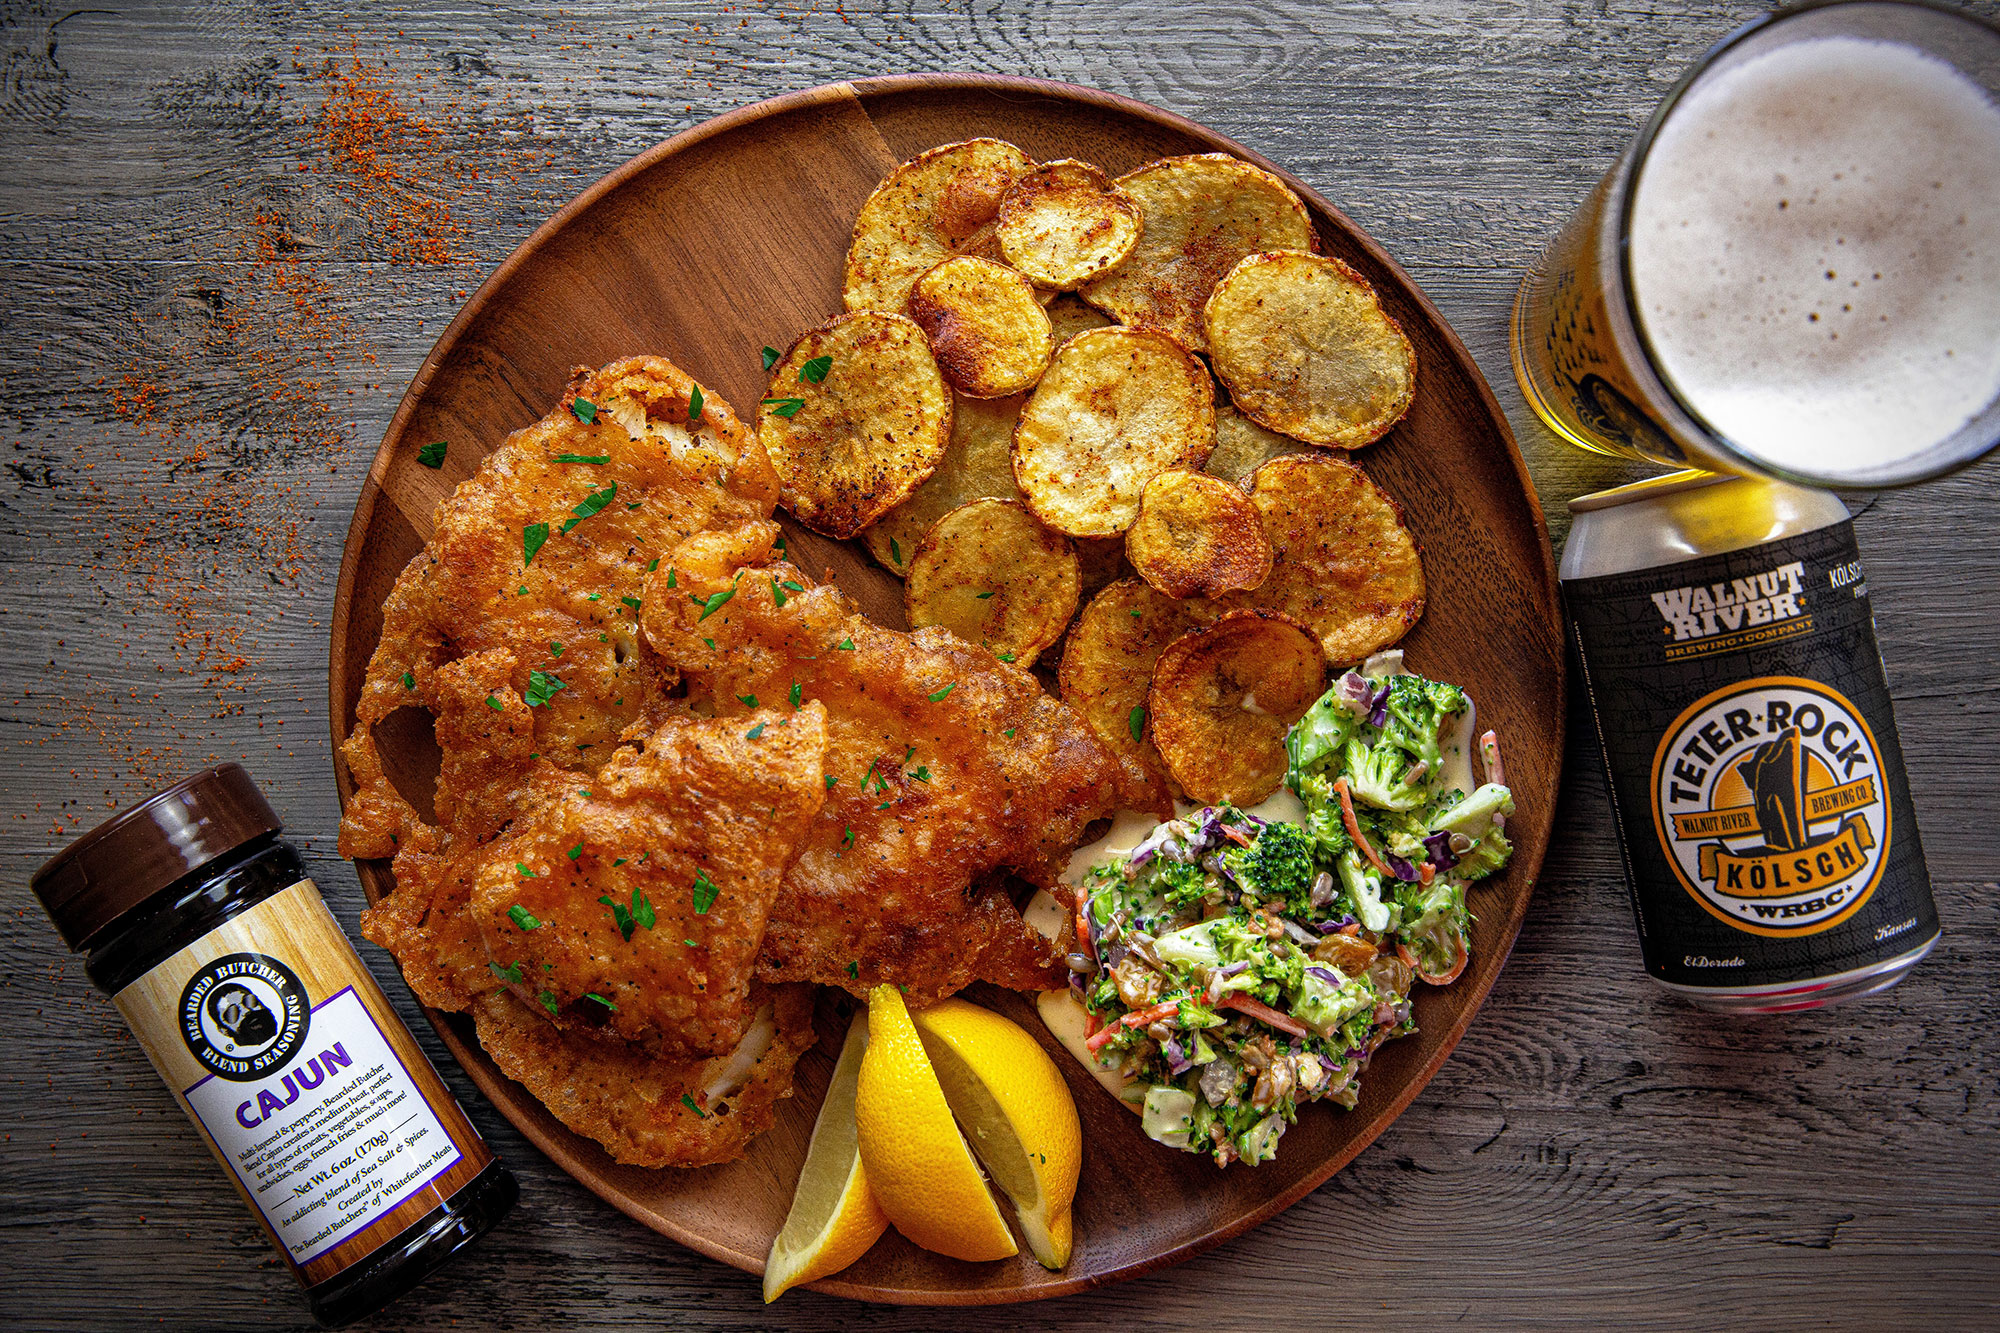
The most common, and arguably best, way to cook a fish fillet is to fry it. Here’s our guide on how to fry fish.
Final Thoughts on How to Fillet a Fish
Learning how to fillet a fish quickly and effectively takes a lot of practice. So in the beginning take your time and do your best to come away with as much meat as possible. Often, mid-sized fish like bass and walleye are easier to fillet than small panfish. No matter what species you’re working with, make sure you have a sharp, flexible knife.