We may earn revenue from the products available on this page and participate in affiliate programs. Learn More ›
The best way for a DIY hobby gunsmith to finish the metal and often the stocks or grips on a gun is with a spray-on coating. Spray coatings are much easier to deal with than traditional methods like hot bluing, which requires a lot of equipment and the use of nasty chemicals.
Spray-on coatings come in many colors and finishes and they can be applied to just about any material. They also protect gun metal against rust and act as a barrier against corrosion causing substances.
Spray-on coatings have become the standard for a lot of custom builders of hunting, tactical, or target guns. Bluing is traditional and has a certain visual appeal, but for a working gun, one that sees a lot of field time, a spray-on coating makes more sense. It is less expensive, will protect the gun, camouflage it in the field, and it is a much easier finish to maintain or repair.
They are better for your love life too. Unless you are a hermit living alone, just try setting up bluing tanks on your kitchen stove, I dare you! Let me know how that works out.
How to Prepare a Gun for Painting
Before refinishing any firearm you must disassemble the gun. Make sure it is not loaded, and take some photos before you start to help you get it all back together. Remove any stocks, grips, sights, scopes, and scope mounts. It’s best to break the gun down as far as you can and are comfortable with doing.
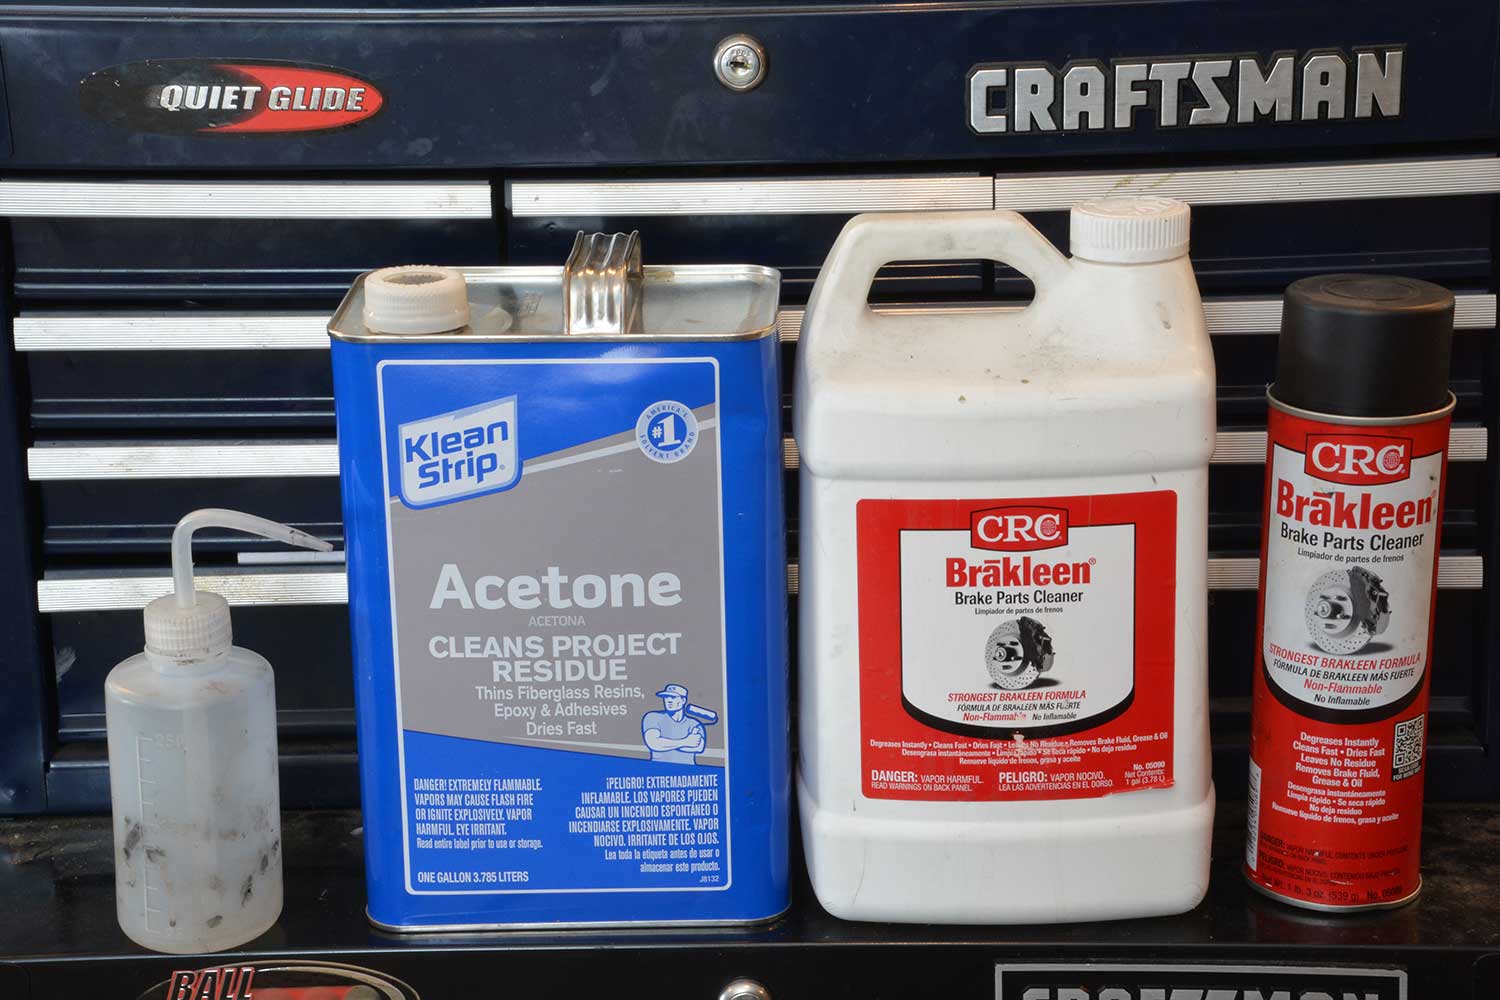
All parts must be cleaned and degreased. Acetone works very well for this. Also, spray cans of Brakleen do a good job of getting in the cracks and crevices.
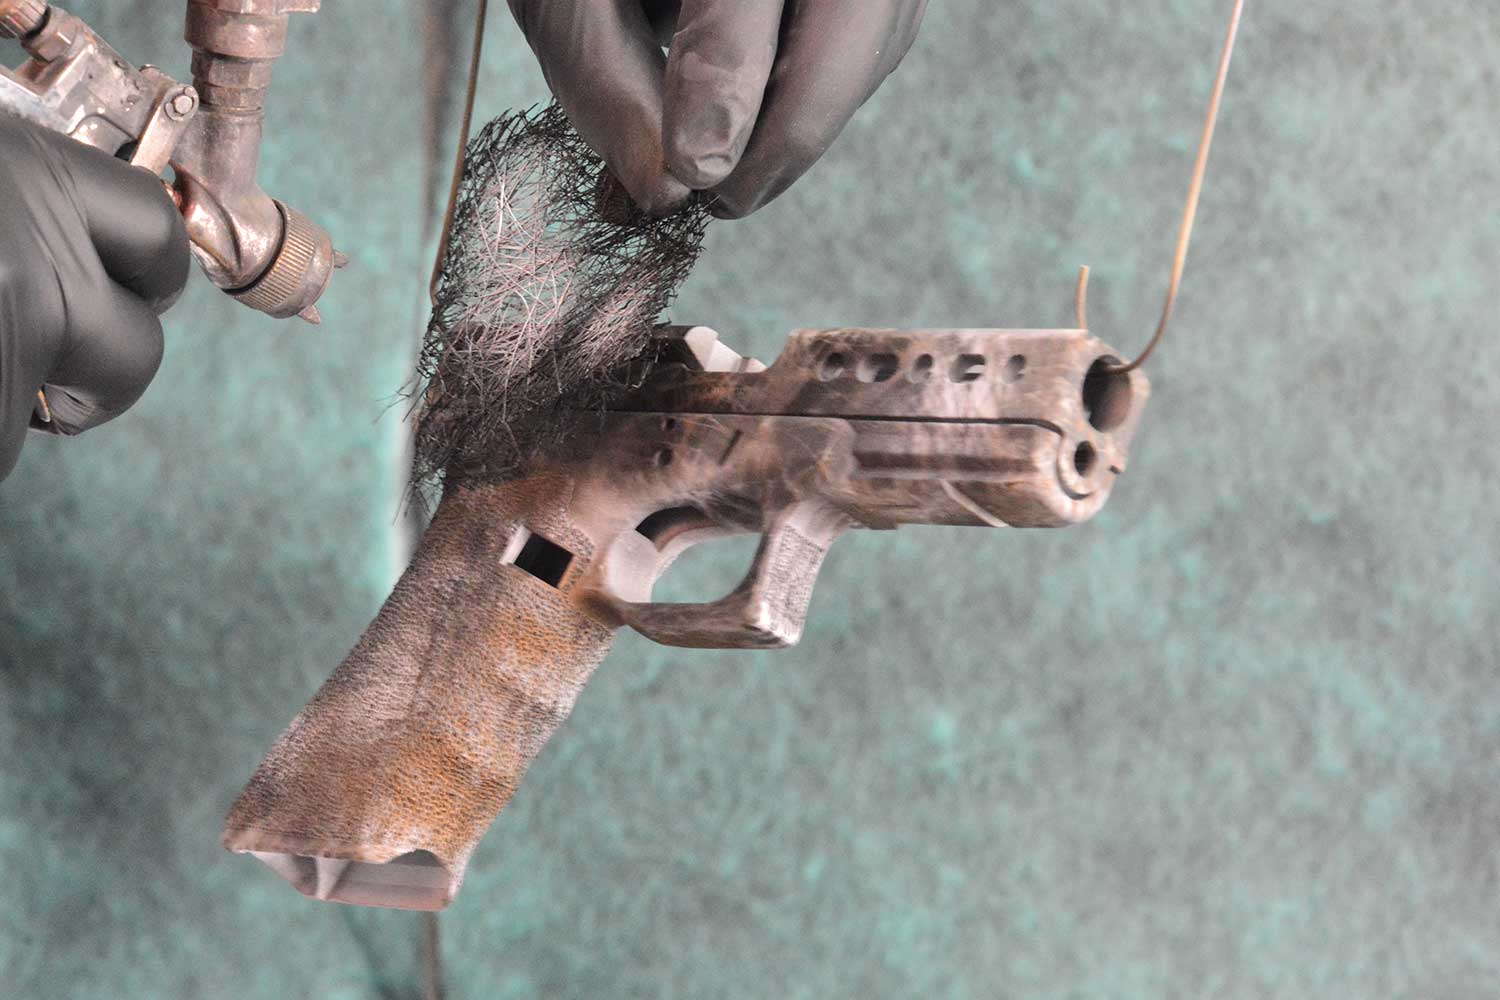
In the end, every single part must be cleaned and completely degreased with a solvent that dries without a residue. Do not handle any degreased parts without clean gloves from this point on.
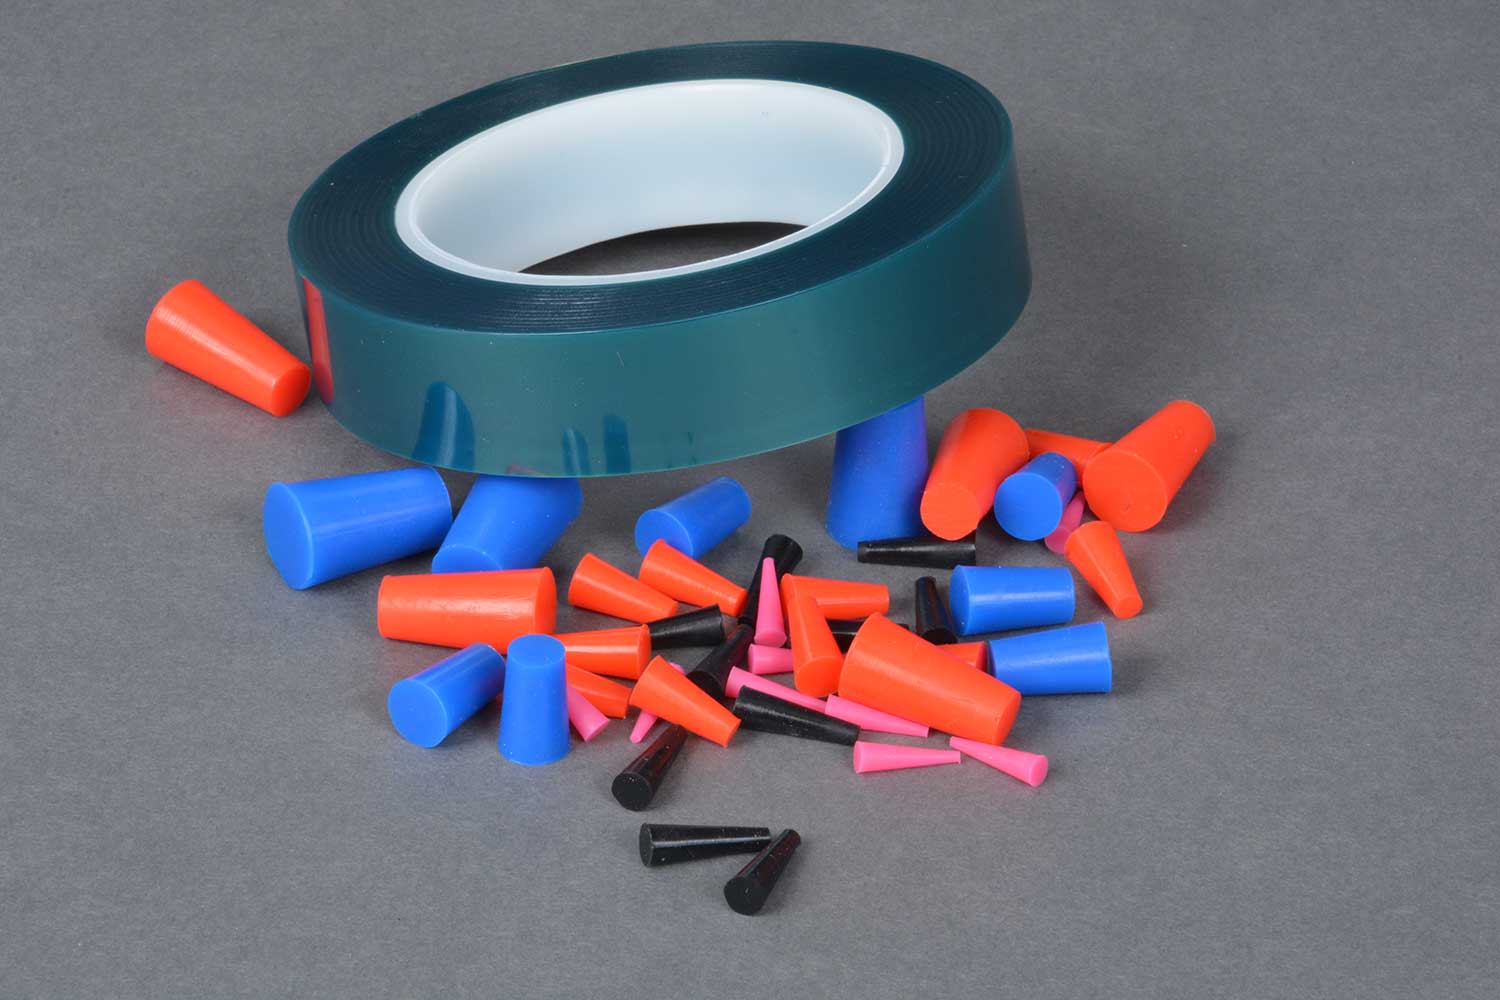
The bore should be plugged with a tapered silicone plug. Other areas that are not going to be coated must be taped off with painter’s tape. Always wear a respirator, not a cheap painting mask, but a high-quality respirator when doing any blasting or spraying operations. Safety glasses are a must, as are leather gloves for sandblasting.
Make a few practice runs on a piece of cardboard with the spray gun or rattle can so you will know how to get the best results. With a spray gun or airbrush, adjust to the recommended pressure and spraying distance for the product you are using. It may take a bit of experimenting with the mix of air and paint to get it right. You want a nice, even, thin coating. Use too much and it will look like paint, not a gun finish. It will also be subject to runs, which means you will have to wash it off and start over. If you have too much air and not enough coating, or you are too far from the piece being coated, the atomized paint can partially dry before it coats the metal. This results in a rough, matte finish that is not durable. So, practice, practice, practice; then spray your gun.
Further preparation will depend on your resources. It’s covered in each of the three sections to follow. Of course the end result will be reflected in the level of work you do to the gun.
A Good Way to Paint Your Gun: Rattle Can Finish
Let’s be clear, the best way to spray coat is to prep the metal by sandblasting. It roughs up the surface, which allows the paint to adhere better. The best coating is applied using an adjustable spray gun powered by an air compressor.
But, I recognize that’s not always possible in a DIY situation. Fear not, you can refinish your gun without sandblasting or spray guns and the results can be pretty amazing.
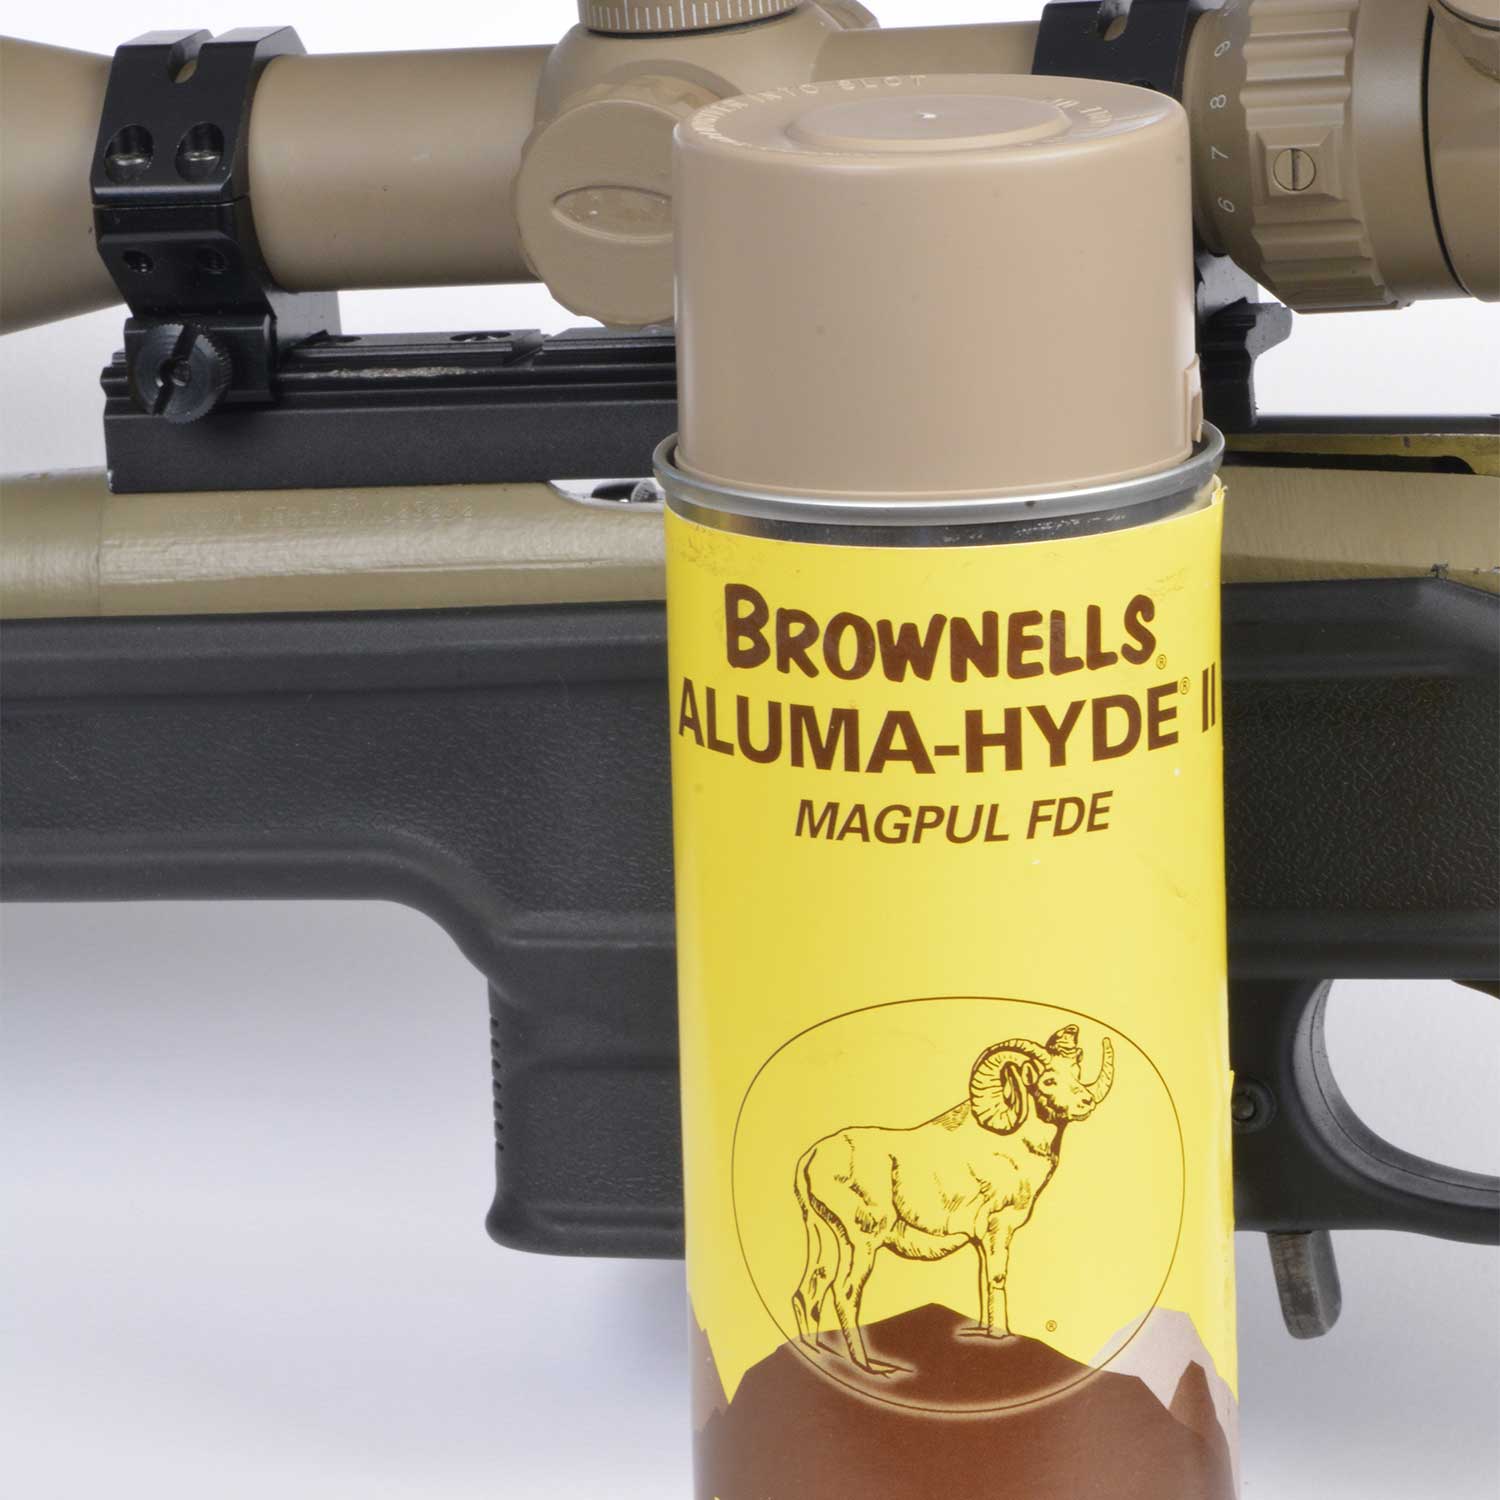
DuraCoat and Brownells Aluma-Hyde II air-dry coatings are available in rattle cans. The rattle can is named for the metal balls inside the can that mix up the liquid and create a distinct “rattle” sound when you shake the can. These cans are pressurized like any can of spray paint, and they can provide a nice air-dry coating on the firearm.
Some products can be used over old finishes, most cannot. Check the directions for each product. DuraCoat says you can rough up the metal with a Scotch-Brite pad and spray over the degreased metal. I have done that with a pretty good results.
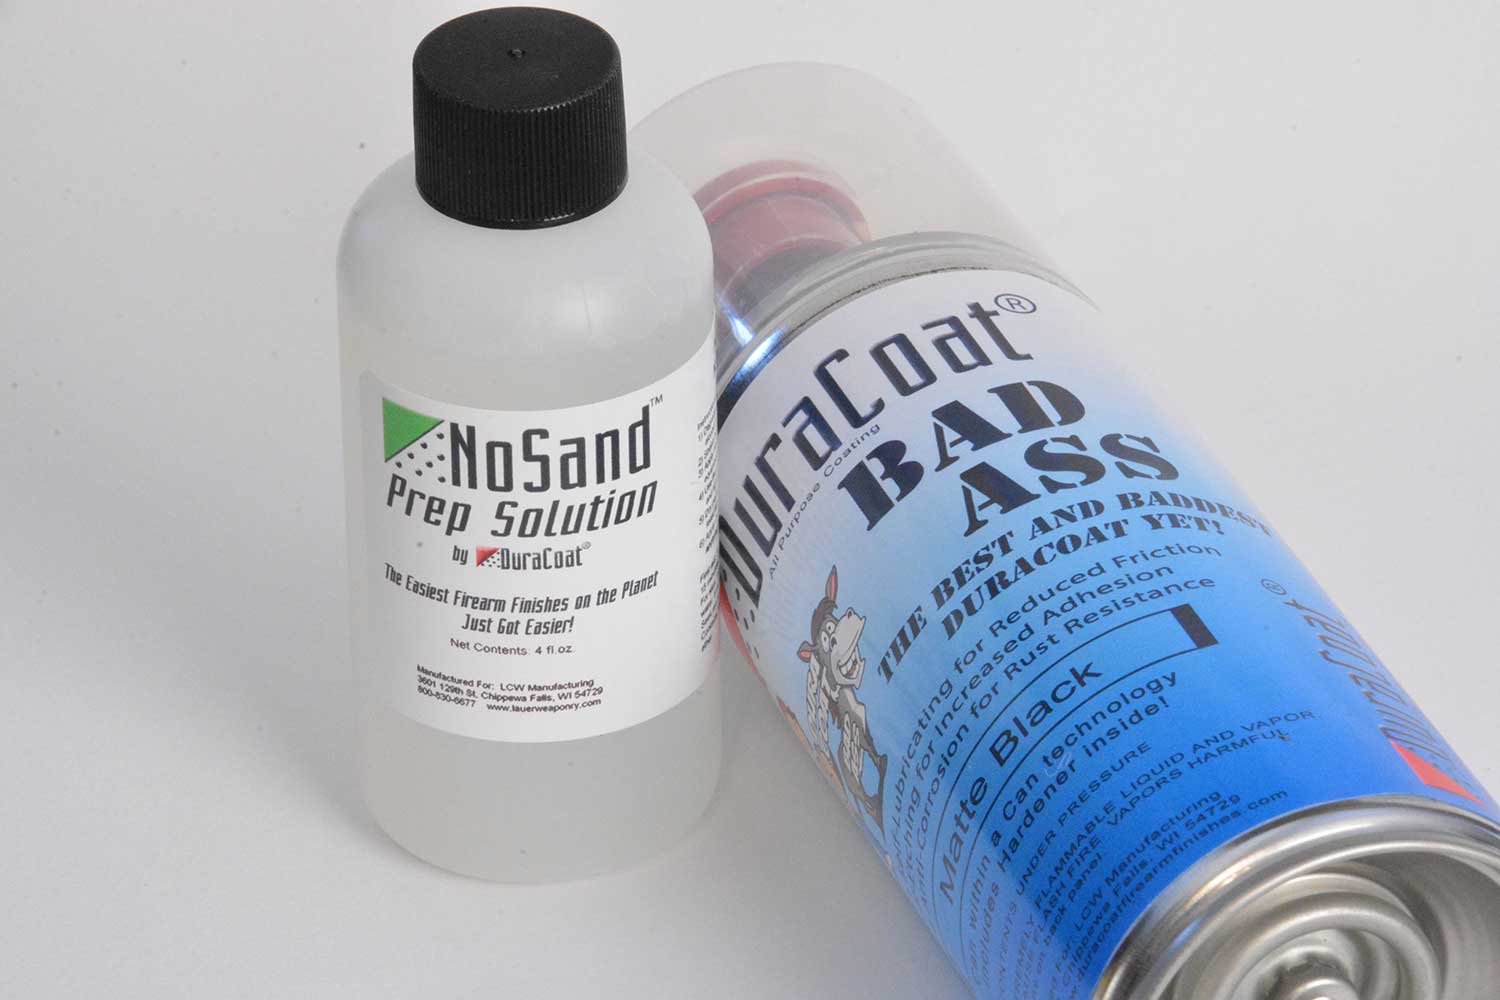
DuraCoat also has a new product called No Sand. After degreasing, applying No Sand with a Scotch-Brite pad to all metal surfaces helps prep the surface for the final DuraCoat application.
Prep the degreased surface. Plug the bore and tape off any other places that you don’t want to be coated using painter’s tape. Hang the parts from wires. Always make a practice run on some scrap material to get a feel for the spray volume and pattern. Spray on the paint in thin coats. It’s better to use multiple thin coats than one thick one. Follow the directions for any repeat coatings.
Read Next: How to Make an Old Rifle More Accurate
Once the part is coated to your satisfaction, let it hang and cure. Follow the recommended cure times on the can. Do not handle the parts prior to the recommended cure time.
A Better Way to Paint Your Gun: Sandblasters and Spray Guns
With gun coatings, like so much in life, preparation is everything. The best results will be from sandblasting the metal. One approach is to find a metalworking shop near you and pay them to blast the parts. If you do this, make sure you degrease the metal after as you can’t ensure the purity of their blasting medium.
Or, you can buy the equipment to do it yourself. Of course, you will need an air compressor with a large enough tank to sustain pressure while blasting.
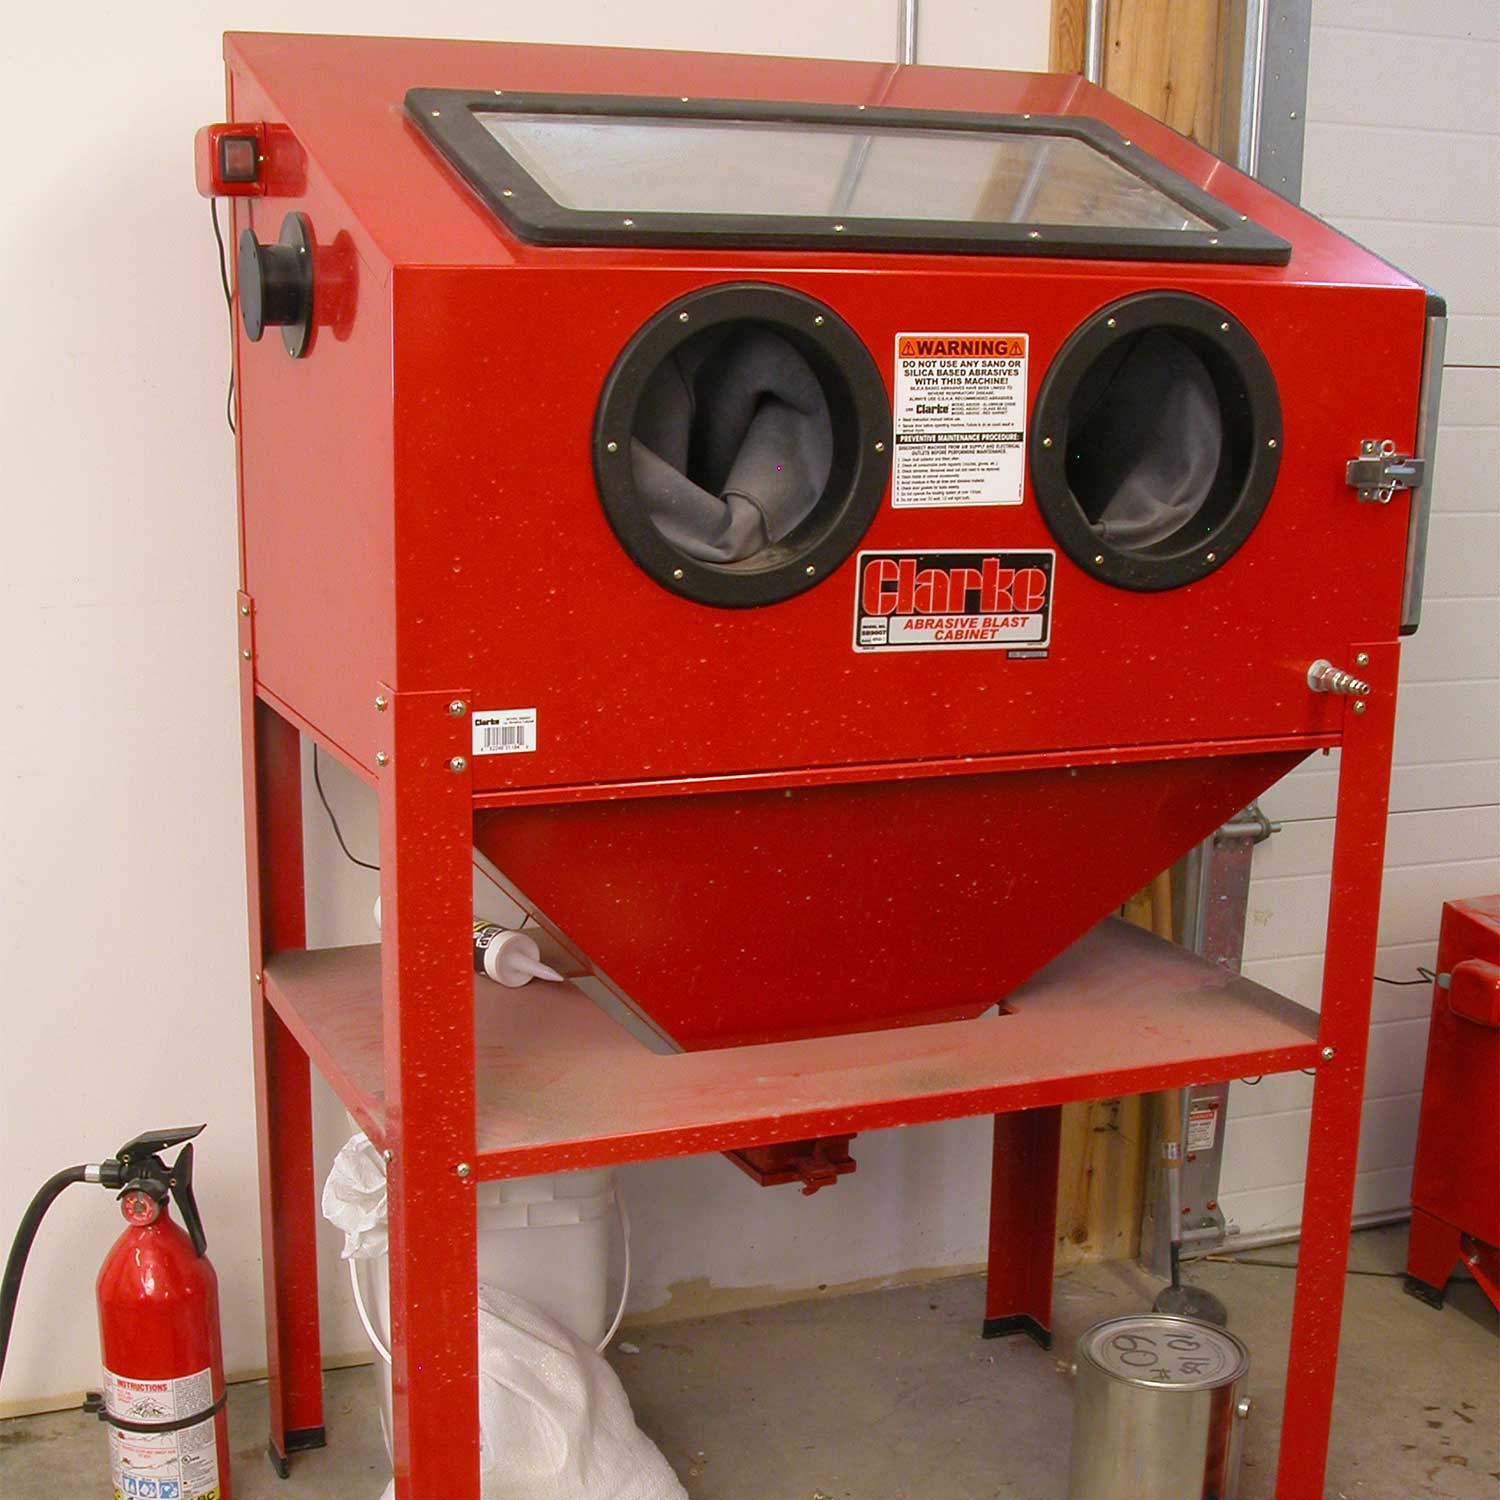
Using a blasting cabinet is the best approach. However, you can get by with an inexpensive gravity feed sandblasting gun. Before I bought a cabinet I used my handheld sandblaster over a cut off plastic 55-gallon drum to capture some of the sand for reuse, or consider the abrasive a consumable and just buy more. Either way, do this outdoors as you don’t want the abrasive dust in your shop. Always wear a respirator, safety goggles, and heavy gloves. Don’t think you can get by without the gloves; sooner or later you will mess up and blast your hand. Without gloves, it hurts like hell.
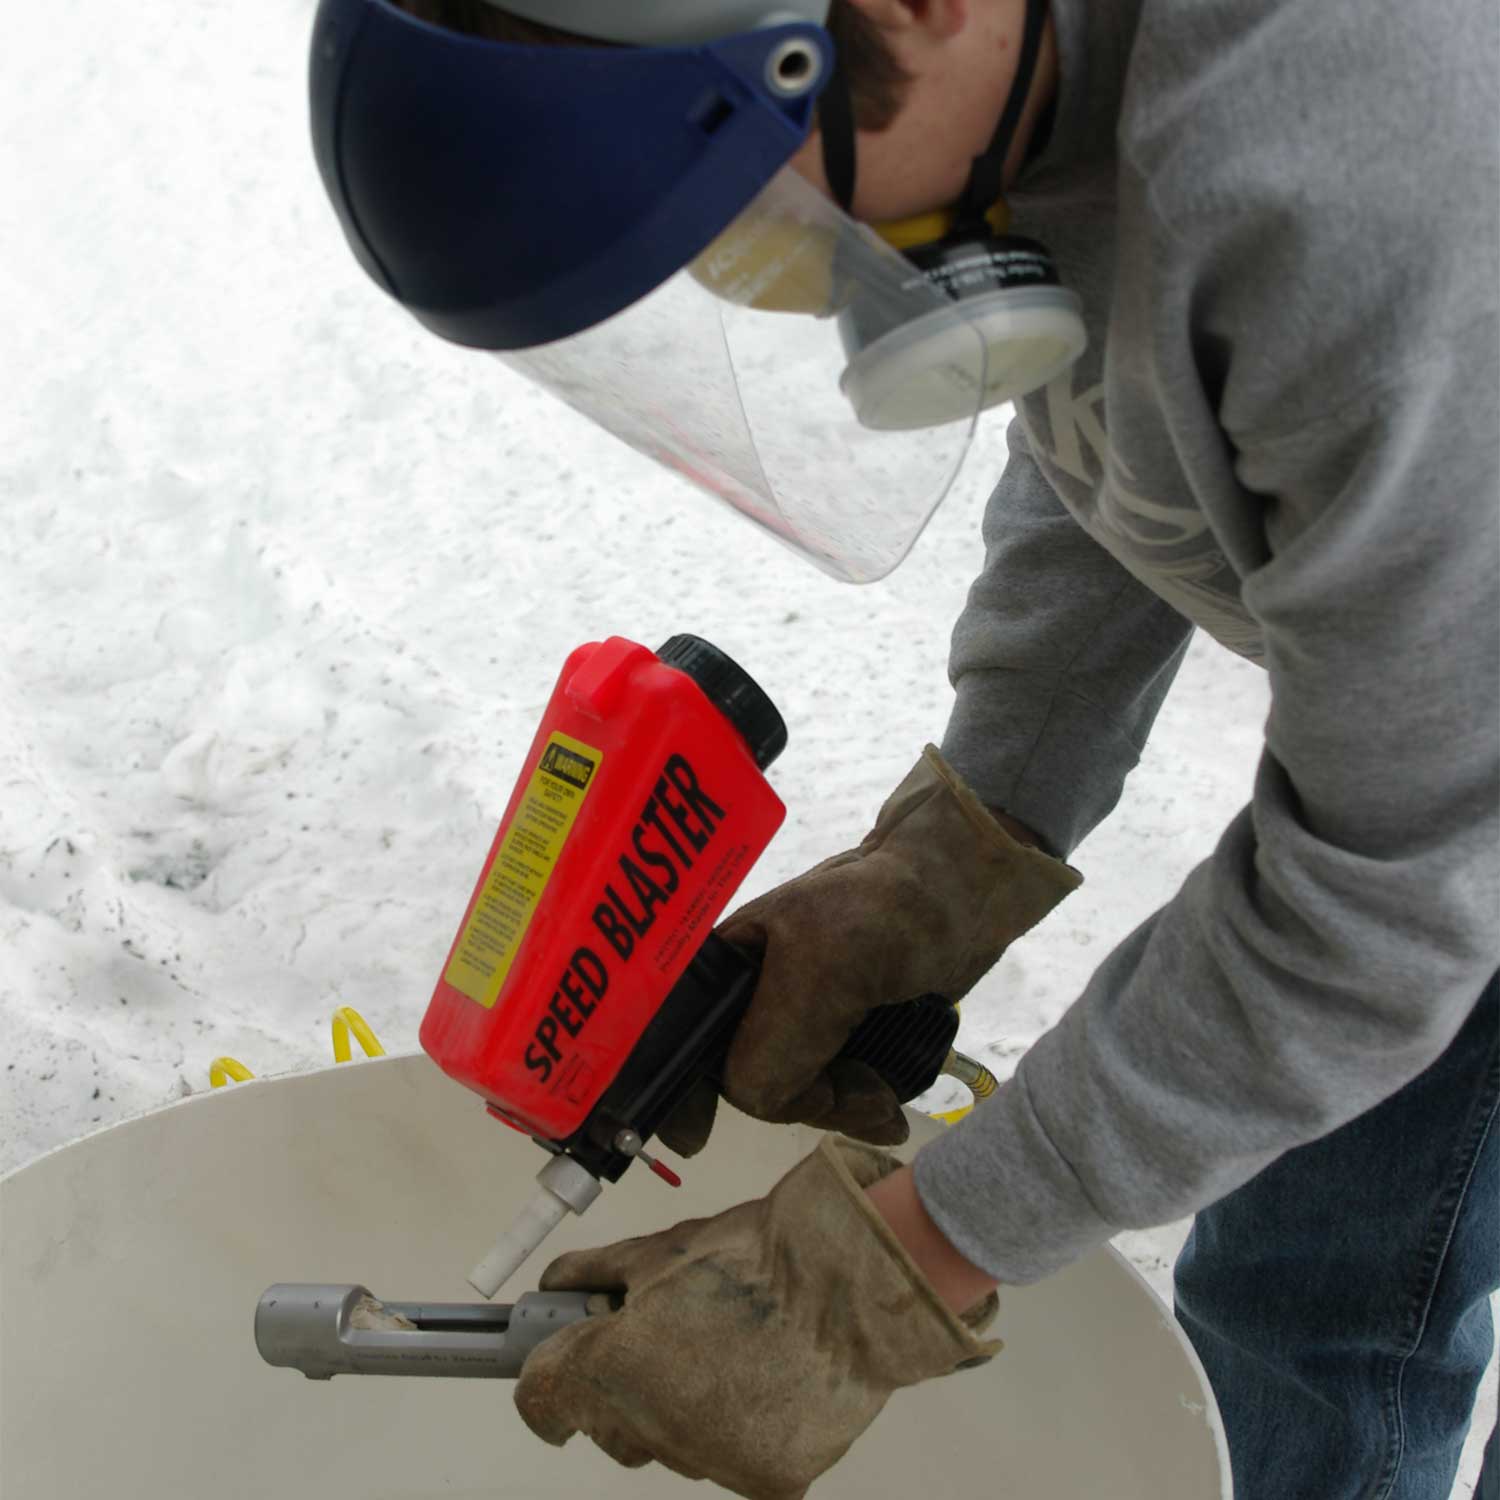
Sandblast the parts with 100 grit aluminum oxide. Use 80 to 100 psi for the metal and 30-40 psi for non-metal parts such as wood, fiberglass, plastic, or polymer. Anodized aluminum parts will require only 30-40 psi. There is no need to remove the anodizing, but you must resurface it.
After blasting, nothing should be shiny; all of the parts should have an even, matte finish. If there are shiny spots on any part, hit it again.
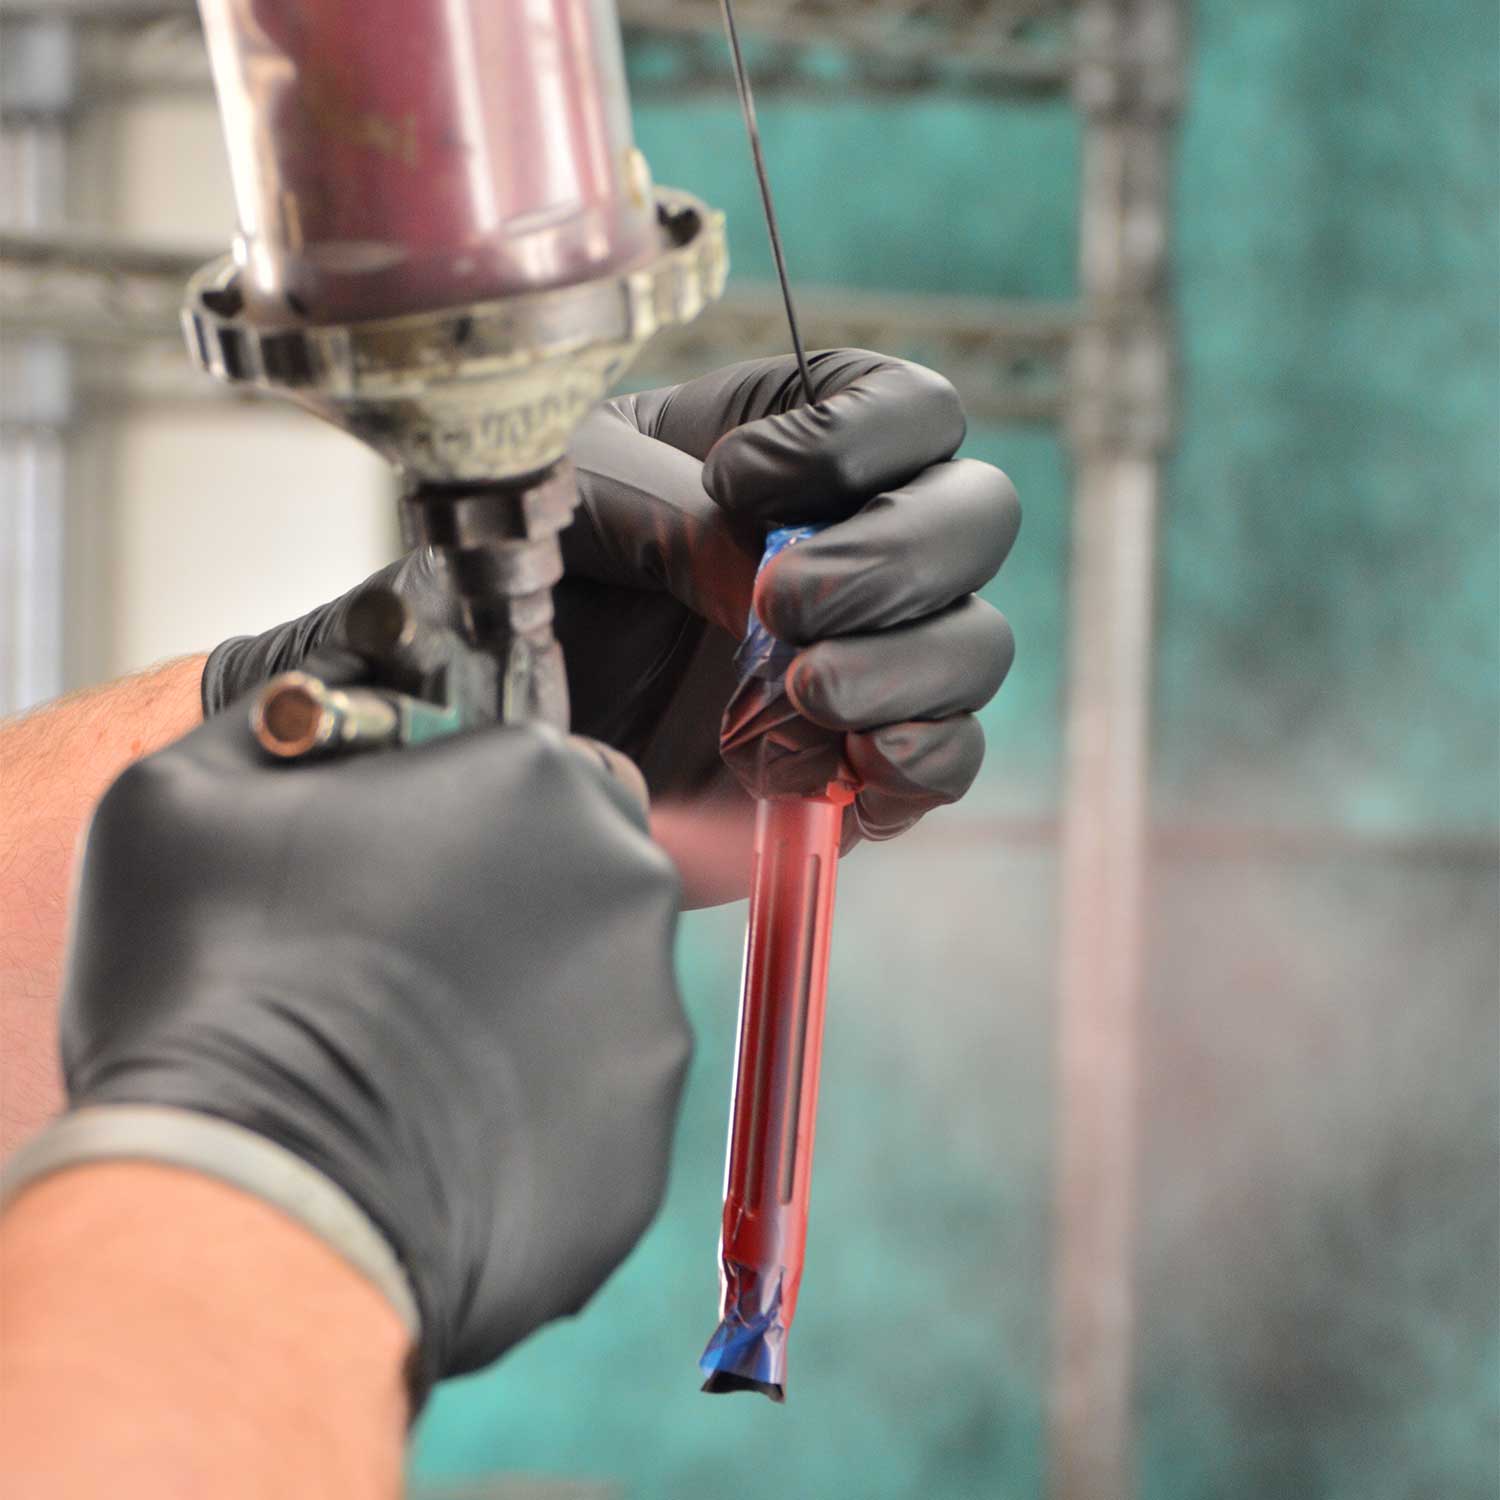
Clearly, if you are sandblasting, you have an air compressor. With that given, it’s best to buy a spray gun as well. There are a lot of air dry options for coatings. Some of the most popular include DuraCoat, Cerakote, and Gun Kote. They are made to use in an HVLP type spray gun with a .8mm nozzle.
A spray gun allows more options in your choice of coatings and a lot more control over the spray while you work. The spray guns are not horribly expensive. You can find them online starting at about $15. Mine was $50 and has lasted for four years and a lot of projects so far.
The Best Way to Paint Your Gun: Heat-Cured Finish
The pros use a heat-cured coating. Not only is this a much shorter time from spray to assembly, it’s thought that the heat cure coatings are a more durable final product.
Read Next: Building the Ultimate Open-Country Hunting Rifle
The bake-on products include Cerakote H and Elite, DuraCoat’s DuraBake, a couple from Brownells, Gun-Kote, and Teflon/Moly. The list goes on with a lot of other products on the market, but these are what I have some experience using. If the parts are going into the oven, it’s best to use a heat-resistant tape to mask off any areas you’re not coating.
If you’re going to use a heat-cured coating, I highly suggest that you read the instructions and follow the recommendations contained in them. There are always some differences in procedure.
Most of the oven-cured products require a little hang time to flash off some of the chemicals before you put the coated piece in the oven. The key is to hang them free from touching anything. One little bump or brush and you will have to do it all over again.
A word on that. Always keep a bucket with solvent ready for goof-ups. You will have a few, so use the recommended solvent to remove the spray coating and start over.
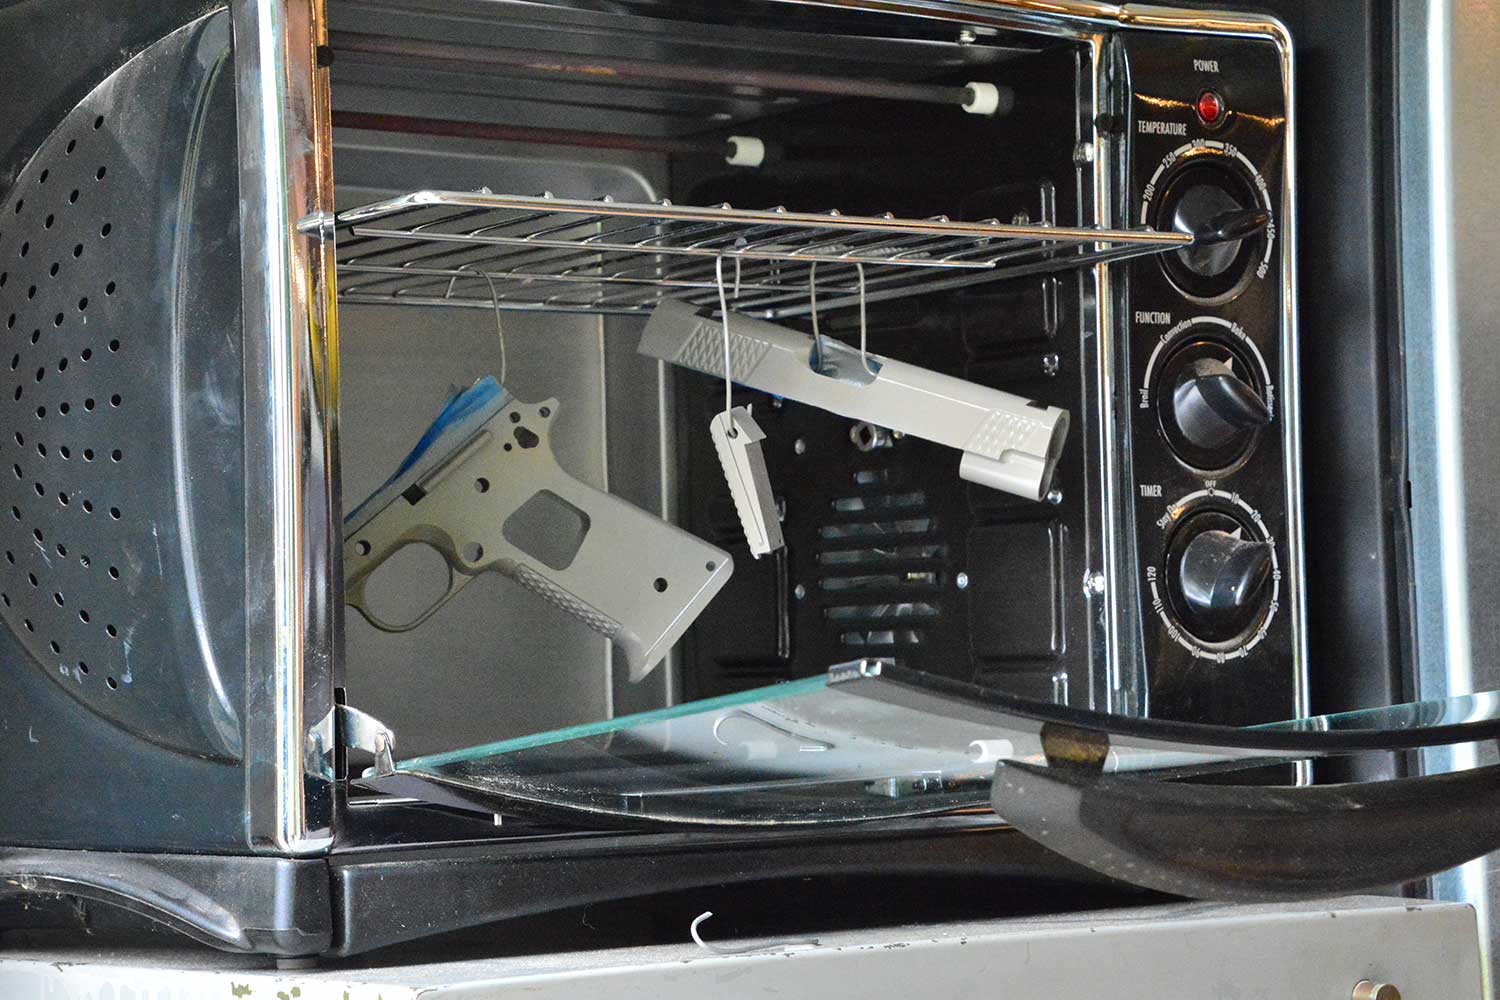
For small parts, a convection toaster oven works pretty well to “cook” the coating. I added an oven thermometer to mine so I have better control over the heat. I also have some magnetic hooks that stick to the top and work well for hanging stuff.
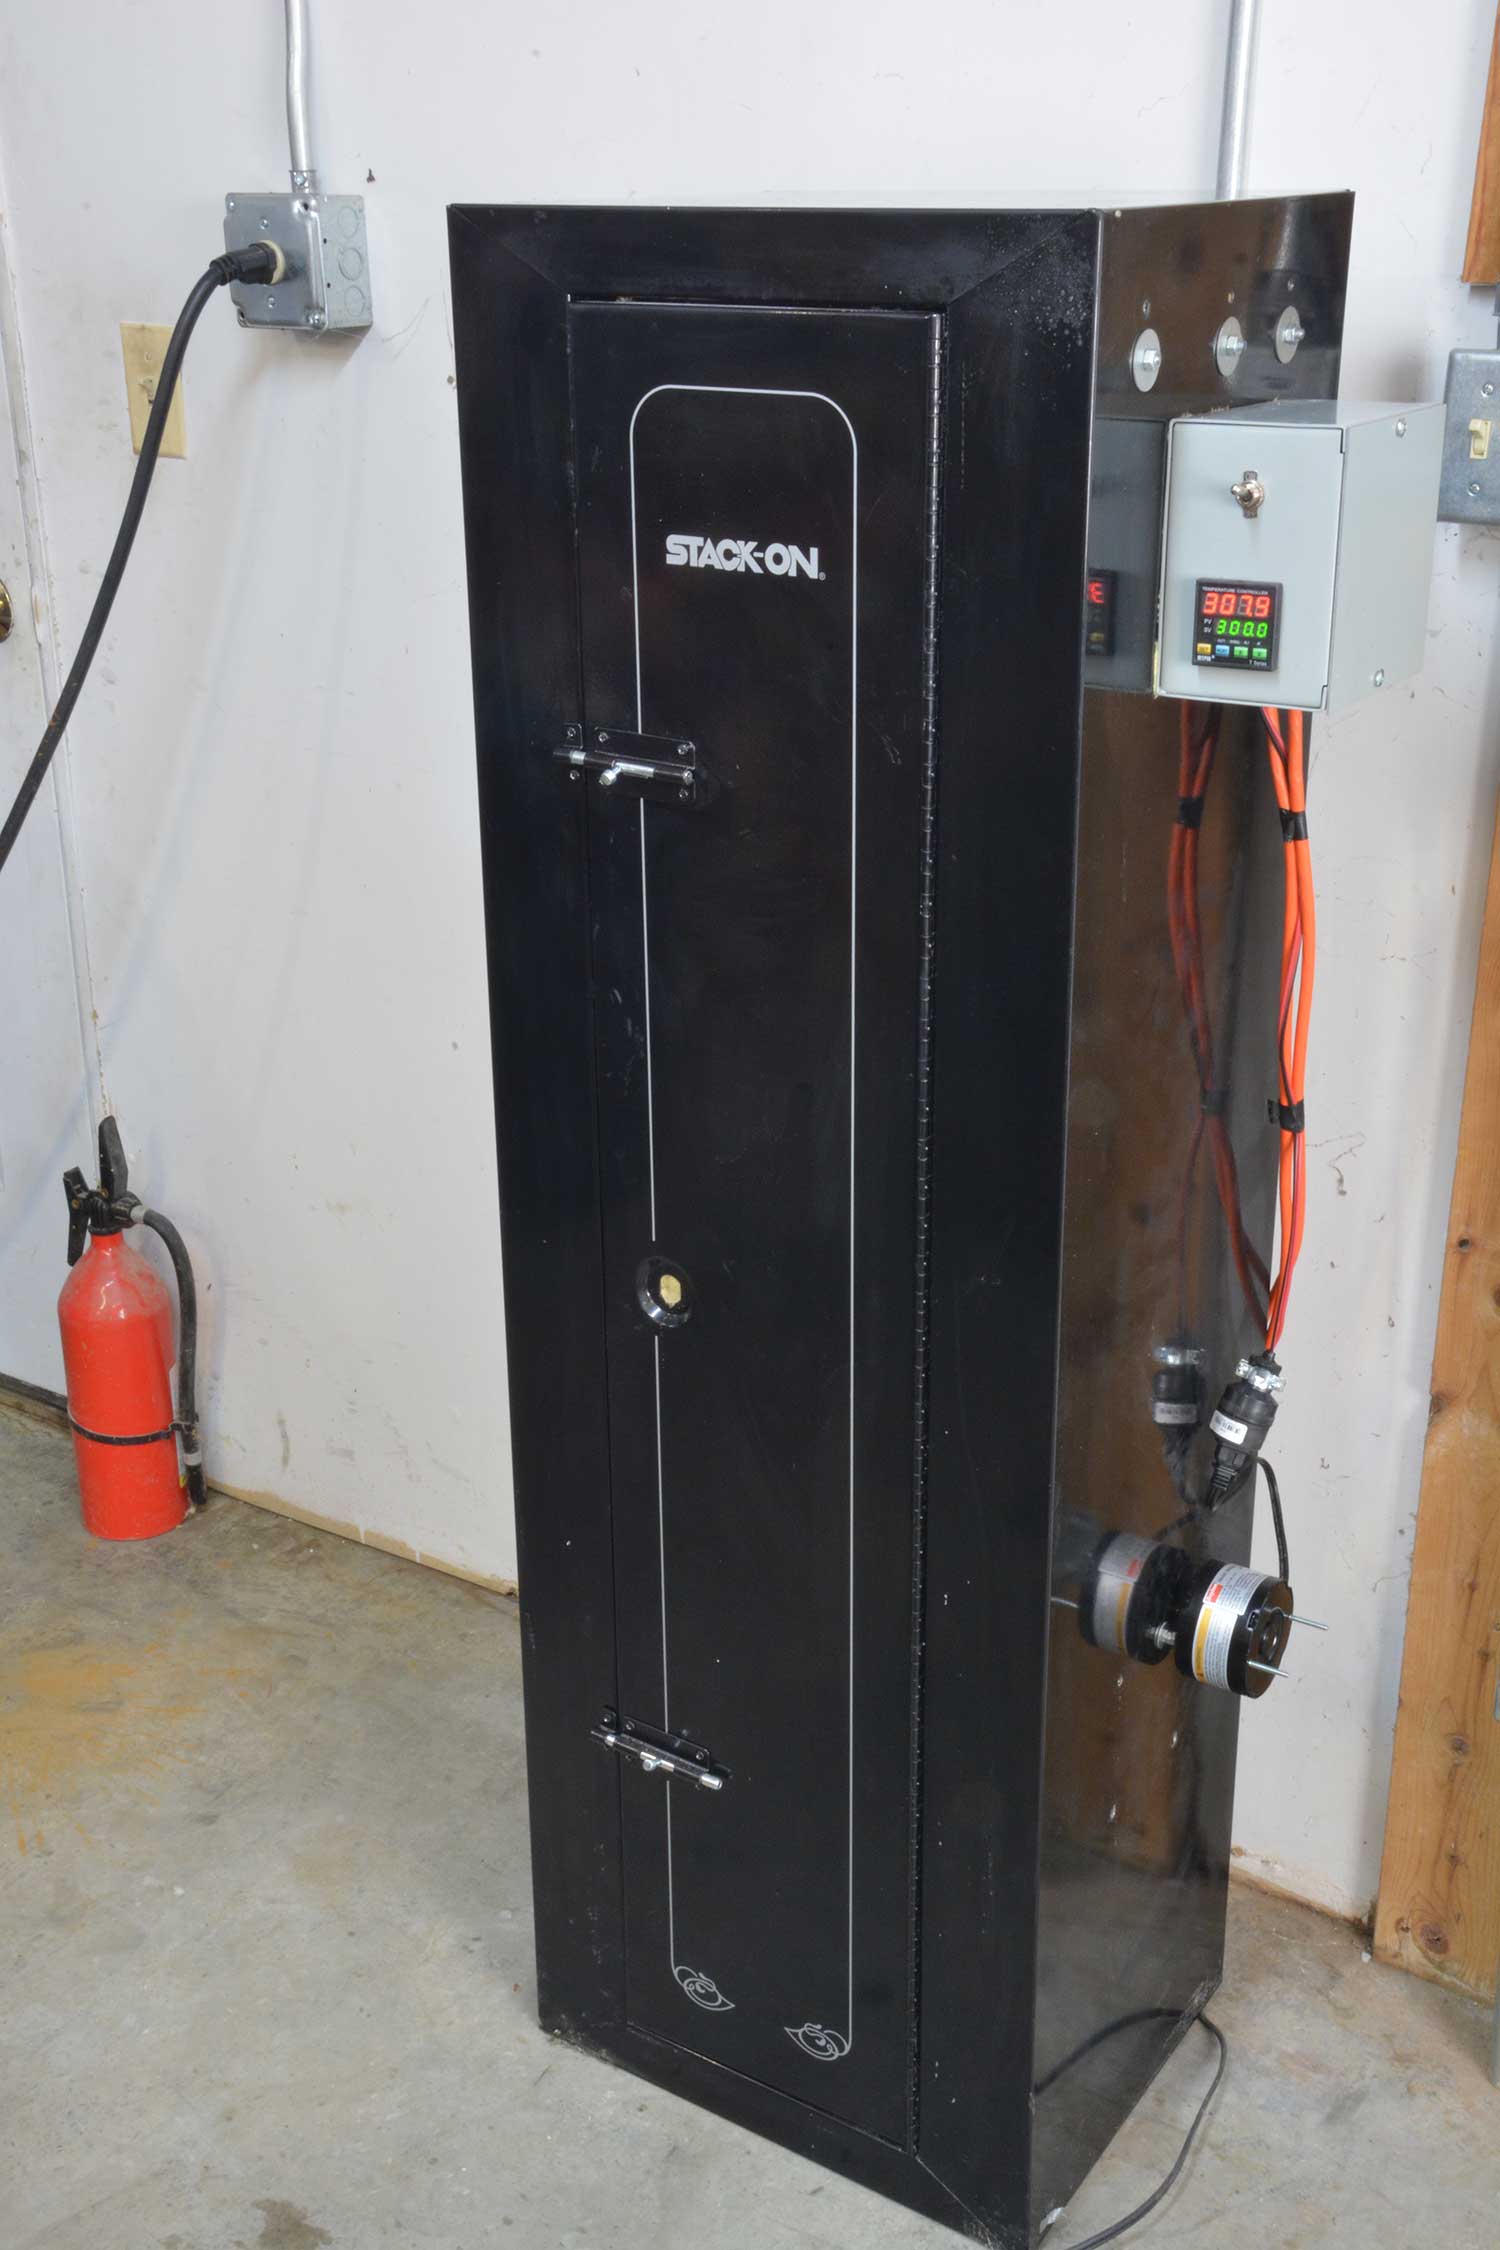
If you are going to oven cure a rifle barrel or a similar, longer part, you will need a tall oven. The commercial ovens are horribly expensive, so I built one, which was an adventure.
You can check how to build the oven and get more in-depth information on coating firearms in my newest book Gunsmithing Modern Firearms at www.brycetowsley.com.