For the diehard waterfowler, there is no off-season. Sure you can only hunt for a precious few months, but the rest of the year still revolves around ducks and geese. Here’s a selection of projects to keep you busy until the 4 a.m. wake-ups start again.
1. Waterfowl Foot Hat Rack
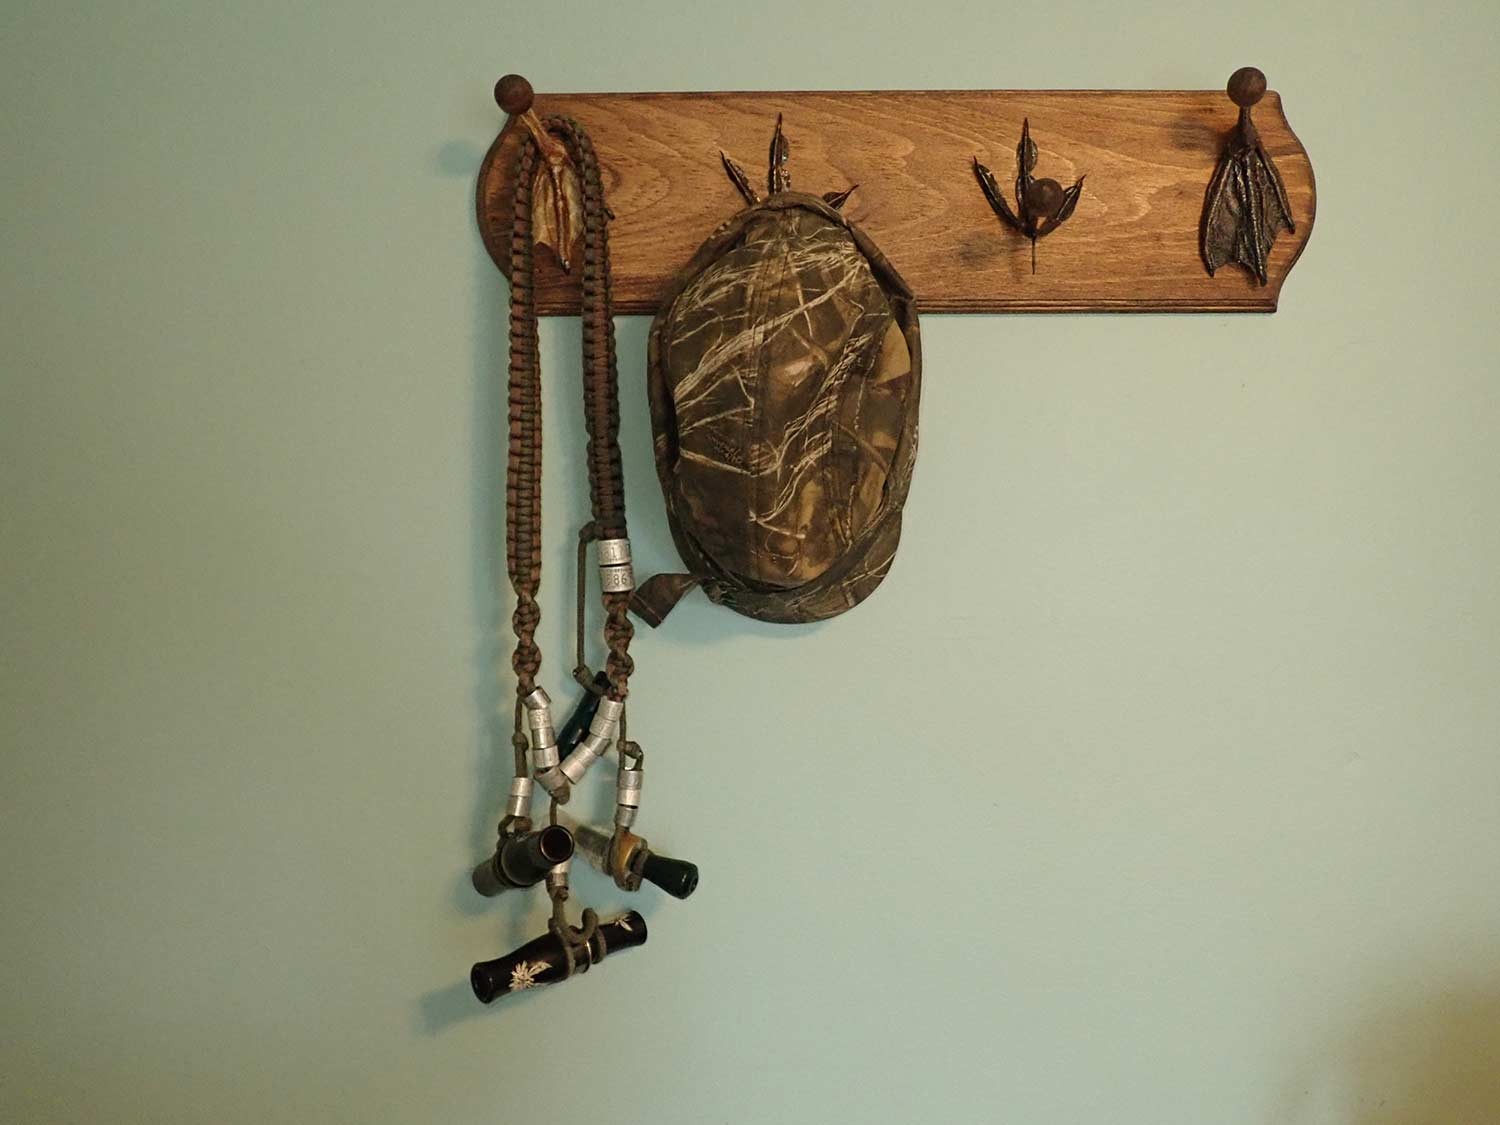
Hanging your hat on a rack made from waterfowl feet is a unique way to show off your passion. I’ve always been fascinated by the different kinds of feet I find on every species of waterfowl I hunt, so this season I decided to take some to display. Coot have some really cool feet, so I wanted to make them the centerpiece. I flanked them with a foot off a Canada goose and one from a snow, which are sized right for larger hats.
There are a few different ways to go about this, but here is the quick and dirty method. This project takes several months to complete but most of that is waiting. Over time, the feet will likely fade, especially if they are in direct sunlight. If you want taxidermy grade, you need to inject the feet with Master’s Blend or a similar preservative.
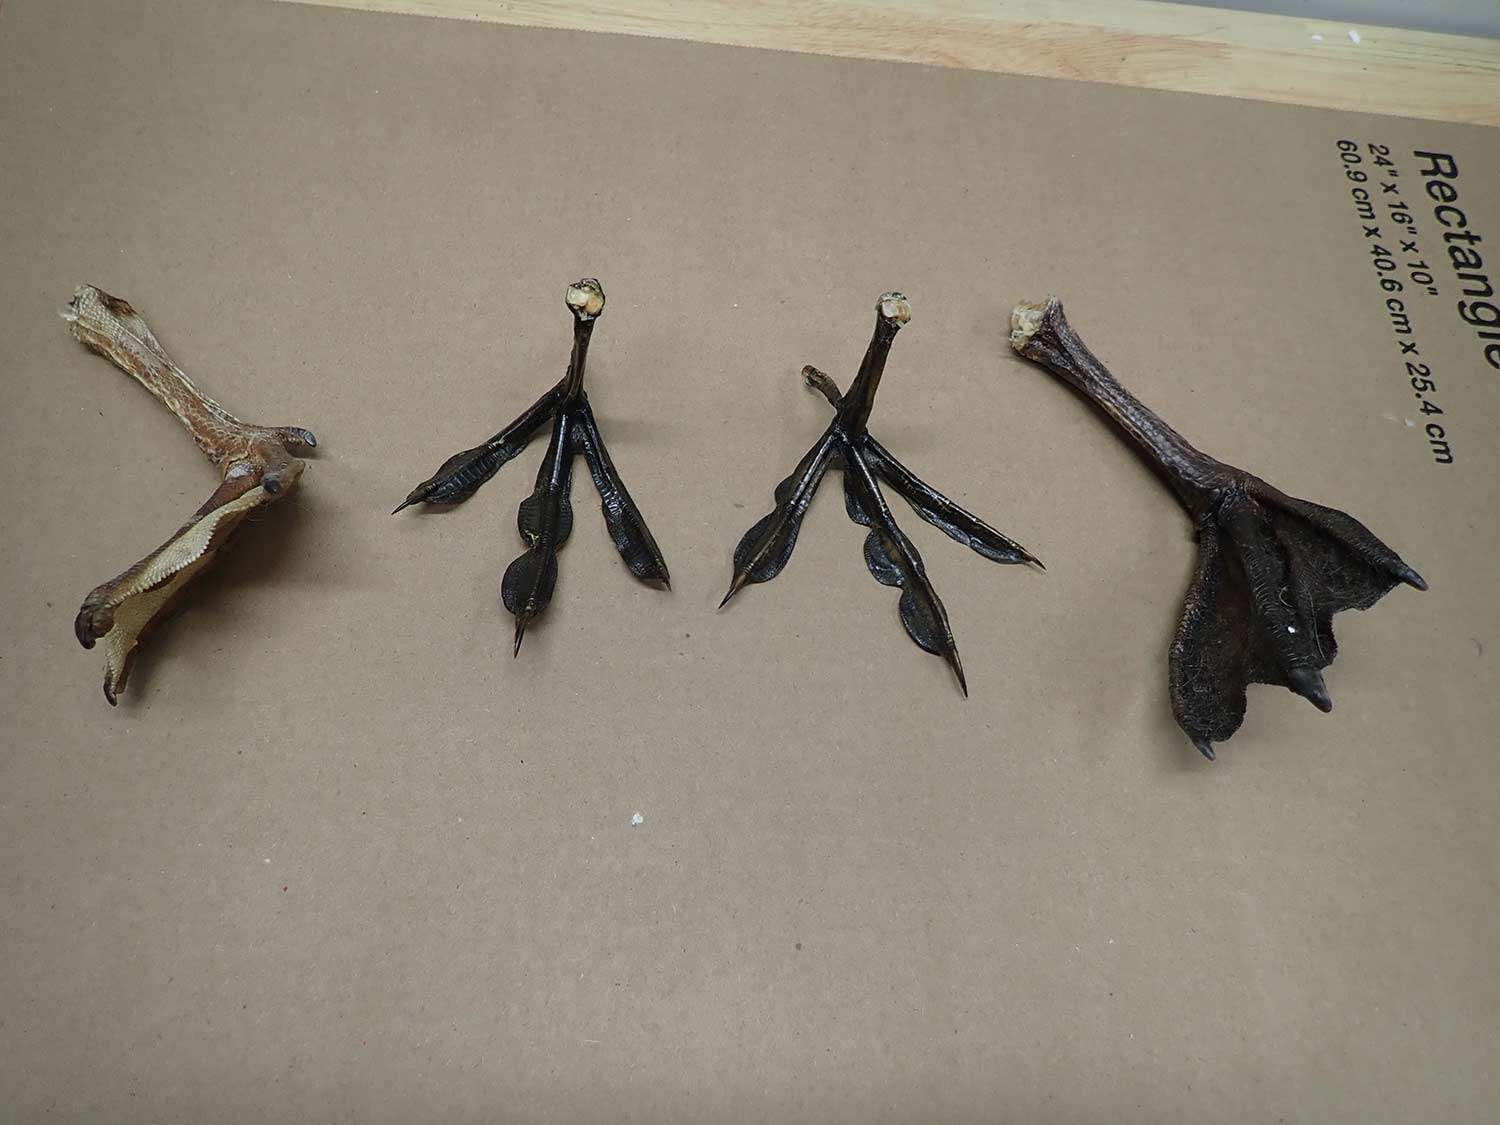
Once you have a few examples of your favorite species in-hand, cut the feet off at the knee. Bend the leg and cut between the joint; once you get through the tendon it should separate easily. Position the feet as you’d like them to appear later on a piece of cardboard and pin them in place. Use rubber bands or bits of string to angle the leg as you want. Then bury them all in Borax, and wait. Borax is a desiccant and will draw all the moisture out and preserve the feet eventually.
After the feet have dried in the Borax for several months, remove all traces of Borax powder—compressed air works wonders, or use an old paintbrush. Then take the feet outdoors and spray them down with lacquer (if you want a glossy finish), or shellac (if you’re looking for a more natural appearance). I applied at least four coats, but feel free to add more. Your goal is to limit their exposure to air and prevent decay.
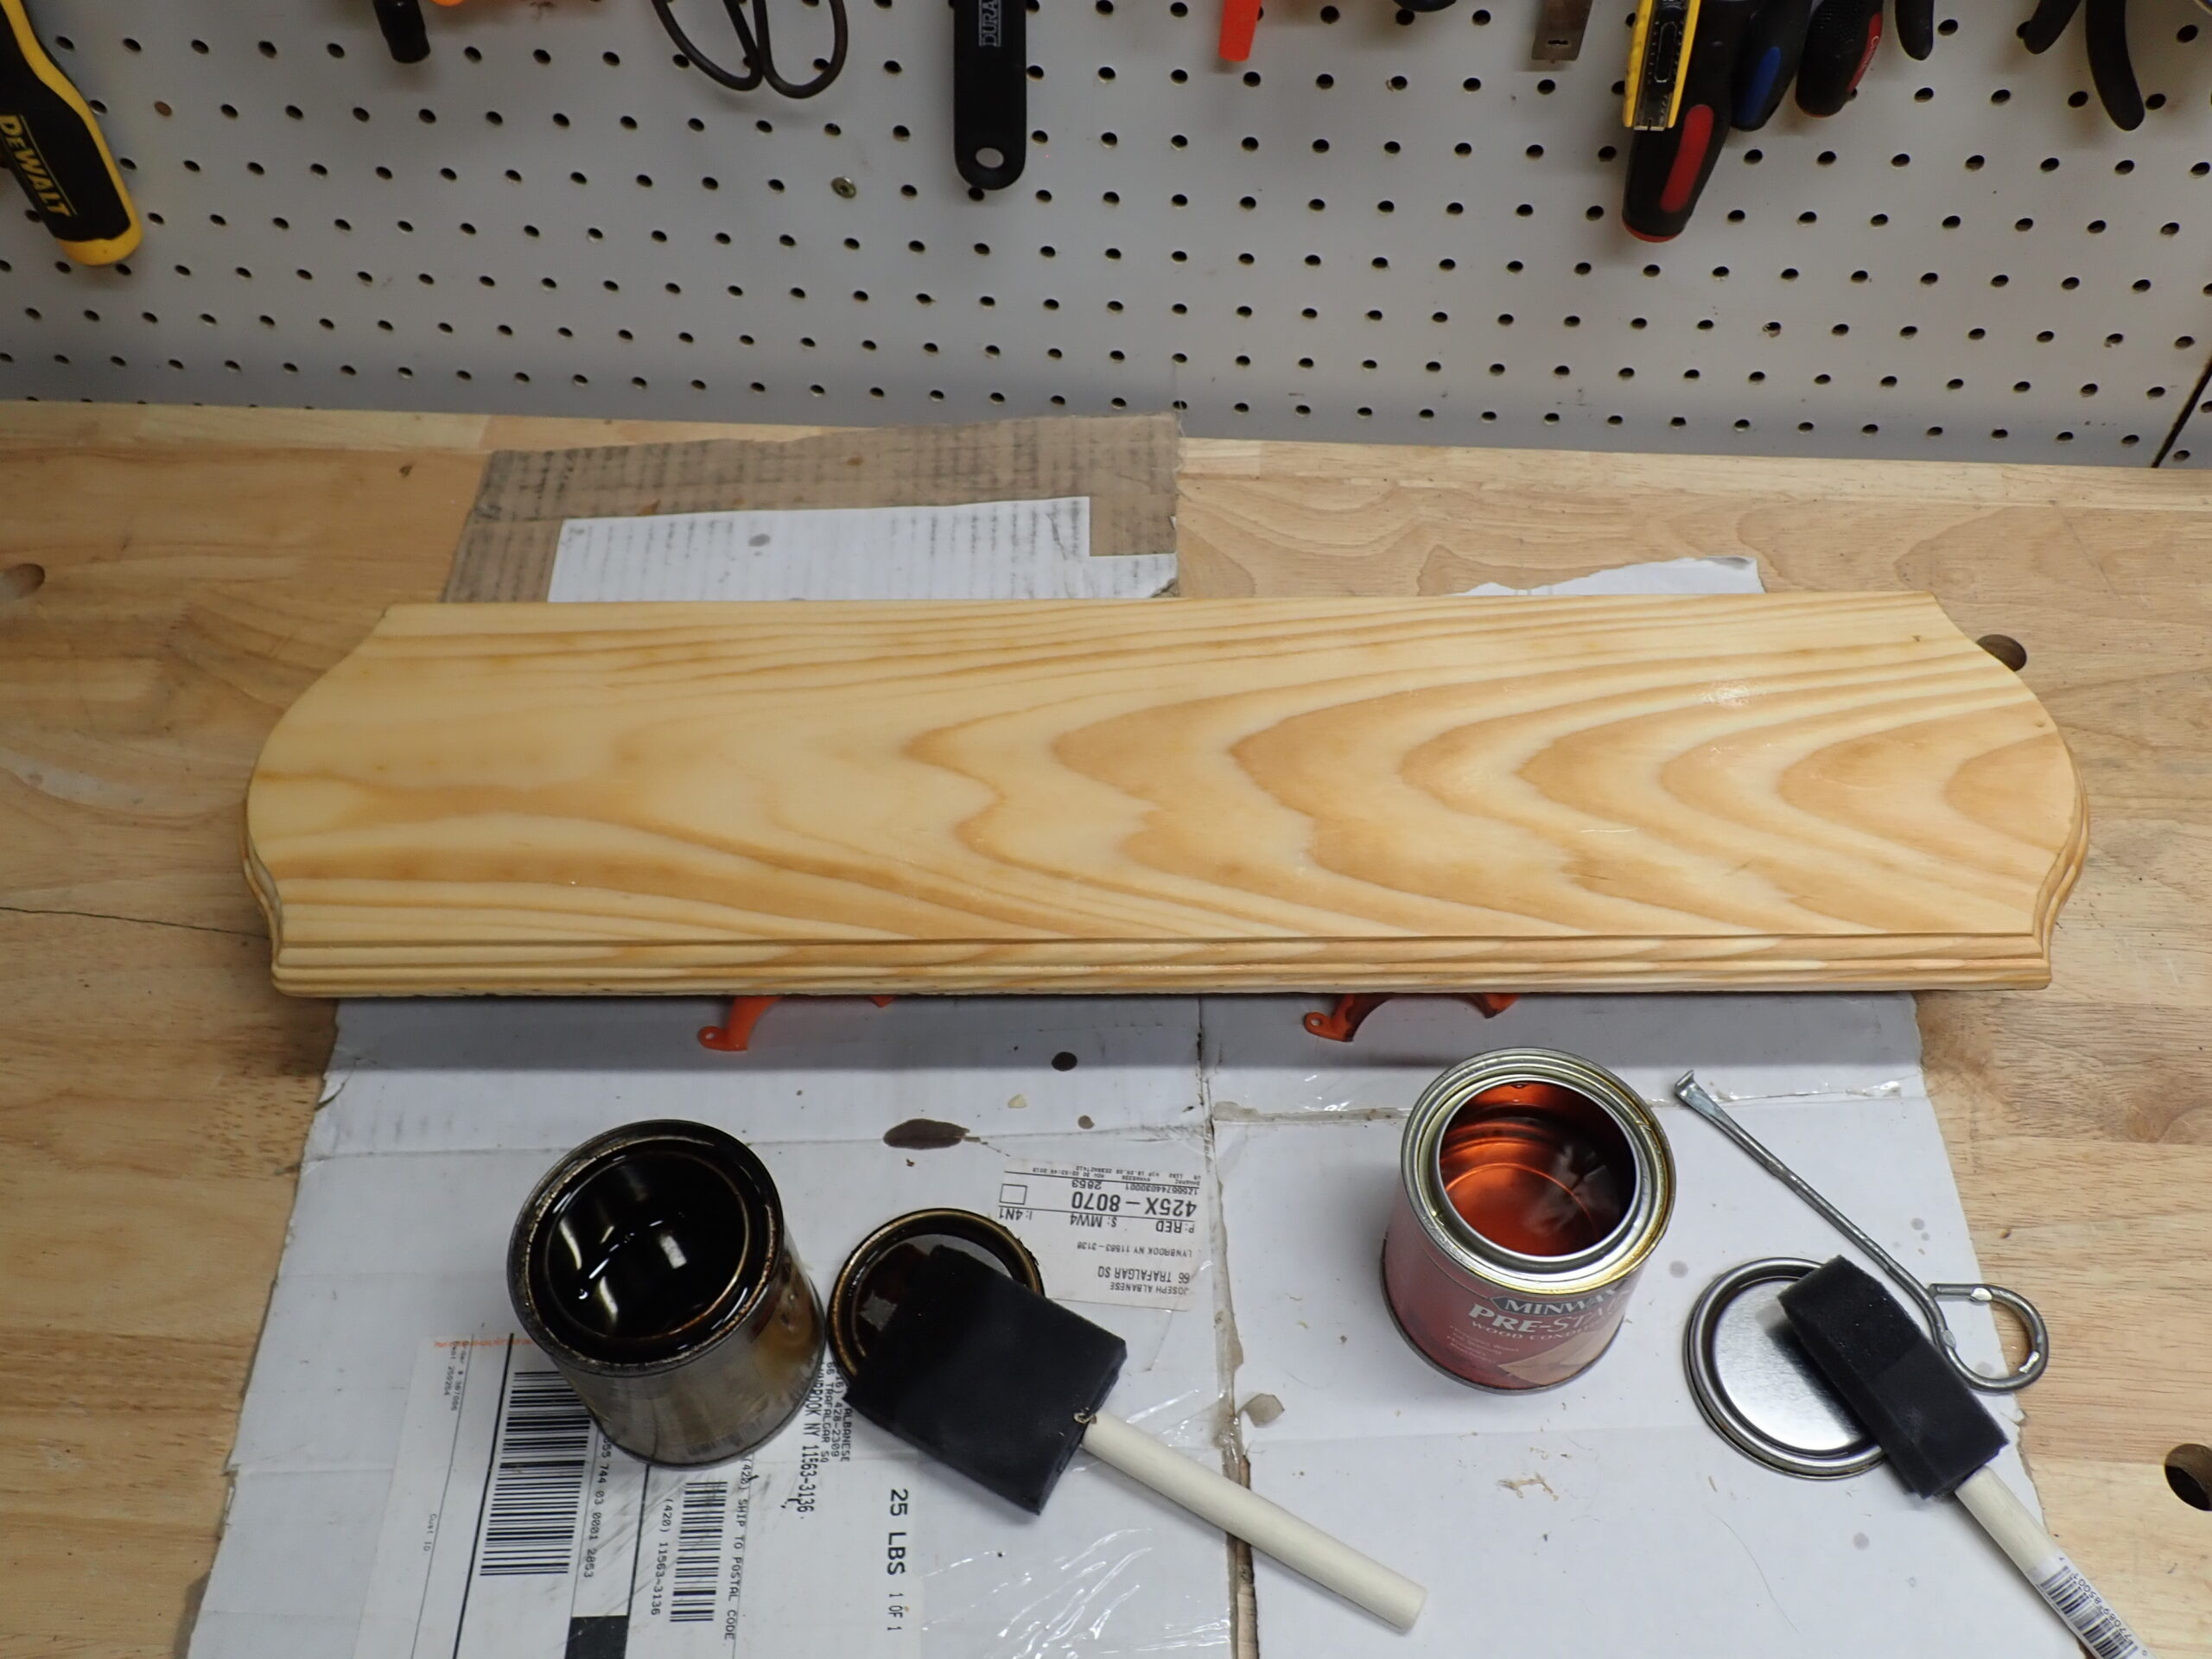
If you have an old piece of wood with a lot of character lying around, use that for the plaque. If not, you can get a wooden plaque from a craft store for a few dollars. These are usually made from softwood such as pine, so you’ll need to hit them with a conditioner before you stain them to ensure an even finish. Follow with a couple coats of the same lacquer or shellac you used on the feet and let dry. Whatever you choose, you’ll need to add a pair of sawtooth hangers to the back, before mounting the feet, so you can hang it on the wall later.
After the lacquer or shellac has dried for several days, cap off the ends of the feet. I used wooden “doll heads,” which I bought online. I drilled them out as much as I could to fit the legs, and then hit them with the same conditioner, stain, and lacquer combo as the plaque. Once dry, I glued the legs into the doll heads with hot glue, applying an even bead around the perimeter so there were no sharp edges. I had to cut the goose legs down a bit more with a fine-toothed saw so they would fit.

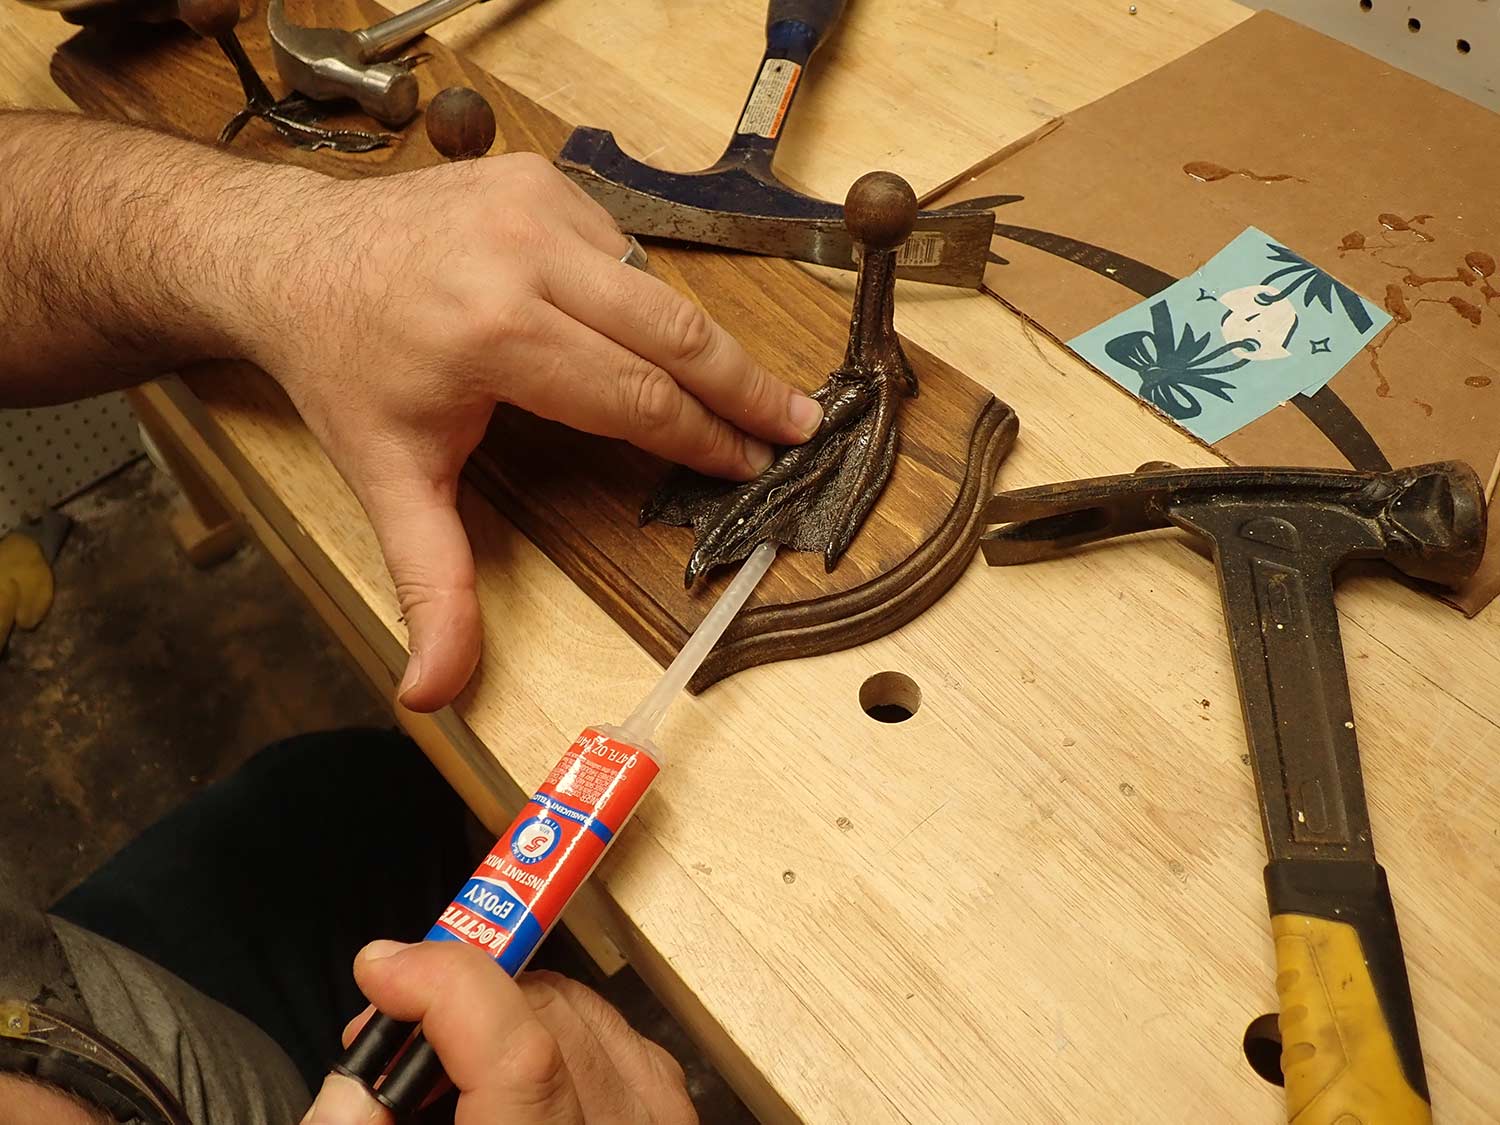
Place the legs in their approximate positions on the plaque and then glue them fast using five-minute epoxy with a built-in mixing nozzle. Lay an even bead on the bottom of each foot, and add more once they are down on the plaque. Then place a heavy object on each to keep them where they need to be until the epoxy sets. Wait 24 hours and put it up on the wall.
Read Next: How to Butcher a Duck
2. Floating Spinning-Wing Decoy Stand
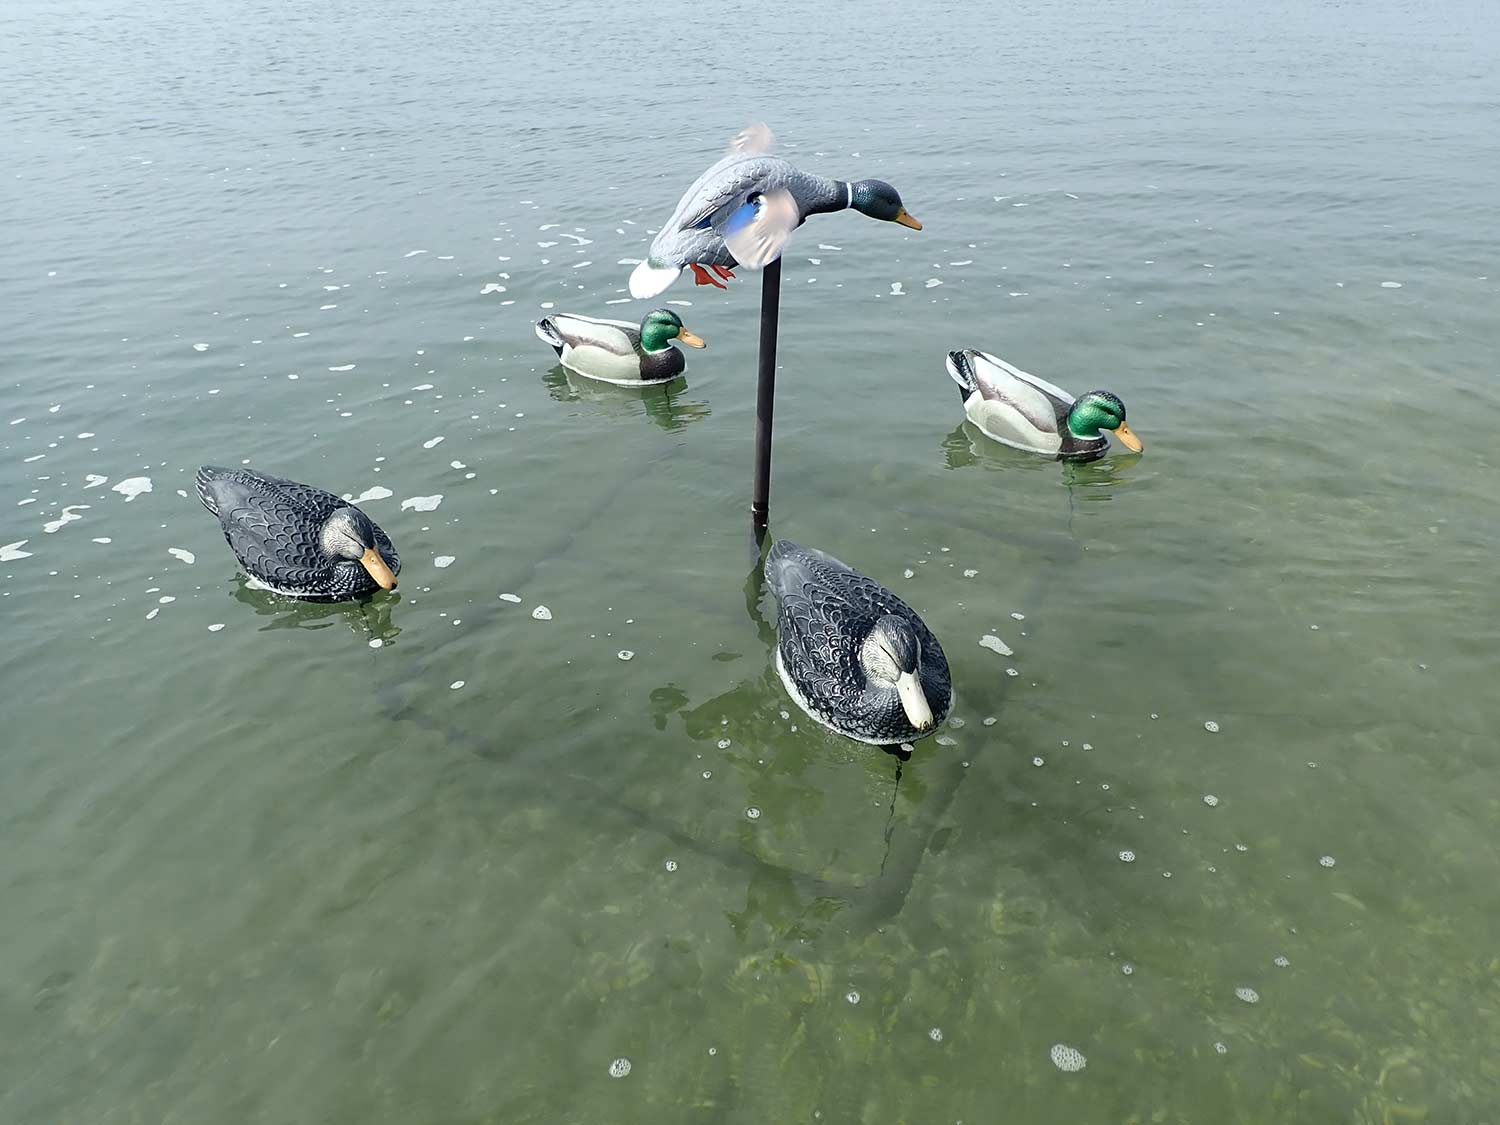
Spinning-wing decoys can be remarkably effective. During certain times of year, you would be a fool not to use one. But where you place them is limited by water depth: too deep and the support pole can’t reach the bottom. To get around this, some hunters are building stands that use decoys as floats. This lets the fluttering of the wings add motion to the water below as well.
For my floating stand I used 3/4–inch PVC pipe as the frame. That diameter is the closest to the dimensions of the peg on my MOJO Mini Mallard, and it offered enough rigidity to keep it afloat. You’ll need six 3-foot pieces of PVC, along with four 90-degree corners, a threaded adapter, two slip Ts, and one T with a single threaded connection in the middle. You’ll also need some decoy line, snap swivels, and a heavy anchor to keep the contraption in place.
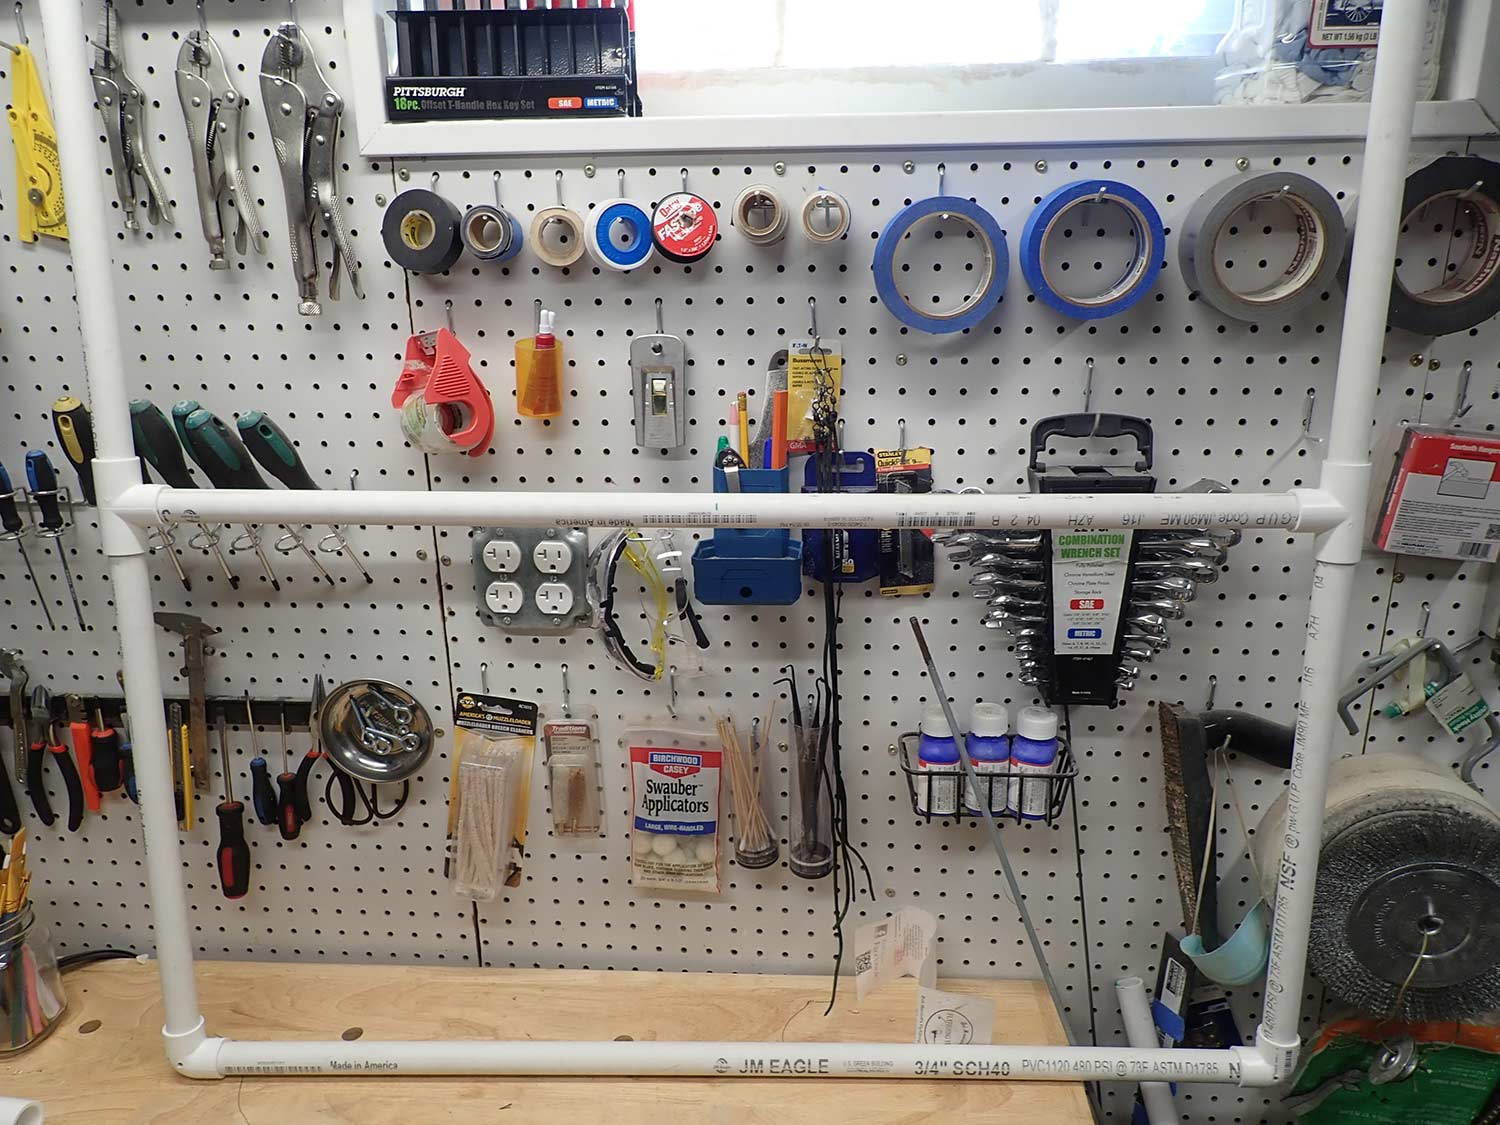
Cut two of the 3-foot sections in half, and glue the slip T in the middle. On the opposite ends, affix the 90-degree corners so they are in line with the third leg of the T. Glue a 3-foot section to each of the corners so that you now have a square. Dry fit a 3-foot section in the middle of the two opposing Ts and note the center. You may have to do a bit of trimming to get everything square, but once it fits like it should, cut out enough of the middle of the pipe to install the final T with the threaded portion pointing upward.
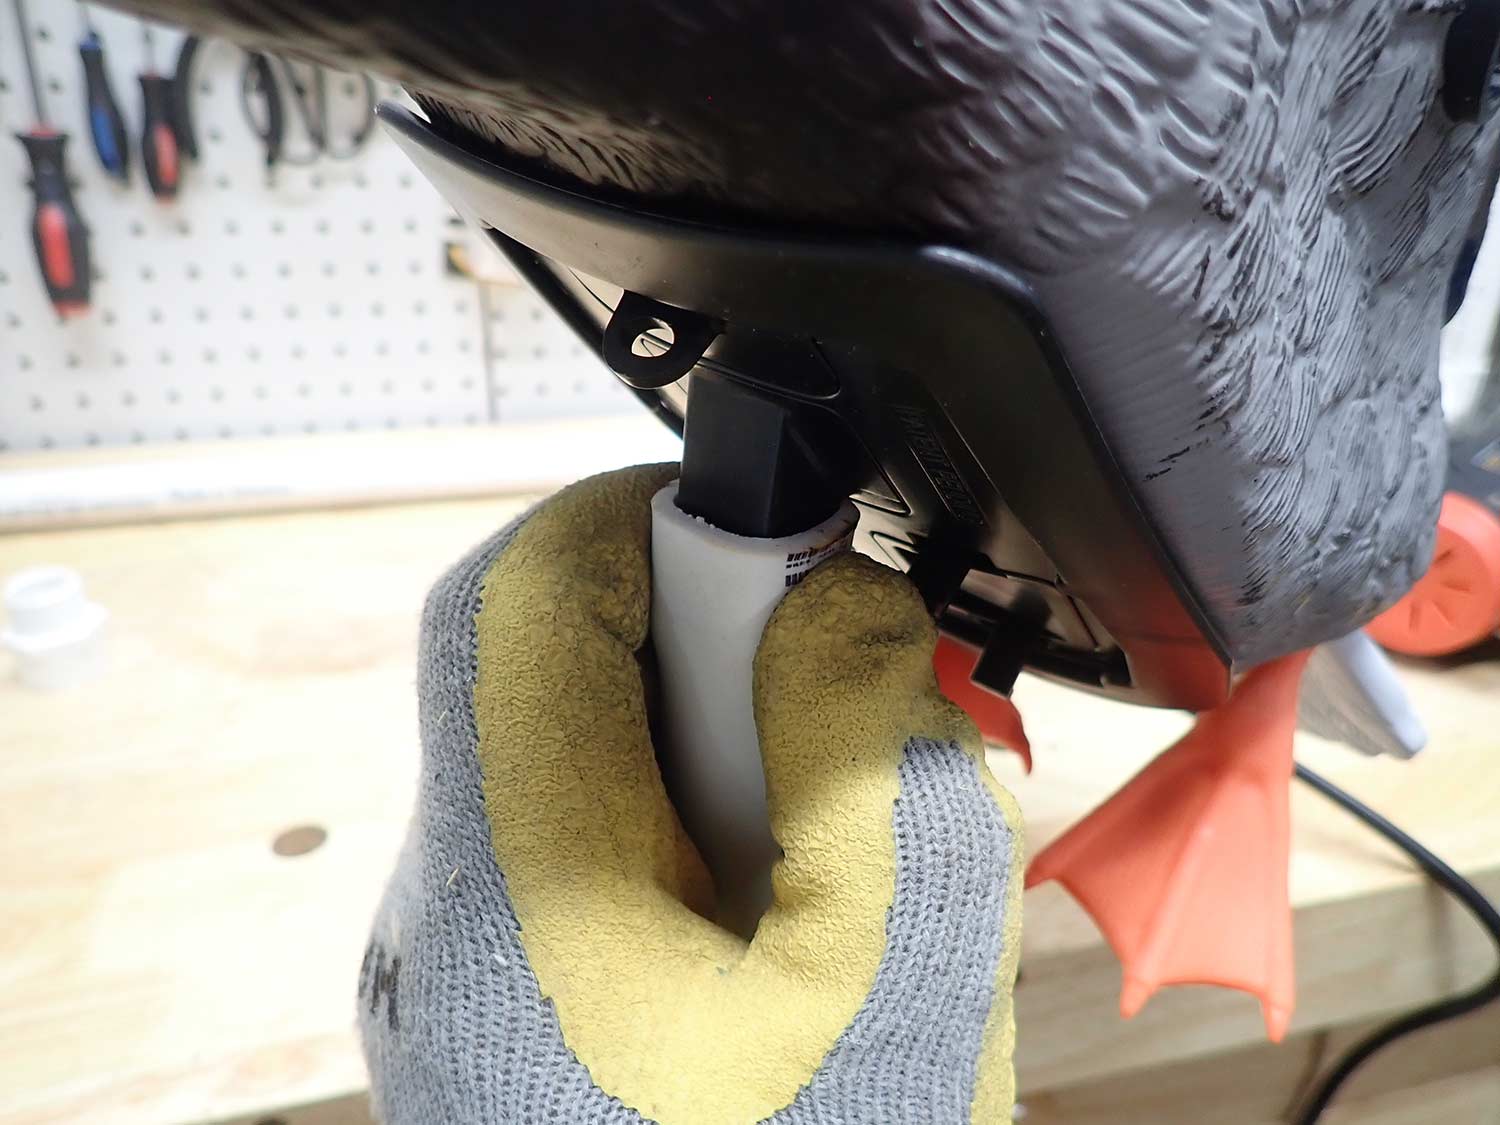
The MOJO peg is square and the pipe is round so you’ll need to rectify that. PVC can be formed using heat, so apply some using a heat gun. Wear gloves to keep from burning your hands and gently massage the PVC until it takes the shape of the peg. Hold it there until it cools and retains the shape. Once that’s done, glue the opposite end in the threaded adapter. This will allow the stand to remain flat for travel or storage.
Drill a hole in the middle of each corner just larger than the decoy line. Sand everything down with 120-grit sandpaper to give the PVC some tooth for paint to adhere to and wipe it down with denatured alcohol or acetone. Paint it with a matte spray paint intended for plastics like Krylon Fusion. Once dry, tie an 18-inch piece of decoy twine to each corner, with a snap swivel on the opposite end.
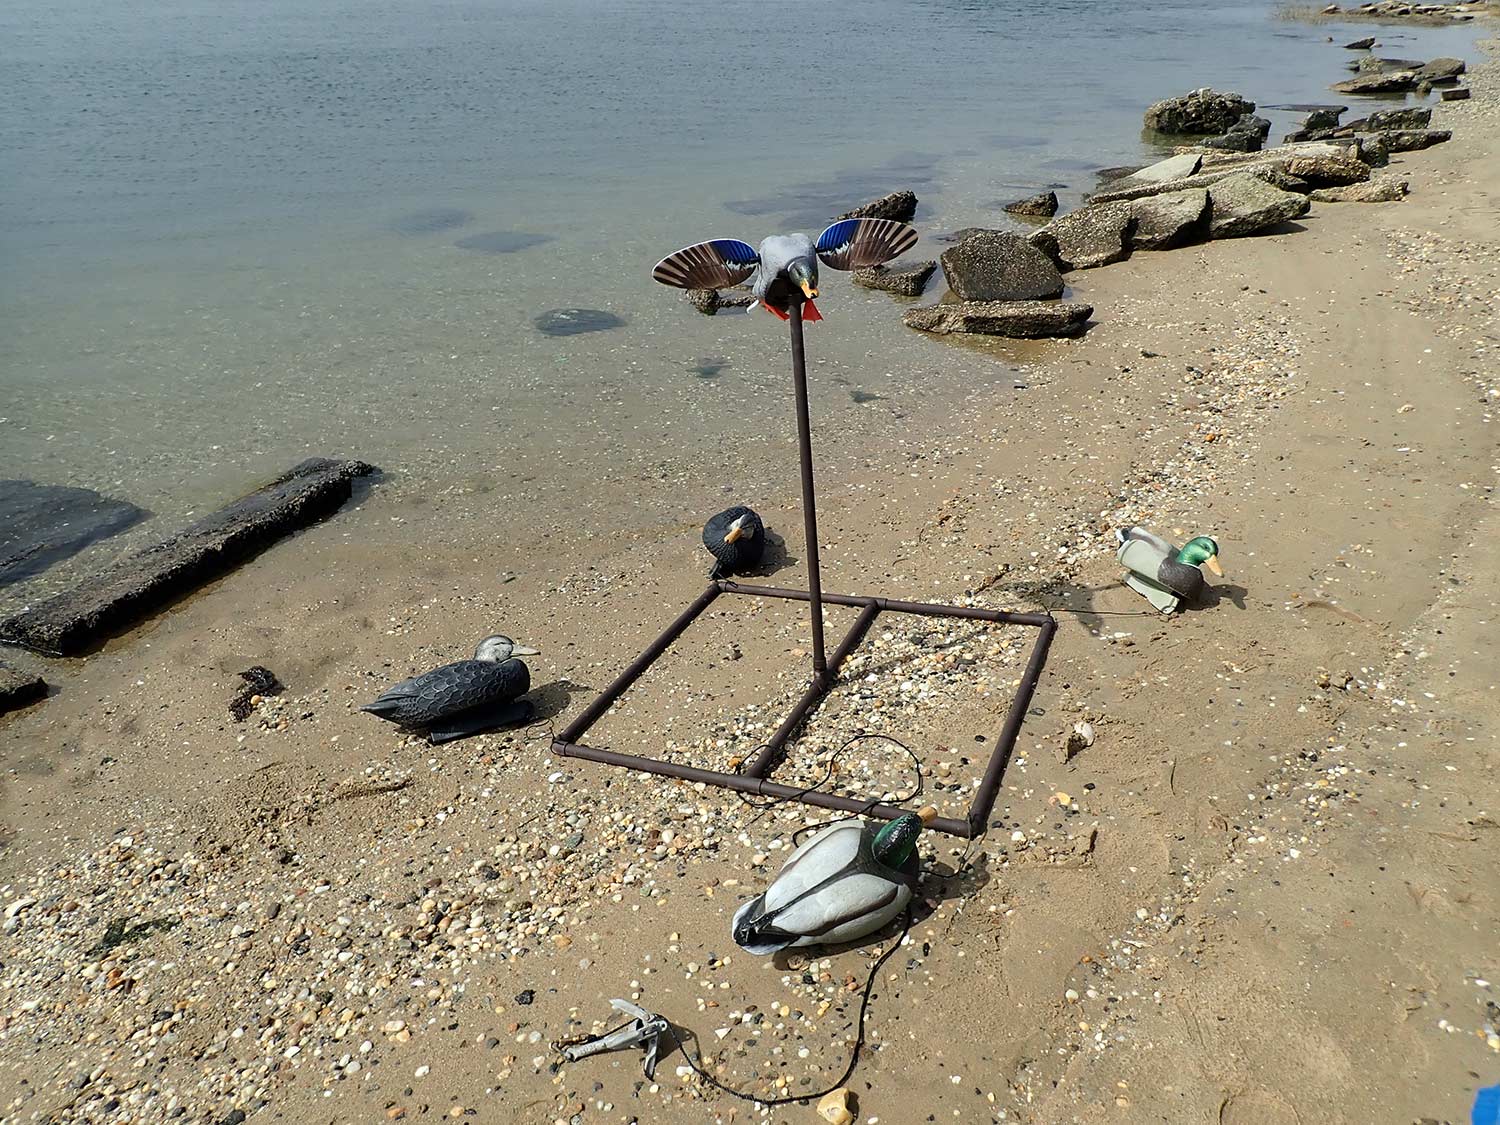
To set your stand up to hunt, attach a decoy to each snap swivel. Screw the center support in. Add an anchor line with a 2-pound kayak anchor or something similar and deploy the rig in water as deep as you like. The decoys in the water will shimmy along with the MOJO, adding plenty of duck-attracting motion to the spread.
3. Backboard
Long before layout blinds, gunners on the Atlantic tidewater hid in the short coastal grasses using backboards for support. Though modern layouts are much more comfortable and offer more concealment, this old-school method is still plenty useful (and less cumbersome) in certain situations, like snow goose hunting and public hunts from the levee.
Many snow goose hunters have ditched the blind in favor of Tyvek suits, finding it more productive to blend in with the decoys by looking like a white blob. You can stuff your blind bag under your head for support, or you can build your own backboard for a few bucks and be comfortable.
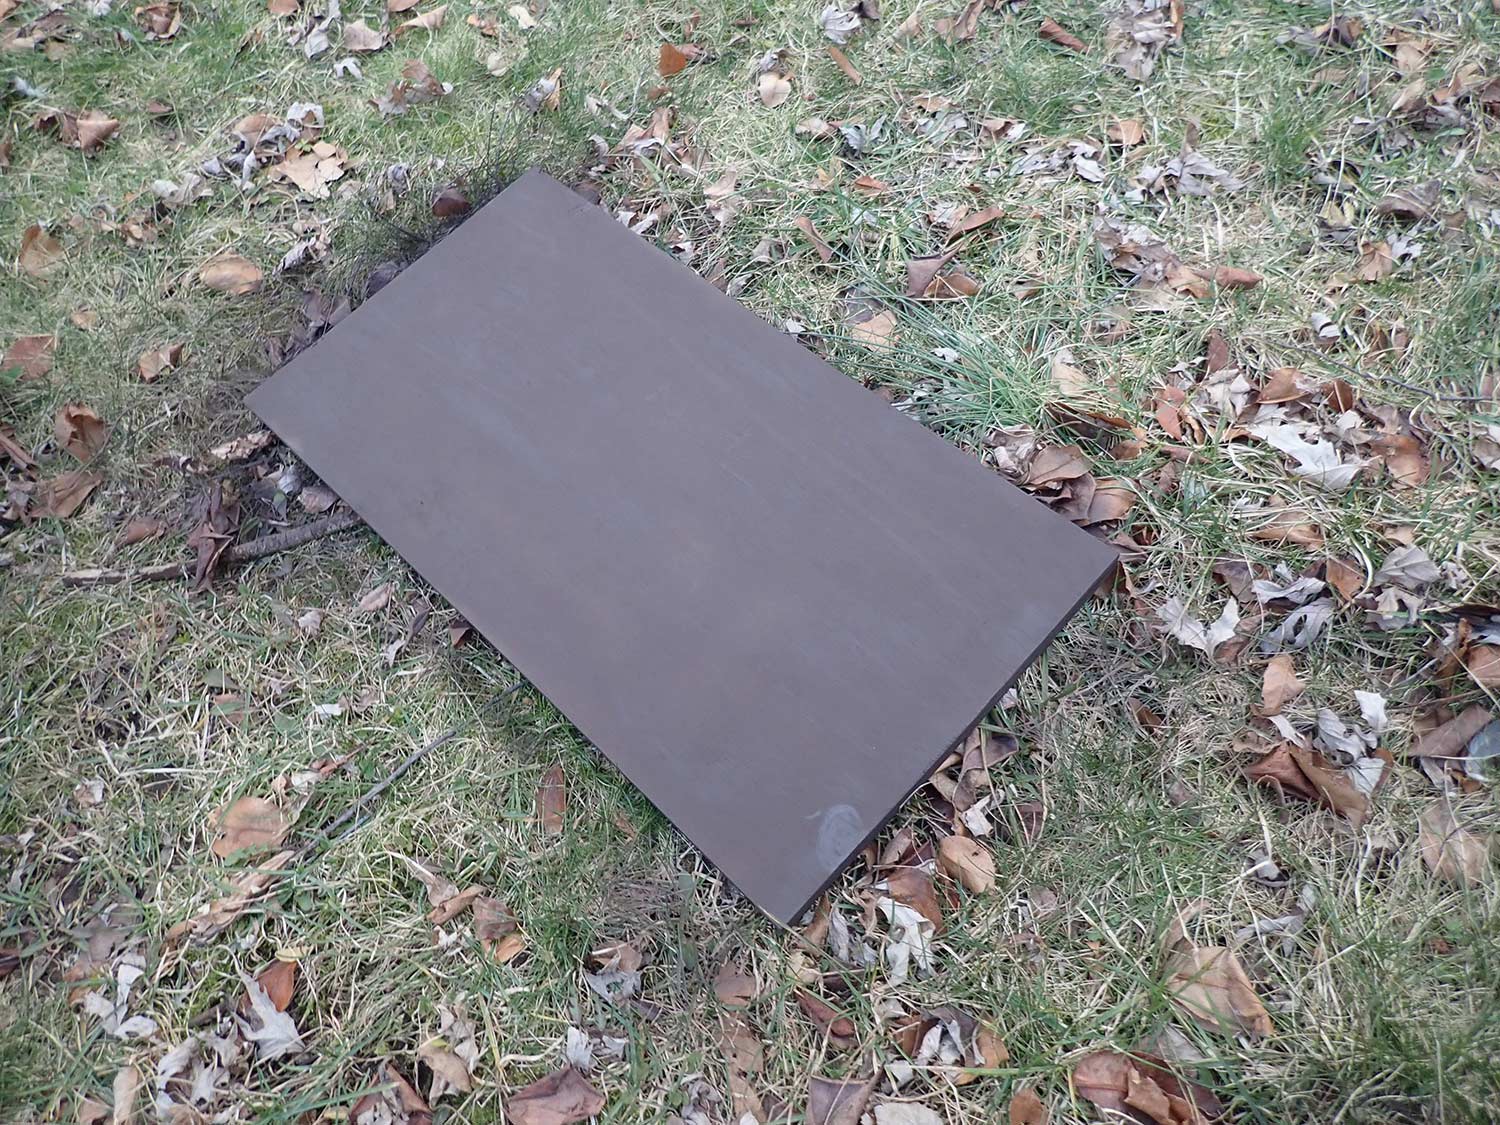
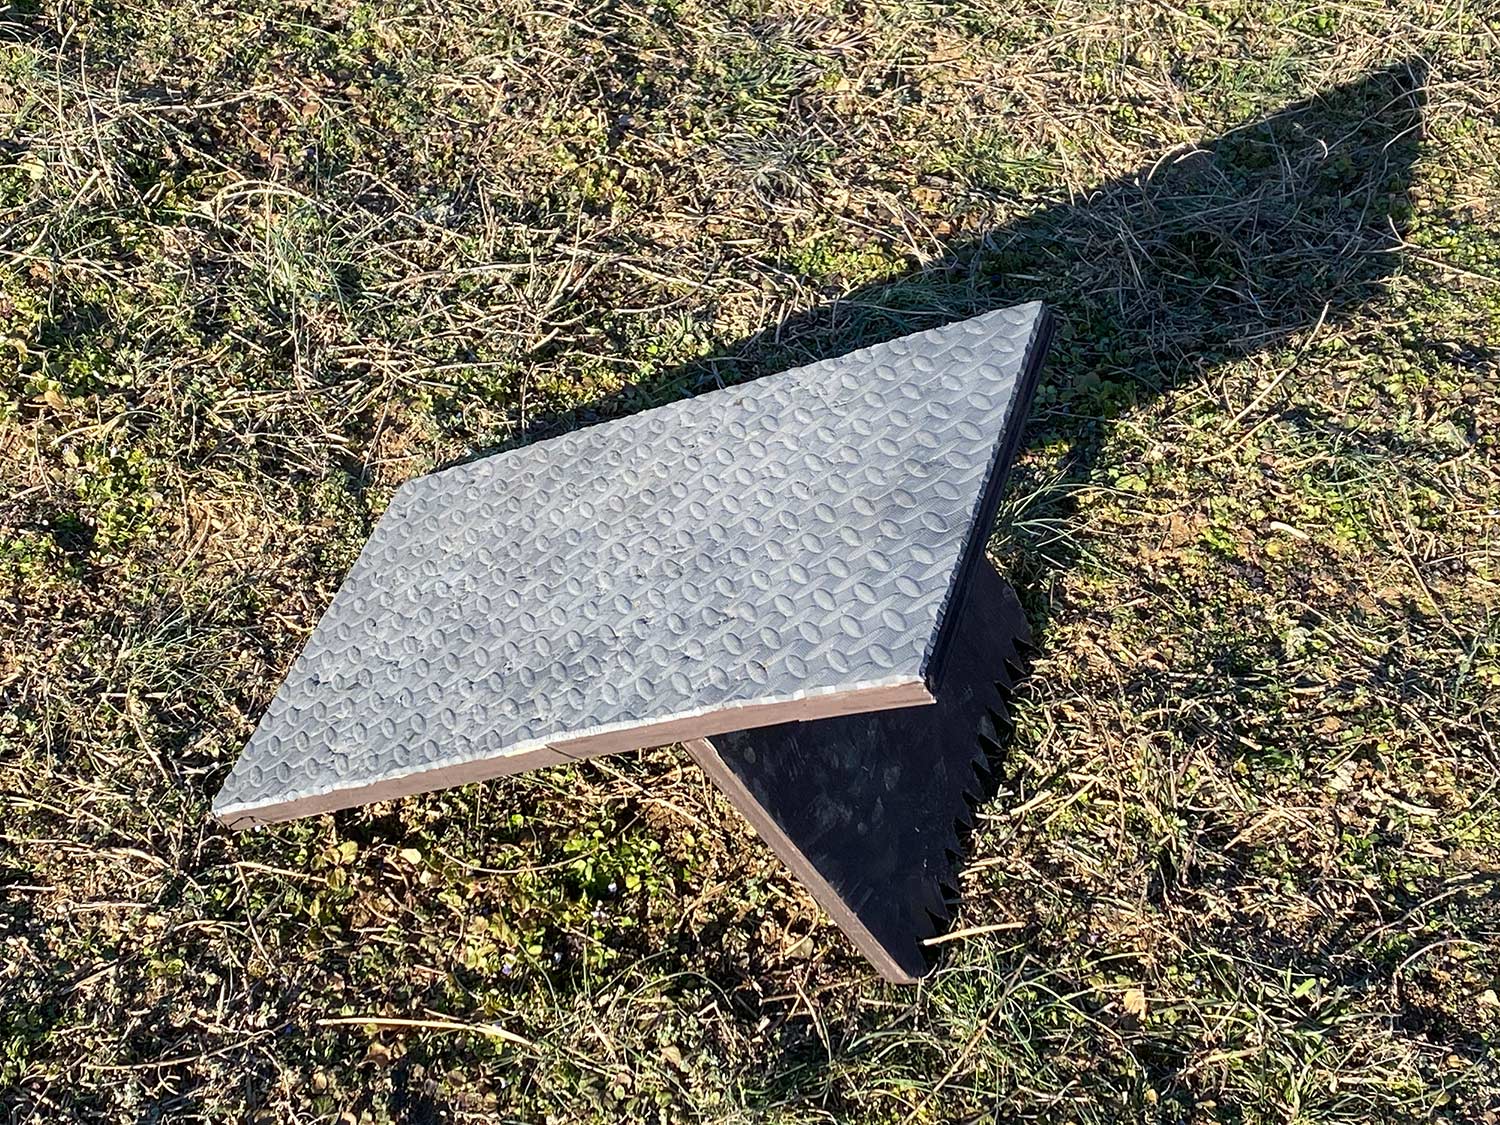
You’ll need a board about 14 inches wide, some spray paint, and a pair of hinges to complete this project. Cut the board into two pieces, one at 24 inches long and a 10-inch-long piece. Use a square to draw a toothed pattern on one side of the smaller piece and cut it out using a jigsaw—this will ensure it stays put even if placed on frozen ground. Paint the pieces with a matte spray paint to match the prevailing conditions.
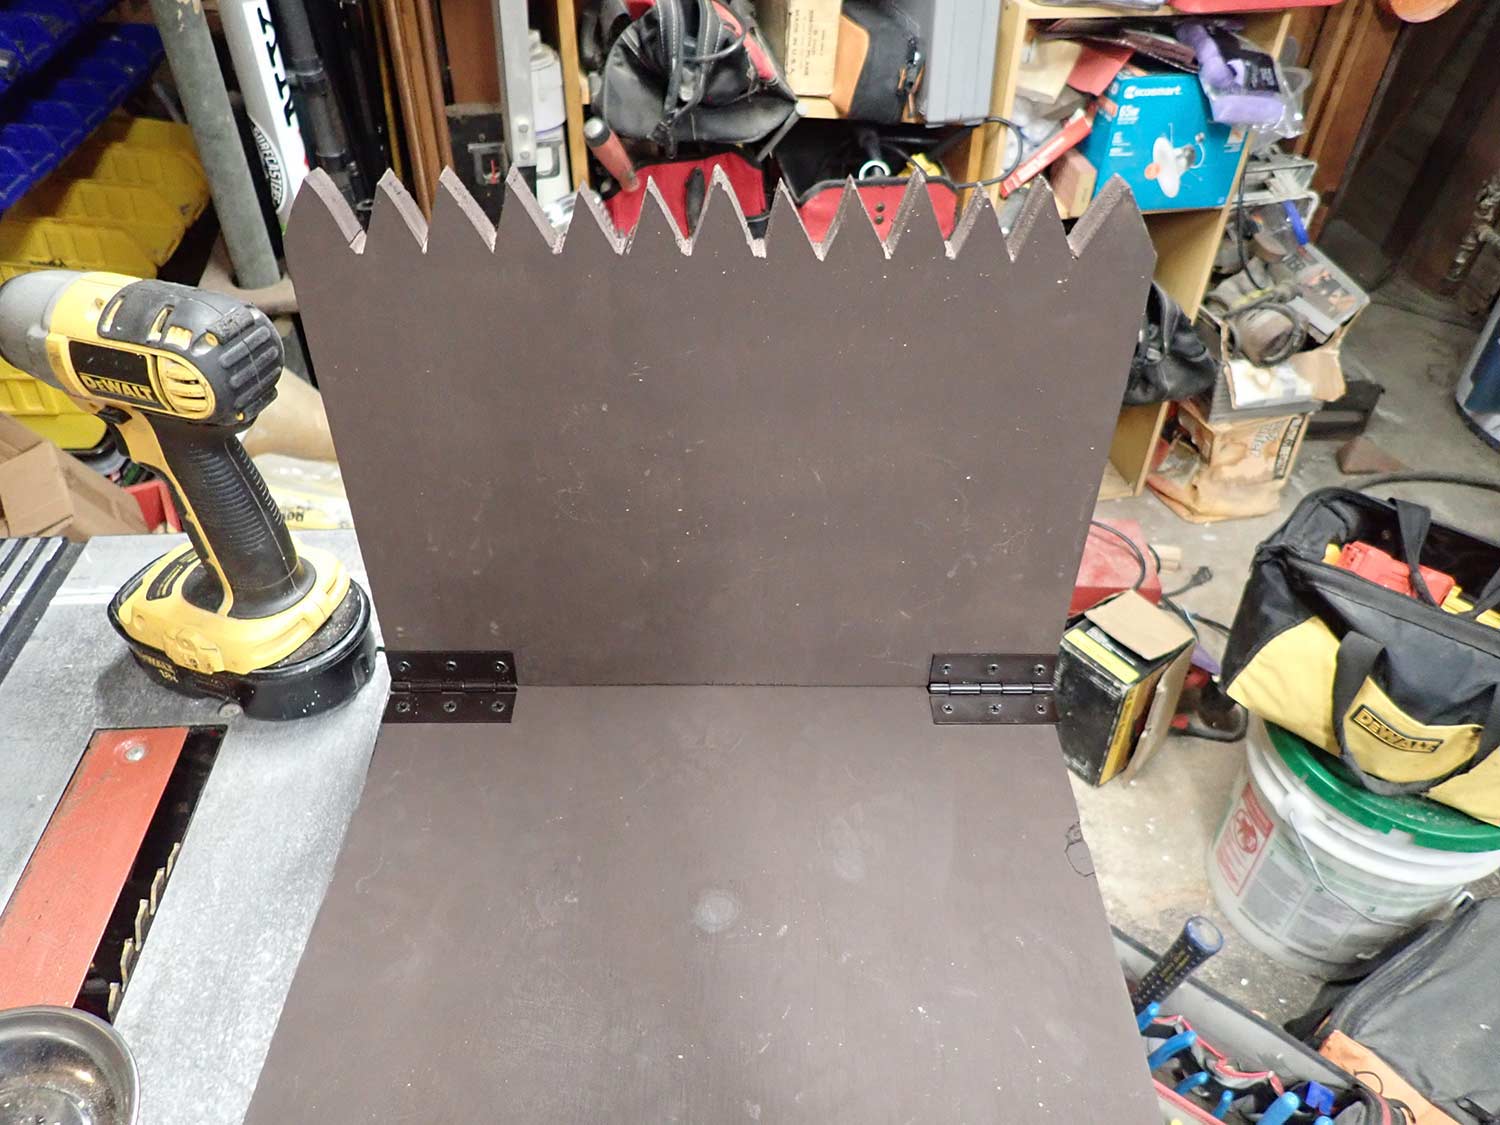
Measure 7 inches down from the top of the larger board and draw a line across. This is where you’ll position the support leg. Attach the hinges to the support and place it on the line, using a square to ensure everything lines up as it should and attach the hinges to the backboard. Scrounge up some foam padding, like an old closed cell sleeping pad or a floor mat for added comfort. Use spray glue to hold it in place. Trim the excess using a razor knife and it’s ready to hunt.
Read Next: 5 Top Custom Shotshells That Are Better Than Steel
4. DIY Down Pillow
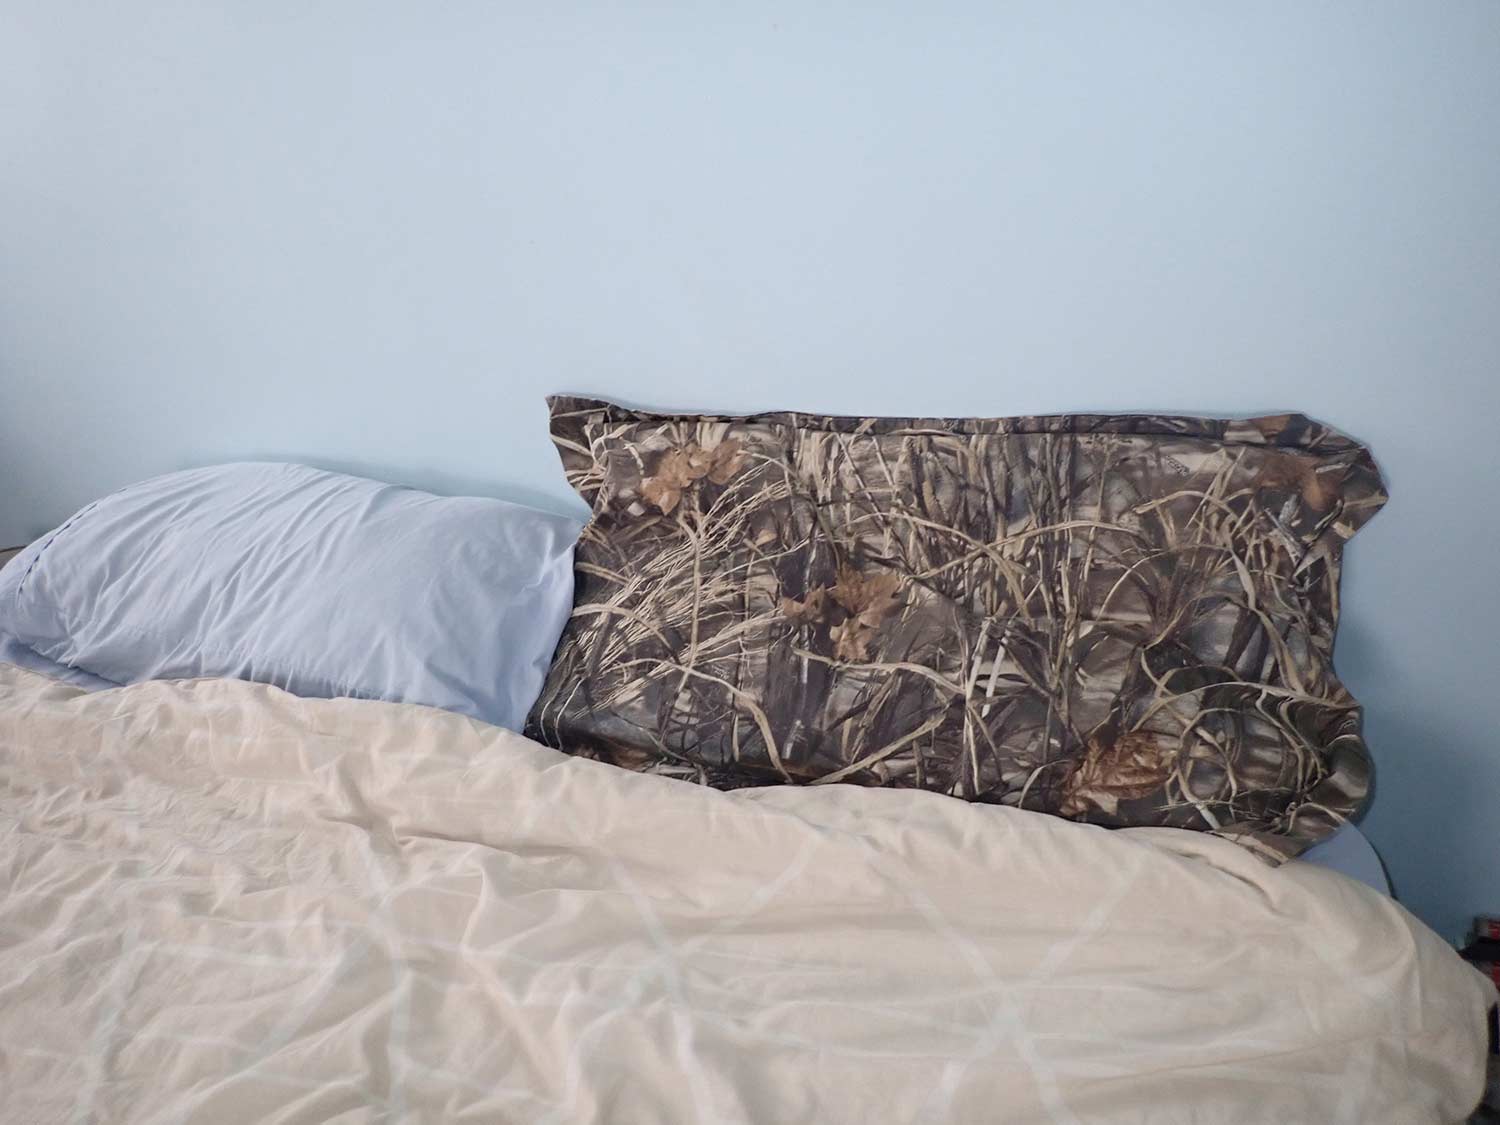
Soft down feathers are found underneath the breast feathers of ducks and geese. Unlike flight feathers, these have a very short stem. They’re also very fluffy to trap air and insulate the duck against the cold water they’re swimming in, which makes them extremely soft. This is why they have been used in parkas, blankets, and pillows for most of recorded history. Eiders, because of their predilection for cold environments, have what is generally considered the best down. But geese are a close second, with most down used in commercial products coming from domestic geese.
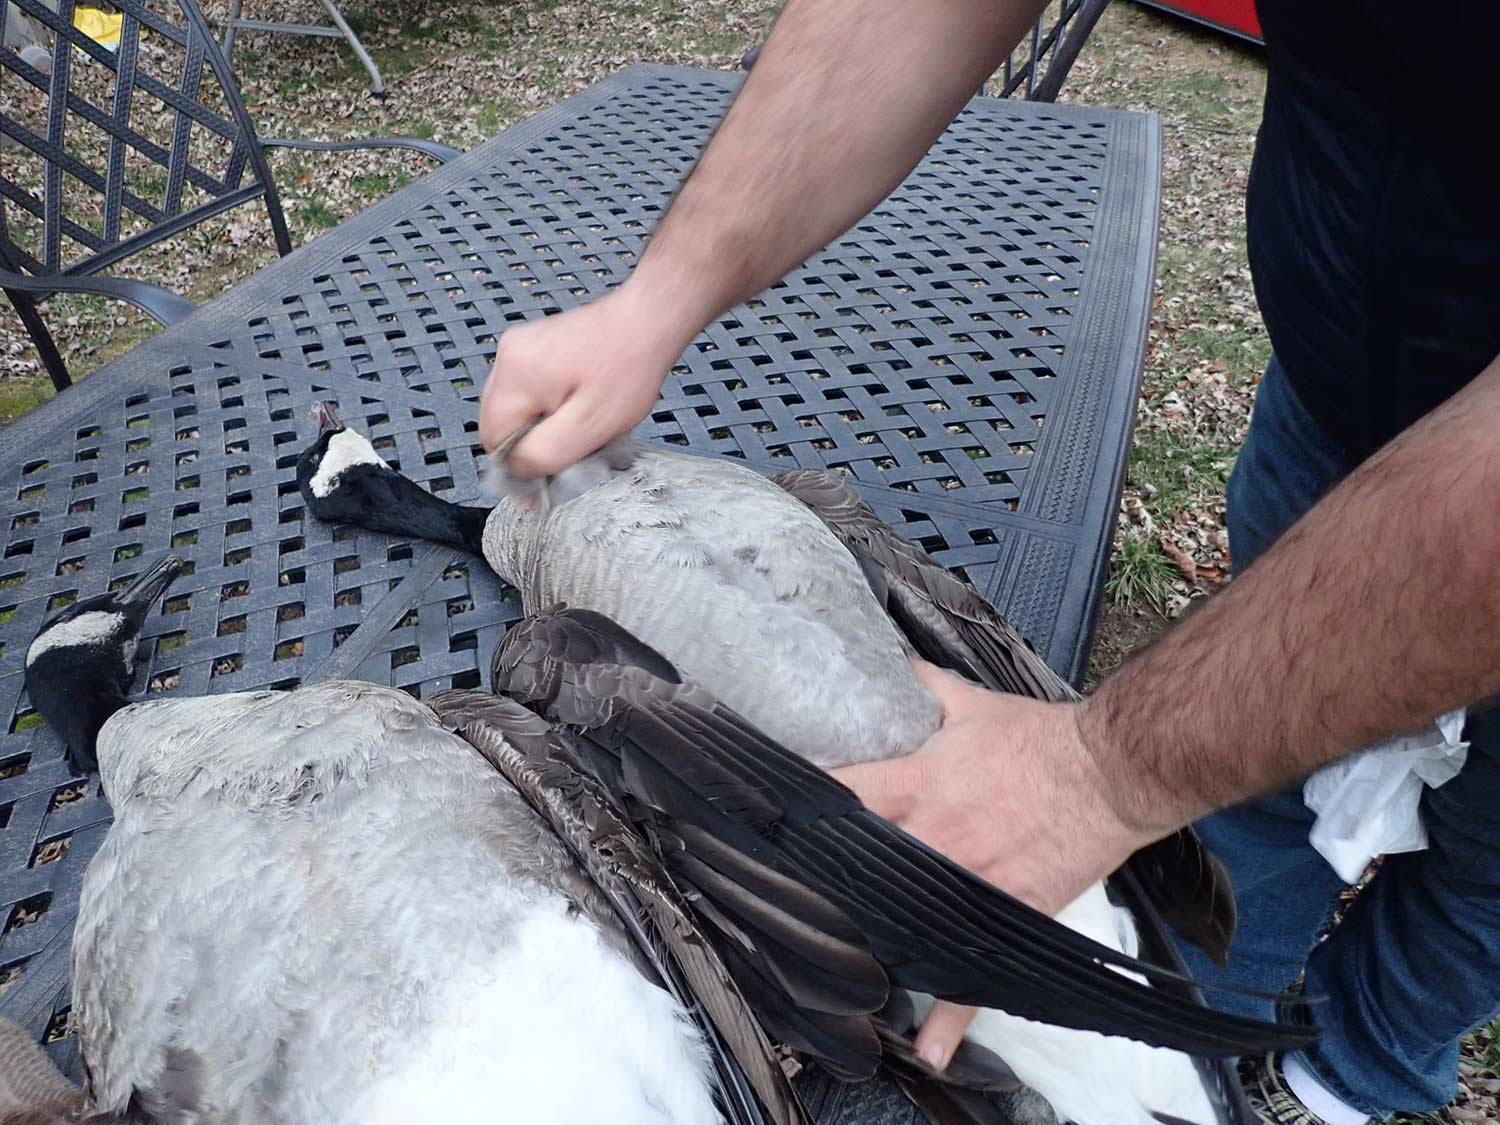
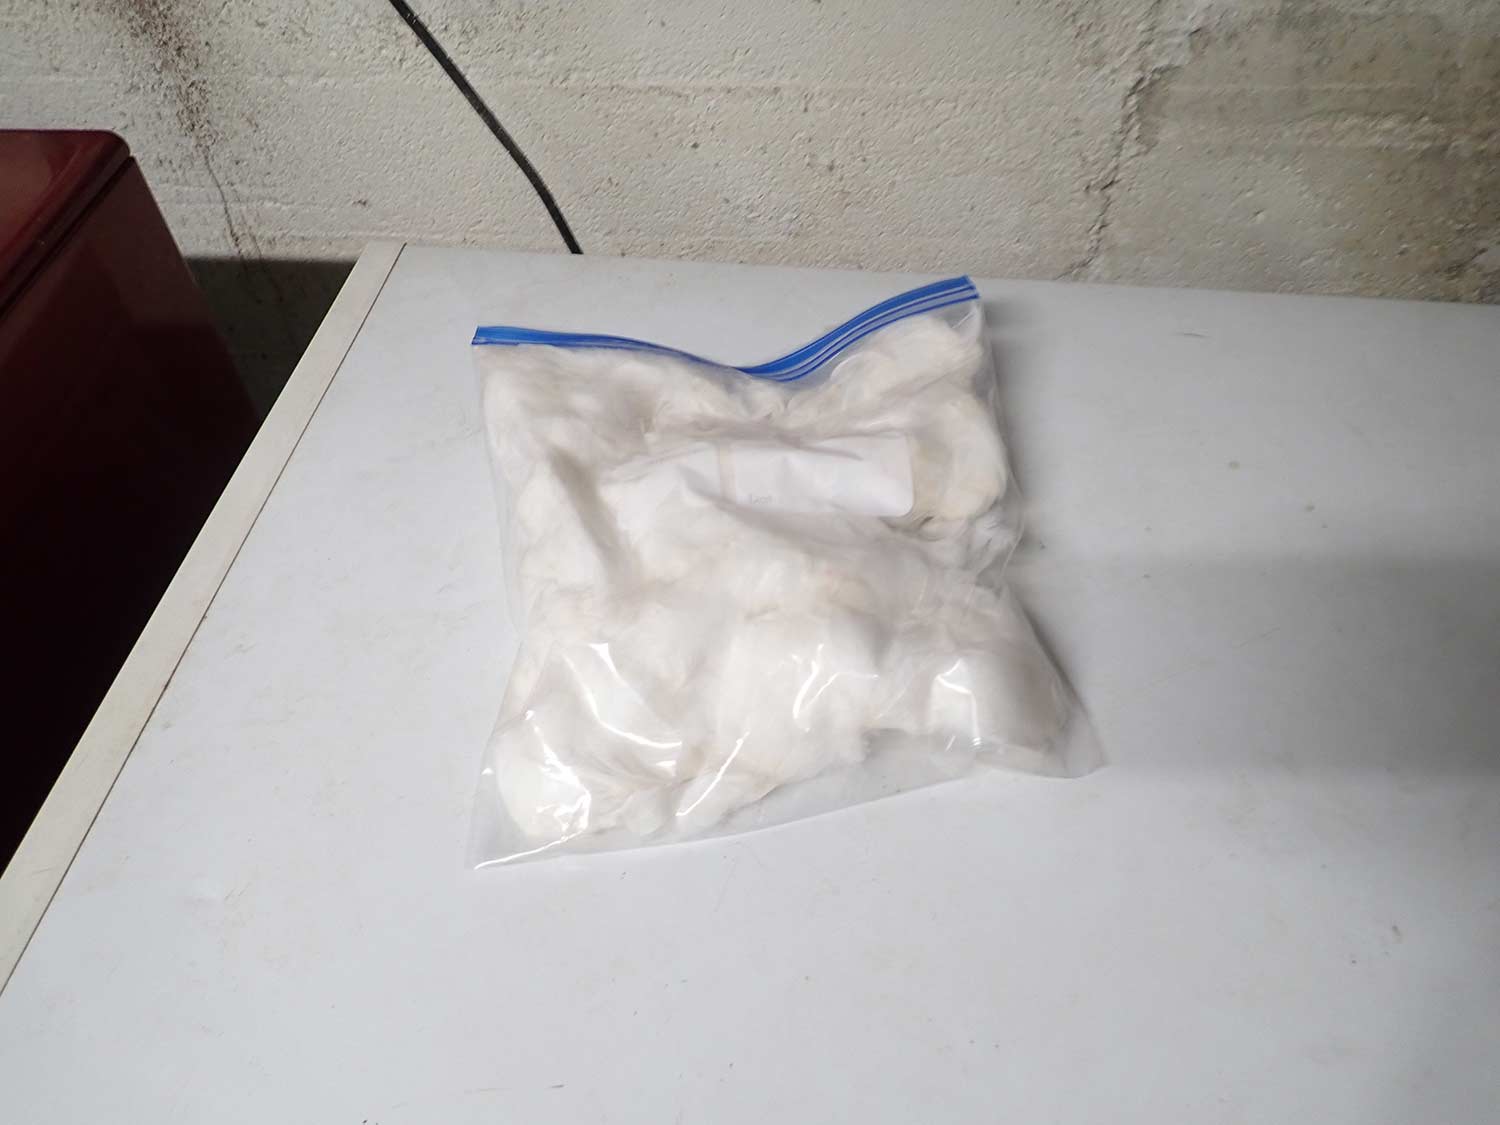
Unless you’re really good at sewing, you’re unlikely to have the skills necessary to make a garment with the baffles required to keep the down in place, but you can make your own pillow with ease. You’re going to need a lot of down for this, so count on saving breast feathers from all the birds you harvest next season, avoiding the bloody bits. Pull all the down off, stuff it in ziplock bags and place it in the freezer until you have enough for a pillow. The down doesn’t need to be preserved, but the prolonged cold will kill off any lice that may be lingering in there.
After you’ve accumulated enough to fill a pillow, stuff it all in a pillowcase and sew the end shut. If you’re lucky, you have a dry cleaner nearby that can clean the down for you. If not, you’ll have to wash it yourself. You don’t want to strip the down of its natural oils, so you’ll need to use a special wash. Run your washing machine empty a time or two to get all of the residual soap out, then throw in your pillow. Set it to delicate, and follow the directions on the down wash. To dry the pillow, toss it in the dryer on the lowest heat setting possible with a couple tennis balls to help maintain the loft. Run it through two or three times to ensure it’s dry, then remove and fluff.