Creativity is one of the human species’ greatest tools. This trait has not only fueled our art, literature, and music for thousands of years, creativity has also given us the ability to survive in the harshest environments on earth. With our innate inventiveness, we’ve been able to transform the random elements and resources around us into more useful commodities. This creativity and ingenuity are at the heart of the concept we call “survival hacks.” Simply put, when we can turn the things we have into the things we need – that’s a “hack.” Each one gives us a better chance for survival, especially in the heat of the summer.
Imbibe Berry Juice for Hydration
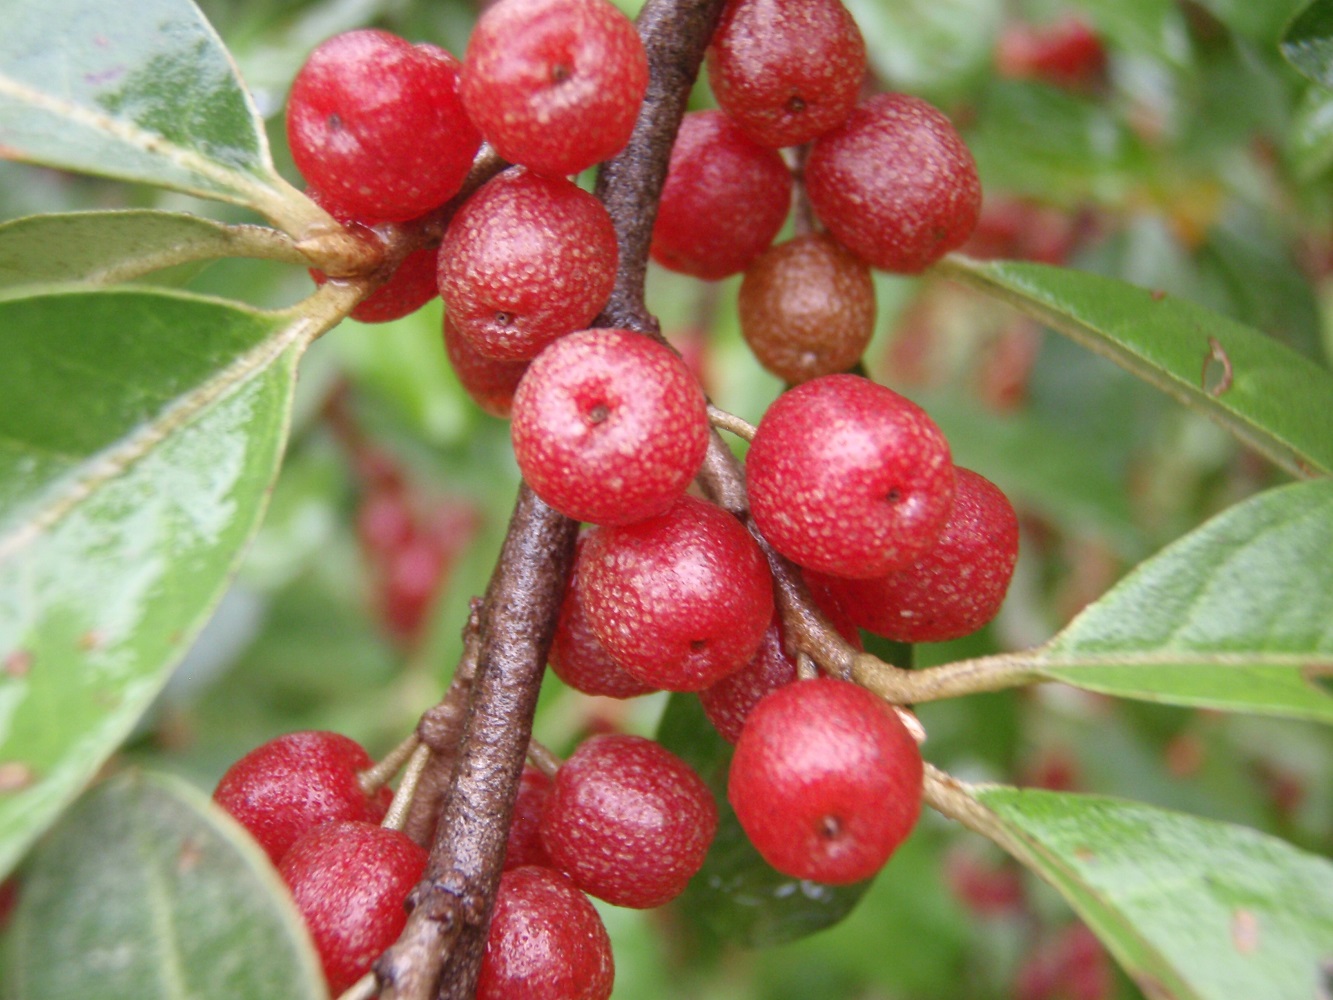
When both food and water are lacking, you might think it’s a smart idea to wolf down some wild foods that have significant water content. Well, think again. It takes water to digest and pass solid foods through your GI tract. A better strategy is to take the liquid and bypass the solids. In the case of edible berries and fruits (like raspberries, blackberries, mulberries, and cherries), these can be crushed into a pulp and the liquid can be consumed. Not only is this beverage tasty, it’s also a source of water, calories, vitamins, and minerals. My preferred method is to wrap several handfuls of berries in a clean bandanna, crush the fruit, and twist the cloth to wring out the juice into a waiting container. Saving yourself from dehydration never tasted so good.
Light a Match Without the Strip
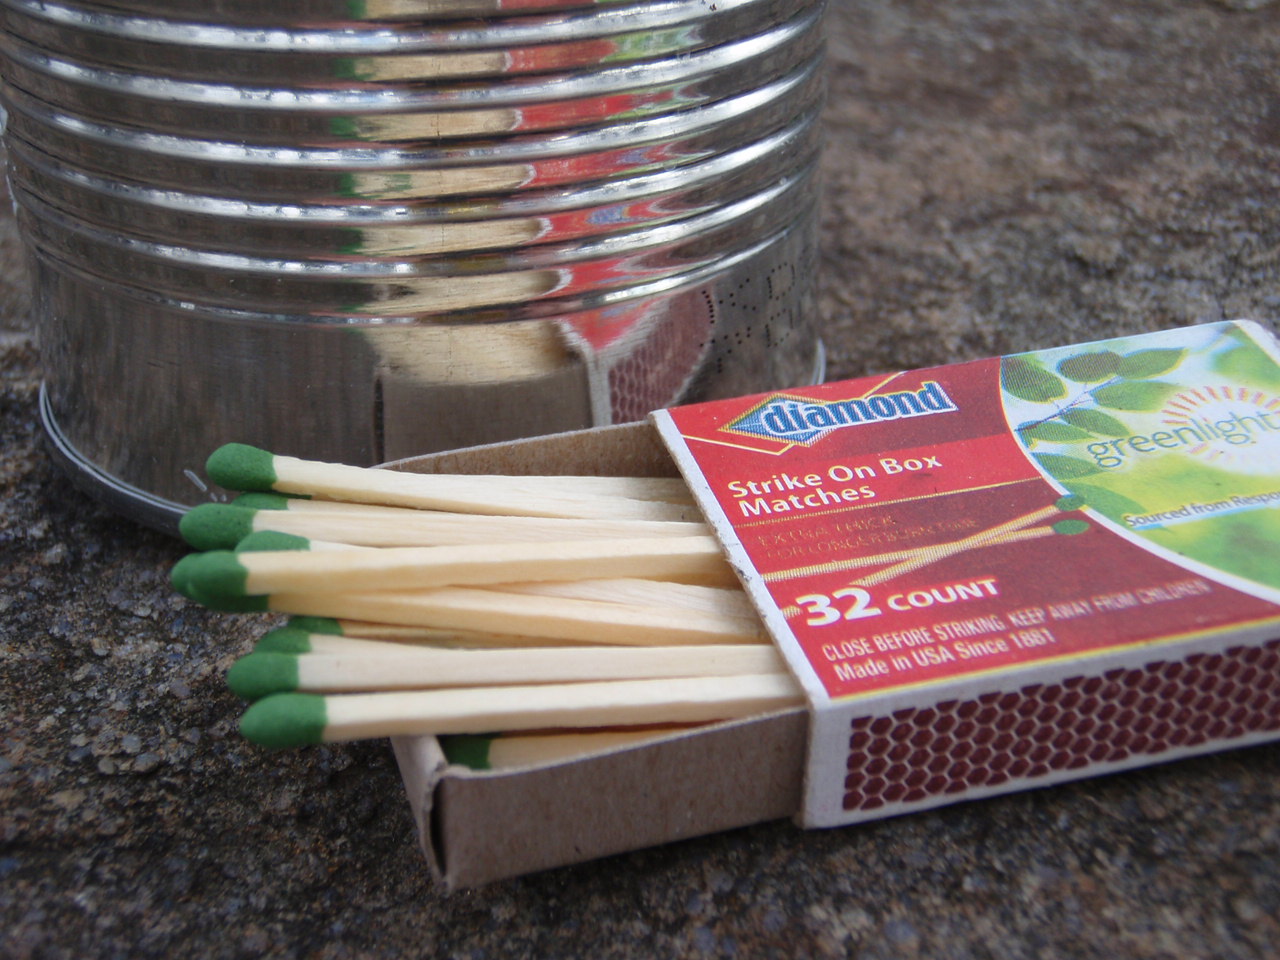
Wooden stick matches have existed for roughly 1,500 years, and today’s matches bear a close resemblance to these original “fire sticks.” Modern safety matches offer us an easy way to start a fire in many weather conditions, but there’s a catch. Unless you’re using “strike anywhere” matches, the striker strip on the match box needs to be intact. Without the correct abrasive surface (containing the right chemicals), your safety match is more like a piece of kindling than an ignition method. We can fix that, however, with one simple survival hack. If the phosphorus head on the safety match can get hot enough, it will burst into flame without being rubbed on a striker strip. A sunny day and a magnifying lens (or parabolic mirror) can come to the rescue in this situation. Simply focus a beam of light on the match head, and in mere seconds (if you have the angles right), the match will ignite. Yes, you could also just light some tinder with the same optical fire-starting method, but if you have the matches, why not use them?
Make Your Own Jerky
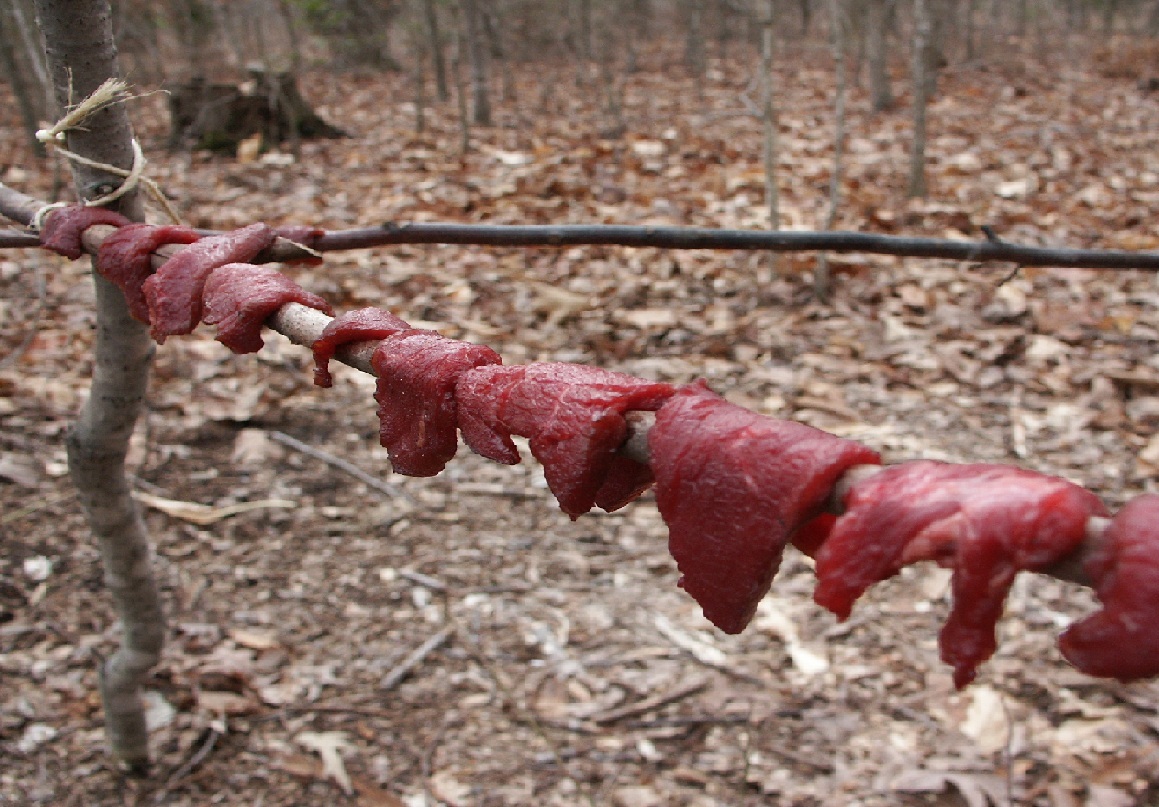
Meat has a very short lifespan on a hot summer day, but transforming it into jerky can buy you some valuable time before spoilage occurs. When crunched for time (as you would be in warm weather), the hot smoke process makes the most sense. In this technique, lean meat strips are impaled on a skewer and hung to dry over a small smoky fire. As the smoke wafts across the meat, it keeps flies away and coats the meat in preserving compounds. The smoke and heat also dry out the meat, rendering it less suitable for bacteria to consume. Hot smoked jerky is shorter lived than jerky made with the slow “cold smoke” process, but it’s a fast way to make jerky and the dried meat will last for several days in the summer heat before it begins to rot. Adding salt to the fresh meat (before drying it) will extend this window of relative safety. Store your jerky in the coolest, driest place you have, and use it before it begins to develop an unpleasant scent, flavor, or signs of spoilage (like mold or bugs). For the greatest margin of safety, cook the dried meat again, just prior to consumption (I like to toast the pieces over a fire just before eating them).
READ NEXT: The Ultimate Guide to Making Jerky
Flush Out a Wound
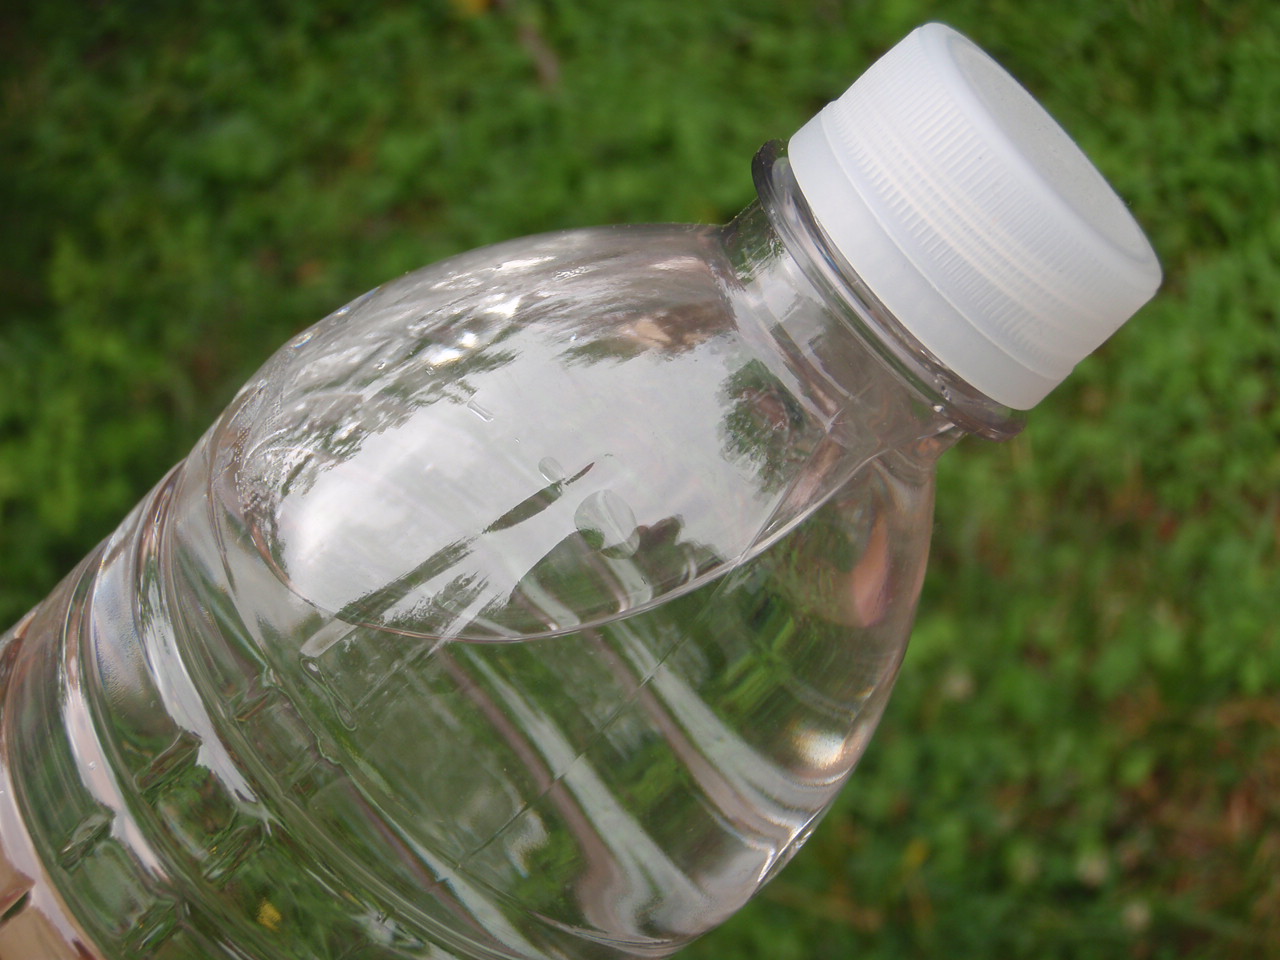
Hopefully, we all skate through the summer without incurring any injuries, but injuries sustained in the outdoors are common and they’re often dirty. Fortunately, a simple disposable water bottle can be quickly modified to produce a stream of pressurized clean water to flush dirt and debris from wounds. Just use the tip of a knife or some small sharp object to pierce the cap and squeeze the bottle to produce a stream of water for wound cleaning. Once flushed, pat the wound dry and bind it with the cleanest materials available (ideally gauze and dressings from your first aid kit).
Use Plantain to Relieve a Sting
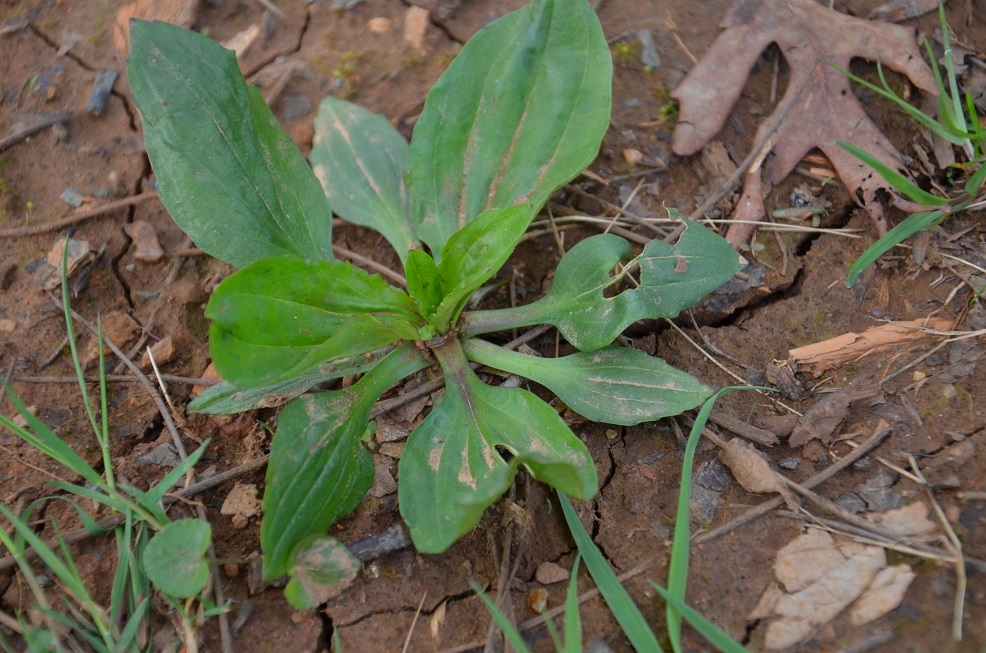
Forget about the starchy banana in the grocery store—we’re not talking about that kind of plantain. This plantain is the common lawn weed that can be seen growing wild around the globe. There are several species present in North America, and all are suitable for a handy survival hack: sting relief. This plant is especially seen in sunny locations during the summer season. Simply crush a leaf or two, until the juices flow out, then apply this paste to the bite location. Leave it in place, ideally, binding it down again the skin with a band-aid or a dressing. Reapply as needed. This medicinal form is called a poultice, which is one of our oldest ways to apply medicinal plants. This same plantain poultice can be applied to cuts, scrapes, scratches, and burns.
Restore Tarp Attachments
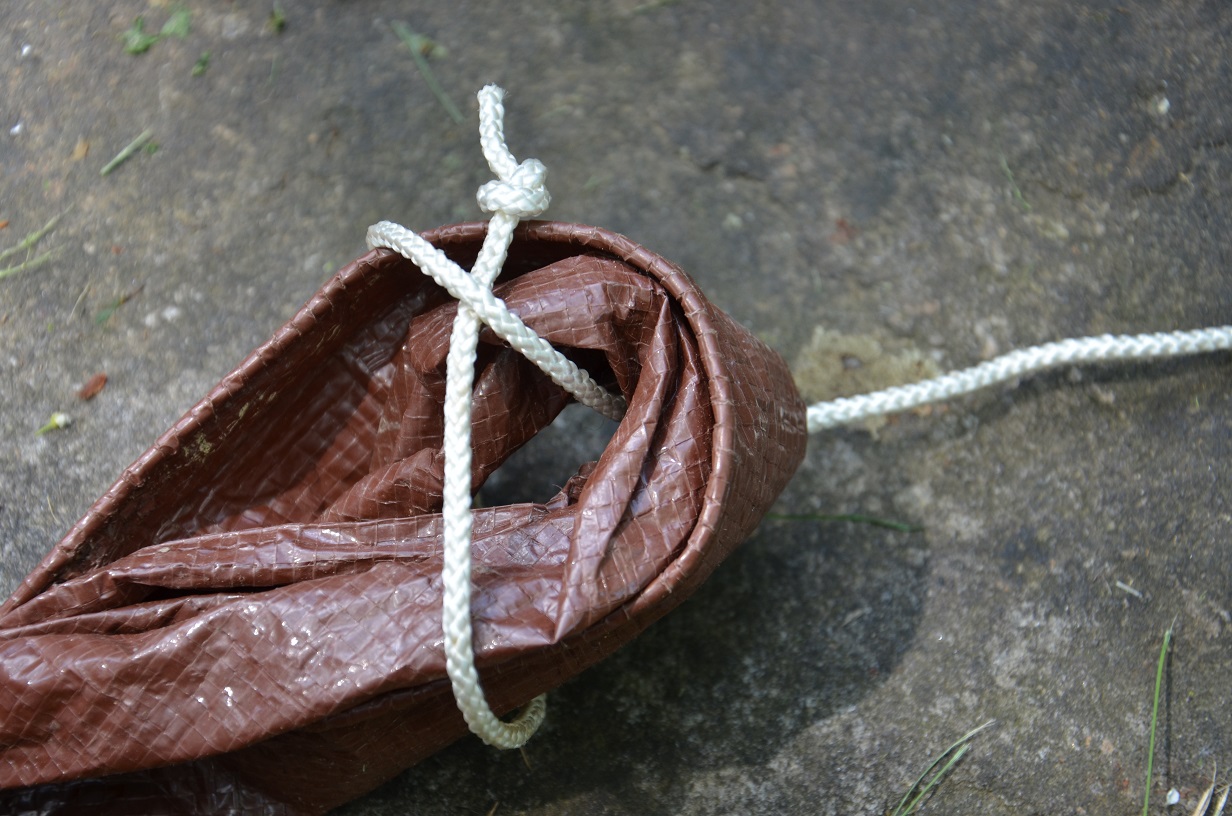
I’ve gone on record (more than once) stating that the sheet bend is my favorite knot. Its versatility is impressive, and it can tie so many different materials together. If your tarp loses a corner ring (known as a grommet), you can still get the tarp back in the game with a sheet bend. Just bunch up the tarp corner and bend it back on itself. This creates a form known as a bight. Next pass your rope up through the bight, around the entire outside of the bight, and finish with an underhand loop on the rope. When you pull the standing end of the rope, this will set the sheet bend. Extra strength can be added by tying a stopper knot in the working end of the rope, or by doing a double sheet bend (which involves two wraps around the entire outside of the bight).
Read Next: The 20 Knots You Need to Know
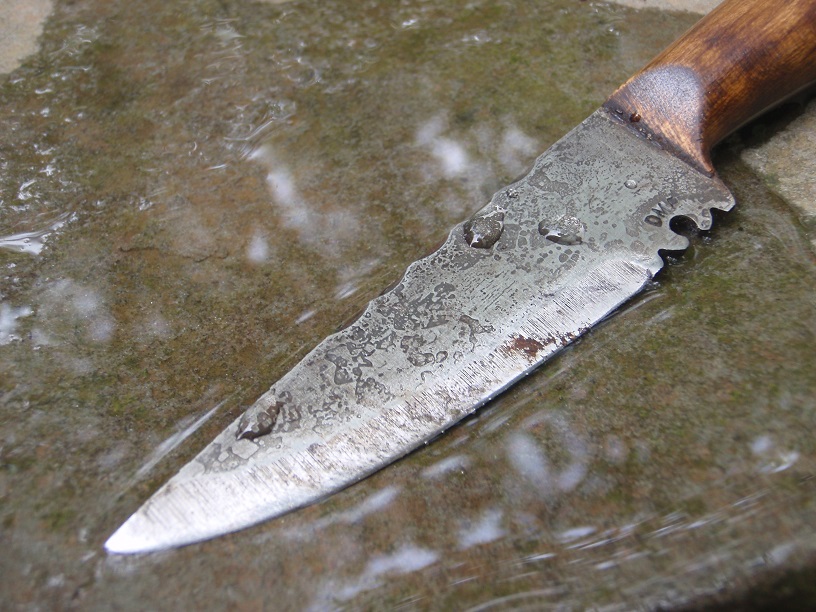
Use a Real Sharpening Stone
Before we had manmade oil stones and diamond stones, our ancestors simply used the available rocks to sharpen their blades—the original survival hack. Natural Arkansas stones still honor this tradition, though these are quarried and cut into perfect little slabs. Most commonly made from novaculite (which means “razor stone” in Latin), Arkansas stones give us a taste of old-fashioned knife care. But this isn’t the only type of stone that will work. Visit your local waterway and pick through some of the flat or rounded stones that you find there. Estimate their abrasiveness, dampen them with water, and try them as sharpening stones. You might be surprised by their effectiveness. I sharpen my blades and tools by making little circles against the stone surface, but you can move the metal in any pattern you like (as long as there’s movement to wear away the metal).
Fill Your Tub with Water Before a Storm
Summer is the beginning of hurricane season and when this event is predicted for your area, prepare for a water supply interruption by filling up the bathtub with cold water. Plug the drain with a stopper and cover it with several pieces of duct tape, whether it tends to leak or not. Then fill the tub until the water reaches the overflow (that metallic disc near the top of the tub). There’s no guarantee that the water will keep flowing during and after a hurricane. But with a bathtub full of water, you now have a backup for toilet flushing, cleaning, cooking water (if it will reach boiling temperatures during food prep) and even for drinking water (after disinfecting it, of course). Sure, bathtub water is less than appetizing, particularly from a nasty looking tub. But it’s purer than the flood waters after a storm, which may be your only alternative without a glorious bath basin of H2O.
Fish with Dental Floss
Besides cleaning your teeth, dental floss is naturally suited for many other tasks which require a thin line that is also strong. One of the handiest uses in a survival setting is using dental floss as an improvised fishing line. Sure, keeping a spool of monofilament fishing line in your survival kit is a great idea, but floss is a descent runner up. Since it’s so thin, fish don’t seem to mind biting the line; since it’s so strong, this line (and a baited hook) can help you land a whopper of a fish. Use the floss tied to a long flexible sapling tree or long tree branch as a traditional fishing pole. You can also use perform “hand line” fishing by simply holding the line and throwing it in the water.
Stash a Survival Kit in Your Nalgene Bottle
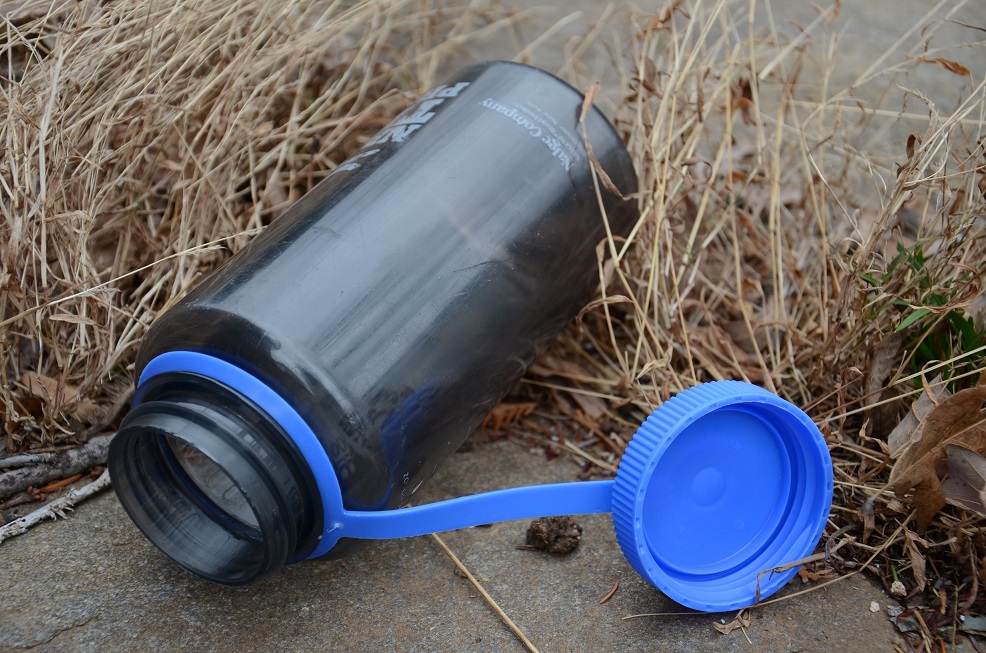
Since water bottles are designed to be waterproof, they offer a secondary function beyond holding water. They can also keep water at bay. By using a wide mouth water bottle as a survival kit container, you can now stock up on an assortment of useful survival supplies—and keep them bone dry (in any weather or environmental conditions). Stuff the bottle with cordage, first aid supplies, fire starting implements, and all the other typical survival kit ingredients. It’s also smart to include a small bag inside the bottle, so you have a secure place to store your assorted survival supplies if you need to use the bottle for its intended purpose (carrying water).