We may earn revenue from the products available on this page and participate in affiliate programs. Learn More ›
Natural disasters seem like a constant topic in the news this year. Flip on the television, and you’ll hear about fires or flooding in some part of the country almost every day. Toss in the occasional earthquake, tropical storm, or hurricane to mix things up, and it seems like nature is completely out of control. There is, however, something that you can control. You can get prepared.
In this article, we’ll talk about the things to stock in your home before a crisis, plus the things to have “ready to run” during a potential evacuation. You may be caught off guard when a natural disaster strikes, but there’s no excuse to be caught empty-handed.
10. Determine Your Threats
Worried about blizzards in south Florida or hurricanes in northern Michigan? Don’t be. These natural disasters are only likely in certain areas. It’s the Floridians who need to be hurricane ready, and our friends in Michigan have written the book on dealing with lengthy snowstorms. Before you start worrying about (and purchasing items for) every known form of disaster, do some research to determine the most likely threats to your region and locality.
A major player in the realm of disasters is location, and your location will determine your most serious and frequently occurring disasters. Once you’ve determined the top threats to your area, then you can start making some informed plans and practical purchases. By being prepared for even one specific type of disaster, you are actually better prepared for them all.
9. Start With First Aid
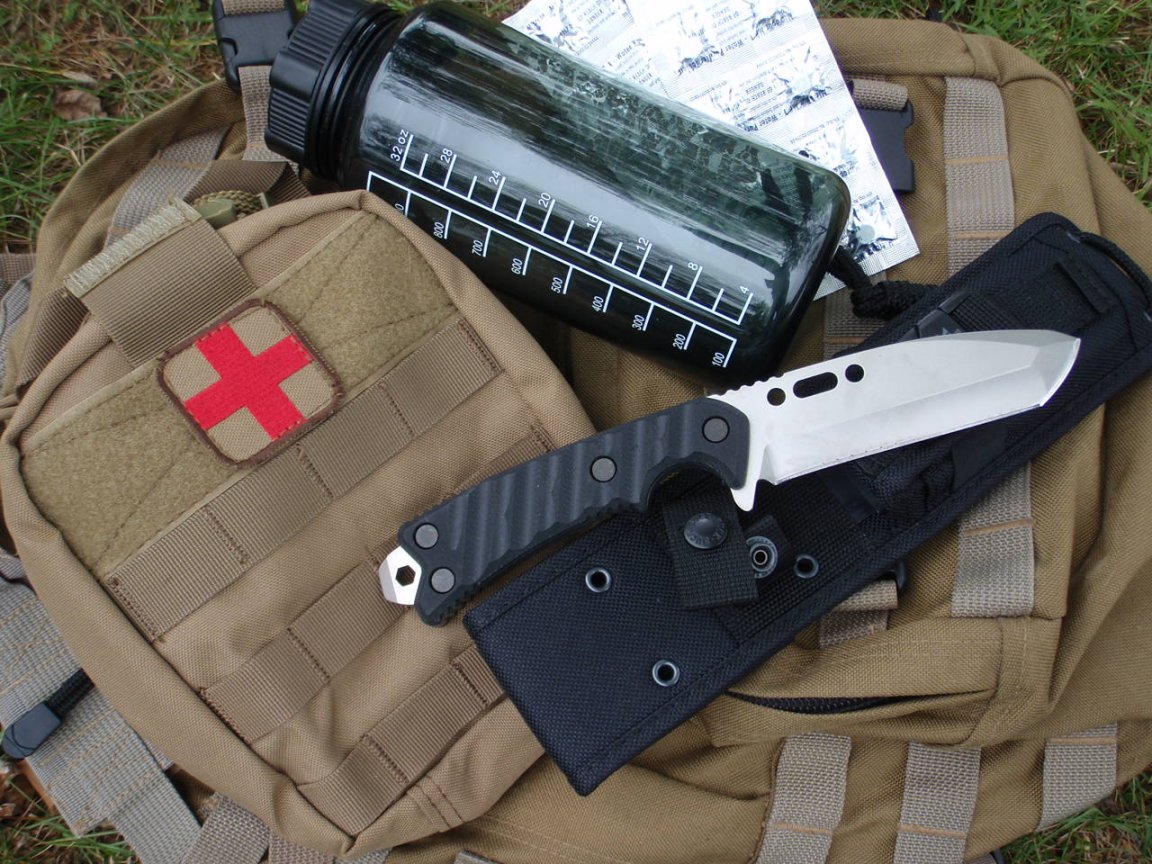
Before you start reading reviews on generators and shopping for the best non-electric can opener, the first investment for your disaster kit should be a well-stocked first aid kit. It’s rare to have a calamity without any injuries. Your first aid kit should have all the necessary supplies to tackle small wounds (like minor cuts, scrapes, and scratches), infection prevention (vital in a long term emergency) and more significant injuries and illness.
Help may be delayed in a crisis, and you may have to be your own first responder (EMS may not get to your location or you might be unable to contact them). Stock your kit with items that your family or group frequently uses, then add a few major trauma supplies for the worst day of your life. Your kit can be stocked by the manufacturer or you can assemble your own kit, just make sure you have a first aid option before any other purchases or provisions. First aid kits save a lives, even when you’re not in the middle of a natural disaster.
8. Get A Weather Radio

When a natural disaster strikes, you’ll need to keep alert and stay informed about changing events, evacuation orders and warnings. This information could save your loved ones. You can’t expect the power to stay on and the cell towers to keep working, and during a power outage, you won’t be getting your details from the television either. A weather radio will provide this information, without being vulnerable to power failures. Make sure your chosen radio has the following features:
- Weatherband settings to receive your NOAA broadcast
- An AM/FM radio to provide additional channels of programming
- Alternate power options (such as a solar panel or crank)
- Water resistance
Some models contain an internal battery that can be charged with a USB cable and accompanying power source. Other radios take standard batteries (like AA). Make sure you have an ample supply of batteries, if this is the case. And don’t forget that a vehicle radio can also be a great source of information—independent of the local power lines.
7. Take Care of Your Water Needs
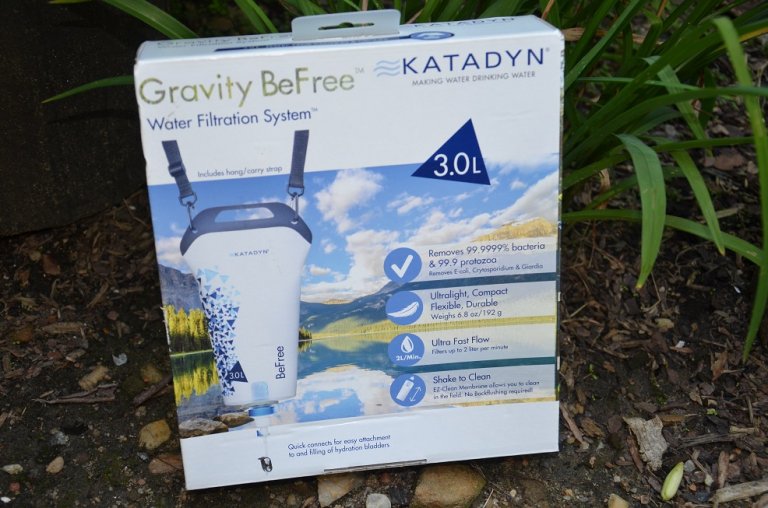
The FEMA guidelines for disaster preparedness recommend one gallon of water per person per day for basic drinking and cooking needs. You can certainly survival on that, but it’s a painful culture shock to scale back to this bare-bones water ration (especially when the average American goes through 80-100 gallons daily, mainly from showers and toilets). Since your private well or municipal water system can be knocked out by many different types of natural disasters, I recommend storing water in several ways. A few cases of 12- or 16-ounce water bottles are great, since the individual bottles are easy to use, and there’s no need to wash cups or glasses. These small bottles are also easy to ration and divvy up within your group.
I also recommend some bigger jugs of “bulk” water, like the two-gallon rectangular jugs with a built-in spigot or five-gallon water cooler jugs. These will stay safe far longer than the expiration date suggests if you keep them stored in a cool dark location. If you are able to collect water locally in your situation, you’ll also need practical ways to disinfect it. Purification tablets are a cheap way to go, but they need to be replaced annually or every other year, and there’s only so many in a package. Water filter pumps or squeeze bags, such as the ones you would find in a camping store, are your best bet. These can last a very long time and provide drinkable water right away.
6. Plan For Meals Without Utilities
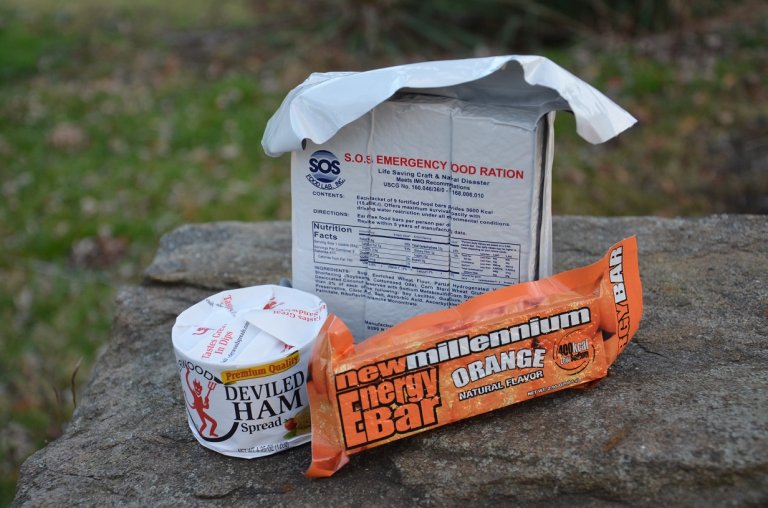
In the overall scheme of things, food can rank pretty low on the list of life or death priorities, but in a society where most people are accustomed to three square meals a day and snacks, going without your normal meals can be painful. While most of us can last for weeks without food (given adequate shelter and water), food will become a major issue when you don’t have enough or you don’t have the right kind during a disaster. The top concern for your family is calories. Subsequent issues are ease of preparation, shelf life, and cost.
For both short term and long term food supplies in a disaster kit, consider food that is ready to eat (no cooking required and you could eat it while walking). My favorites are New Millennium food bars. These come in many different flavors, they won’t melt in the heat, you can still eat them when they are frozen, and they have a five-year shelf life. Larger ration bars aren’t a bad idea either. Common grocery store items can also fit the parameters of no cooking and long life. Various canned meats, meals, and dry goods can last for years and offer an affordable and familiar menu to your family.
5. Light Up The Darkness
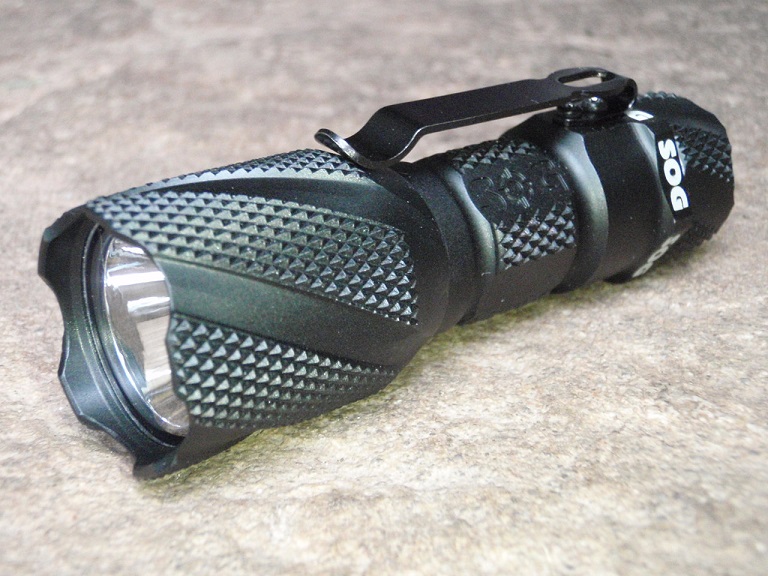
Candles have been used for household lighting for at least 5,000 years, starting with the wicked candles developed by ancient Egyptians around 3,000 B.C. This is a venerable track record, however, a long history of use is no substitute for safety. Today, we have plenty of products that can provide light without the accompanying heat and flame of candles—namely flashlights and chemical light sticks. I like to have an assortment of LED lights (which are often on the dim side but thrifty on battery life) and at least one tactical light (with a short battery life but ultra-bright beam). Don’t forget to stock some extra batteries. Chem lights also come in a variety of colors and intensities. Stock a few long-burning ones and a few high-intensity ones for variation in your supplies.
4. Handle Hygiene Issues
At a bare minimum, a few rolls of toilet paper and a pack of baby wipes should be in your kit, but we can do much better than that. Dental care can be provided by a toothbrush for each group member, a spool of floss, and a tube of toothpaste. Hand sanitizer is a nice option to stay clean in situations with limited water. If water is abundant, a bar of soap that can wash hands, bodies, hair, dishes, and clothes is very helpful. You might need a toilet at some point too, and this can be served by using a bucket (as both a container for supplies and then turned into a toilet as a terminal use).
3. Protect Your Papers
In the event that you need to grab your loved ones and run, important papers are often forgotten in the rush of an evacuation. Local and regional maps can be incredibly valuable during an evacuation, helping you find alternative routes and determining contingency evacuation destinations. Other critical papers should include your personal documents, such as birth certificates, wills, deeds, identification, and insurance. These will be needed after the disaster, and they may be destroyed if abandoned in your home.
As a valuable accessory to your insurance policy information, include a detailed inventory of all your possessions (including photos of the goods and receipts, if you have them). This documentation will make all the difference when fighting over the value of your possessions with the insurance company. You could even make a video of your possessions, home improvements, and other assets—keeping this on a disk or thumb drive as evidence of your belongings and home features. A final valuable paper to consider is paper money. Credit and debit cards may not work after a disaster, due to communication network problems, but cash is king.
2. Add Some Specialty Items
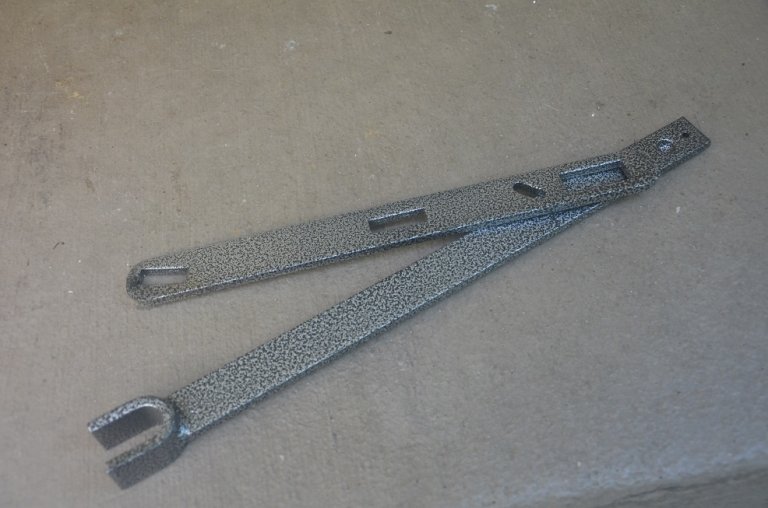
Food, water, and first aid supplies are obvious choices for a disaster kit, but other handy objects might not be so apparent. In the aftermath of an earthquake, you’ll need a utility shut-off wrench to easily shut off your gas valve and municipal water valve. You should be able to use an ordinary adjustable wrench for the gas, but you’ll have a tough time improvising a wrench that provides enough torque down in the water access hole. Other specialty items include mobile phone chargers that fit your phone (especially if it’s an uncommon plug), and morale boosters can be a sanity saver when properly planned. Coloring books and candy may be a winner for some of your family, while religious texts could lift the spirits of other group members. Know your audience when planning these items. For those with young children in the group, the right baby formula and correct size of diapers are a major necessity (and these will need to be updated often, as quickly as the little ones grow).
1. Pick A Smart Container
Now you’ve got one of the harder choices to make. You’ve got your gear, but what do you put it into? You’ll definitely want to keep your supplies organized and portable, but the right choice of container will depend on many factors.
If your situation allows for a vehicle, crack-resistant plastic bins work well as disaster kits (like Rubbermaid bins), but you’ll want to skip the kind of rigid plastic bins that will shatter on impact. Five-gallon (or larger) buckets can work too. Don’t be scared to have multiple containers, clearly marked with their contents. Bins and buckets are water-resistant and provide a useful vessel once the supplies have been used. These empty containers could catch and store rainwater, or be used as washbasins for dishes and clothing.
For those who may have to evacuate without a personal vehicle, a backpack is the perfect disaster kit container. Unless it’s a huge backpack, it won’t hold as much as a single bin, but it’s a far easier way to carry a heavy load than a bin in your arms. For a low profile option, consider a suitcase with wheels. This will blend in well if you have to exit a metropolitan area by mass transit or on foot. Let the wheels shoulder the burden while looking like every other traveler. With either a bag or a plastic container, remember to keep your water stored separately from anything that could be harmed by water. Dry goods and first aid supplies should never be stored or transported with water jugs or bottles, due to the chance of leaking.
Whatever container you choose, think of this gear as your own private “store” where you can go “shopping” for any necessities you need.