Tall, white-tipped tines shine like beacons in the late-afternoon sunlight. The monster buck eases out of heavy cover and into bow range. After minutes of painstaking patience, you settle your sights and send it. It finds that crease behind the buck’s shoulder, and the deer drops within sight.
That’s what deer hunters dream of each season. But this result is only possible with hard work and diligent scouting efforts. Fortunately, once you’ve mastered the art of scouting for whitetail deer, it can be just as fun as hunting. Here’s a five-step game plan for scouting whitetail deer that utilizes the latest and best mapping technology available along with old-school woodsmanship. Follow this scouting plan to have more success this deer season.
Step 1: Understand Whitetails
The first step in successful scouting requires understanding whitetails and their behavior. Otherwise, you won’t know what you’re looking for, or how to interpret the deer sign and activity you observe.
While understanding whitetail behavior can get complicated, it ultimately boils down to their basic needs, including security cover, food sources, water sources, and breeding. Then, it’s all about discovering where they get each of these things on the landscape, understanding the short-, mid- and long-term cycles that surround these things, and pinpointing terrain and topographical features that help you intercept deer along their natural lines of movement.
Step 2: E-Scout Target Areas
Understanding whitetail behaviors and patterns goes hand-in-hand with e-scouting. Use a hunting app, such as HuntStand, to find potential hotspots in your area. While additional work is to be done, e-scouting is a serious time-saver. It not only helps you find potential hotspots, but also aids in crossing off obvious areas to avoid, such as poor habitat, homogenous terrain, and spots that likely receive heavy hunting pressure.

“General scouting starts with good maps,” says Brian Murphy, wildlife biologist with HuntStand. “There are enough different layers in HuntStand that allow you to look at habitat and various components of it. These can be identified well off a map. Combining that information with some ground truthing, and looking at rut timing, will give you an anchor point for activities that lead up to the rut.”
During this phase of the scouting process, search for potential bedding areas, food sources, watering holes, staging areas, and travel routes. The easiest way to start is by searching for edge cover, which is where different terrain features meet.
Furthermore, look for terrain and topographical features that could serve as good hunting locations. Getting within bow range of deer isn’t easy and using the land to funnel deer movement is a great way to close the gap.
“The key is using all the different tools that HuntStand offers in combination to maximize what you can do to improve your success,” Murphy says. “Look at the different satellite layers to determine where the best habitat is likely to be.”
The hybrid, satellite, and mapbox satellite layers are excellent for seeing the terrain and vegetation. The monthly satellite layer is perfect for gauging virtually real-time changes to the landscape, which is perfect for recognizing timber harvests, crop rotations, and more. Of course, the 3D, contour, and terrain layers are optimized for seeing topographical features on the property.
Step 3: Ground Truth Expectations
Once you’ve pinpointed areas of interest on HuntStand, it’s time to head afield and confirm your discoveries. Beginning with areas that look best, search for sign that reinforces deer are habitually frequenting the area during daylight hours.
Extensive trail networks with fresh tracks show that deer are regularly using the area. Droppings show the same. Furthermore, rut sign, such as rubs and scrapes, showcase the volume of bucks on the property, and how much time they spend there during the pre-rut and rut.
Of course, to see deer during daylight hours, you need to be close to bedding areas. What deer need from a bedding area can change throughout the season, though. For example, in colder climates, deer tend to migrate toward solar (south-facing slopes) and thermal (stands of coniferous trees) bedding areas in winter.
While bedding areas can sometimes be seasonal, food sources are almost always are seasonal. Deer don’t eat the same things all the time. Knowing where each seasonal food source is located, and when it peaks, can help you predict where deer will be.
Of course, don’t forget about water. Deer especially migrate toward secluded, stagnant sources. Mature bucks tend to visit running water less often due to impaired hearing while drinking.

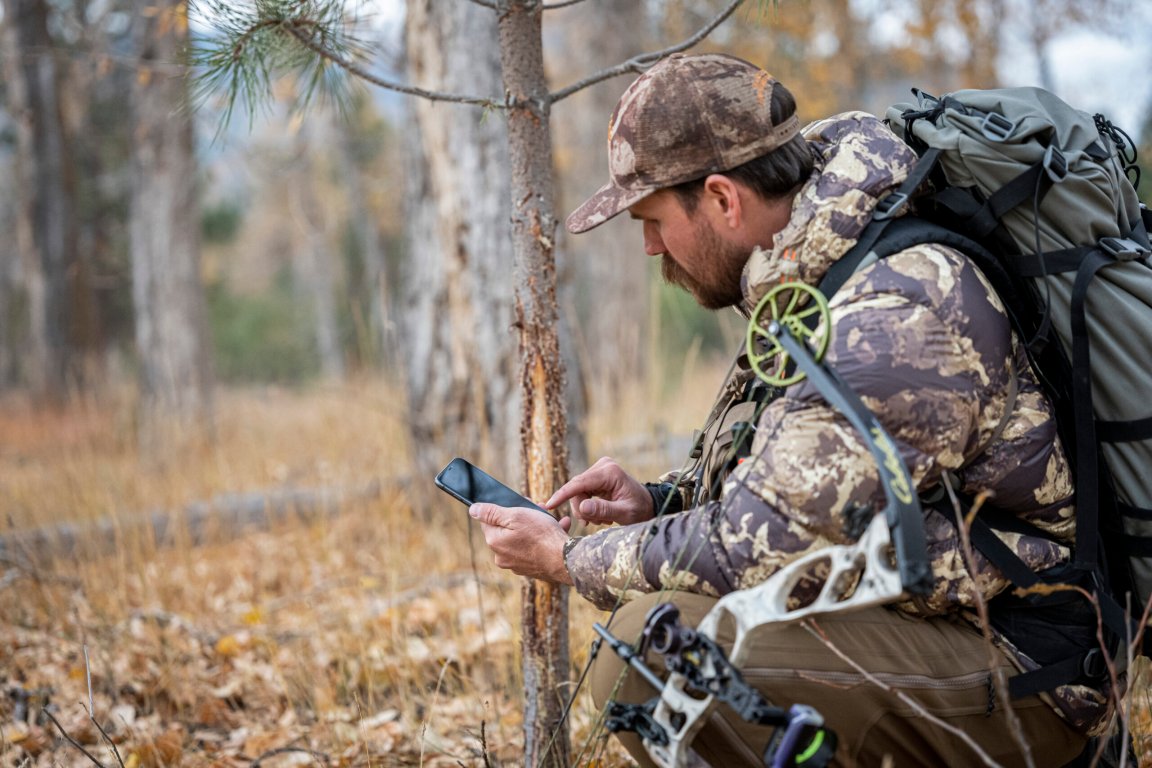
As you conduct in-the-field scouting efforts, post trail cameras in areas of significant interest. Consider placing these over mock scrapes in strategic areas to capture images and that create good shot opportunities. And remember to record all your scouting discoveries, and deployed gear, in your HuntStand app. The app allows you to save trail camera photos at each of your camera sites. By establishing multiple camera sites and saving images, you’ll start to notice patterns on general deer activity and patterns for specific bucks. The goal here all depends on what you’re trying to achieve during a season. If you’re hoping to simply tag a deer or two, then target high traffic travel corridors or feeding areas with your cameras and pay attention to when deer are showing up in the daytime. If you’re hunting for mature bucks, you’ll have to be more aggressive with your camera work, targeting trails coming out of thick, secluded bedding areas. Then you’ll want to narrow your search to areas that are seeing the most deer activity. Match the trail camera activity with the weather data on HuntStand to get a full picture of when and how deer are using the property.
In areas with minimal cell service, save an offline version of the hunt area before scouting.
Step 4: Pull Everything Together
Once you’ve e-scouted and scouted in the field, it’s time to pull everything together. Decide on the best hunting spots that offer the highest odds of intercepting target deer during legal shooting hours.
Then, analyze the entry and exit routes associated with each stand location. If you can’t get in there or back out without spooking deer, it’s best to find another spot. You want to avoid walking down major deer trails and you never want your scent to blow into bedding areas. You also want to avoid spooking feeding deer out of a field if possible. Sometimes this means taking indirect routes to your stand. Rely on your mapping app to get you in and out.
“Determine where your best access points are to given locations,” Murphy says. “Hunters oftentimes think about the best places to hunt and not enough attention to entry and exit paths to and from those stands. Sometimes, there’s the easy way, and the best way. The best way is oftentimes the more complicated, longer way. This can be difficult for some hunters, especially under the cover of darkness. This is where the trace path function can come in handy. You can map that trail into the backdoor of that stand location.”
Step 5: Plan the Hunt

Once your plan is in place, consider returning afield to hang treestands and position ground blinds. Or, if you’re worried about pressuring deer, or in areas that receive more hunting pressure, mark stand locations, and be ready to use the hang-and-hunt method once it’s time to execute your plan.
Pay careful attention to wind direction and windspeed using HuntStand’s Huntzone feature when it’s time to hunt. This feature shows you windspeed and direction over the course of a day and over a 72-hour period. This is important because the wind often shifts during a hunt. So look a the wind prediction for the whole duration of your hunt. Scouting the weather is just as important is just as important as scouting the deer. Make sure you have stand options for a variety of different wind directions. And if the wind isn’t right for a given stand, simply don’t hunt it that day.

Given the length of deer season, it’s good to create game plans for the early season, pre-rut, rut, post-rut, and late season. Doing so will increase the odds that one of these will work for you, and can help fill that buck tag.
Predict the Rut in Your Area

While HuntStand is already loaded with a great number of beneficial features, it’s adding another one this fall. A new mapping layer will package data from 4,240 counties, parishes, districts, and other geographic designations from 43 states. This area represents approximately 98% of the whitetail’s total range (including Columbian whitetails), but doesn’t include data for Coues whitetails, Key deer, mule deer, or blacktail deer. Data was provided by state fish and wildlife agencies.
“The driver for the rut map was the fact that it didn’t exist,” Murphy says. “Despite whitetails being the most sought-after big game animal on the planet, and that the rut is peak time, there was no comprehensive, detailed county level map of when the rut occurs throughout the whitetail’s range. We have data analysts and mapping experts who took this data and put it in a hunter-friendly form.”
Interestingly, the data supports the confined nature of the northern rut. Approximately 2,810 counties (66%) see a November rutting period. This layers also showcases just how varied the southern rut is. In total, the whitetail rut lasts from July to March (a total of 210 days) in the United States, with both ends of that spectrum being located somewhere in the South.
Murphy attributes the vast differences in southern rutting dates to a combination of factors including genetics, latitude, and stocking source locations from deer recovery efforts. Of course, vastly different breeding dates cannot take place in northern states because fawns must be born in a confined timeframe to survive.
“There’s a lot of anecdotal coffee shop talk about when the rut is in a given area,” Murphy says. “If one person sees a buck chasing, someone will say the rut is on and affect hunter effort. But it is historically very consistent in a given area. So, a hunter who knows the historic rut in their area can use that information to guide their hunting behavior.”
Given the vast differences in rut timeframes, even across short distances, it becomes even more important to know exactly when deer tend to rut. This is even truer in areas where it can change by a month or more within just a few miles.
Even if you’re hunting outside of the rut, simply knowing when it occurs is vitally important. Deer follow consistent annual behavioral tendencies based on where they are in that cycle.
“It still gives you an opportunity to know where a herd is in its breeding chronology,” Murphy says. “That can be helpful, too. If you know you aren’t hunting the rut, you know when the rut is, and you know what deer are doing in the pre-rut or post-rut periods. It helps hunters understand what a deer herd is likely to be doing at a given point in the season.”
Sponsored by HuntStand.