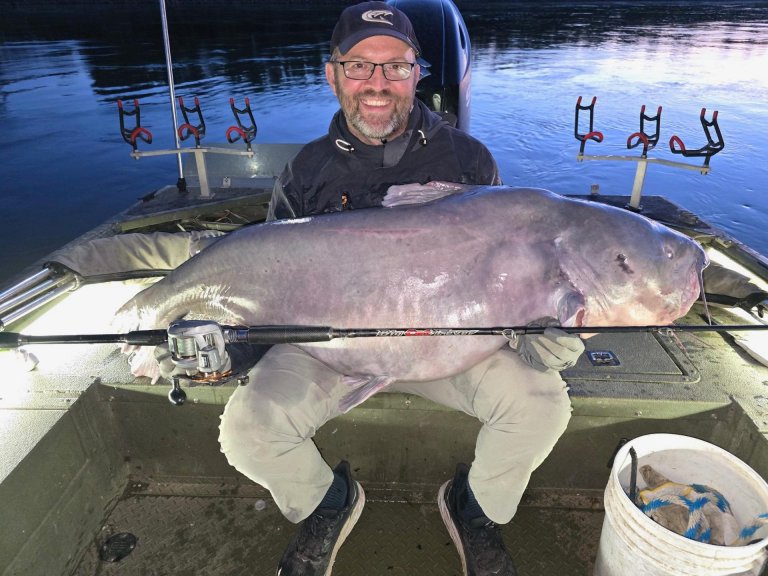
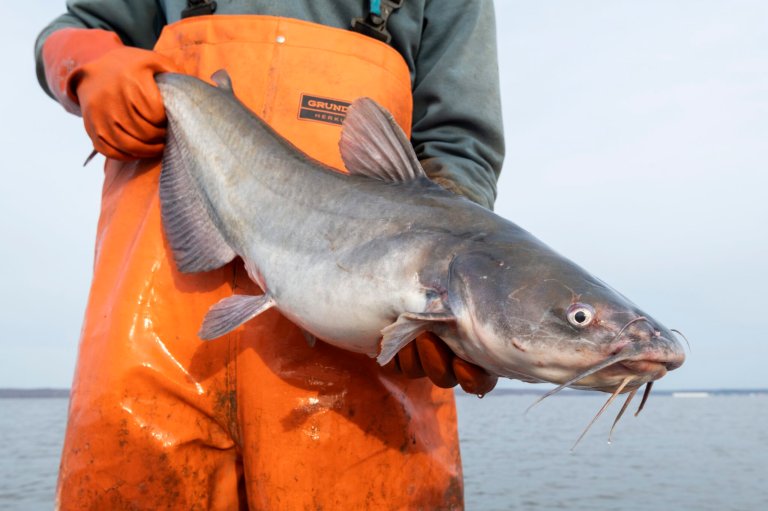
Survival Survival Skills

Survival Skills: How to Carve a Traditional Bow

Need a bow? Don’t have one? No problem—you can make a quickie survival bow and start shooting it immediately. Bow making can be a fun hobby at home and a means for catching some calories in a survival situation. Carve this bow from a sapling or tree branch, then string it with some of the strongest cordage you can get. It is surprisingly quick and easy.

1. Choose the Right Wood
Some of the best wood for making bows include Osage orange, yew, ash, black locust, and hickory; most hardwoods (like oak and maple) will work. Start with a relatively straight sapling or branch that is free of knots, side branches, and twists, about 6 feet (2 m) long and 2 inches (5 cm) in diameter. It should be dead and dry but have no sign of rot. Cut it carefully to avoid creating any cracks in the wood. This piece is now your bow stave.

2. Find the Belly and Back
Stand the stave upright on the ground, hold the top loosely with one hand, and lightly push down until the middle bows outward. It should swivel to show you which way it is naturally curved or more bendable. The outside bend of this curve is called the “back” and the inside bend is the “belly.” Don’t touch the back—any damage to it can cause the bow to break. Mark out a handhold area in the middle of the bow by marking 3 inches (7.5 cm) out from the center in both directions. The area above the handhold is the upper limb and the area below is the lower limb.

httpswww.outdoorlife.comsitesoutdoorlife.comfilesimport2015BOW2.3.jpg

3. Take Shape
Put the bottom tip of the bow on the ground, hold of the top tip, and push slightly outward from the belly side of the handhold. Observe how the limbs bend and note any areas that do not bend, then use a knife to slowly and carefully remove wood from the stiff parts of the belly. Remember: Only remove wood from the belly side. The goal is to get the limbs to bend in an even curve; double-check the bend frequently until both limbs are flexing evenly throughout their length.

httpswww.outdoorlife.comsitesoutdoorlife.comfilesimport2015BOW4.jpg

4. Notch and String
Carve small notches on each tip, being careful not to carve into the back of the bow. They only need to be deep enough to keep a bowstring in place. Tie loops into both ends of a nylon, sinew, paracord, or plant-fiber string. You want about 5–6 inches (13–15 cm) of space between the string and the handhold when the bow is strung. Don’t fully draw the bow yet—doing so can break it.

5. Tiller
Hang the bow horizontally on a branch by the handhold and pull the string a few inches downward. You want each limb to bend evenly and symmetrically. This final shaping is called tillering, and it is one of the most important steps. Shave, scrape, sand, or carve the belly of each limb until both limbs bend equally and evenly. Recheck frequently, pulling down on the string a little bit further each time until you are able to pull it to your draw length (the distance between the handhold and where your fingers hold the bowstring when pulled back to your upper jaw).

httpswww.outdoorlife.comsitesoutdoorlife.comfilesimport2015BOW5.jpg

The tillering process is complete once both limbs flex equally and evenly and the draw weight (pounds of pressure required to pull the string back to a full draw) is at your desired poundage. You need a 25–35 pound (11–16 kg) draw for hunting small game or 40–60 pounds (18–27 kg) for larger animals.

6. Finish the Job
For wilderness survival situations, the bow can now be used as is. If you have the luxury of finishing it properly however, you should take the time to sand the belly smooth and oil the entire bow to seal off the wood and prevent over-drying. Many bowyers prefer linseed or tung oil, but animal fat works, too. To care for your bow, shoot and oil it frequently, adjust the tillering as needed, and unstring the bow when not in use. Your quickie bow has the advantages of being quick to build and ready to use right away, but keep in mind that it won’t shoot as well as a fine bow and it may break or crack after some use.