Anyone who has ever suffered through a broken arm or hand (or a really bad sprain) can tell you just how painful the injury can be when that part of the body keeps getting moved around. The scenario is only worsened when this injury happens to you in a remote location and wilderness travel is needed to get to a doctor.
Ideally, you’ll be equipped with a SAM splint, one or two Ace bandages, and something to create a sling, like a cravat. But if you get in a scrape without any modern splinting equipment in your first aid bag, or you get separated from your medical gear, you can always make a sling or splint.
A Sleeve, A Rope And A Sheet Bend
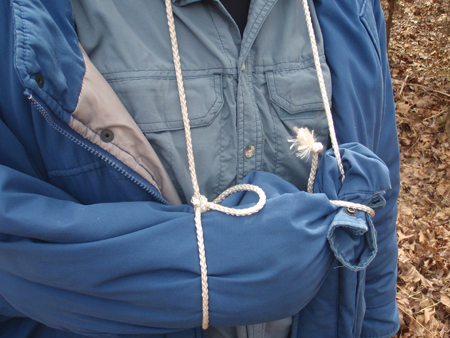
You can use your sleeve to create a soft sling to immobilize an injured arm, wrist or hand. Simply loosen your shirt, jacket or coat so that the sleeve comes down past your hand. Tie a sheet bend in the end of the sleeve, wrap the rope around the back of your neck like a standard sling, and tie the end of the rope to the sleeve or sheet bend.
This sling is flexible, comfortable and does a good job of immobilizing the limb for sprains and simple fractures, but it is not rigid. For worse injuries, the bark splint is a smarter option.
**
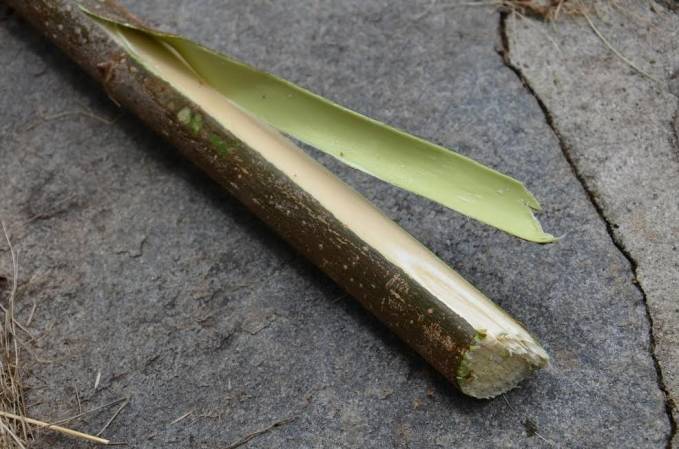
Bark Or Stick Splint **
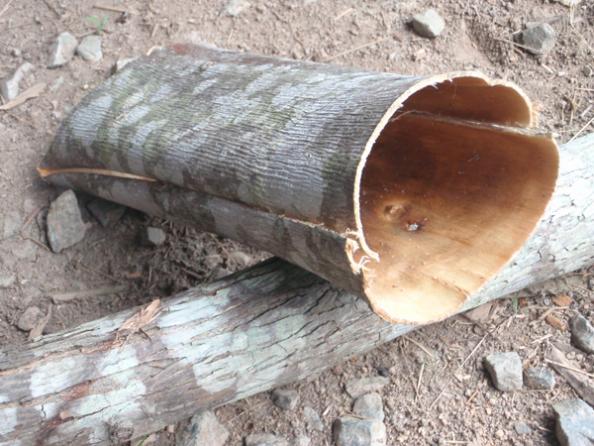
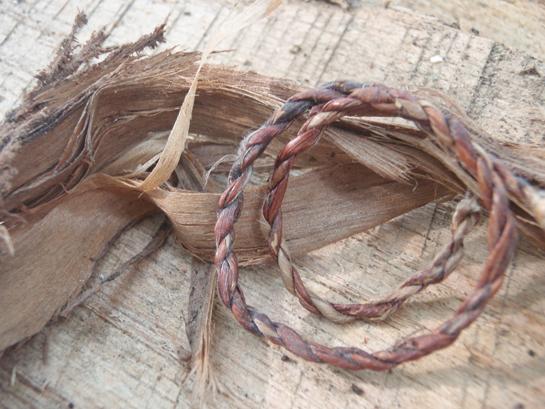
This first aid trick is obvious and fairly easy. Wrap the limb in any bandages or padding that you have available. Next, find some bark strips or sticks, and tie them around the injured limb. Wrap the line around the back of your neck like the sling already mentioned, and tie the free end of the rope securely. Make sure that you don’t tie the splint, sling or any of the wrappings too tight — this is injury support, not a tourniquet.
