We may earn revenue from the products available on this page and participate in affiliate programs. Learn More ›
Most of us feel, or at least understand, that primordial fear of the dark. This comes from a past when larger and nastier animals roamed the nighttime landscape, and the light of a bright fire was the only real defense our ancestors had against them. Even today, there are plenty of folks who fear darkness. While saber-tooth tigers are no longer a threat, there’s also no need to sit in the gloom during a summertime power outage or in the wake of a disaster. There’s also no need to burn up your phone battery using the flashlight app. There are plenty of ways to conjure light; here are few of them.
1. Solar Lights
This is an easy solution for improvised lighting if you own any outdoor solar lighting fixtures. Bring them inside at night and put a small piece of dark tape over the sensor so they stay on. Depending on the make and model of your lights, they may run for a few hours or most of the night. If you have several and you’re able to turn some “off” with a button or switch, you can stagger their usage so you’ll have light throughout the night. These are obviously no substitute for a flashlight, as their light is more like a lantern than a beam, but they are still remarkably useful as a backup light source.
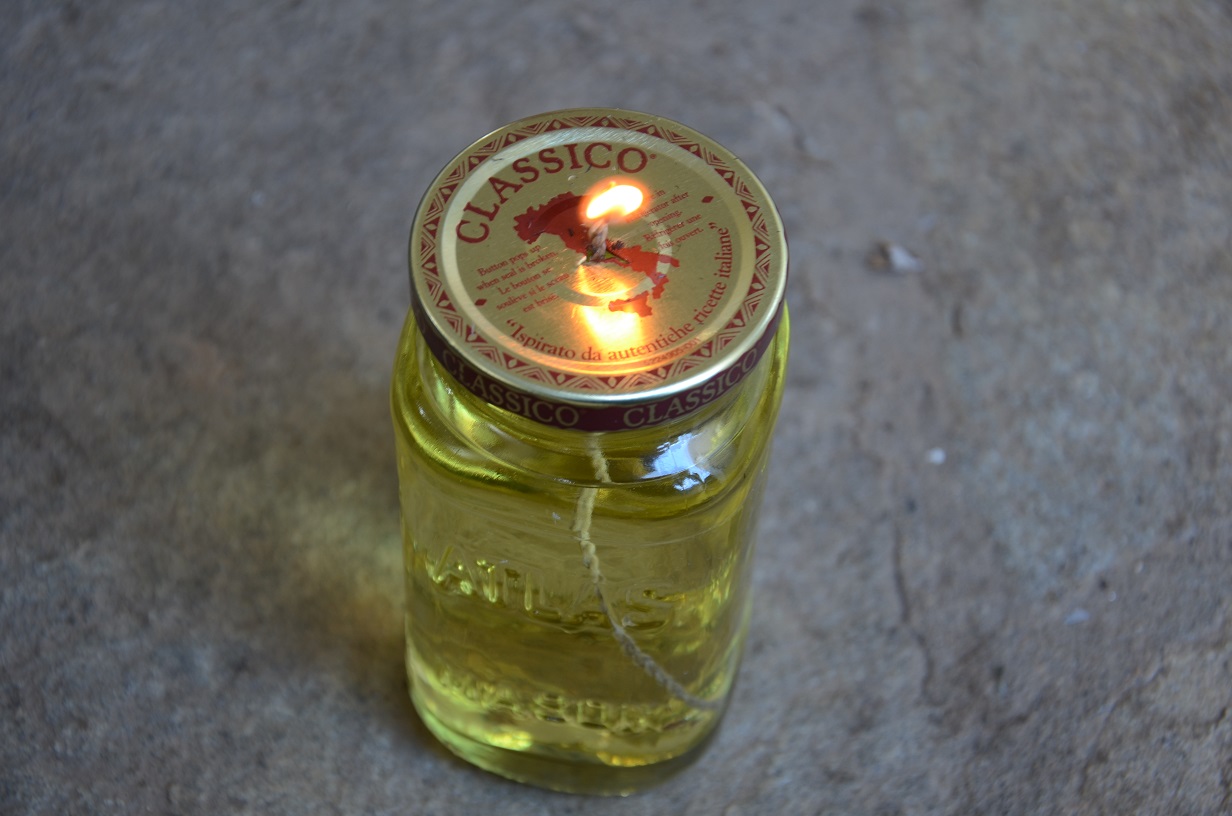
2. Create Light in a Jar
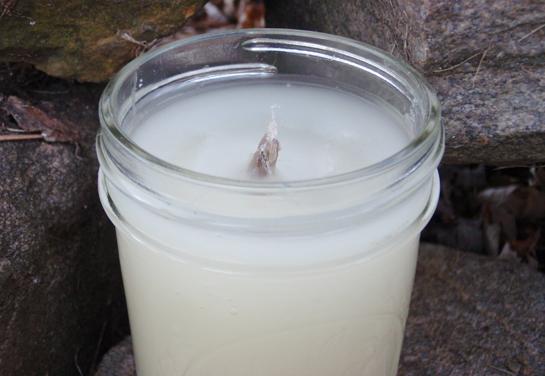
Oil lamps date back thousands of years, and while this is an old lighting method, it’s not obsolete. By combining a plant-based fiber wick and some available oil in a heat-proof container, you can transform many different types of oil into a fuel source for lighting. This can be solid oil, like lard or tallow, or it can also be a liquid oil, such as ordinary vegetable or mineral oil. These oil “candles” have a long history, but it’s easy to mix modern resources for illuminating results. You’ll just need a fire-proof or heat-resistant container (something like a mason jar or shallow metal can). Don’t use a drinking glass as a container, or anything else that may break under high heat. Stick to a heat-friendly container and an ordinary plant fiber wicking material. Light the wick with an open flame (like a match or lighter) and enjoy the ambiance.
3. Light Up a Jug
With a translucent bottle or container full of water, and an ordinary headlamp, we can create a diffused light source that acts a lot like a lantern. The light may not be that bright, but this piece of improvised lighting isn’t a fire hazard like an oil filled lantern with a burning cloth wick. A one-gallon water jug formed from milky plastic can offer a cool diffused light source, while colorful water bottles may emit their own respective hue. One of the best parts about this improvised light source is the fact that nothing is damaged or altered by the combination of these two elements. Just strap the headlamp around the water container (illuminating side inward) and adjust the strap so the fit is secure.
4. Rehab Your Candles
The Greeks, Romans, and Egyptians started making candles more than 2,000 years ago, primarily from animal fat. Since safe, edible fat was probably reserved for food uses, it’s easy to imagine that rancid fat was the material of choice for these early illuminations. It’s also easy to imagine how bad that smelled when the candles were burning. Today, candles are largely made from a petroleum-based wax called paraffin, which is easily mass-produced and blended with other ingredients, like fragrances and colors. When a candle’s wick has burned before all the wax is consumed, or when you have extra wax for any reason, you can try rehabilitating your candles. You can also make new ones. When the wick is gone, add a new one by heating up the tip of a nail with a lighter or similar heat source. Push it into the very top of the candle to create a hole. Allow it to cool slightly and remove the nail. Insert a new bit of wick material (like cotton twine or thin jute cordage) into this channel, and the candle is restored.
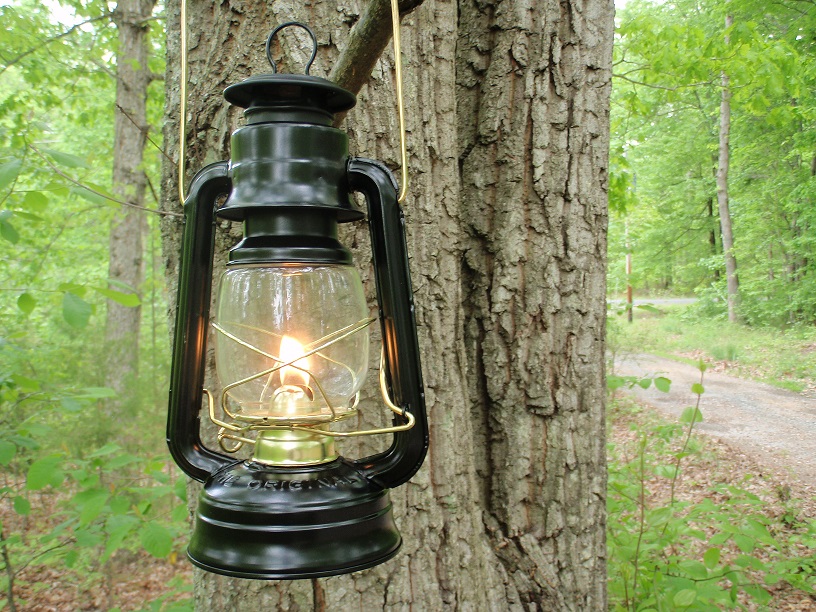
5. Make a Kerosene Lantern
These classic lamps can work well inside or outdoors, during a variety of weather conditions. They can also burn a few different fuels, including clear kerosene, kerosene substitute, standard clear lamp oil, paraffin oil, and citronella oil. Just don’t get too creative when it comes to the fuel sources. Don’t ever try gasoline, Coleman fuel, white gas, paint thinner, wood alcohol, diesel, naptha, turpentine, or any other explosive fuel in a kerosene lantern. Skip the aviation fuel, too. Some of the aviation fuel additives are especially poisonous when burned.
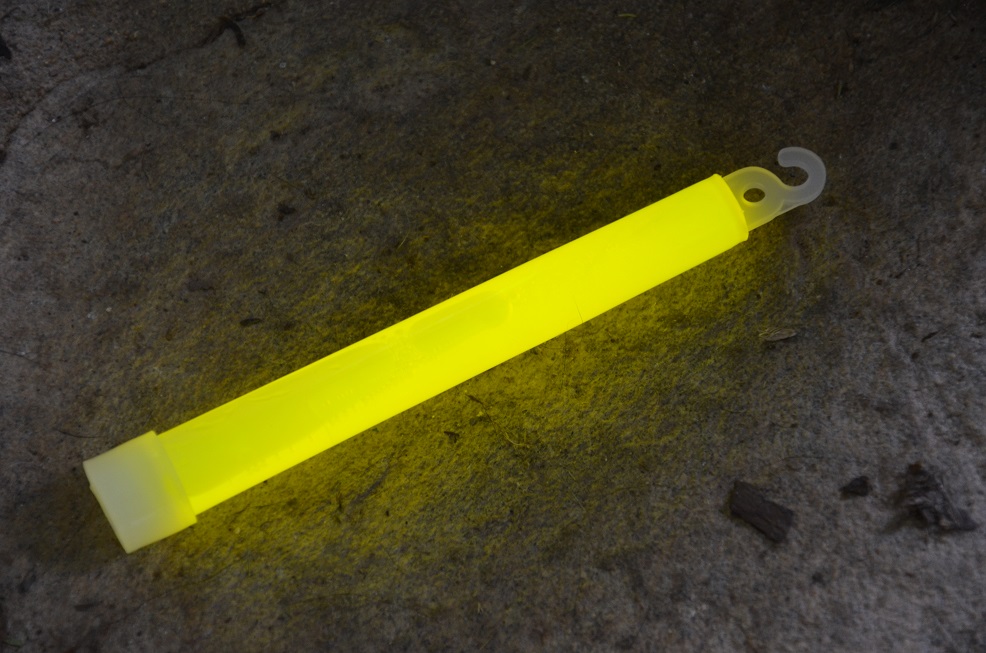
6. Go with Glow Sticks
Let’s start with the downside of glow sticks. Even a candle has an “on and off” switch (that’s you lighting it and you blowing it out). This isn’t the case for a chemical light stick, also known as a glow stick. These modern lighting implements work because of a chemical reaction called chemiluminescence, which causes a release of energy in the form of light. There are many different colors available in tubes with different burn times. Some high-intensity lights may burn for less than an hour with bright results, while lower intensity chem lights may work all night with a dull glow. The magic happens when you crack the stick and shake it, combining the active ingredients (typically hydrogen peroxide and a blend of phenyl oxalate ester and a fluorescent dye). So how do you tweak these non-toxic lights? You can increase their output by heating them up. This will speed up the chemical reaction and increase the light, though it will also shorten the burn time. You can also cut them open. For a short-lived trail (and I do mean short-lived; it will only last a few minutes), you can cut a chemical light stick open and wipe the liquid on surfaces or drip it on the ground. The light-producing reaction will quickly fade when exposed to the air, but it looks cool and makes you think of the Predator movies in the meantime.
7. Make a Toilet Paper Torch
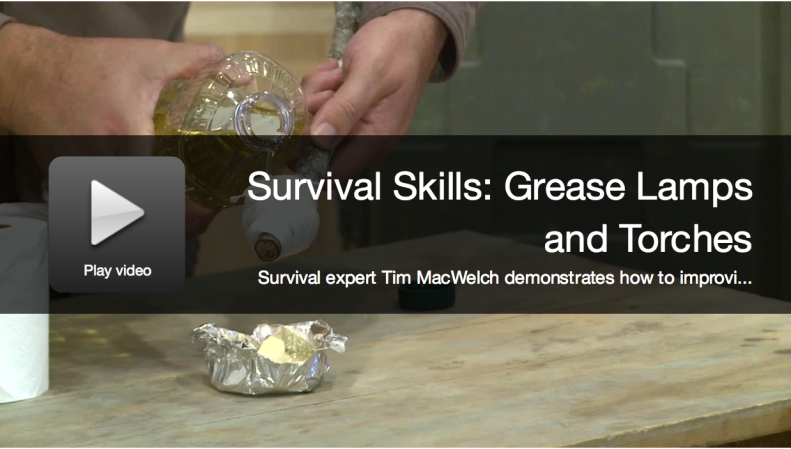
When your emergency lighting options get really extreme, wrap a generous amount of ordinary toilet paper around the end of a freshly cut stick and soak the TP head in any kind of available liquid oil. This contrivance should resemble a comedically oversized Q-tip, until you light it with an open flame. After soaking the quick-burning toilet paper in cooking oil (or any other kind of oil), you’ll have a long burning head that will act just like a Hollywood-quality torch. A fist-sized torch head will offer the user approximately 15 minutes of light, and frankly, it makes even the most timid outdoor enthusiast look like a badass after dark. But please be careful, as this lighting option is a serious fire hazard.

