The slip knot is not only useful in a wide variety of outdoor scenarios, but also incredibly simple to tie. Especially if you already know how to tie a basic fishing knot. It allows you to create a loop in the end of a length of rope in seconds. Furthermore, the size of that loop can be easily adjusted after the knot is complete, so you don’t have to be overly concerned about making it the perfect size while tying. It’s perfect for menial outdoor tasks, such as pulling your pack up to your tree stand or quickly tying your canoe off to a branch or rock on the shoreline. You must, however, be aware of the slip knot’s limitations. Here’s my overview and step-by-step guide on how to tie a slip knot.

Tying a Slip Knot
Though a slip knot can be tied with anything from string to fishing line to twine, it works best with braided rope or paracord. When under pressure, the knot relies primarily on friction created by the rope or cord to hold fast. The bottom line is that while a slip knot is strong and maintains its integrity when tied correctly in rope or cord, it shouldn’t be your first choice in a life-saving situation or when you need to put heavy tension on the rope.
As an example, if you needed to pull your jon boat up a bank with your truck, or yank an ATV out of the mud, a perfection loop would be a better choice for looping around your trailer hitch. This knot locks itself in place, unlike the slip knot that’s designed to be easily adjusted. Still, the slip knot is too easy not to have in your repertoire of essential knots, so let’s break down the steps.

- Start by creating a simple overhand loop in the rope. Again, this first loop plays no role in determining the size of the finished loop, so don’t worry too much about it being too big or too small.
- Create a smaller loop in the tag end of the rope. Keep this loop pinched closed in your hand.
- Feed the loop you created in step 2 through the loop created in step 1.
- While holding the main rope in one hand, pull the secondary loop you just fed through the first loop in the opposite direction until the knot cinches.
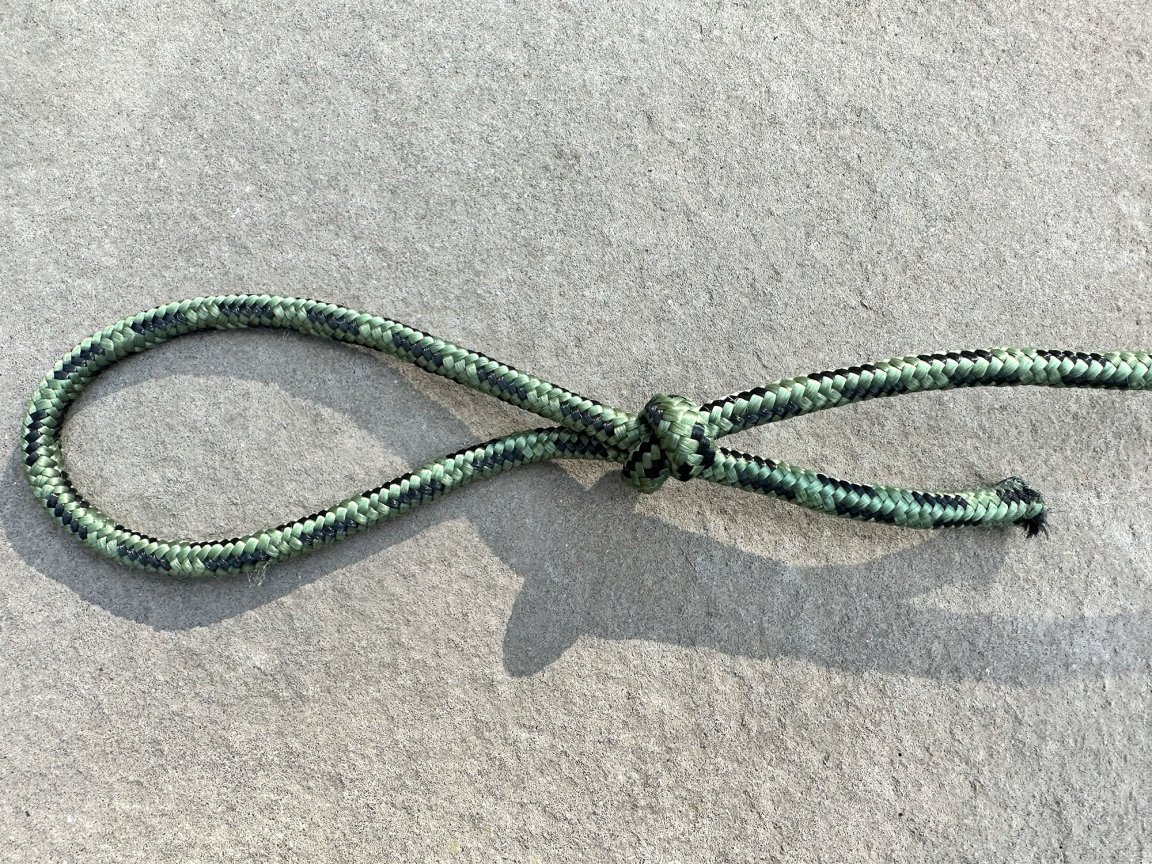
- With the slip knot complete, you can slide it up or down the rope to increase or decrease the size of the loop you’ve created.
Read Next: How to Tie a Bowline Knot
Undoing a Slip Knot
There is a bit of debate over why a slip knot is called a slip knot. Most people agree that it’s because the knot can slide—or slip—up and down the rope after completion. However, some people think it’s because it easily “slips” open by simply pulling the tag end. Even when it’s tightened down hard from being under pressure, a quick yank of the tag will undo it in an instant, which is why it’s so ideal for quick tasks.