You’re not a fur trader, so many of the terms—hide, skin, fur, pelt, and buckskin—used to describe the outer coat of wild game animals may seem interchangeable. (And frankly, a lot of them are.) But there are some slight differences when you decide to get more technical. So if you have ever felt lost when your taxidermist starts going into the specifics of tanning, here is a guide that will help you out.
Learn the Language
Here’s a basic glossary of the words used to describe an animal’s fur coat.
Hide: We get the term “hide” from a Germanic word (haut), which essentially translates to “animal skin.” The word “hide” is usually reserved for the skins of a larger animal, like a moose, cow, or deer.
Skin: The term “skin” is usually applied to smaller animals (think sheep skin or snake skin). If the creature had hair, it may be preserved or removed in the tanning process, depending on a lot of variables. Skin can also be a catch-all term that includes furs and pelts.
Fur: The word “fur” is usually applied to a processed skin that retains its hair, often from bears, feline species, and mustelids (minks, weasels, badgers, otters, and wolverines).
Pelt: The origins of this word are a little murky. It may come from the Middle English word pelett (meaning animal skin), or it may not. Either way, this word can be synonymous with fur, or it can be applied to an undressed skin that will become a fur (leaving the hair, wool, or fur intact).
RELATED: How to Tan a Deer Hide the Easy Way
Buckskin: This is typically deer or sheep skin, tanned through a conditioning process and stripped of all hairs. Brains, egg yolks, fish oils, and other substances have been used to transform a stiff hide into a soft suede-like leather, though today, sheepskins that have been treated with chromate tanning chemicals are sold as “buckskin” (after dying them to resemble a smoked buckskin color).
Leather: Used for shoes, bags, belts, upholstery, and many other applications, “leather” is a hairless animal skin product that’s tanned with various vegetable tannins or chemicals.
Hair vs. Fur vs. Wool
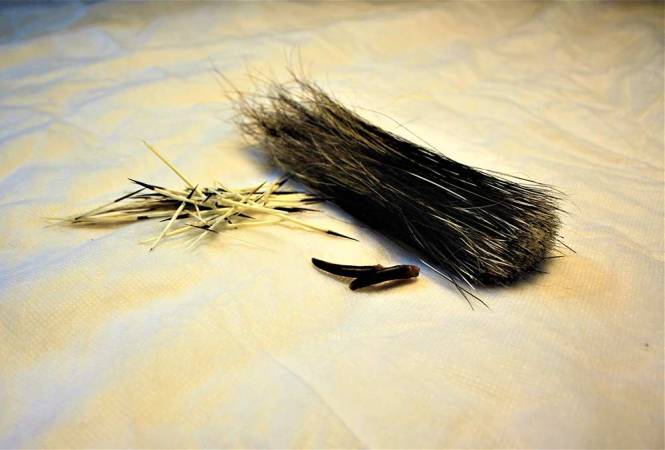
Hair, fur, and wool are all made from the same substance (keratin) and are chemically indistinguishable from each other. These skin coverings are one of the features that differentiate mammals from other creatures (like birds or reptiles). Generally, the word “hair” is applied to humans and “fur” is used for animals, though some tanners will say that fur is a solid-shafted hair, like you’d have on a furbearer. Hair is also a hollow-shafted skin covering, like you find on a deer. Wool is another covering on the skin of an animal. It’s essentially a form of undercoat hair that is soft, curly, and never stops growing. Sheep, goats and a few other creatures grow the hair type that’s considered wool. The hair that most people would recognize as fur can have three layers, each one consisting of a different hair type.
Down hair: This is the undercoat or innermost layer of the fur, consisting of wavy or curly hairs. There are typically more down hairs in an animal’s coat than any other hair type, and these are primarily used for thermoregulation (creating an insulating layer next to the skin).
Awn hair: Filling the gap between down and guard hairs, the awn hair start off growing like guard hairs, but they become wavy and thinner about halfway through their growth. The tips of these hairs help shed water, while the bases of the hairs keep the animal warm.
Guard hair: Sometimes called the topcoat, guard hairs are longer, straighter, and typically coarser than the other hairs. These stick out through the other hairs, and are the most visible part of the coat. These hairs usually have the most color and gloss, giving the animal it’s markings and color. These longer hairs are protective, and many mammals can raise their guard hairs as a threat display when alarmed.
Cleaning the Hide
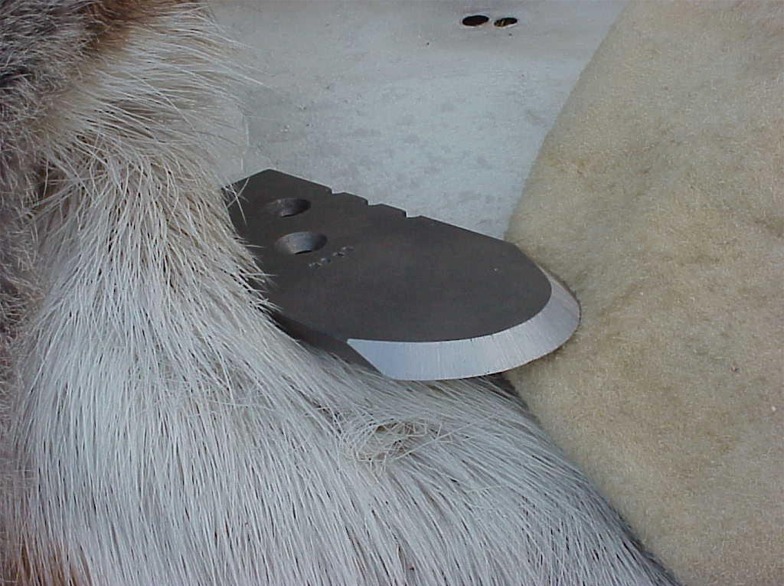
However you intend to transform your animal skins, there’s one universal step that you’ll need to take to prepare them for tanning, rawhide, or storage. The most essential part of your prep work is called “fleshing,” which is the removal of meat and fat from the hide. Meat will rot and lead to the decay of the skin. Fat will become rancid, and also contribute to decomposition. You’ll need to scrape all of the meat and fat off the hide as thoroughly as possible. If the hide has just been peeled from a fresh kill, the meat and fat can be scraped off the skin and thrown into a soup or stew. If the hide has been lying around for a few days (or for too many hours, in warm weather), the meat and fat pulled from it may no longer be safe for human consumption. In that case, use your scrapings for trap or fish bait. Fleshing can be done in different ways, but I prefer to scrape with the square edge on the back of a drawknife handle, while pressing the hide against a smooth log for support.
Brain-Tan Methods
If you don’t have access to modern tanning chemicals, brain-tanning is the next best thing. The brain of every game animal contains the perfect volume and balance of conditioning oils to tan its own hide. All you need is your animal hide, the brain of the animal, and a few other items to make tanned pelts just like our ancestors.
Fleshing the hide: Start by fleshing the hide to scrape off all of the meat and fat. Particularly bloody or dirty hides can be washed in water, with or without soap, and before and/or after fleshing. Next, you’ll want to dry the hide by stretching it flat in a rack to dry.
Dry and sand: After fleshing and drying the pelt, sand the flesh-side with sand paper to make it more receptive to the brains. Sand it until the hide feels velvety.
Make brain soup: If you’re at home, use a blender (preferably not the same one you use to make margaritas) to blend the brain with warm tap water on the liquefy setting. Look for the resulting liquid to be the consistency of hand lotion. If you are doing this off the grid, simply mash the brains up by hand in a quart of water. For tanning one deer hide: mix one deer brain into a gallon of hot water, and mash the brain up so it looks like a soup. Next, boil the solution for 2 to 3 minutes. Then let it cool to the touch before bringing it into contact with the skin. If the brain soup is hot enough to burn your skin, it’s hot enough to damage the hide. And for those hunters concerned about CWD, you can use egg yolks as a brain tan alternative. Two or three yolks (no egg whites included) are enough to tan something small like a rabbit pelt.
RELATED: How to Brain-Tan a Deer Hide in 8 Steps
Get to work: Lay the pelt on a flat surface and use your fingers to work the brain solution over the skin until thoroughly covered. Don’t get your wet tanning solution on the fur side of the pelt as it may cause the hair to slip out. Once you’re done, dampen a towel and wring it out. Roll the skin up in the damp towel and set it aside. Soak the hide in the brain soup for 2 to 8 hours. The longer you soak it, the better. While still slightly damp, begin stretching the hide in all directions to break up the skin and soften it. This may take one hour or several depending on the pelt size and thickness, as well as the humidity and air movement around the skin. If this all sounds like a lot of work, you’re right—it is. But this stretching action while the brains are drying creates leather that is soft and stretchy, like chamois cloth. If the skin just lies there and dries out, brains or no brains, the glues in the skin naturally set and you’ll end up with rawhide (more on that later). Which is great to let the dogs chew on, but not so great for making clothes.
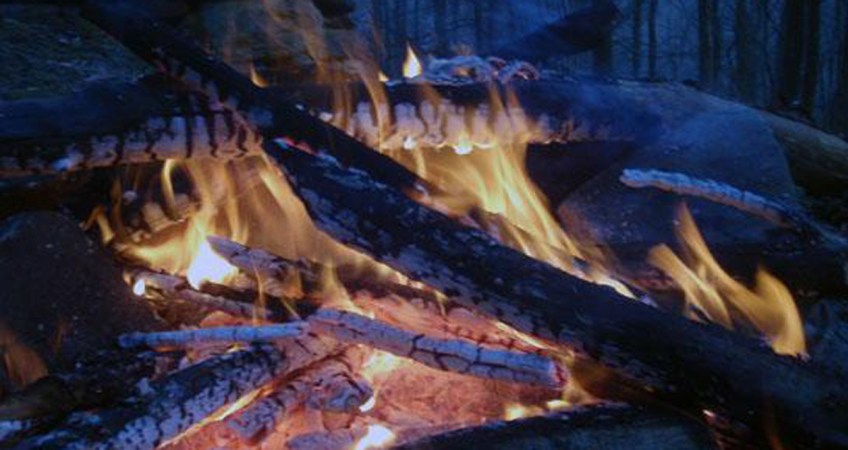
Smoke the hide: Once the pelt is both soft and dry, it’s time for the final step. Smoking a tanned hide won’t waterproof it, but it will keep it from turning stiff after it gets wet and dries. Suspend the flesh side of the hide over a small pile of embers and rotten wood chunks. You don’t want any flames or much heat under the hide, just smoke. When the color of the flesh side has changed, that’s enough smoke.
To Freeze or Dry?
Raw fresh hides, either fleshed or un-fleshed, can be frozen for years. This is best accomplished if you have access to a deep freezer. They can also be stored outdoors in sub-freezing weather. But if your storage conditions are above freezing, your best bet is to dry the hide. Hides can be dried for storage, either loose or stretched out in a wooden frame. Put the fur side in the sun, since any remaining fat should melt if the sun hits the flesh side. Dry it until the hide is stiff, and you have “rawhide.” Once a hide is dried, it can be rubbed liberally with salt or, better yet Borax, all through the hair side. Borax (aka sodium borate) is available at the grocery store in the laundry section. It won’t stick to the dried flesh side, but it will settle into the fur to discourage the insects that would eat holes in the hide.
The hide can then be stored flat, hung up on a wall or rolled up into a tube. Alternately, salt can be a very useful substance to prevent decay and dry the hides more quickly. Salt naturally pulls out moisture and it prevents bacterial growth (which could weaken the hide). Simply scrape the visible meat and fat from a fresh hide and sprinkle some salt across the damp surface. Wipe the salt into the skin briskly and you’ll help shorten the drying time. Keep these salted hides is the driest place you have, and check them often for pests and damage. Salted hides tend to repel certain hide-eating insects, but not all bugs. Salt may even attract gnawing pests, like mice.
Finding Hides and Pelts
Even if you don’t hunt or trap on a regular basis, there are plenty of ways you can procure animal skins to practice your tanning craft. Here are just a few of the ways you can get animal skins (and maybe more hides than you can use).
Send out a request: Just put out the word among your family, friends and co-workers that you are looking for deer hides, coyote pelts, or any other skins they can spare. Offer to help them with the skinning and butchering in the evening or morning that they get an animal, and be ready to move when you get the call.
Call a slaughter house: Depending on state and local regulations, your local slaughter houses, meat packing facilities and butchering companies may be able to legally sell you animal skins. If this is an option in your area, make sure you buy several from the company to make it worth their time. Many glove tanners and other companies buy hides in bulk from slaughter houses.
Scoop up road kill: As with the slaughterhouse, you’ll want to check the laws before you start snatching up dead animals on the side of the road. Call your state game agency to find out the regulations and protocol for picking up road kill. Follow their advice to the letter, and be careful. The same vehicles that kill wild animals can run you over, too.
Get it yourself: Hunting and trapping are ancient traditions. One of the ways that our ancestors and modern outdoorsmen and women pay respect to those animal lives is by using as many parts of the animal as possible. This includes the animal skin. By taking your own game animals and processing the skins yourself, you’re following in the footsteps of all the generations before us.
Try Making Rawhide
Rawhide is exactly what it sounds like: it’s raw animal hide that’s been dried out (almost always with the hair removed). Hair removal can happen by scraping the hair off a dried hide with a sharp scraping tool, but there’s an easier way to do it. Soak the hide in a bucket of water for several days, until the hair naturally falls out when you touch it or tug at it. Of course, this soaking should be done after any visible meat and fat are removed from the skin. And you’ll want to change the water daily, so it doesn’t stink too bad. After the hair is gone, you can stretch it out flat to dry if you’re looking for a flat rawhide product. You can also roll it up into a cylinder and tie a knot in each end and allow it to dry so it resembles a commercially-made rawhide chew bone for your dog. Rawhide can be used for various containers, cut into strips or lacing, or used like a parchment.
Rack It Out
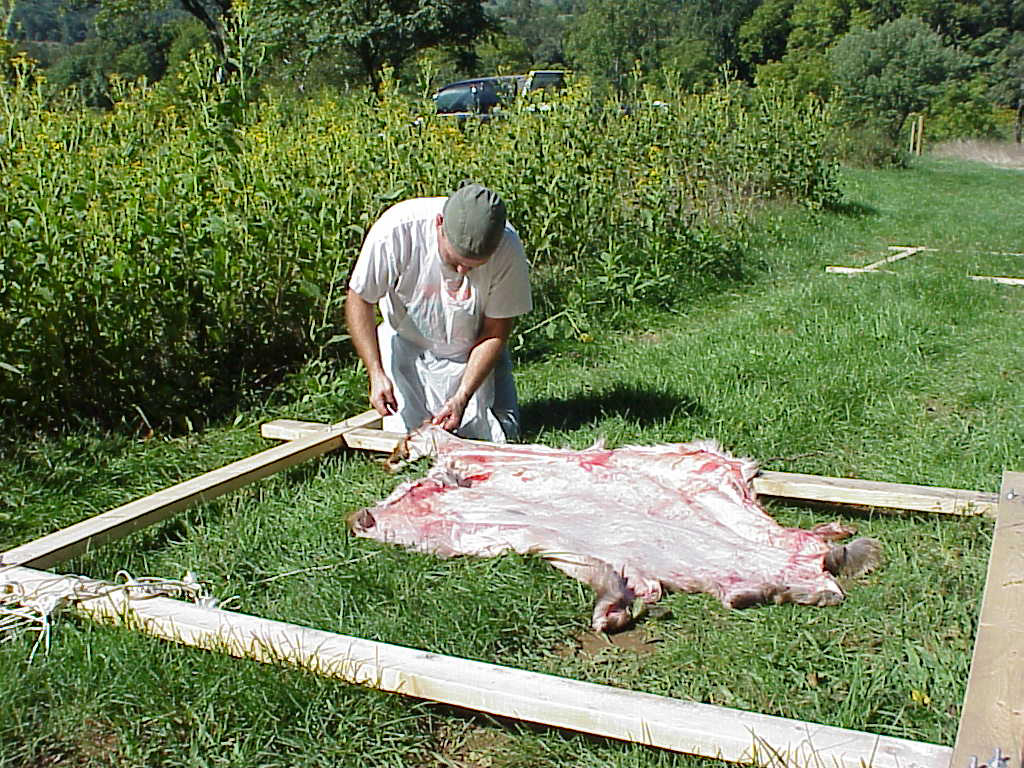
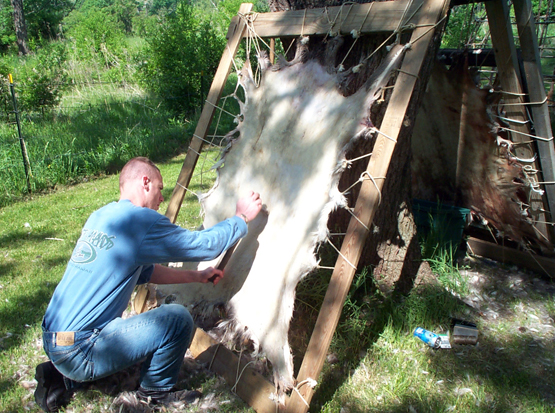
You could certainly dry out a hide by flipping it over a tree branch on a breezy day, but stretching out a hide out flat and tying it into a rack is a much better option.
Build a rack: Your drying frame, or rack, can be made out of wooden poles or lumber. Most of my deer-hide racks are usually 6- by 4-foot rectangles. Two-by-four lumber is the sturdiest material for a rack that is still light enough to carry around with a hide tied up in it. Nails, screws, bolts, cords, or even strips of deer hide can be used to fasten the corners of any rack, although several screws in each corner are the most durable and sturdy fasteners.
Cut the cord: Any cord or rope will be fine for stretching the hide. Nylon Marine rope, cotton clothesline, hay bale twine, or strips of deer hide will work. You’ll find your own favorite. Keep the cord after tanning, as all the different-length pieces will allow you to get the next hide stretched on the rack faster.
Racking out the hide: This step involves slicing holes around the edge of the hide, so that cord may be threaded through these holes to tie the hide up in the rack. Set the hide and rack on the ground, with the hide in the center of the rack. Spread out the hide, flesh-side up, and with your knife, slice holes parallel to the edge of the hide. These should be 1-inch in from the edge, about 2 inches long, about 4 to 6 inches apart, and on every available “corner” of the hide. Next, use 3- to 6-foot lengths of cord to tie the legs of the hide to the corners of the rack. You want the hide centered and symmetrical in the rack. Don’t tie it too tightly, yet.
Now tie up the neck area more tightly than the legs. After the four legs and neck are tied up, you can tie up the rest of the hide. Tie the cords tightly to make the hide perfectly flat, taking care with the tender skin around the rump and “armpits.” This tender skin will rip if it’s pulled too tight. If a hole rips out, just cut another hole to use and don’t tie it as tightly next time.
Stretch and Smoke
In order to turn buckskin into the soft and porous leather that it should be, it will need to be stretched aggressively while it dries. This physical manipulation (along with the brain oils as a lubricant) makes the hide soft and pliable. The hide must be stretched until it is completely dry in order to remain soft. You can stretch it when it’s tied up in the rack or by poking it with a stick, or you can pull it by hand. Don’t let an unsmoked hide get wet after stretching it. Smoking the hide coats the fibers with “tar” to keep the brain oils on the fibers. This allows the hide to get wet, then remain soft after drying without stretching it again.
To do this, you’ll need to make a simple frame over a small fire pit from which to hang your hides. A teepee shape works well. Start by turning your skin fur-side out and sewing up the sides to make a sort of bag. In a shallow pit, build a fire and let it burn down to coals, then add some rotted, punky wood. Watch closely for flare ups, as you want a lot of smoke but no heat or flames. When you have a good amount of smoke going, stretch the pelt over the constructed frame and let it smoke for 30 minutes. Carefully remove it, turn it inside out, and smoke the fur side for a few minutes. Once smoked, the end result is the highly coveted brain-tan buckskin.
