
We may earn revenue from the products available on this page and participate in affiliate programs. Learn More ›
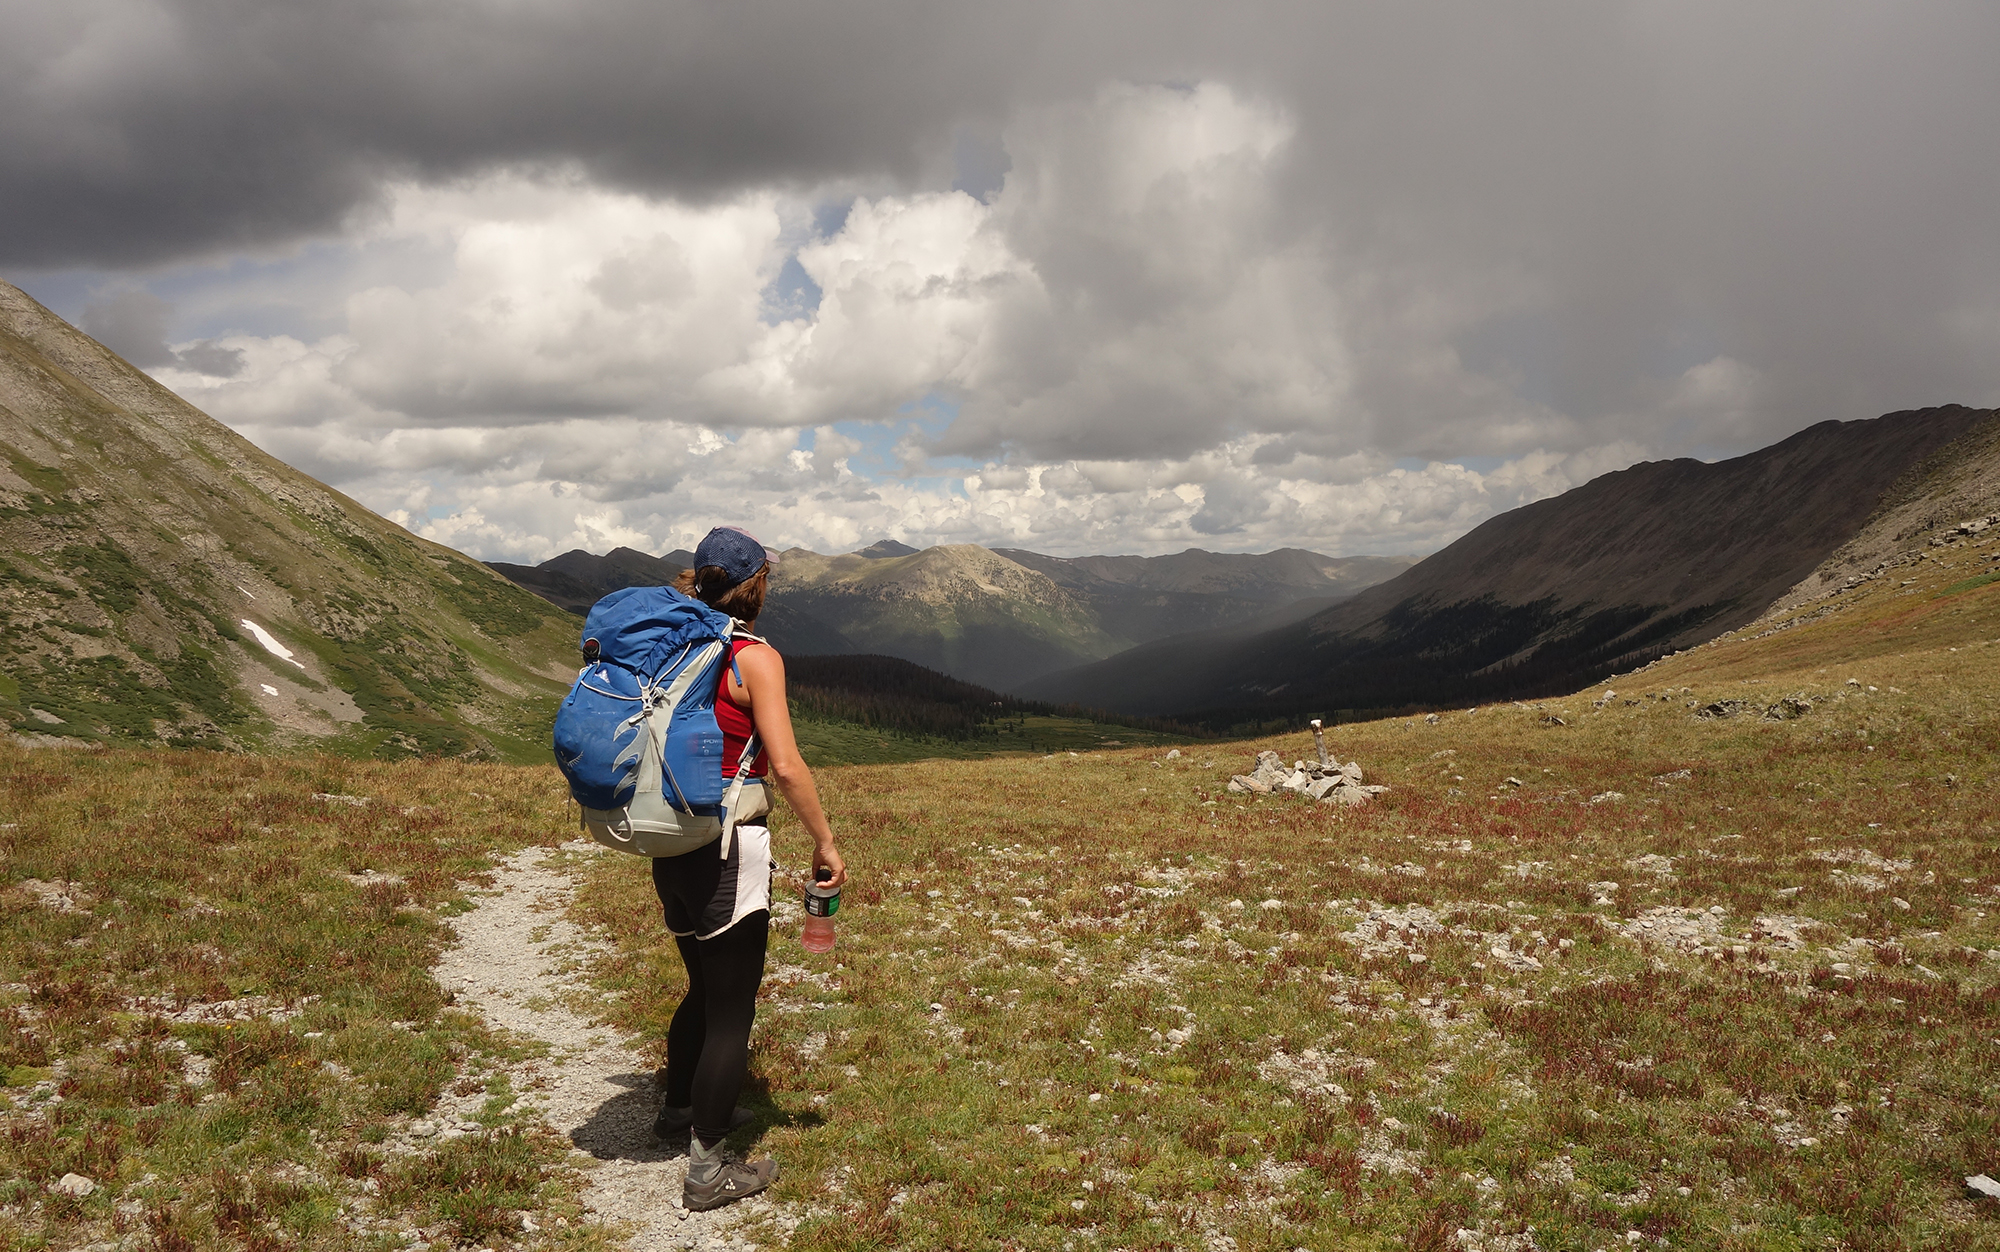
There are a few different flavors of wilderness camping. Most often, the term refers to simply camping in the backcountry. That means camping in a place that you have to hike at least a mile or more to reach. You’ll leave the smoggy tailpipes and gurgling RVs of car camping far behind, along with flush toilets, sinks, and trash services.
In some backcountry areas — typically in National Parks — wilderness camping is permitted only in designated backcountry campgrounds. These campgrounds may require reservations and sometimes have amenities such as fire rings, pit toilets, and even rustic shelters. To some people, apply such infrastructure to wilderness camping is besides the point, and even frustrating. (Why make a reservation for an experience that’s supposed to liberate you from bureaucracy?) Fortunately, these systems and amenities are typically only in place because they’re popular. When backpackers all want to camp in the same areas, officials try to prevent crowds and overuse of the land. That’s accomplished with reservations and permits.
Most of the time, however, wilderness camping means dispersed camping. Dispersed camping simply means making your own campsite in the backcountry wherever you please. There are no bathrooms, no fire rings, and no reservations. It’s just you, the wild, and whatever you brought on your back. Dispersed camping can offer an unparalleled communion with nature, or turn into a complete nightmare. Here are some tips to make the most of the experience.
Table of Contents
Read through the whole story on wilderness camping, or select a key topic below to jump right to it.
- Where to Camp in the Wilderness
- How to Pick a Campsite
- Established vs DIY Campsites
- How to Sleep Well in the Backcountry
- Choosing a Tent or Shelter
- Choosing a Sleeping Bag or Quilt
- FAQs
- Final Thoughts
Where to Camp in the Wilderness
We’ve already established that you can’t just set up your wilderness camp anywhere. Public lands have different designations and rules around camping. Here are some types of public land that commonly allow wilderness camping and what you should know about each. Rules can vary by land type, location, and closures. Always make sure to check the regulations for the specific place you intend to camp.
- National Parks: Usually require reservations and permits
- National Forests: Usually allow dispersed camping
- Wilderness Areas: Usually allow dispersed camping but have special regulations around gear and technology
- Bureau of Land Management Land: Usually allows dispersed camping
- State Forests: Some allow dispersed camping; some do not
- State Parks: Usually require reservations and permits similar to national parks
- Wild & Scenic Rivers: Commonly have paddle-in or boat-in campsites and special regulations
Read Next: Where to Go Camping
How to Pick a Campsite
When I’m backpacking, I try to end every day near a body of water. That means camping near anything from a sprawling alpine lake to a seasonal creek. Wilderness camping near water makes it easier to start and end the day without having to worry about hydration or lugging cooking water. It’s also nice to give your feet a soak after a long day of hard work.
Read Next: The Best Sleeping Bags
When you camp near water, be sure to keep in mind Leave No Trace principles. Most importantly: Do not pitch a tent, cook, or poop within 200 feet of a water source. This might sound annoying, but it’s not that far and it helps us keep fecal bacteria out of each other’s water. It also maintains the delicate flora balance present in wild water sources.
It’s also a smart idea to keep your cooking area at least 10 yards or more from your sleeping area, and farther in bear country. If a curious grizzly comes sniffing around at night, I personally find it much more comforting to keep some distance between my jugular and the lingering scent of macaroni and cheese. Mice and other critters are also likely to investigate cooking areas.
Use Established Campsites
Your backpacking map may have suggested backcountry camps listed along your route already. Even if you are not required to sleep there, it’s usually a good idea to take advantage of these. Not only will you limit your impact on the land, but it’s also much easier than making your own site. Someone probably already cleared away most of the sticks and stones that might bother your back in the middle of the night. They may have felled dead trees that could fall on you or gathered firewood. They may have also found the best views already. In short, others have done most of the thinking for you.
Read Next: The Best Backpacking Sleeping Bags
Backcountry campsites on a map may or may not have literal signs staked into the ground. But most of the time you’ll know a campsite when you see it. Keep an eye out for patches of ground that look flat, relatively soft, and unusually barren of vegetation. That indicates multiple people have pitched tents there, and it’s a good spot for you to do the same.
Find Unmarked Sites
If you’re backpacking in a less popular wilderness area, your map may not have any suggested camp areas at all. This is where the art of making your own campsite comes in. Despite two decades of backpacking, however, I have almost never had to do this. Even if a campsite isn’t officially listed on a backcountry map, an “unofficial” one almost always exists – especially along trails, near large bodies of water, or landmarks of significance.
Say you run into a rather majestic rockscape that crosses the trail eight miles from the trailhead. You might notice a few barren patches of dirt in the grass and tucked behind some trees about 100 feet from the trail. That, my friend, is a backcountry campsite. Or maybe 20 miles in, there’s an iconic lake — the only one around for miles. I can almost guarantee, if you circumnavigate the shoreline, you will find some unnaturally smooth patches of ground, a circle of charred stones, and a seat-sized rock someone has clearly dragged over. These are also evidence of campsites past.
Establish Your Own Campsite
Truly creating your own wilderness campsite is something you should only do as a last resort if backpacking along an established trail. Frankly, it’s a bit of a pain to find a new place with the magical combination of ingredients that make up a good site. You want to look for something:
- Near the trail, but no closer than 100 feet.
- Relatively flat
- Protected from wind
- Spacious enough for you to set up your cooking area, your cleaning area, and your sleeping area
- Devoid of “widow makers” (aka dead trees that could fall on you in the night)
- Near water (but not closer than 200 feet)
Most established campsites, even unofficial ones, have already fulfilled these requirements above. That’s why it’s easier to simply use them. But many other outdoor users will often need to make their own wilderness campsites. This is common for hunters, cowboys, fly-in fishermen, and other adventurers. If you are absolutely certain no campsite exists where you need to spend the night, keep these pointers in mind:
- Don’t camp within 100 feet of a trail or 200 feet of water.
- Know that the closer you sleep to water, the colder you will be. You’re also more likely to encounter wildlife
- Sleeping in dry washes and dry riverbeds can be risky — especially in an area that can experience flash floods, like the desert. If a storm hits in the middle of the night, you may be in the path of water.
- To stay warm at night, avoid sleeping in any dips, dells, or washes. Cold air sinks and settles into them (and onto you). Basically, no matter what, it’s good practice to avoid sleeping in anything that resembles a ditch.
- Avoid camping on any open ridges or cliffs where heavy wind is likely.
- When in doubt, select middle ground.
- Keep an eye out for large, dead trees or live trees with dead limbs. Do not camp beneath them or close enough that they can fall on you.
How to Sleep Well in the Backcountry
To ensure you have a comfortable night outdoors, the main things to consider are your shelter and your sleep system. Temperatures and weather patterns in the backcountry are never 100 percent predictable. Still, it’s imperative that you at least have an idea of the possible weather you’re going to be sleeping in. The sleep system you need in an area where you might encounter freezing rain is very different from the sleep system you can get away with if you expect clear skies and an overnight low of 60.
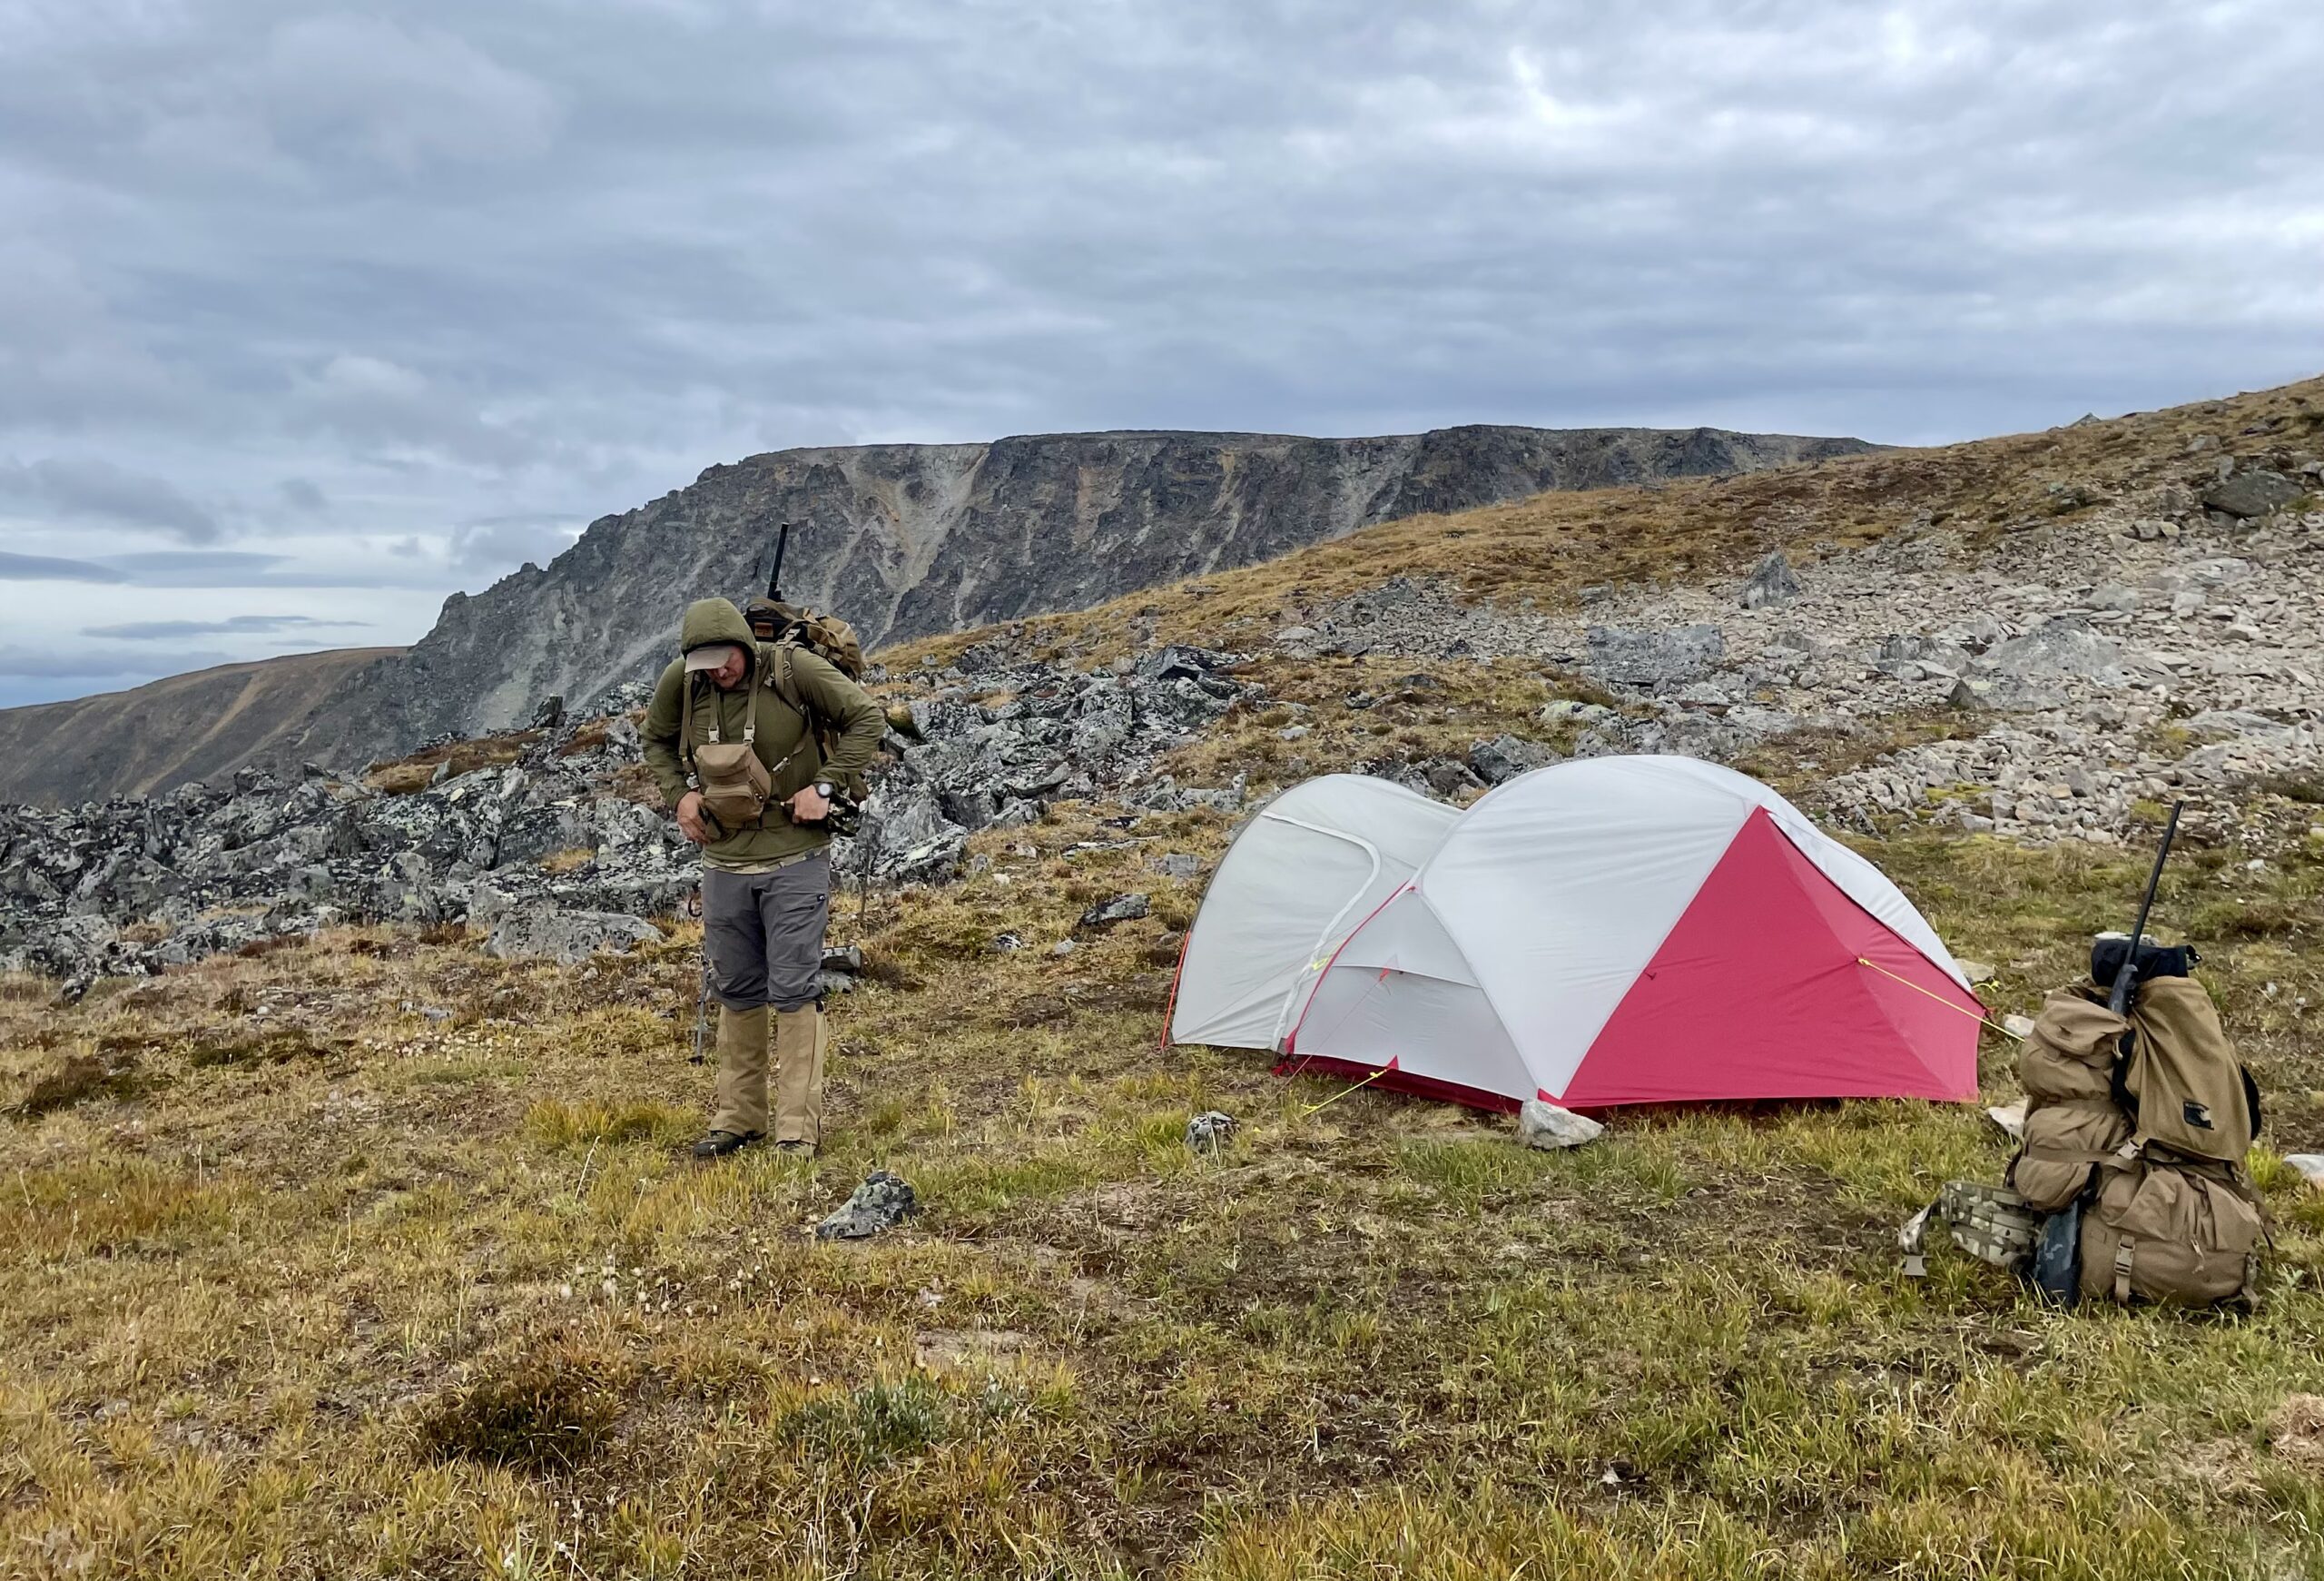
Wilderness Camping Shelters
There are a variety of shelters and sleep systems available. If you can afford multiple options, it’s worth having several to choose from when packing. But pretty much no matter what terrain you’ll be hiking or the weather you encounter, it’s always possible to pitch a tent. That’s why it’s the only shelter system I use.
With that said, I have never heard of an experienced backpacker who didn’t have suggestions for improving a fellow hiker’s wilderness camping setup. Along with shoes, selecting a shelter and sleep system is one of the biggest topics up for debate in the backpacking community. Here are some options to consider.
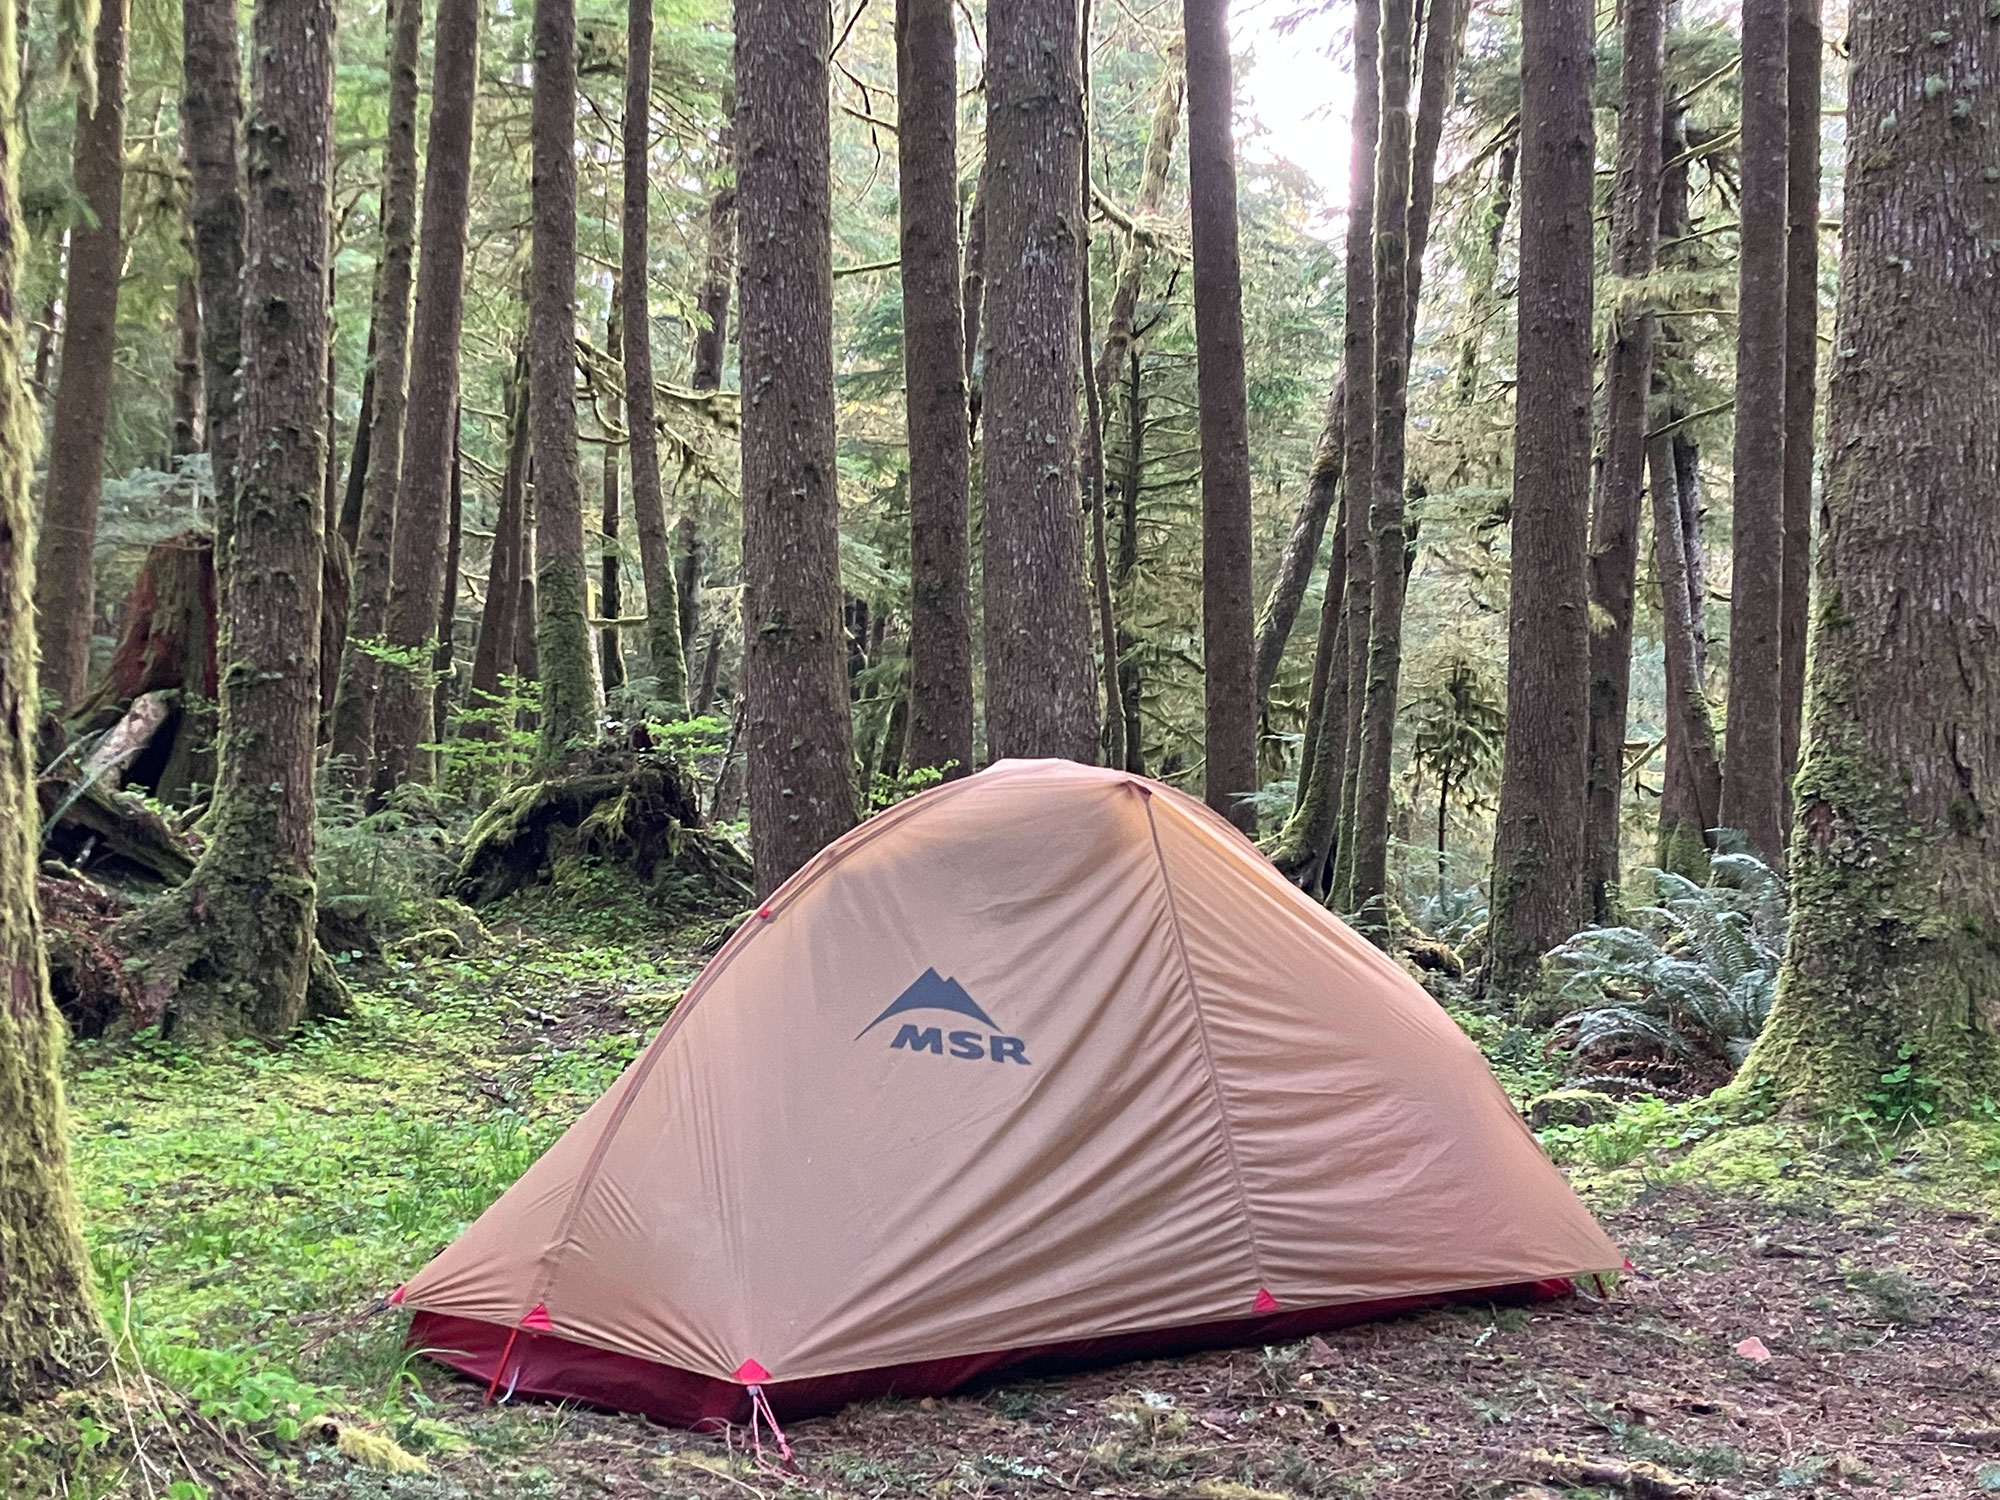
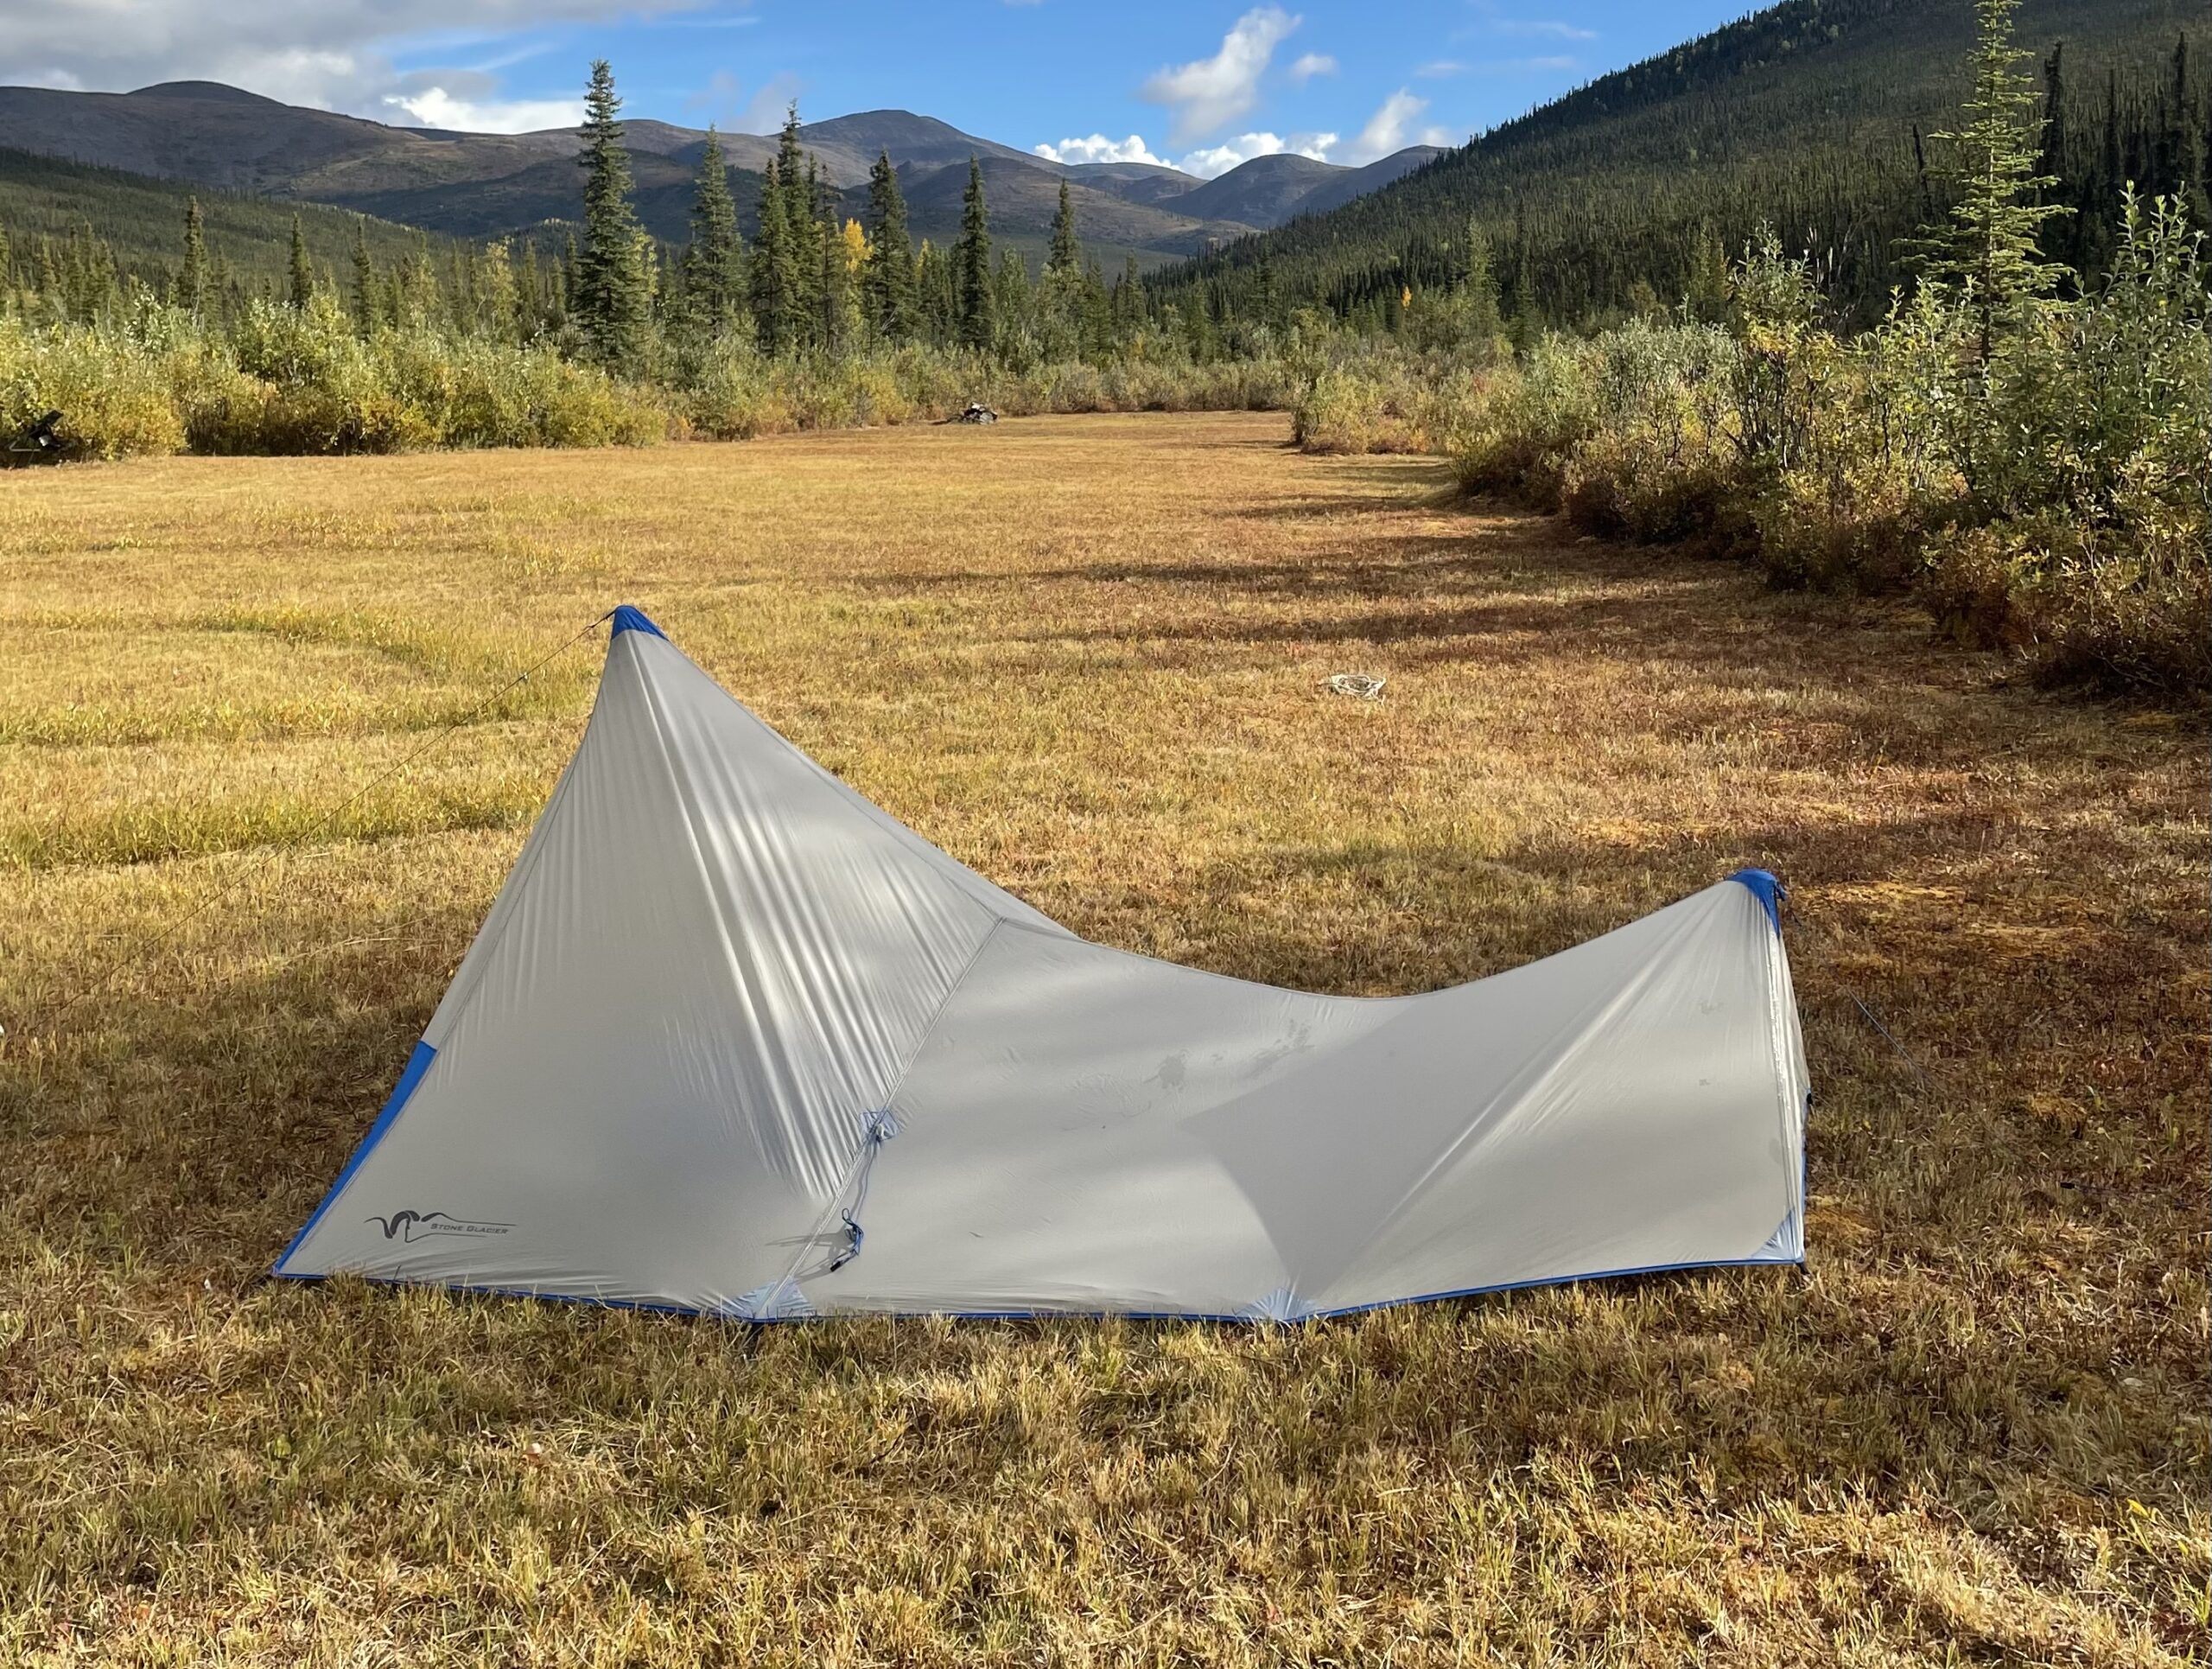
Tents
Backpacking tents tend to increase in price as they decrease in size and weight. A tent can easily take up a huge section of your pack. They can also be heavy and annoying. Despite the downsides, I prefer to sleep inside something that I can zip up around my entire body. This includes a tent with a rainfly big enough to keep my pack and shoes dry overnight (from either condensation or rain).
This is not the only way to make yourself a shelter in the backcountry though.
Tarps
A way to avoid the bulk and expense of a tent is to stretch a lightweight camping tarp between trees or sticks, either as a lean-to, or just as a ceiling. I admire the minimalism of those who camp under nothing but a tarp. Although a tarp will keep rain off your gear and your body, it does allow every cold breeze to catch you in a vice grip, and every curious critter can walk right up and give your crotch a good sniff in the middle of the night, should they so choose.
Hammocks
Another alternative to the tent is the backcountry hammock. Little more than a few fistfuls of cloth, paracord, mesh overlay and carabiners in your pack is all you need for a good night’s sleep. You simply lash the cloth between two trees, climb in like a baby kangaroo, and lay the mesh over yourself like a death shroud. The only time a hammock will fail you is if you’re camping above the tree line. (Also, I’m not sure crotch-sniffing mammals are deterred by hammocks, either).
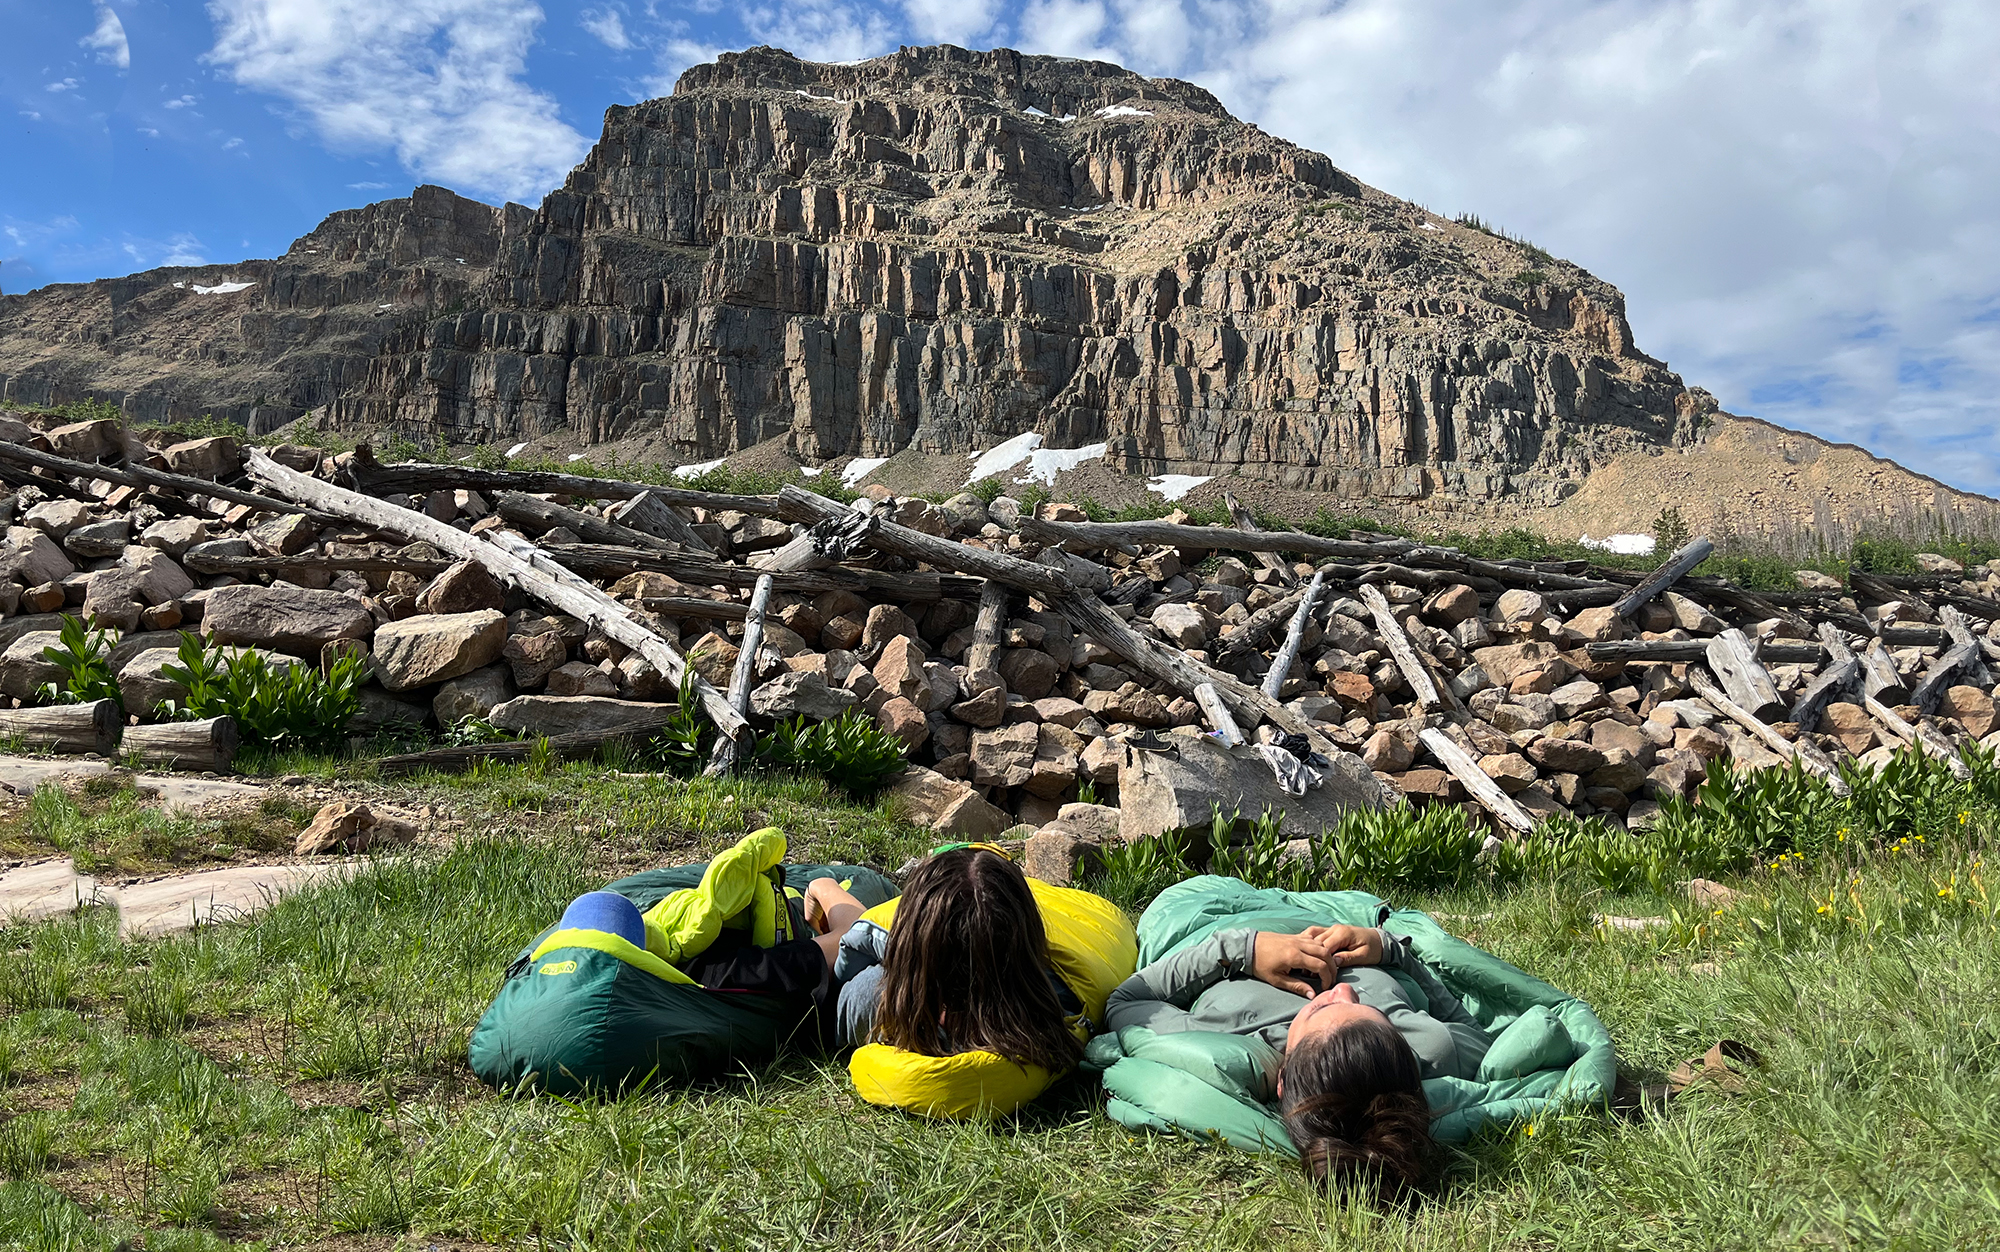
Wilderness Camping Sleeping Bags and Quilts
Sleeping Bags
For a long time, the mummy sleeping bag was essentially standard issue in backpacking. A mummy bag is exactly what it sounds like: a puffy tube in the tapered shape of a dead Egyptian aristocrat. To get in, you lay it out flat, unzip it, slide yourself in, bend forward, zip it up as much as you can, lie back down, continue zipping it up, and then tug on the interior bungee cords until your shoulders are pinned to your body, like they would be while wearing a straightjacket. You then insert your head into the bonnet attached to the top of the bag and shimmy your hands up to pull the bonnet’s bungee straps down until your lips, nose, and eyes are the only things exposed to the soulless, frigid night. Then you sleep.
Sleeping Quilts

Sleeping quilts have attempted to solve some of the discomforts of sleeping bags. A sleeping quilt is essentially a sleeping bag with a back that has been replaced by open air and a series of bungee straps. You slide the bag’s bungee cords over a sleeping pad, creating an envelope for your body to slip inside and sleep comfortably. In a quilt, you tend to have a greater range of motion (and a less dramatic time getting in and out) than with a mummy bag. The catch is that high quality sleeping quilts tend to be more expensive than high quality sleeping bags.
Temperature Ratings
Whether you opt for a bag or a quilt, be sure to note its temperature rating – that is, the temperature it is designed to keep you comfortable in (or, at least, alive). The idea here is to make sure you’re not taking a bag rated for 40 degrees into a zone where you could encounter 20 degree temperatures. For this reason, if you’re buying a bag for the first time, it’s always a good idea to get one rated for as low a temperature as you can afford (the warmer the bag, the more expensive it will be). In the backcountry, it’s easy to unzip and vent out a too-warm sleeping bag. It’s impossible to add more fill.

The temperature value of your bag/quilt is only one half of the warmth equation though. The other is the R-value of your sleeping pad. Sleeping bags and quilts acquire their temperature ratings while being tested with a sleeping pad that has a particular r-value (a measurement of how well the pad stops cold seeping up from the ground). For example, a sleeping bag with a 32 degree comfort rating will only keep you comfortable at 32 if you pair it with a sleeping pad that has the same R-value with which it was tested. Of course, it can be very difficult to know the R-value that was used during a bag’s testing. The easiest way around this problem? Invest in a sleeping pad with a high R-value rating, so you can enjoy the maximum capabilities of your bag or quilt.
Read Next: The Best Cold Weather Sleeping Bags
If you are strapped for funds, a great way to improve any sleep system’s warmth is by simply adding a sleeping bag liner – a thin sheet pocket that fits inside your bag or quilt, typically made of polyester. They can be a pain to get in and out of, and will add a few ounces to your pack, but they are also an extraordinarily affordable way to get 5 to 10 more degrees out of any sleep system (which can make a huge difference between insomnia and restful sleep).
FAQs
In the U.S. wilderness camping is often referred to as dispersed camping. That just means camping on public land somewhere that isn’t a designated campsite with facilities and other people. So, as long as you camp in a place where it’s allowed (think National Forest or BLM land) and follow a few key guidelines, you can pitch a tent and camp wherever you like.
Wild camping, or wilderness camping, is perfectly legal in many places in the U.S. The best locations for this are most U.S. Forest Service and Bureau of Land Management lands, which don’t usually require reservations or permits for dispersed camping. Camping without permits or reservations can be illegal in certain areas, including many National Parks or state parks. Just check the regulations where you want to camp to find out.
Generally yes, you are allowed to camp in wilderness areas in the U.S. There are tighter restrictions in these areas about the type of gear you can and can’t bring, and the technology you’re allowed to use. (For instance, many wilderness areas don’t allow glass or motors, but packing in — and out — aluminum cans and a canoe is just fine.) The rules vary at each wilderness area, so just be sure to check the regs where you’re headed.
You should always use any established latrines or toilet facilities whenever possible. Most of the time, however, you go to the bathroom in the great outdoors. Urinating is usually straightforward: Just pick a secluded spot away from water and avoid peeing on vegetation. For solid human waste, pick a secluded spot at least 200 feet from water. Use a backpacking trowel to dig a hole 6 to 8 inches deep, do your business, and then fill the cathole in when you’re done. Always pack out your toilet paper — do not litter or bury it. In some areas, particularly the desert Southwest and along certain rivers, you will be required to pack out human waste.
Final Thoughts on Camping in the Wilderness
Wilderness camping can be one of the best parts of backpacking; there is nothing more beautiful than watching the sunrise from your own temporary homestead (even if it is mostly nylon based). When leaving any wilderness camp, the last and possibly most important rule is to pack out everything you brought, from protein bar packaging scraps to tent stakes. This way, the next person who comes into camp can enjoy the same pristine experience that you enjoyed.