There’s no such things as knowing how to tie too many knots. Here are three that can perform a number of valuable jobs.
1. Bowline
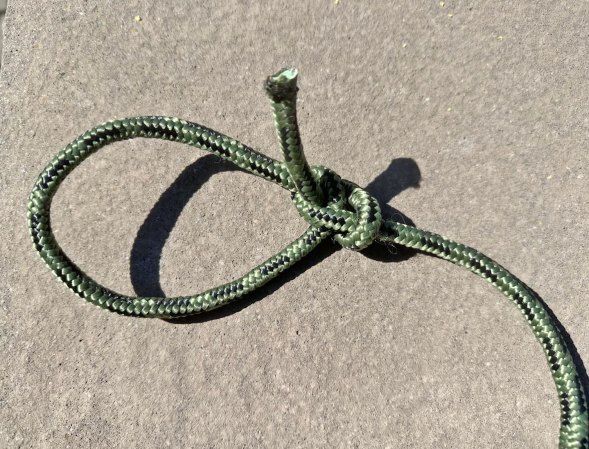
The bowline creates a loop at the end of a rope that cannot shrink or expand. This knot is often taught with the story of the rabbit coming out of the hole in front of the tree, going behind the tree, and back down his original hole.
To explain this in English, you form a loop on top of the long end of the line. Pass the free end of the line through the loop and around behind the line. Bring the free end down in the original loop, while maintaining the secondary loop which becomes your Bowline loop. Once the “rabbit” is back down his hole, pull the “tree” up and the bowline is tightened. Come to think of it, maybe that first explanation was less confusing.
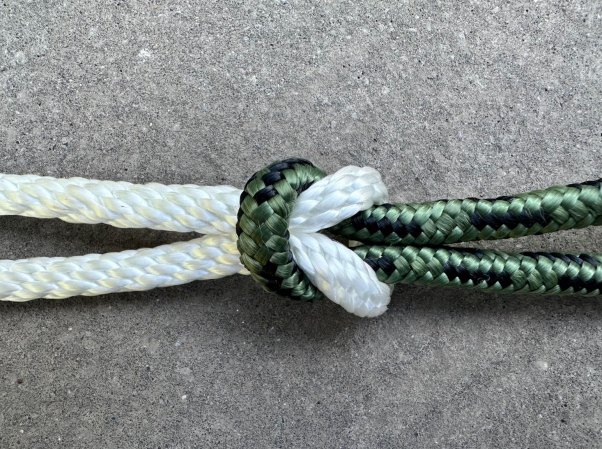
2. Sheet Bend
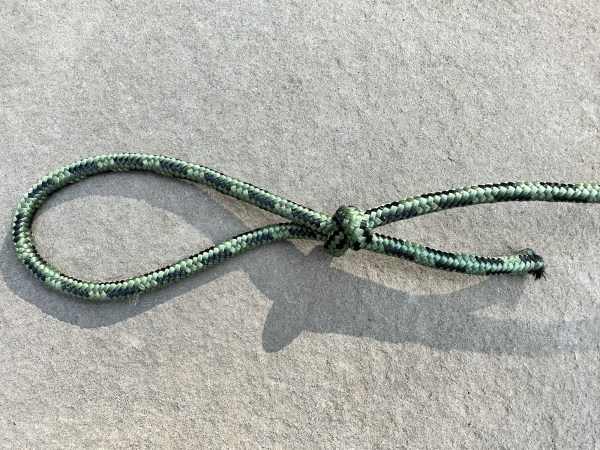
This one is a little weird, but nothing works better for tying different types of material together and joining different thicknesses of rope. This knot even joins together lines or materials that normally couldn’t be joined together.
With the sheet bend, you bend the thicker or more slippery rope into a “j” shape (like a fish hook). You then pass the other rope through the fish hook from behind, wrap around the entire fishhook once, and then tuck the smaller line under itself.
3. Trucker’s Hitch
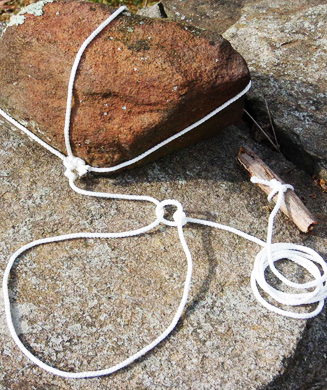
The trucker’s hitch gives you a unique mechanical advantage for tightening up a line. While it is a little complex, it is worth the trouble to tighten lines before finally securing them. It’s great for tying down tarps and shifting loads.
Start this knot by tying a figure-8 knot with a loop of the line. Next, pass the free end of the line around the object to be secured and pass the line through the loop. Finally, pull the free end tight and secure the free end with two half hitches just below the loop.
