As winter draws near, most people assume that their outdoor pursuits are winding down. This doesn’t have to be the case, as many die-hard outdoor enthusiasts keep practicing their survival skills throughout the colder months (when you can really test your mettle). If you’re looking for inspiration or just an excuse to get out of the house, then try your hand at one (or all) of these winter bushcraft skills.
1. Build a Shelter
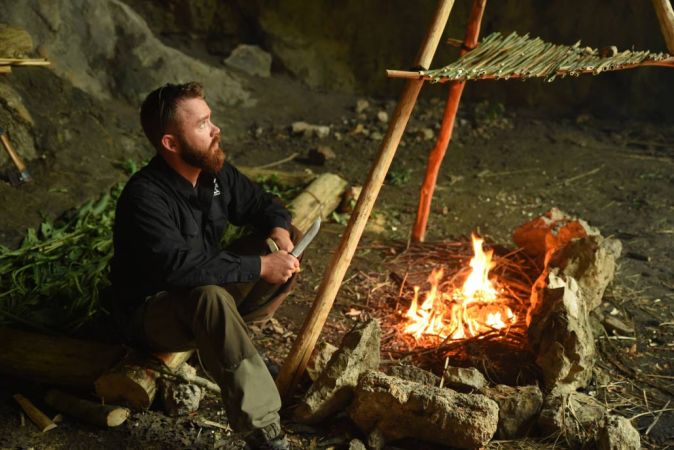
Since hypothermia can kill a person more quickly than dehydration or starvation, shelter is a top survival priority. There’s no better time to practice shelter construction than in cold, winter weather. Shelter styles abound, though you should strive to match both the available resources and the worst weather you might face. A loose leaf debris shelter is no match for high winds and a structure with a flat roof is just begging for leaks during heavy winter rains. You’ll need to pick the right shelter for the job. During your winter practice time, you also can experiment with new building techniques and materials. There’s no better way to learn a skill than by doing it and carefully studying the results (whether you feel successful or not).
2. Master New Knots
When I think about all of the variations in ropes and knots around the world, it’s easy to become overwhelmed. There are hundreds of different materials to use for tying, and there are even more knots in existence. It’s been estimated that there are more than 3,000 known knots and I would speculate that there are many more that have been forgotten over the centuries. For someone who only uses two or three knots on a regular basis, it can be hard to choose which new knot(s) to learn. I recommend focusing on one of your most common activities and try a new knot associated with it. If you camp in cold weather, try knots that will help during this activity. You can use a sheet bend when the corner grommet rips out of your tarp to rejoin a rope to the tarp corner. And whichever knot, hitch, or fastening you decide to learn, take advantage of your natural “down time” in the winter to practice the knot until you can do it with your eyes closed.
3. Lash Together a Tripod
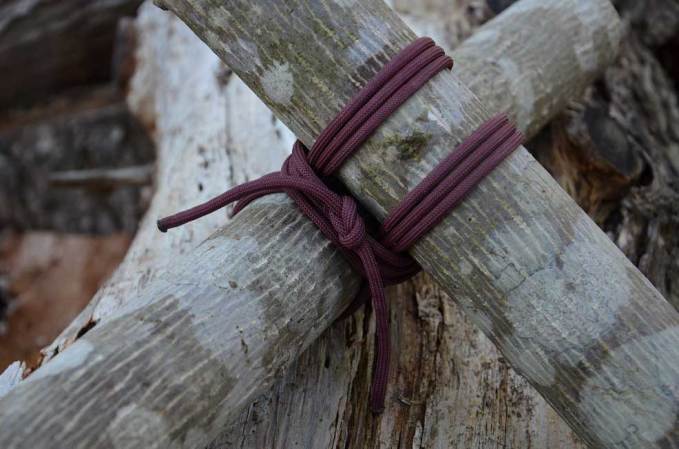
The humble tripod can be the basis for many useful fixtures in your winter bushcraft camp. A large one can be the base for a conical shelter. A small one can suspend your pot of stew over the campfire. A medium-sized one can even become a chair (with a few extra pieces and a blanket as a seat). These structures are quite stable, since the three legs lean inward for mutual support. With a secure lashing and strong poles, it’s a versatile and sturdy addition to any wilderness camp. This winter, you can practice your tripod lashing on small poles indoors, and make larger tripod sizes outdoors. There are many different versions of the tripod lashing, and even more types of rope to tie them. Keep in mind that “plastic” cords (like 550 cord) are very stiff in the cold. Since many tripod styles begin and end with clove hitches, and plastic cords are often too stiff for a secure clove hitch in the cold, you’ll want to adjust for your conditions and materials. Either switch over to a natural fiber cord for the lashing, or use a more secure knot to begin and finish the lashing (I often start with a square knot around one pole, leaving enough cord hanging from the first knot to tie back to it at the end of the lashing).
4. Get Your Knife Sharp Enough to Shave with
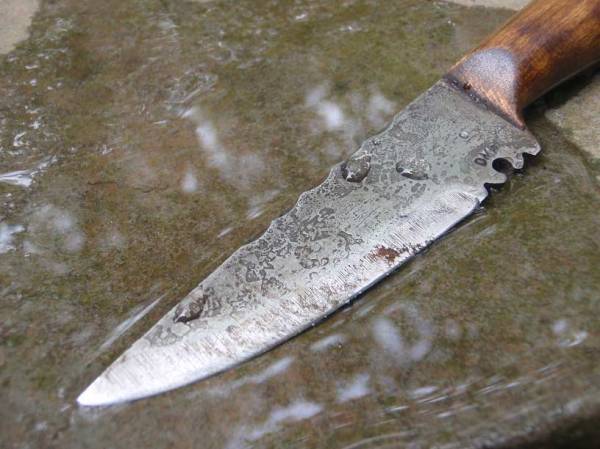
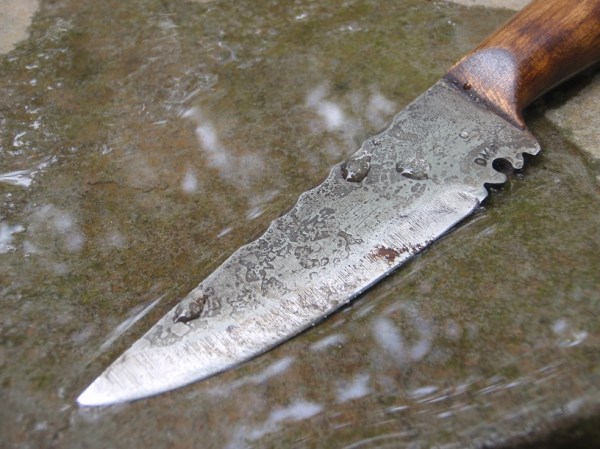
Knife sharpening often seems to be as polarizing as barbecue. People split into factions of “sauce” and “no sauce”. Others will separate themselves further by saying that BBQ is an event, not a food. We’re not here to ruffle any feathers. Barbecue is yours to enjoy, however you see fit. The same should be true of knife sharpening. Maybe you fall into the “make little circles on a sharpening stone” group, or maybe you think that’s dead wrong. We can agree to disagree and we can also take the opportunity that winter provides (all that extra downtime) to try all of the different techniques we can discover. Who knows, maybe you’ll find a new favorite sharpening tool or technique. If the reason for carrying a knife is to cut things, and a sharper knife cuts better than a dull one, wouldn’t it make sense to explore all the different options for getting your knife as sharp as possible?
5. Carve a Feather Stick
With a sharp knife in hand, you can perform one of the most iconic global bushcraft activities – feather stick carving. It’s unclear how old this fire-building technique may be or where it originated. Since stone scrapers can produce thin wood shavings, some rudimentary version of the feather stick may actually predate metal tools and knives. Feather sticks display better carving skills, as they have longer wood shavings curled into rings. To make a feather stick with ease, start by getting a Scandi (Scandinavian) grind knife. This type of knife has a tall single bevel edge, and when you sharpen it, you’re grinding the entire bevel. Next, carve some practice strips down the side of a stick. Use roughly as much side pressure (pushing the side of the knife against the side of the stick) and the amount of pressure you apply downward to make the cut. When you’re getting good long shavings, carve one curly wood shaving on the heels of the previous one, and allow them to stack up near the end of the stick. With all the exposed surface area, feather sticks burn much better than ordinary uncarved sticks, and they may be the material that makes the difference between getting a fire started and freezing.
Read Next: The 15 Best Survival Books Ever Written
6. Try New Tinder Material
Tinder is the food for a fledgling fire. It should be a dead plant material that is dry, fluffy, and exceedingly flammable. With so many dead plants available in winter (and the heightened need for a warm fire), it can be the perfect season to experiment. A word of caution: Learn to identify toxic plants. Just because poison ivy vine fuzz looks like a good tinder resource, doesn’t mean you should use it. Take the time to learn about your local toxic plants and avoid using any part of them for tinder material. Hit the books and do your research. You don’t want to learn these things the hard way.
7. Practice with Ferro Rods
Ferrocerium is an alloy made from iron, along with cerium, lanthanum, and several other rare-earth minerals. When scraped with a sharp edge, this man-made metal produces a spray of hot sparks that can exceed 3,000 degrees. Developed in the early 1900s, ferrocerium rods have become a favorite fire starter for outdoor enthusiasts in recent years. These tools work in a wide range of conditions, including wet weather and sub-freezing temperatures. And even though this material is tough and durable, many people don’t use it as effectively as it can be used. Two tricks that can boost your fire-starting skills are tinder selection and scraping technique. Using natural plant-based fuzz for your tinder is the first step toward success. This can be drier lint from an all-cotton load of laundry (like bath towels). It can also be material gathered form the wild (like cattail and milkweed seed down). Keep these materials in a water-tight container and use them along with a coarser tinder (for a longer burn time). The other trick that can help is moving the rod, not the scraper. By holding the scraper or knife spine in a stationary position, and pulling the rod back toward yourself (like you’re pulling the cord to start a lawnmower), you’ll get all of the sparks without knocking your tinder out of the way. With this modified technique, the shower of sparks will fly right into the tinder without disturbing it. For most fire makers, this little trick changes everything.
8. Make a One-Match Fire
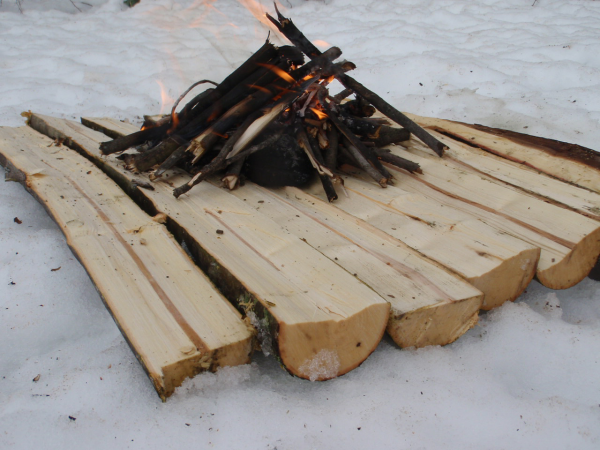
Making a one-match fire can be quite a challenge in damper and windier parts of the world, and when you factor in the colder air temperatures of the winter season, it’s an even harder skill to perform. Since matches are a finite resource in your kit (there are only so many in each box), it really pays to learn how to handle matches under adverse conditions and how to prepare fire lays so they have a shot at lighting with just one match. I like to find the skinniest pitch-filled evergreen twigs that I can locate and build a tipi fire lay packed with tinder. Protecting the match from the wind with my hands and body, I’ll strike it and hold it at the base of the fire lay on the windward side. This choice of initial fire starting location will allow the flames to be pushed into the twigs (rather than back toward you) and it really helps to make one match fires more likely.
9. Experiment with Hot Rocks
In the modern world, we spend a lot of energy (and money) heating large spaces during the colder months. But what do we actually need to keep warm? We may only need to keep our bodies warm and there’s an ancient way to do this in the outdoors. By heating up stones near a fire and then placing them in our bedding, pockets and clothing, we can stay warm and comfortable in some rather unpleasant conditions. Just make sure you don’t get the rocks from a wet location. These may pop or even explode if they get too hot. This happens when the water trapped inside becomes steam. You’ll also want to make sure the rocks aren’t too hot. Heat them near a fire, but not in the fire. The stones shouldn’t be hot enough to burn fabric or skin. I like to get them as hot as hot water from a faucet, then wrap them in thick cloth, to slow down the release of heat. This can give you hours of warmth, without being too hot initially. I once had a 10-pound chunk of granite stay warm for over 6 hours (in my sleeping bag), keeping it wrapped in a pair of insulted coveralls to slow the heat release.
10. Test a New Campfire Recipe
I often make big pots of chili in winter camps, but there are plenty of recipes out there you can try. Being cooped up in the house during the winter isn’t such a bad thing, especially when you can test recipes for one-pot-meals in the comfort of your kitchen. These could be recipes that are developed for open-fire cooking, or simply adapted to it. Trying new recipes is a little like meeting new people. You’ll never find that great new friend unless you try. And even if you’re a terrible cook at home, you might find that (with a little practice) you can become a passable outdoor chef. You even have a few things in your favor. The first thing is hunger. It’s been said that hunger is the “best seasoning” for a meal. I’d tend to agree. Your hungry diners in camp may be very forgiving about little mistakes, if they are ravenously hungry. The other thing that works in your favor is scarcity. When there’s just one meal available, what else will they eat? Your dinner guests are a captive audience, especially when you’re in the backcountry.
