We may earn revenue from the products available on this page and participate in affiliate programs. Learn More ›
A broken rifle stock is heart-wrenching, but it needn’t mean the end for that gun. While the repair may show, the stock will be very strong and the gun usable again. Sometimes the repairs can even add a bit of character to the rifle. A few scars just means it has stories to tell.
The first step it to take the gun apart so the stock is free and clear from the rest of the gun. Simply gluing the stock back together will not produce a strong enough repair and you must add some structural strength. If you were fixing a loose board in a building you would nail it back in place. Well, repairing a stock is pretty much the same concept, but with a few changes.
Rather than nails, brass stock repair pins from Brownells will reinforce the stock and prevent it from splitting again. The idea is to pin the broken area as you glue it so that the brass pins will provide structural strength along the damaged area. These pins will not rust and they look good on wood stocks, almost like they belong. Two or more pins are required for most repairs. They must be placed in sections of the stock that are solid and have plenty of material to accept them.
Choose a drill that is just a few thousandths of an inch smaller than the pin. The pin should be a snug fit, but if the hole is too small it will be difficult to drive the soft brass pin into place without bending or damaging it or the wood.
Hold the broken pieces together making sure they are correctly aligned, and drill the holes for the pins. If you are going to drill all the way through, as opposed to a blind hole, care should be taken to make sure the drill runs true and is lined up correctly so it exits in the desired location on the opposite side of the stock.
I prefer Brownells Acraglas Gel stock bedding compound for repairs on wood stocks. This is an epoxy gel that forms a very strong bond. It can be dyed to match the finish on the stock to further hide repairs.
Coat both pieces or, if the stock is not completely broken, pry the split open being careful not to make it bigger. Fill the split with the Acraglas Gel. Force it into any cracks you can’t open up enough to reach into. Too much is better than not enough, as you want all the broken surfaces to be well coated with the glue.
Note that the stock repair pins have grooves in them. This will hold the bedding compound and help form a tight bond with the stock. Coat the stock repair pins with Acraglas Gel and carefully tap them into place. Make sure the stock is held tightly together as the pin is inserted and that there is no gap between the pieces.
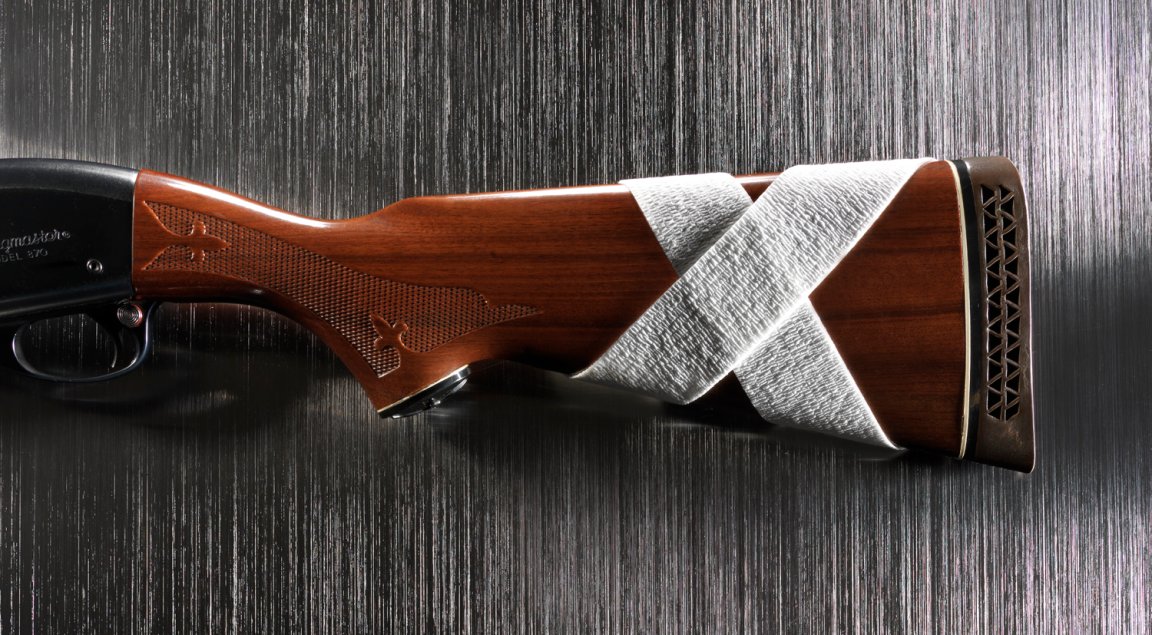
Clamp the broken pieces together. This often requires some ingenuity. Several wraps with electrician’s tape works well. Stretch the tape to about half its width with each pass to build tension. Surgical tubing works well for clamping uneven surfaces. Stretch it tight as you wrap it around the stock to put plenty of tension on the piece. Mechanical clamps like a vise or a C-clamp provide power to make sure the parts are tightly bound together, but be very careful as they can damage the stock if not padded.
Clean up all the excess Acraglas Gel, then let it set for at least two days. After removing the clamps or tape, clip the ends of the stock repair pins off close to the stock. Use a file to bring them down flush with the stock surface. Also use a file to remove any excess glue. When you get close to the stock surface, switch to sandpaper in a sanding block for the final finish.
With a small repair you can sometimes work carefully and avoid damaging the finish on the stock. But for a large or extensive repair it is better to sand down to the bare wood. This gives the best fit with the stock repair pins and glue line, resulting in the least noticeable repair. You can try to match the stain and stock finish, but that’s often tricky. It’s probably better to simply strip and refinish the entire stock.
Want more tips and projects to save you cash in the outdoors? Click here.
Got your own DIY tips to share? Email us at howto@outdoorlife.com.