It never ceases to amaze (or annoy) me how often I hear people talk negatively about eating wild game.
You can’t eat (insert species here).
It tastes too “gamey.”
It’s as tough as shoe leather.
The list of ignorant, irrational, and absurd reasons for why people hate on wild game meat is far too long. But one word can define the primary source of this treachery: laziness.
Would you eat grapes or hops off the vine and then complain that you didn’t catch a buzz? Would you smash a tomato on a plate full of spaghetti and expect it to taste like marinara sauce? Similarly, making good meat is a process. Here’s some more food for thought.
Consider beef that’s slaughtered and packaged for grocery store shelves. This process is calculated and controlled every step of the way—USDA regulators and consumers demand it. Now imagine if a cow took a bullet through the lungs, ran off, and died. Then, what if it was cut open in the field, dragged through the dirt, hauled around town in the back of a pickup truck, hung up with its hide on while the butcher (hunter) takes a break for dinner—and then skinned and cut into edible portions of meat hours after it expired. Most of us—myself included—would deem this unacceptable for sanitary reasons, and because the quality/taste of meat can be easily compromised. So why, then, do folks think it’s acceptable to handle wild game in this manner?
We spend money on boots, guns, ammo, bows, broadheads, tags, and fuel to get us into the field for a chance at killing something. We sweat, shiver, smile, and swear until we stumble into sweet success. We knowingly choose to endure all this rigmarole, but when our hard-earned meal finally hits the ground, we get lazy?
As we go forward into our next big-game hunting season, let’s not forget that we can’t rest on our laurels until the meat is in the freezer. If you know fellow hunters who talk trash about eating wild game, make sure to share this list with them before their next hunt.
1. MAKE THE SHOT
There’s more merit to a well-placed shot than a quick, ethical kill. The quality of your meat depends on it.
A big-game animal’s primary meat isn’t contained within its chest cavity, so while a gut shot is far from ideal, it’s also not the end of the line for your meat. You just need to exercise a greater degree of care when handling a gut-shot beast. Remove the animal’s entrails and do everything within your power to minimize contact between the mess and the meat. This means paying attention to your hands and knife blade to avoid cross contamination. It doesn’t hurt to rinse the deer’s body cavity with cold water to remove nasty visible debris. But realize: Unless the water is boiling hot, it won’t kill any bacteria that’s on the surface of the meat.
Kill enough big-game animals and you’re bound to face guts with your glory—just suck it up and get to work.
2. GET THE GUTS OUT
Few would argue that a key to tasty meat is timely removal of the animal’s entrails. Faster is always better (especially with a gut-shot animal), but you also don’t need to go crazy about being overly cautious. Some animals take longer to recover than others—it’s a reality of hunting. But how long is too long?
During his extensive career as a wildlife biologist, Dr. Grant Woods has eaten literally hundreds of deer that he killed during 90-plus-degree mornings, even after leaving the deer on the ground for hours.
“Based on my personal experience, I would say waiting 4 to 5 hours to dress a deer is a non-issue,” he says. “If it’s warm outside, it takes a while for the body temperature to disperse off the carcass. The meat doesn’t know that many hours have gone by, because the meat is a steady temperature.”
You can also consider using the gutless method.
3. SKIN IT TO WIN IT
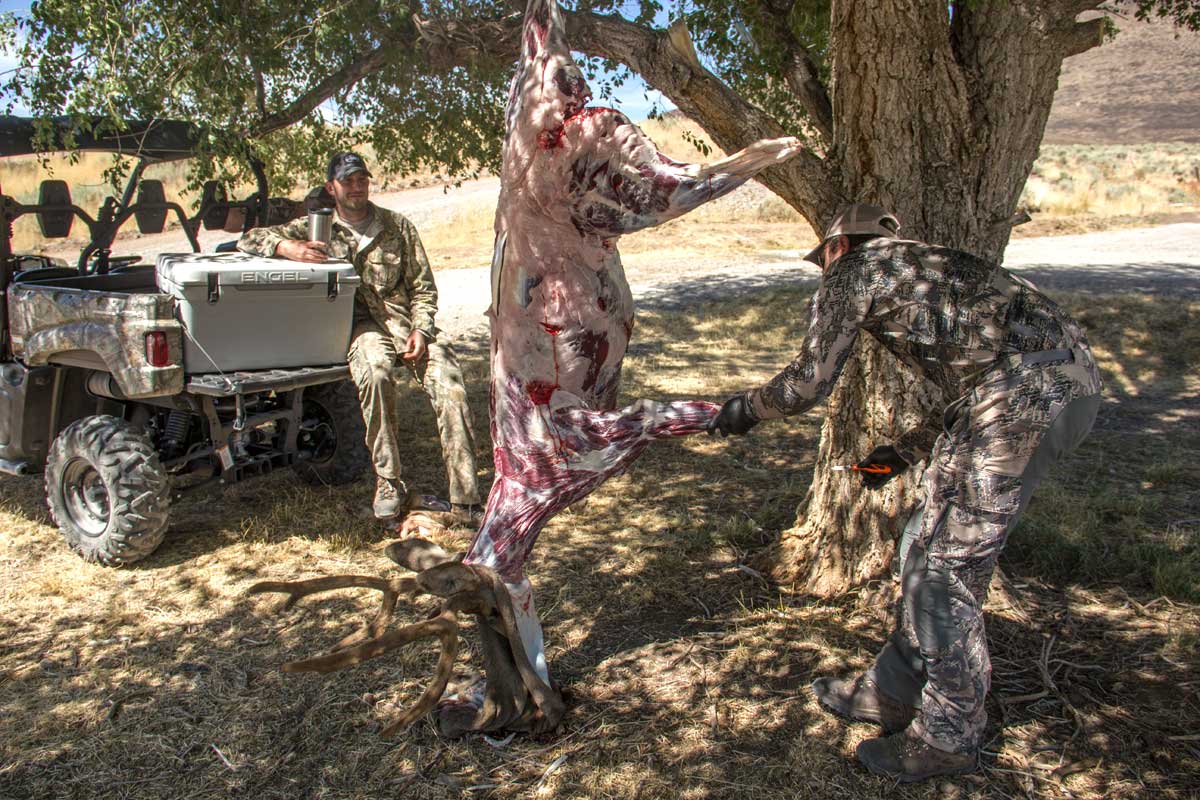
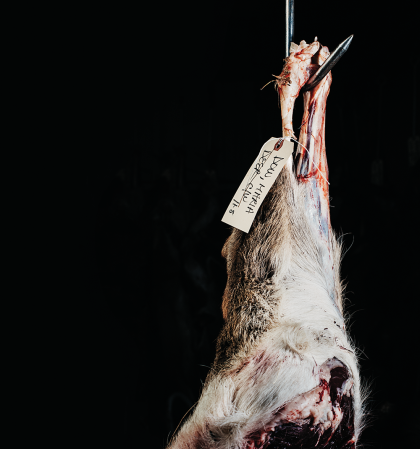
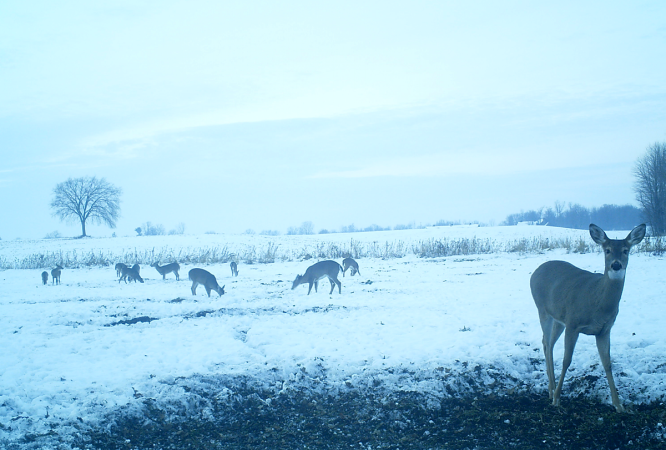
Deer don’t move much during warm daylight hours because they’re wearing a thick coat. When winter hits—especially in brutally cold areas—this natural insulation is what allows the animals to survive. But when you kill a deer, that same protective sheath needs to be removed quickly so the meat can cool.
My great uncle taught me to skin a deer with patience and thoughtful strokes of my knife. You don’t want to puncture the meat because it opens a channel for bacterial growth. Also be careful to not cut through the hide and release hair onto the meat. When you do get hair on the meat (and you will), you can methodically pick it off with your fingers; or better yet, use a butane torch to burn it off. Last time I checked, hair isn’t a popular seasoning for cooking meat.
Once the deer is skinned, it can be helpful to cover it with a cloth game bag or a clean bed sheet to absorb blood and shield the meat from contaminants; if you’re processing the meat immediately, this isn’t necessary.
4. PLAY IT COOL
Two of the most important aspects of cooling a deer carcass are removing its innards and skin, but then usually comes some type of forced cooling. Who better to ask for meat-cooling advice than a guy whose career revolves around building high-performance portable coolers?
“After a kill, it’s ideal to cool the meat as soon as possible,” explains Chris Keller, director of new product development for YETI coolers. “How fast you need to cool the meat really depends on the temperature of the environment during and after the kill. The body temperature of an average live deer is approximately 101 degrees, and bacteria thrive at temperatures between 70 and 100 degrees. So, if the meat isn’t cooled properly, the growth rate of micro-organisms will drastically increase the chances of meat spoilage.”
Funky meat might just taste bad … or it could land you in the hospital.
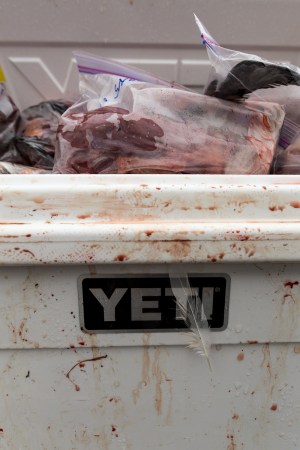
The ideal temperature range for storing meat before freezing is between 32 and 40 degrees. It’s most effective to cool meat on all sides, which makes a high-quality cooler such as a YETI or an Engel an essential piece of traveling hunting gear under most circumstances.
“Remember to pre-cool your cooler prior to your hunt,” Keller advises. “You can use ice, but I don’t recommend it because moisture promotes bacterial growth. Plus, the structural integrity and texture of the meat can be compromised if there’s too much exposure to water.” Opt for ice alternatives such as Arctic Ice. Otherwise, you can always freeze water bottles and drop them in your hunting cooler for contained ice that doubles as clean drinking water. The important thing is protecting your meat so it’s never exposed to standing water (or nasty liquid from crappy ice alternatives).
5. IT GETS BETTER WITH AGE
Most hunters have heard about “aging” wild game meat to enhance its flavor, but few of us know how to do it properly.
Stacy Lyn Harris is a superb Southern wild-game chef, author of numerous books on the topic, and host of a popular DVD called Gourmet Venison. Through her GameAndGarden.com website, she continually educates the masses about the dos and don’ts of cooking wild game. If you want to get schooled on aging meat, step into her classroom:
“One absolutely crucial step that hunters overlook when processing their harvest is proper aging of the meat. Deer graze and forage, so they have little fat and much connective tissue and muscle fiber that need sufficient conditions and time to break down (denature) the meat. I prefer to dry age meat, but wet aging will work as well to ensure excellent flavor and texture.
“To dry age, the meat needs to be surrounded by a constant temperature of 34-37 degrees for 10 to 14 days. Many hunters and processors swear by aging their meat for a few more weeks. Wet aging, on the other hand, is completed after the meat has thawed by allowing it to remain in its vacuum-sealed status in constant temperatures of 34 to 37 degrees for up to 14 days.
“I don’t know any hunter who wants to experience a mediocre hunt, but many settle for mediocre flavor and texture from their harvest. By aging and preparing your harvest properly and patiently, you will partake in the best meals of your life.”
6. SLICE IT RIGHT
There’s no real “right” or “wrong” way to cut up your meat. You’ll want to become familiar with the basic muscle (meat) groups by viewing a chart online, but you’ll learn that identifying these parts on a big-game animal is astonishingly intuitive.
First, please use a sharp knife for your own safety and to ensure a pleasurable experience. Keep a high-quality sharpener within reach to bring the edge back to your blade during butchering.
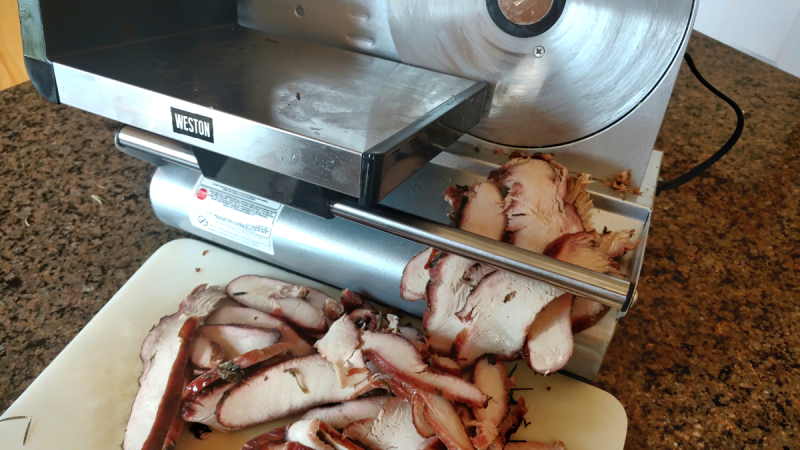
Have fun with butchering. This is when you get to decide what cuts will become steaks, roasts, chops, burger or something new that you decide to invent. I recommend removing the inner loins (eat instantly for immediate gratification) and backstraps first, then the front and hindquarters, followed by trimming the remaining scraps, neck meat and ribs (yes, you can get some hardy meals from those lean ribs). Ditch any parts that don’t look appealing, especially surrounding the wound cavity. How about that waxy white fat? In flavor terms, I’d argue your safest bet is to feed it to the birds, as deer fat can vary immensely in taste from decent to disgusting. If you’re ambitious, render the fat to make candles or soap.
When you’re finally standing in front of a deer skeleton, bring the hunks of meat to a clean cutting surface for detail work. It’s totally your call how you proceed from here. As a rule of thumb, the best steaks and roasts come from the backstraps and meatiest parts of the hindquarters. The front quarters, including shanks (lower legs), along with other small scraps and neck trimmings are great candidates for ground burger or sausage. Consider your personal cooking styles and sculpt your own custom cuts accordingly.
Now’s your chance to consider an oft-overlooked part of meat manicuring: texture. Eliminate unnecessary tendons, silverskin, and anything else that you don’t want to see on your plate or feel in your mouth at mealtime. Nothing will turn off a reluctant wild-game dinner guest faster than a mouthful of “chewy stuff.”
7. PROPERLY PACK AND STACK IT
Odds are you won’t consume all your meat within the first couple of weeks after a kill. To the freezer it must go … but first you need to package it.
There are plenty of options for protecting your meat during long periods of hibernation. From expensive vacuum-sealed bags to Ziplocs or budget-priced freezer paper, the choice is yours. The most important factor to consider when packaging meat for the freezer is minimizing air contact. When your meat is exposed to air for long periods of time, it will develop what’s commonly referred to as “freezer burn,” which is the result of frozen meat losing its moisture content through evaporation. Freezer-burned flesh won’t hurt you, but it tastes awful.
“I’ve owned a vacuum sealer for years, and I love it for fish, birds and cased sausage,” explains Eileen Clarke, author of nine wild-game and fish cookbooks. “But for big game, I prefer high-quality, old-fashioned freezer paper because it’s more economical and it protects the meat as well as vacuum sealing. It’s also faster. It takes no time to tear off a length of paper and wrap up the meat, and you don’t have to worry about liquid traveling up and ruining the seal.”
Many folks (myself included) gravitate toward vacuum sealers because of their reputation for preserving frozen meat longer, but according to Clarke, freezer paper does the job.
“Game meat is lean, which is a definite advantage with longevity,” she says, referring to the fact that high fat content contributes to faster freezer burn. “We have dug out paper packages—double-wrapped, in the chest freezer—that were 2 and 3 years old, and were absolutely fine.”
The meat packaging process is an ideal time to plan for future meals. Portion your various cuts of meat based on how you eat. Perhaps you’re single and you only need to package half-pound allotments. Maybe you have a large family and it’s most efficient to freeze 3 pounds per package. I recommend labeling your meat treats with a date, the type of cut (rump, backstrap, etc.), and how you might eventually prepare it (“strips for stir fry” or “steaks for the grill”). Do it this way and you’ll always have an immediate meal idea when you open your freezer.
For tips on keeping your freezer from having a meltdown after all that hard work, click here.
