There’s no question that it’s important to cool your kills quickly. Whether it be a deer, turkey, duck, or fat feral pig, field-dressing the animal and removing its feathers and/or skin are always the first steps to dropping its carcass to an acceptable temperature. But then it’s usually time for some type of forced cooling.
You’ll get mixed answers about the best ways to play it cool, and that’s especially true when you talk about handling the world’s most popular big-game animal: deer. Rather than spewing my personal experiences and advice about the best protocol for cooling venison, I went straight to an expert—a guy who specializes in building high-performance coolers for a brand you might have heard of. (Keep in mind, these tips are generally applicable for handling any type of meat.)
“After a kill, it’s ideal to cool the meat as soon as possible,” explained Chris Keller, vice president of new product development for YETI coolers. “How fast you need to cool the meat really depends on the temperature of the environment during and after the kill. The body temperature of an average live deer is approximately 101 degrees, and bacteria thrive at temperatures between 70 and 100 degrees. So, if the meat isn’t cooled properly, the growth rate of micro-organisms will drastically increase the chances of meat spoilage.”
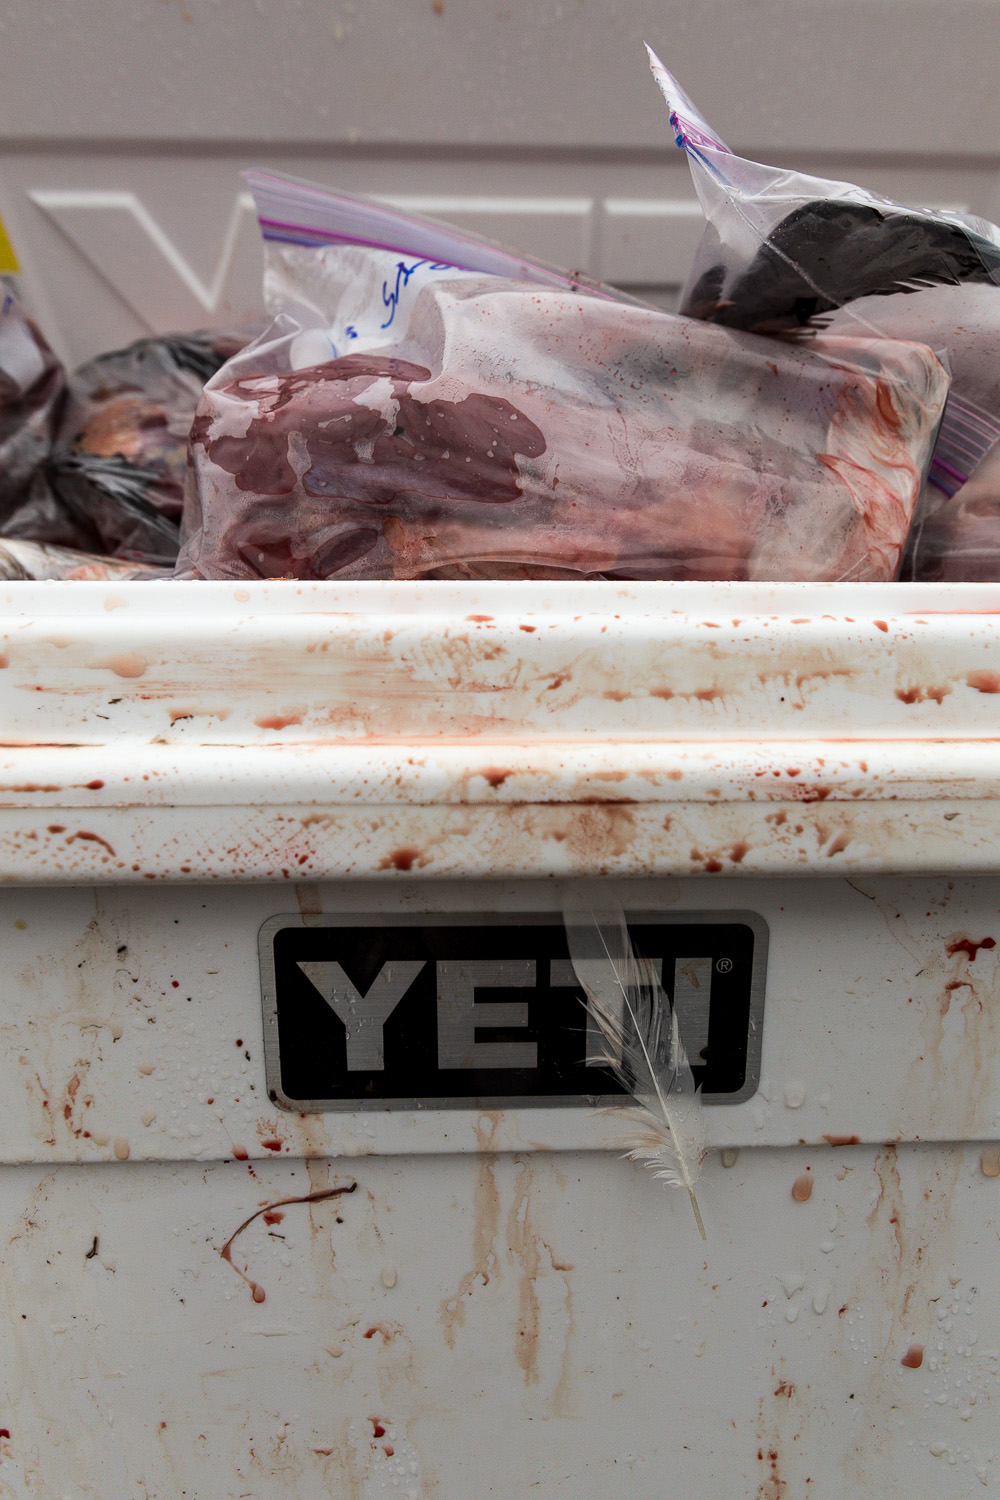
So, not only does bad venison taste like crap, it could give you the craps. If you’re storing your venison prior to sending it to the freezer, it should be at the ideal temperature rangeetween 32 and 40 degrees. You want to cool the meat evenly on all sides, which makes a bulletproof cooler (such as a YETI or an Engel) an essential piece of gear for any serious hunter—especially if you do a lot of traveling.
“Remember to pre-cool your cooler prior to your hunt,” Keller advised. “You can use ice, but I don’t recommend it because moisture promotes bacterial growth. Plus, the structural integrity and texture of the meat can be compromised if there’s too much exposure to water.”
If you’re traveling to hunt turkeys, ducks or other game of the small variety, consider toting something like a YETI Hopper to transport your meat. I used one to carry 10 pounds of snow goose meat home from a recent hunt. I froze the meat in camp, carried the Hopper on my flight, and when I got home all the meat was still rock solid (plus, I didn’t have to worry about TSA agents getting their grubby mitts in it).
When you have access to a freezer before your hunt, you’re better off filling your cooler with leak-proof containers of frozen water, which can double as water for cleaning or drinking in camp. Or you can prep your cooler with an ice alternative—YETI ICE is a great example. It’s a pure liquid, but it’s encapsulated in a rock-solid housing that won’t break and make a mess. The important thing is protecting your meat so it’s never exposed to standing water, for the aforementioned reason of preventing bacterial growth, but also because the texture of your meat will be compromised if it takes a bath. (And remember, you can easily turn your cooler into a mobile butchering station.)
When I return from a trip, I’ll remove all the meat from my cooler and rinse it off prior to booking its vacation in my freezer. After I rinse it, typically I’ll use paper towels to absorb excess moisture on the surface of the meat. But proper freezing is a lesson within itself, which I’ll save for a future post.