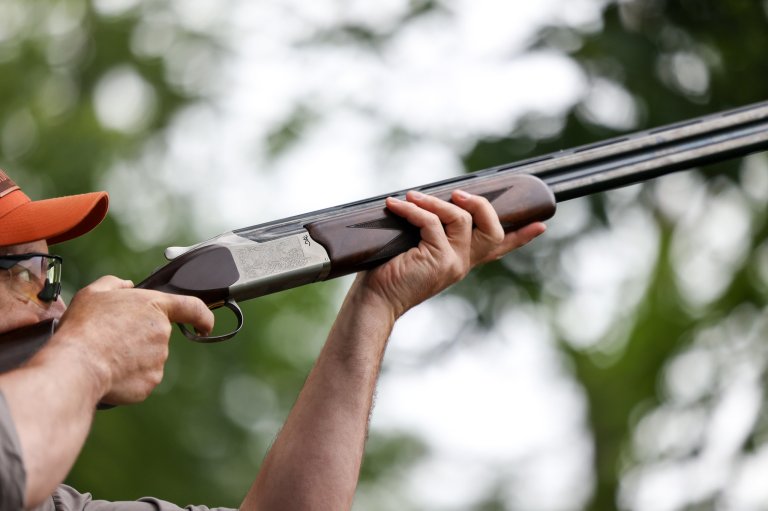
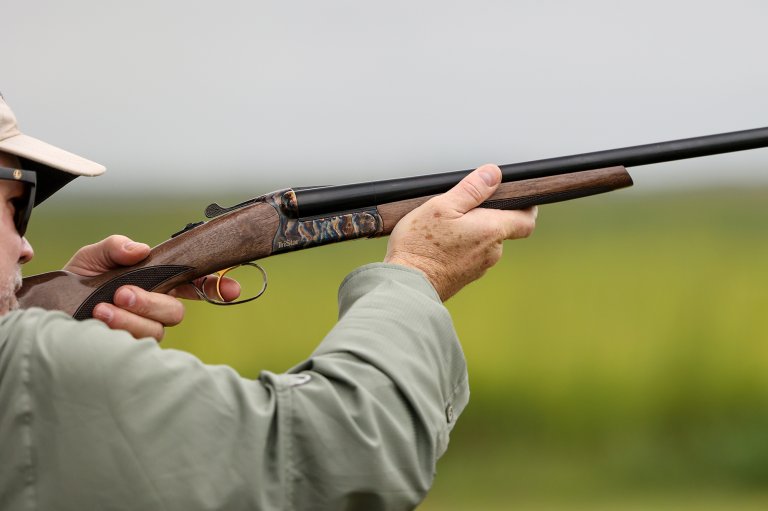
Guns Shotguns

Cleaning a Shotgun in 6 Simple Steps

Quick tips for cleaning your scattergun when you're on the run
shotguns

A crop of shotguns John B. Snow

We may earn revenue from the products available on this page and participate in affiliate programs. Learn More

Don’t laugh. One of my favorite parts about traveling to hunt or shoot skeet competitions is cleaning my shotgun in the hotel the night before. I guess it helps me to connect with the gun and, hopefully, to coax a few more hits out of it the following day.

But it’s not just my strange emotional attachment to my competition gun that leads me to give it a pre-shoot bath. It’s also reassurance that, come morning, no wad buildup, powder residue or gunky oil from the day’s shooting is going to lead to a malfunction.

I’ve developed a pretty simple system for on-the-fly, on-the-road cleanup jobs that any hunter or shooter can use. But there is a disclaimer: Don’t perform a complete teardown when on the road unless you must. The chances of losing a spring, breaking a part or incorrectly reassembling are just too high to do it the night before the action starts.

My rule of thumb is to always shoot a practice session between a complete teardown cleaning session and a shoot, just to make sure everything is functioning properly after reassembly.

Step 1 – Partial Tear Down
Depending on what kind of shotgun you shoot, just break the gun down into its primary parts. For over-unders, I leave the entire action intact. For automatics, I tear down until I can clean any moving parts or areas where gas bleed-off causes some buildup. Pumps can be stripped all the way, but don’t remove any small pieces from inside the action.

Step 2 – Degrease
I use an aerosol powder solvent or degreaser designed for firearms to clean areas with heavy buildup. But I avoid spraying any part with small springs or pieces. Sometimes, spraying aerosol products into a trigger unit or the action can push parts out of whack or drive crud into places you don’t want it to be.

My main priorities are the barrel, gas chamber (if there is one), choke tubes and any areas with significant metal-on-metal friction.

Step 3 – Swab the Barrel
I don’t care for the Hoppe’s BoreSnake for cleaning rifles, but it’s my favorite tool for swabbing out shotgun barrels. Just make sure the snake is clean, and be careful that the pull cord doesn’t catch on any small parts before you pull it through the barrel.

Another trick is to drop the cord through the barrel to the ground, stand on the rope and slowly pull the barrel up, drawing the BoreSnake through it.

Step 4 – Scrub the Chokes
I don’t bother soaking choke tubes. It takes too long. Instead, I use a brass brush attached to the handle segment of a three-piece cleaning rod. Spray some solvent into the tube and start scrubbing. It shouldn’t take too long.

I use an old worn-out rifle brush to scrape the crud from the threads. If the brush is dirty, clean it with a few lengthy blasts from the aerosol solvent.

To clean the barrel’s threads, use a straw and the spray to blast out as much crud as possible. A brush will loosen anything stubborn. I clean as much cleaning chemicals and remaining debris out as I can using an old rag by wadding up the rag to fit tightly in the muzzle and “screwing” it into the threads.

Once done, reinstall the chokes with a dab of grease to prevent seizing, and make a final swab through with the BoreSnake.

Step 5 – Clean and Lube the Action Sparingly
I don’t clean much in the action because getting oil and cleaning solutions in some areas will attract powder and dust and can cause problems. I use cotton swabs, rags and brushes to clean the obvious filth and any areas with large moving parts. If shooting an autoloader, now’s the time to clean the piston and spring assembly around the gas ports.

Each gun is a little different and requires different types of lubrication. Some parts get small dabs of grease and some get oil. But if I think I can run it dry without causing damage, I usually do.

Step 6 – Spot Clean and Tighten
Finish with a visual inspection of the entire gun. Clean where needed, and apply a thin coat of oil to the exterior surfaces. Tighten up any screws or hardware, and reassemble the gun.

Take a minute to open and close the action, shoulder the gun, make a few “practice swings” on imaginary targets to make sure everything feels right.

For more, check out Range365: 7 Things You Need to Clean a Gun