We may earn revenue from the products available on this page and participate in affiliate programs. Learn More ›
I get to shoot a lot of guns for my job. That’s the fun part. I also end up needing to clean a lot of guns. That’s when the fun stops. Fortunately, I’ve fine-tuned my cleaning process over the years so that I spend the least amount of time swabbing barrels in order to get back to pulling triggers.
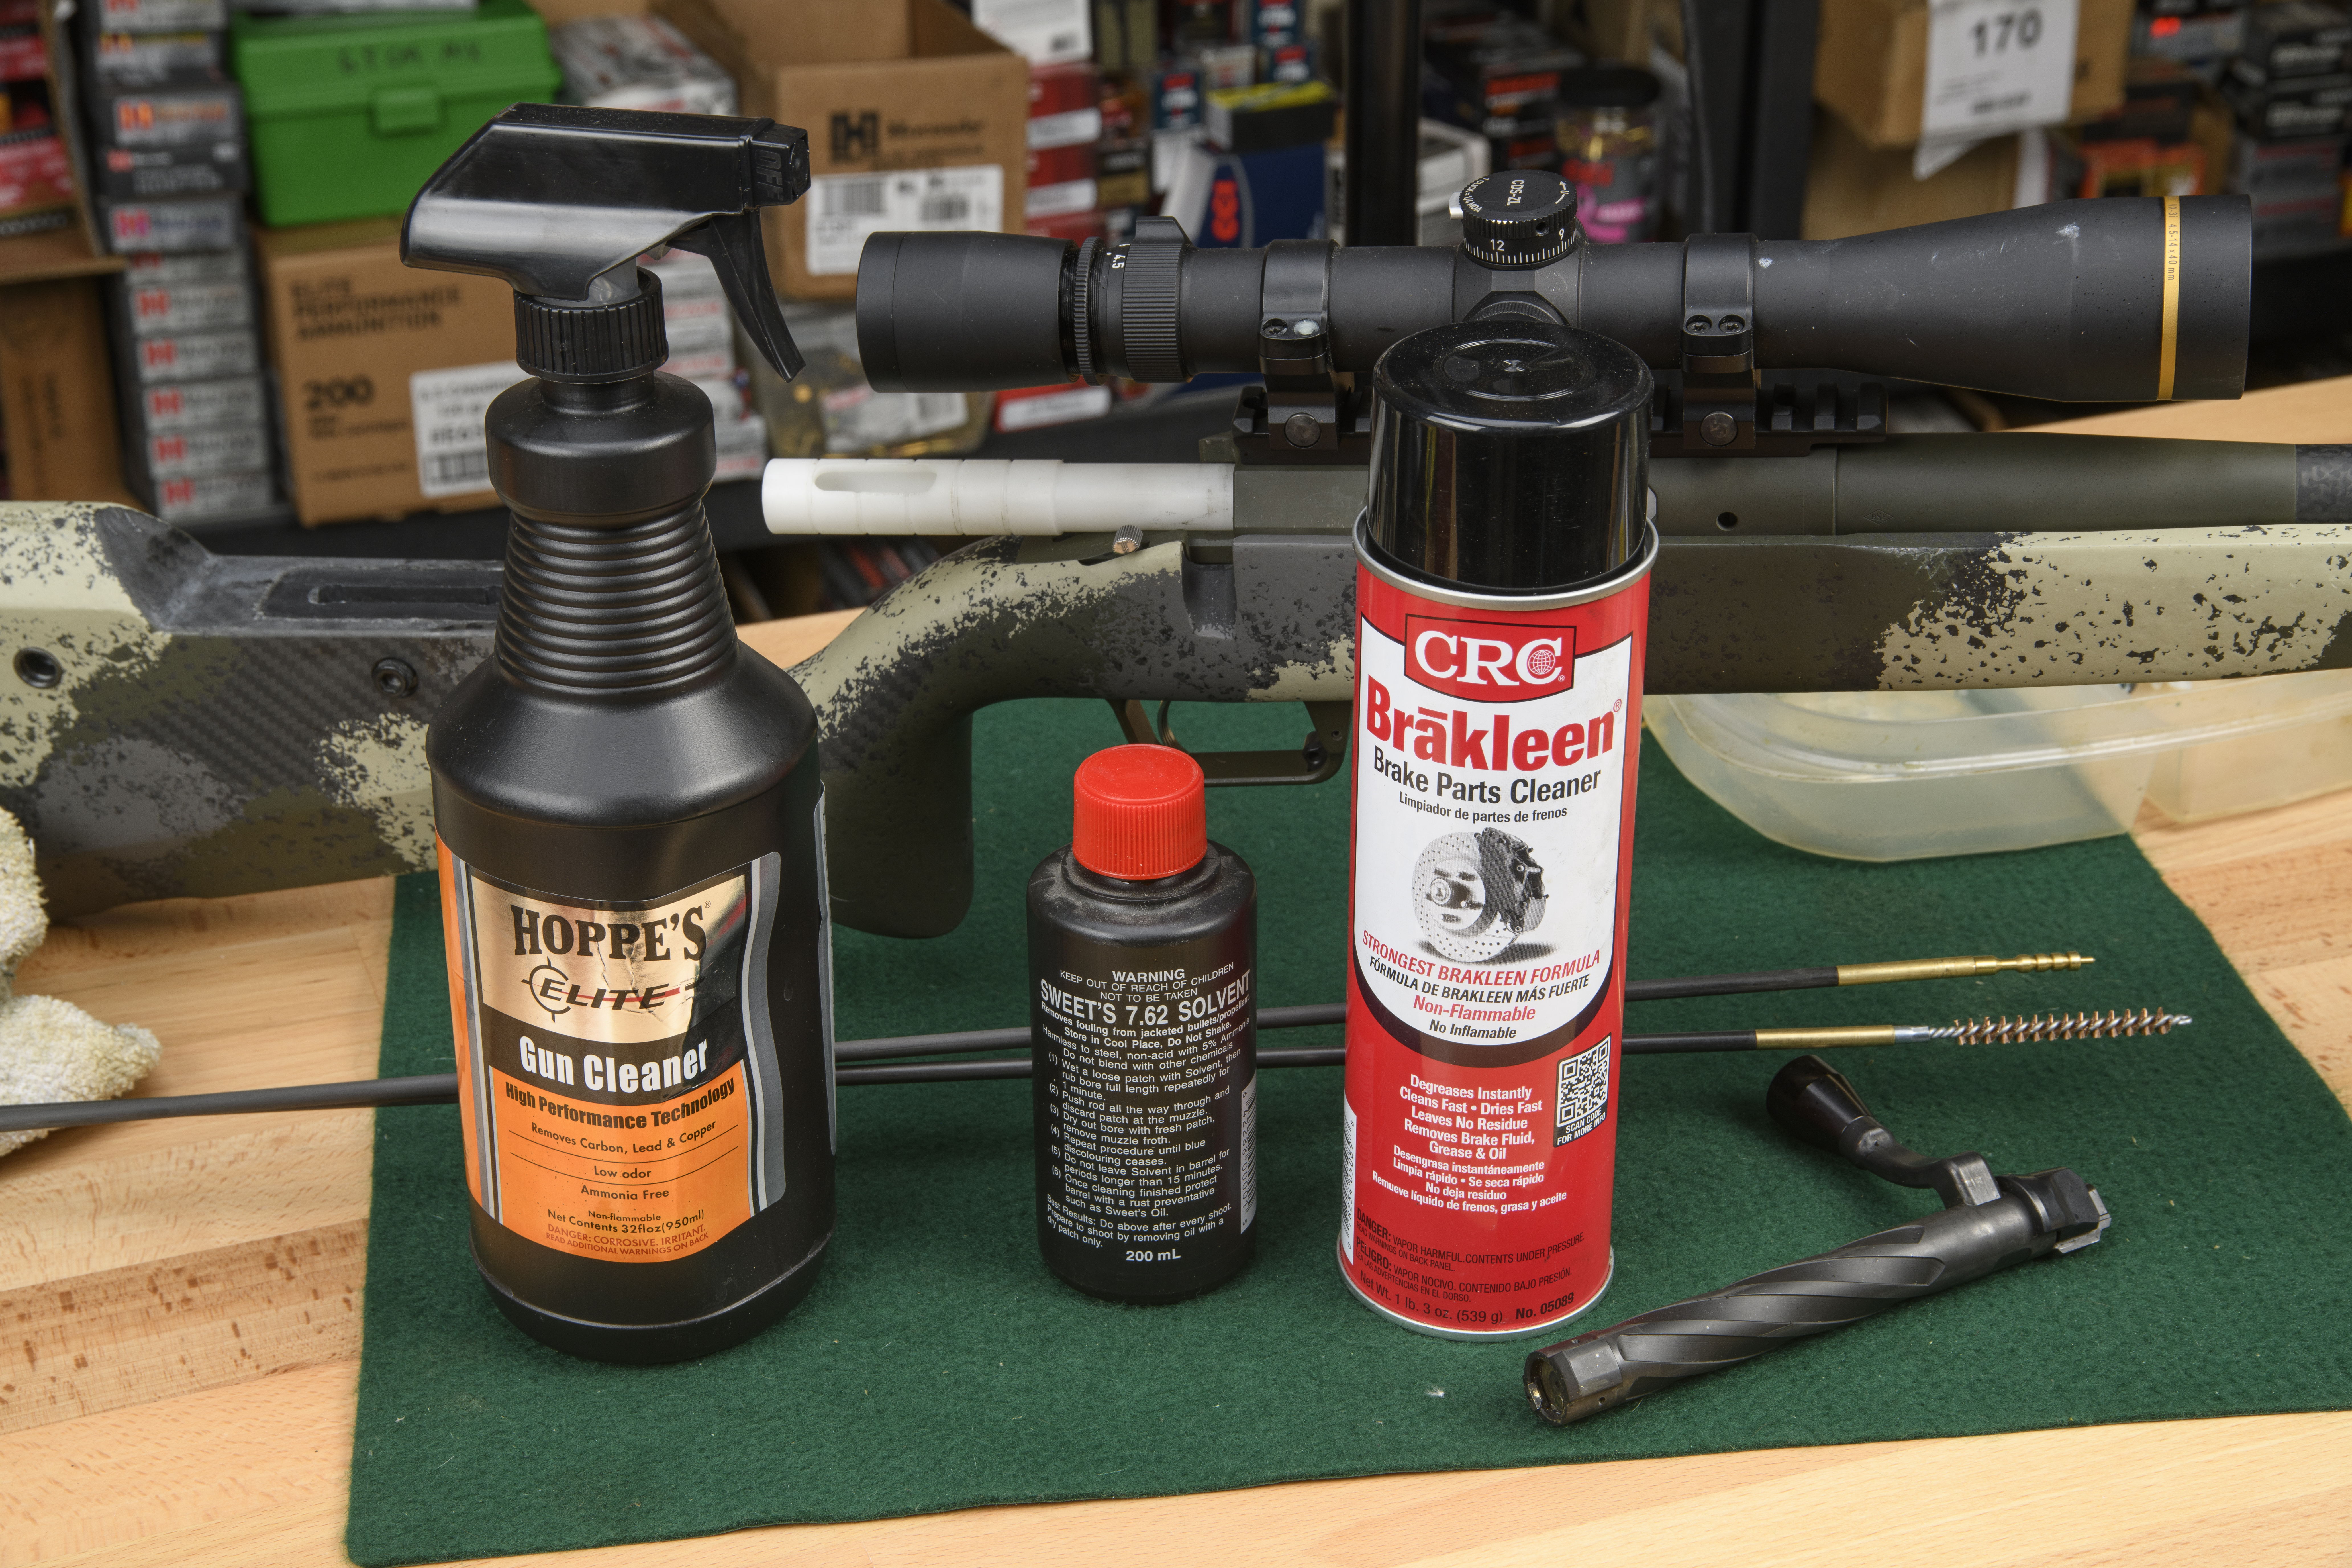
If you scroll to the bottom of this article, you’ll find a list of the cleaning gear I use. It’s worth investing in the right products, both to get the best results from your efforts and to protect your barrel and receiver from inadvertent damage.
Step 1
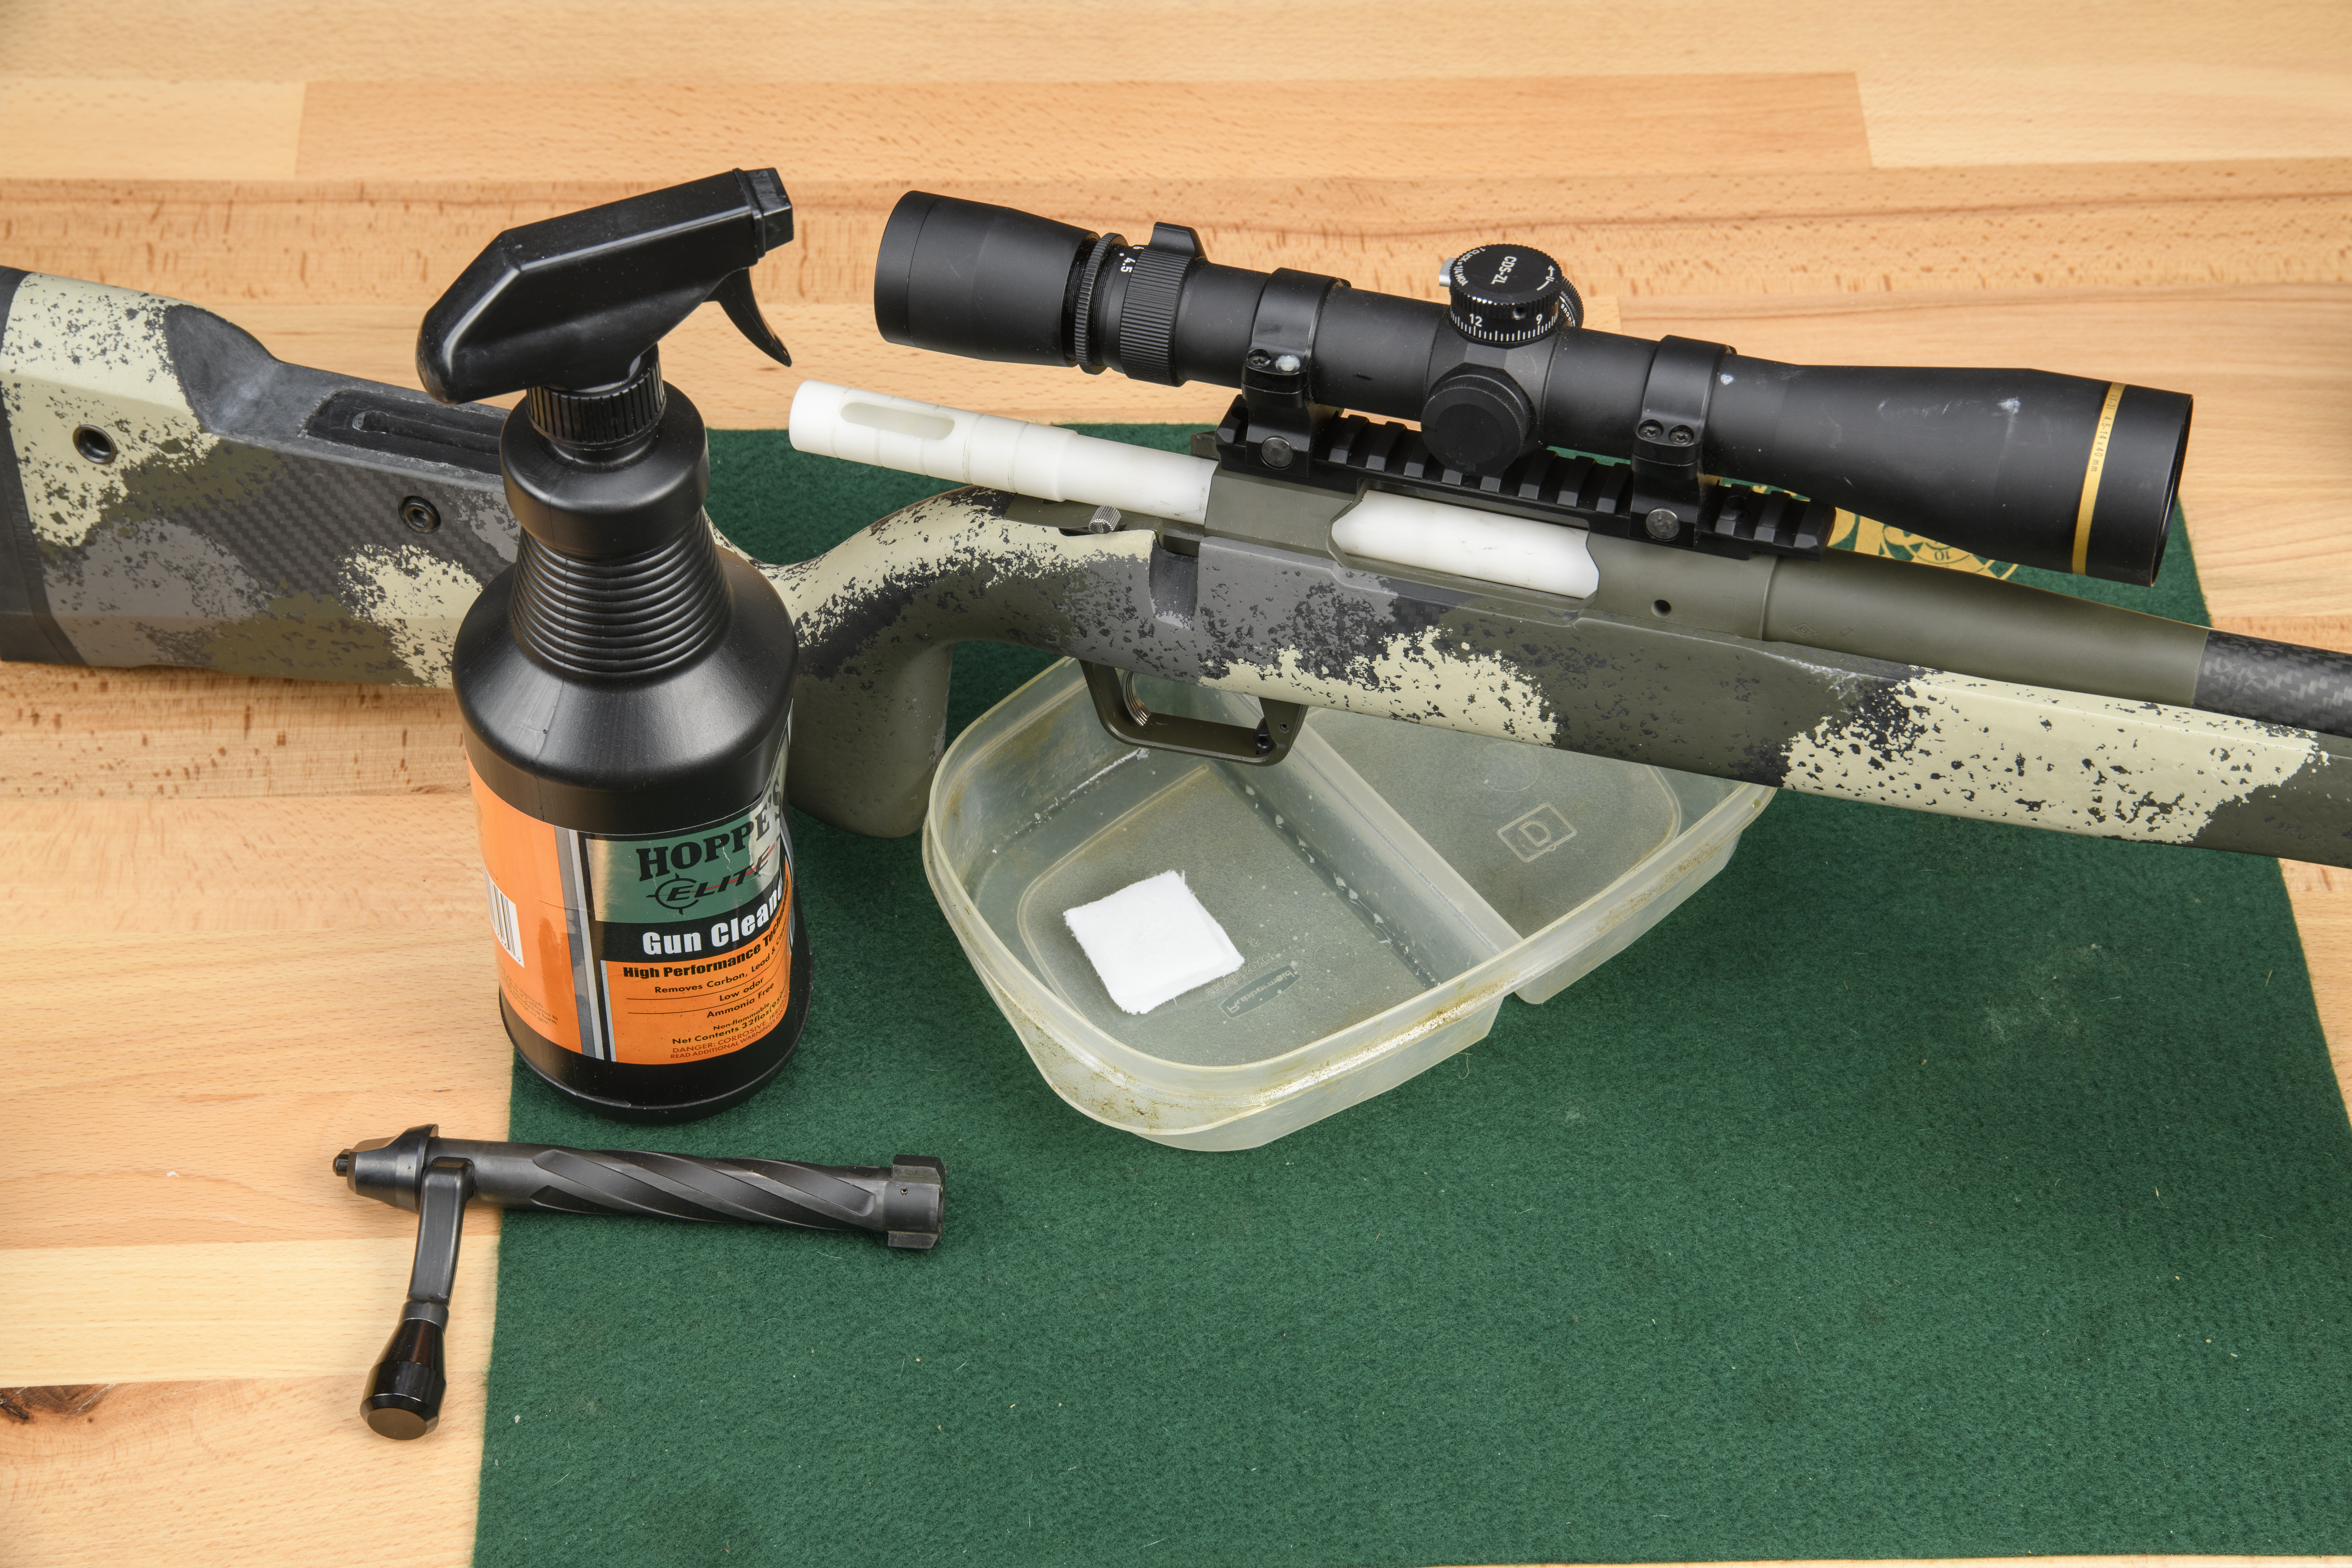
Soak a small stack of patches with cleaning solvent. There are a ton of good solvents on the market. I use Hoppes Elite, Shooters Choice, and Butch’s Bore Shine, and I’m happy with all three products. While the patches are soaking, secure your rifle for cleaning. Whenever I clean my rifles, I always clamp them in my gun vise so that the barrel is angled slightly downward to prevent the goo from going back into the action. This is especially important if you’re using a strong copper remover (see Step 4). If you don’t have a gun vise that allows you to do this, rest the gun, barrel down, against the wall and place a rag under the muzzle to soak up the solvent and protect the metal.
Step 2
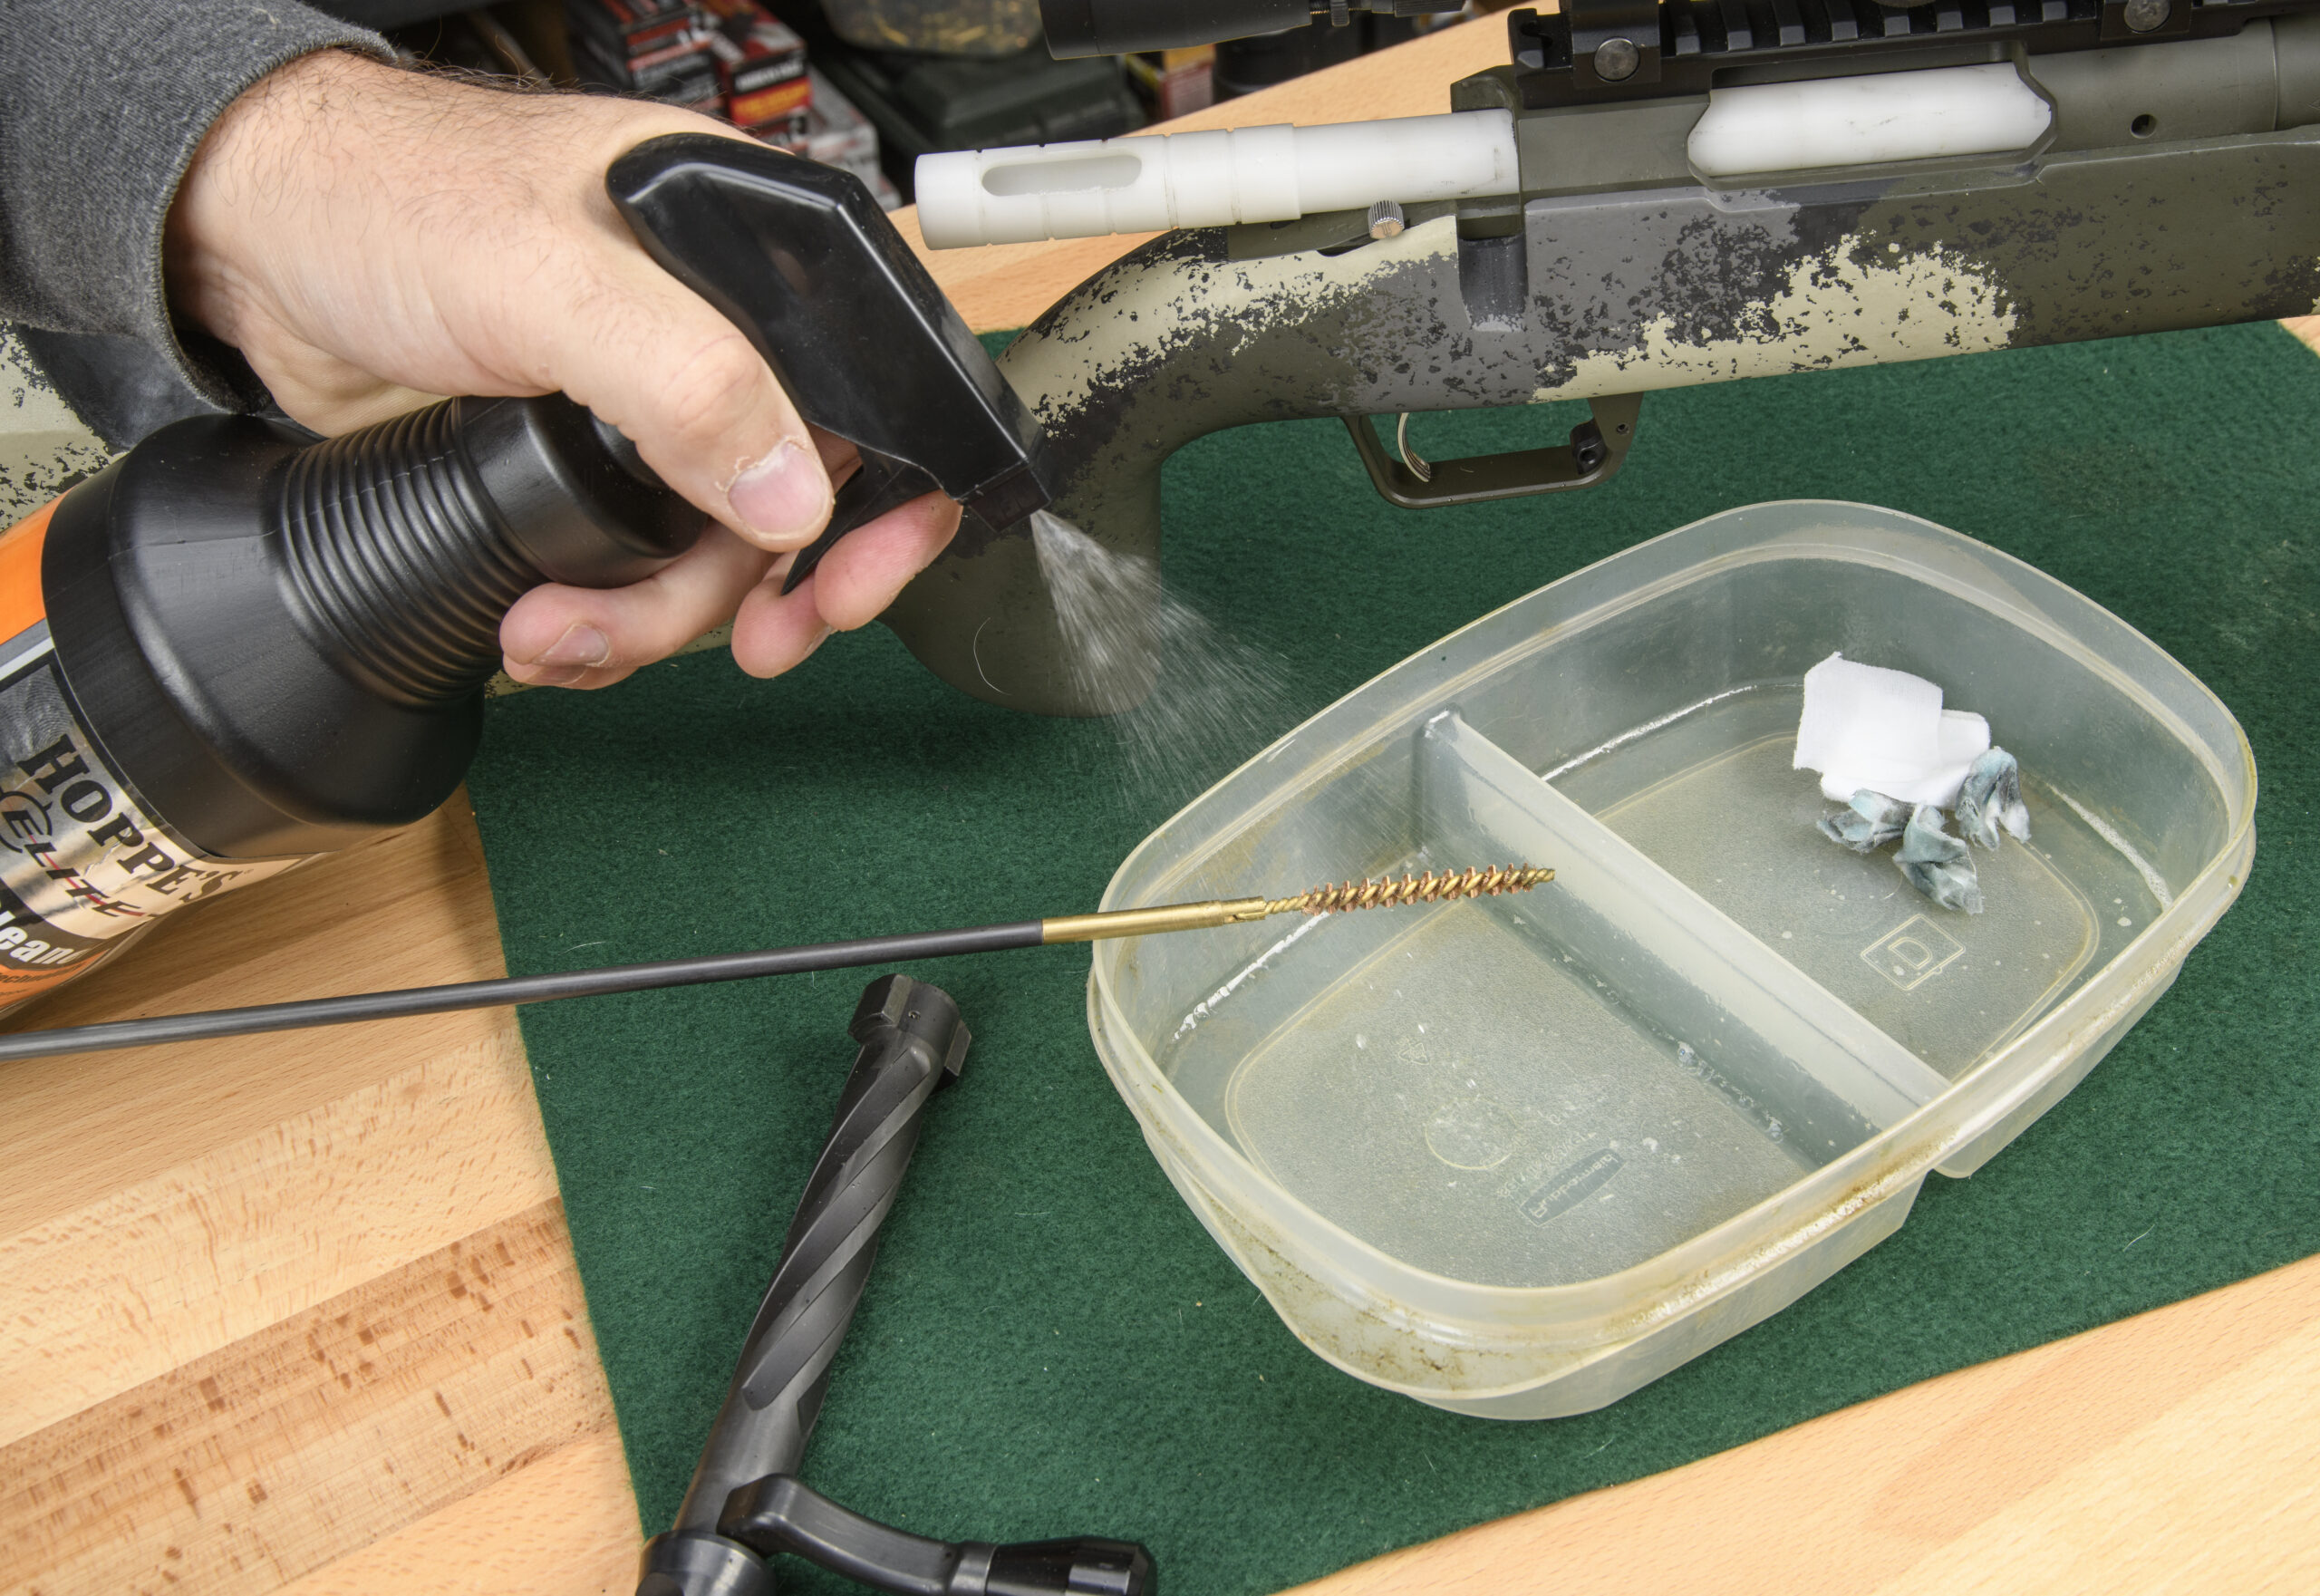
Take a bronze bore brush and wet it with solvent and run it up and down the bore between 10 and 20 times. I base the number of repetitions on how much shooting I’ve done since the last cleaning. For a regular range session, 10 strokes up and back will do. If it’s been a few months since the last cleaning, I’ll double that.
Step 3
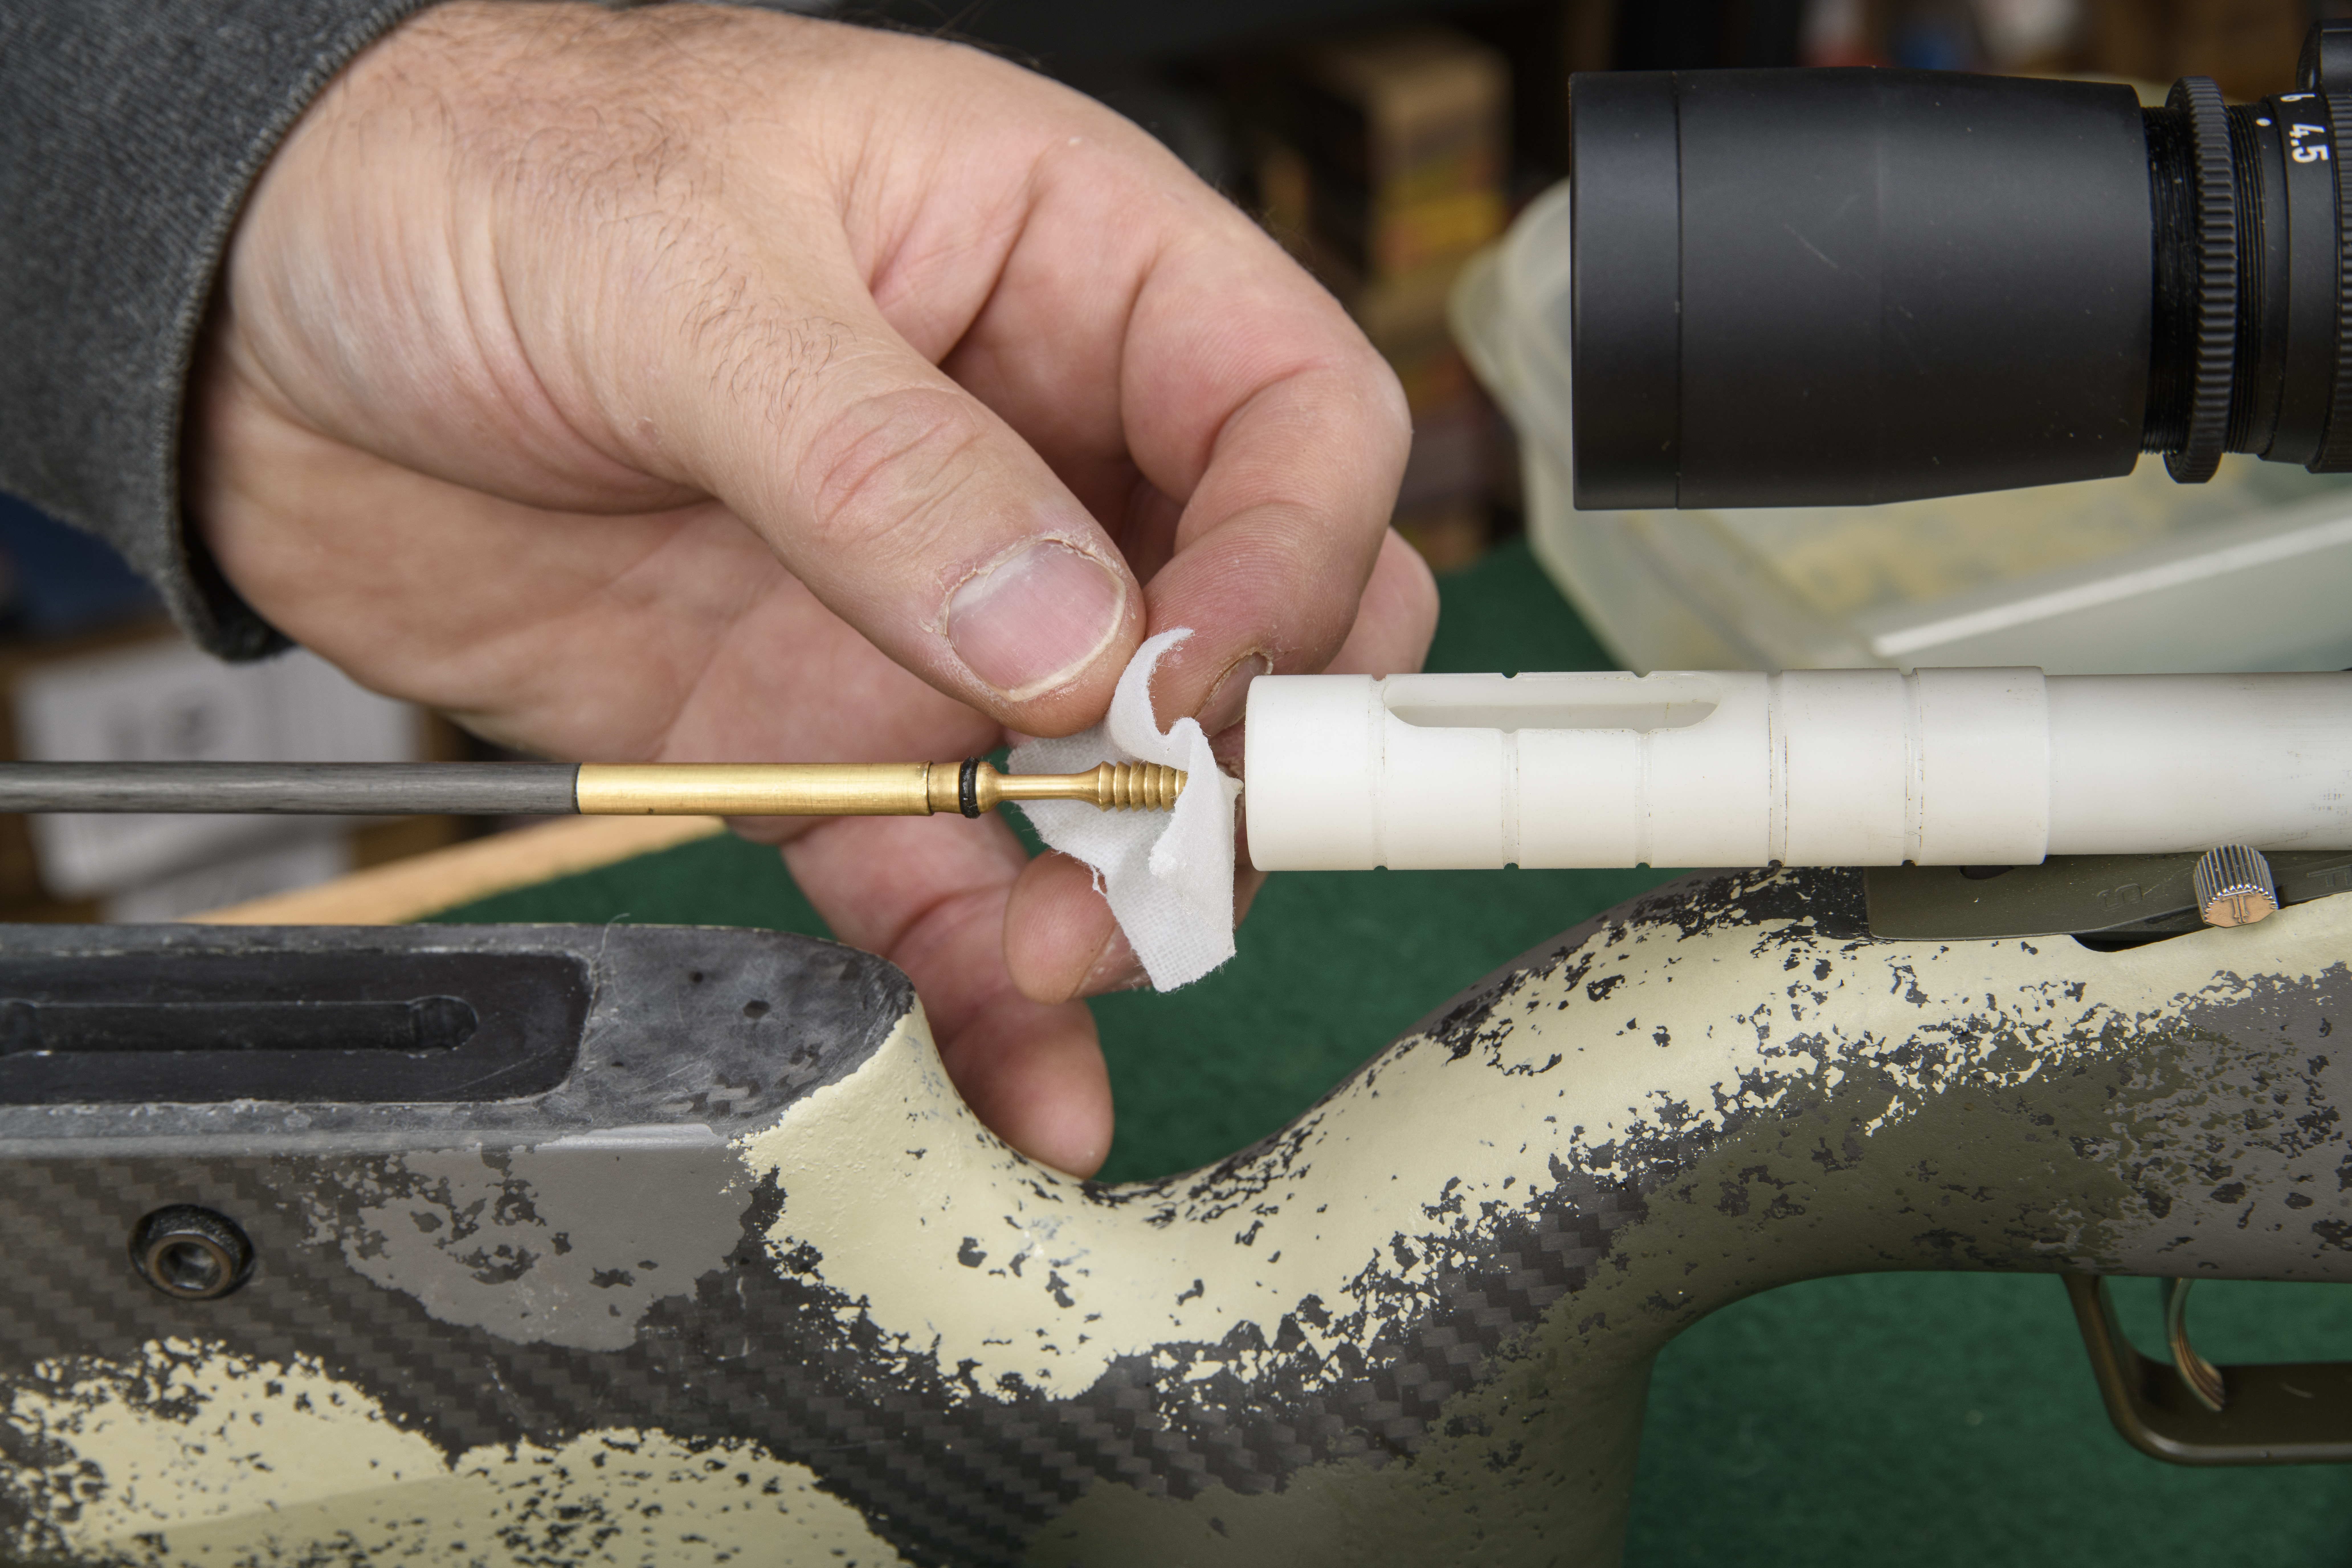
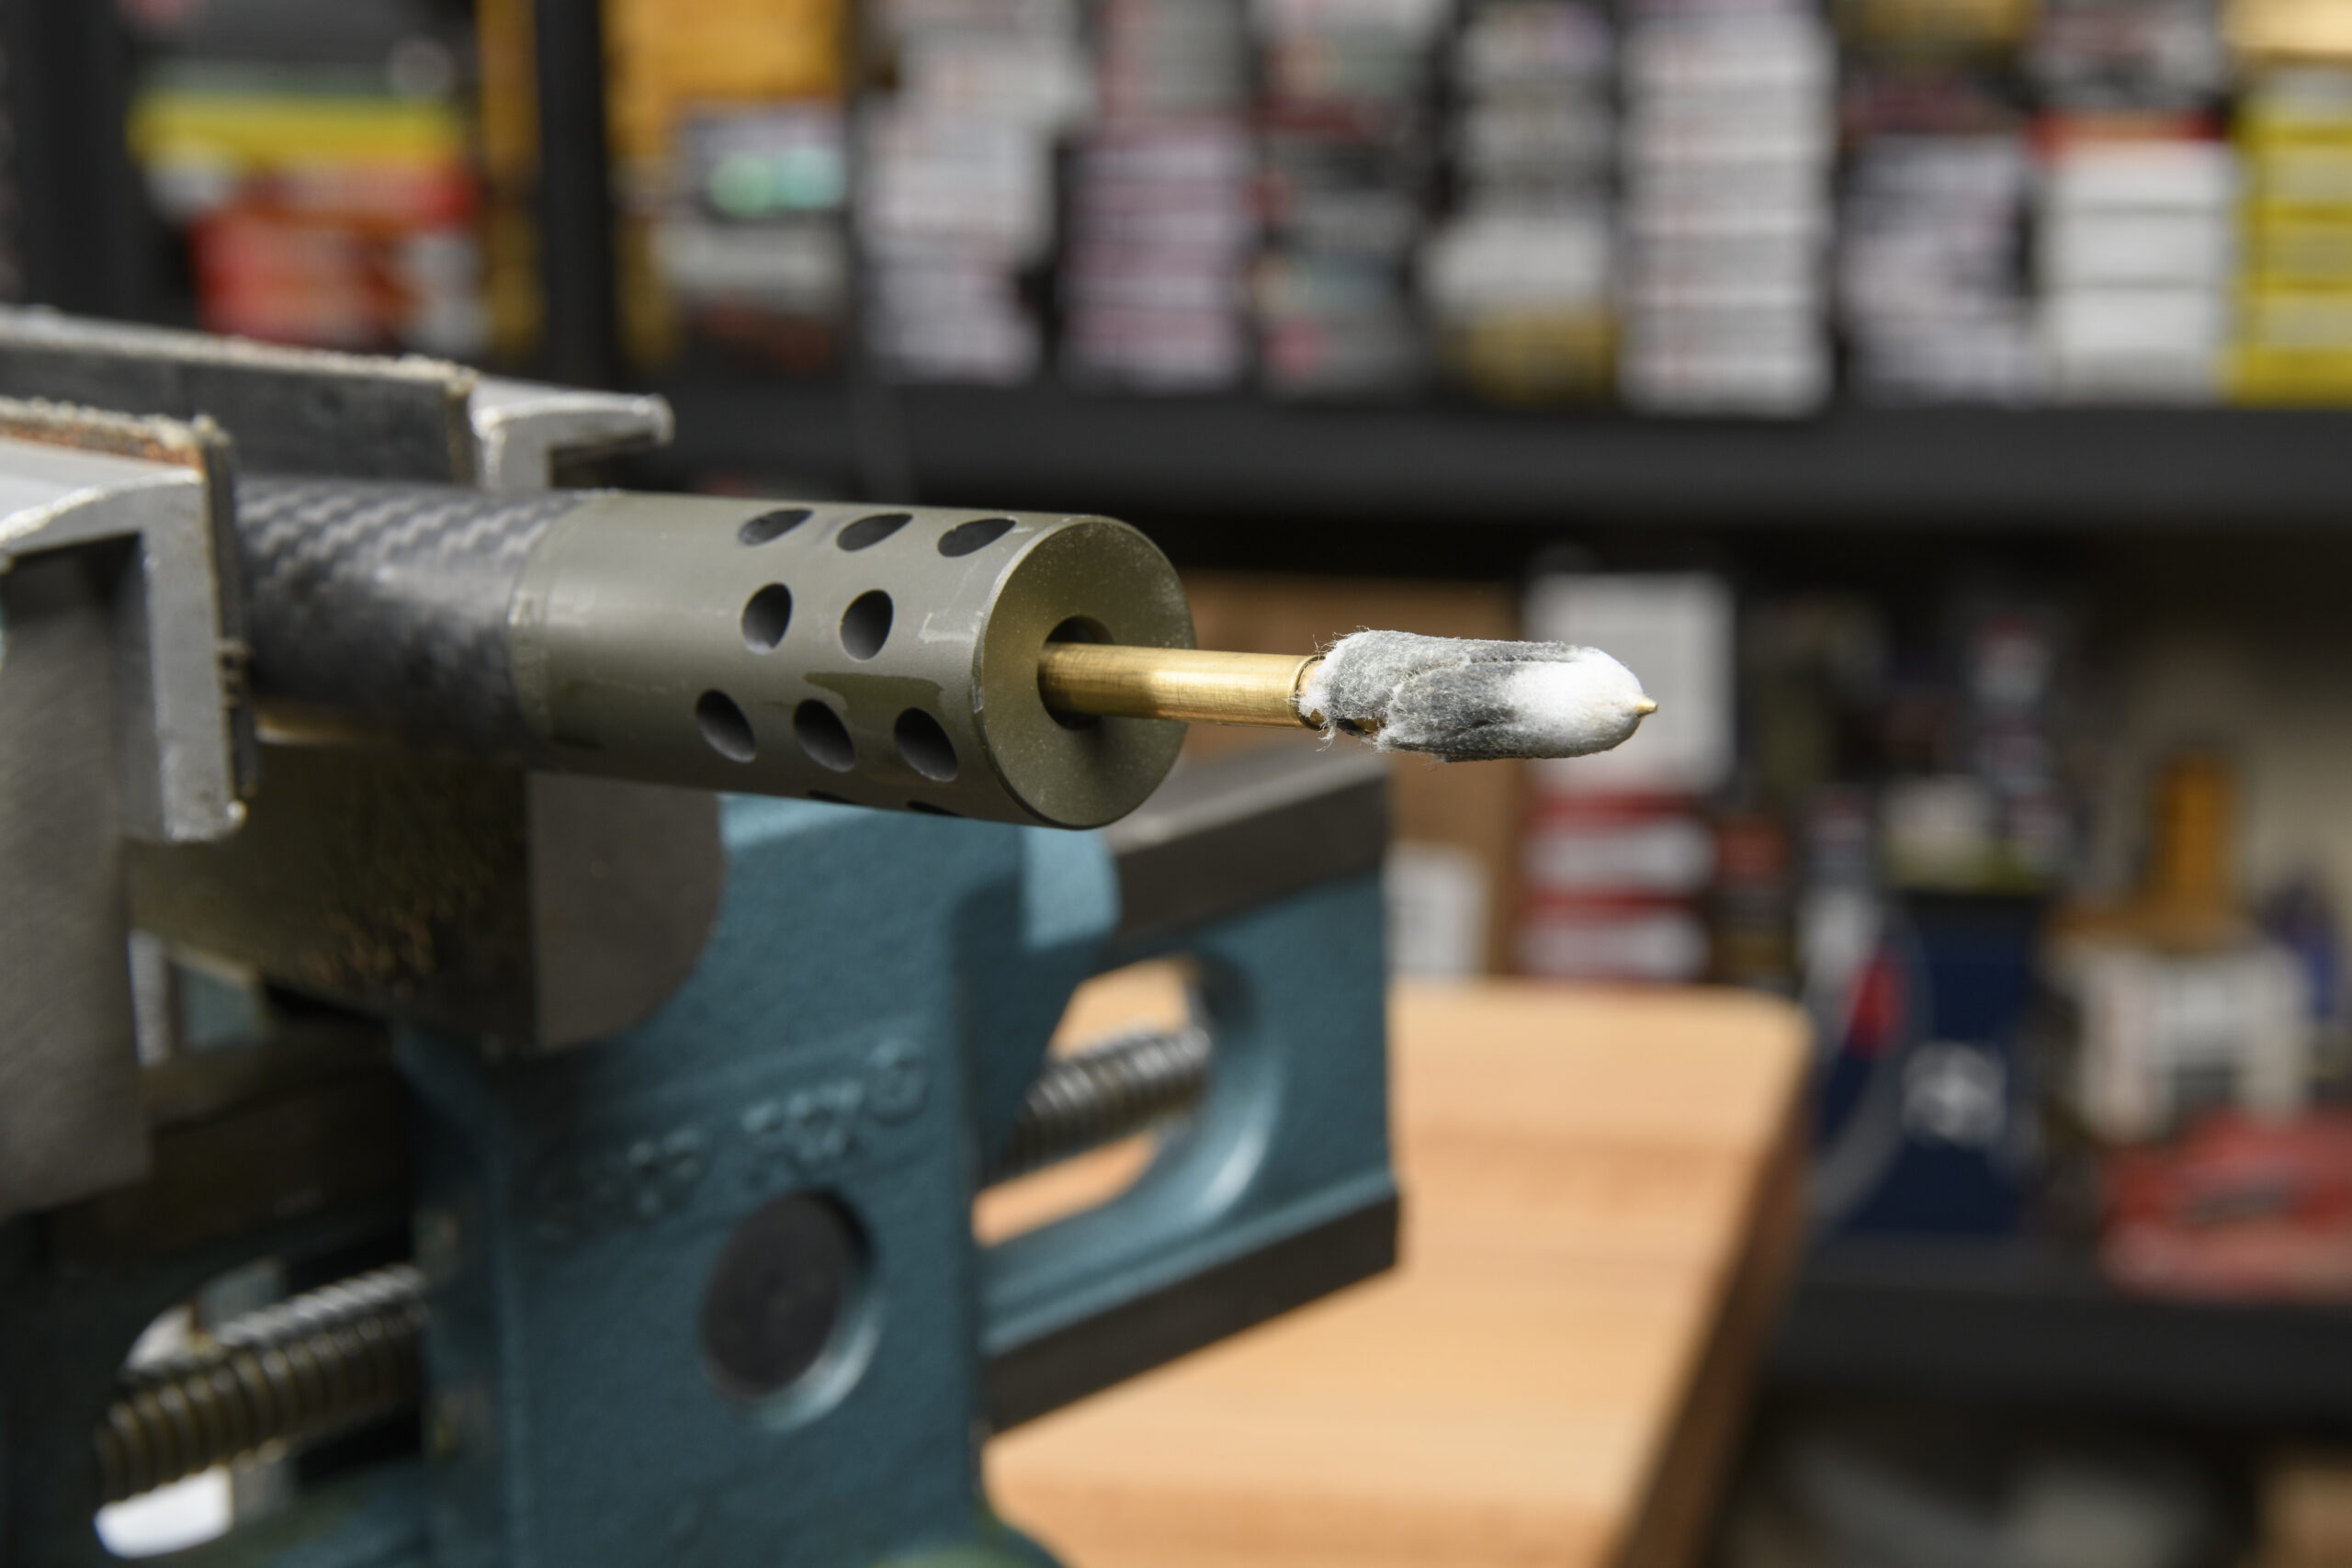
Run three or four wet patches through the bore. The first patch is going to come out disgustingly filthy. The second one will look moderately dirty. The third one should only be mildly stained with copper fouling, but no carbon residue. Congratulations, you’ve just removed all the gunk from your barrel.
Step 4
This step is optional. If you’re just performing a normal cleaning, skip ahead to Step 5. If you have a barrel that has been severely fouled with copper, however, you might want to reset it with a deep cleaning method like using a hard water stain remover that you’d be surprised to see how well it works. It can strip everything down to the bare metal. When I acquire a used gun—or witness an otherwise inexplicable deterioration in a rifle’s accuracy—I’ll use this cleaning technique. I also do this with my competition rifles every few hundred rounds.
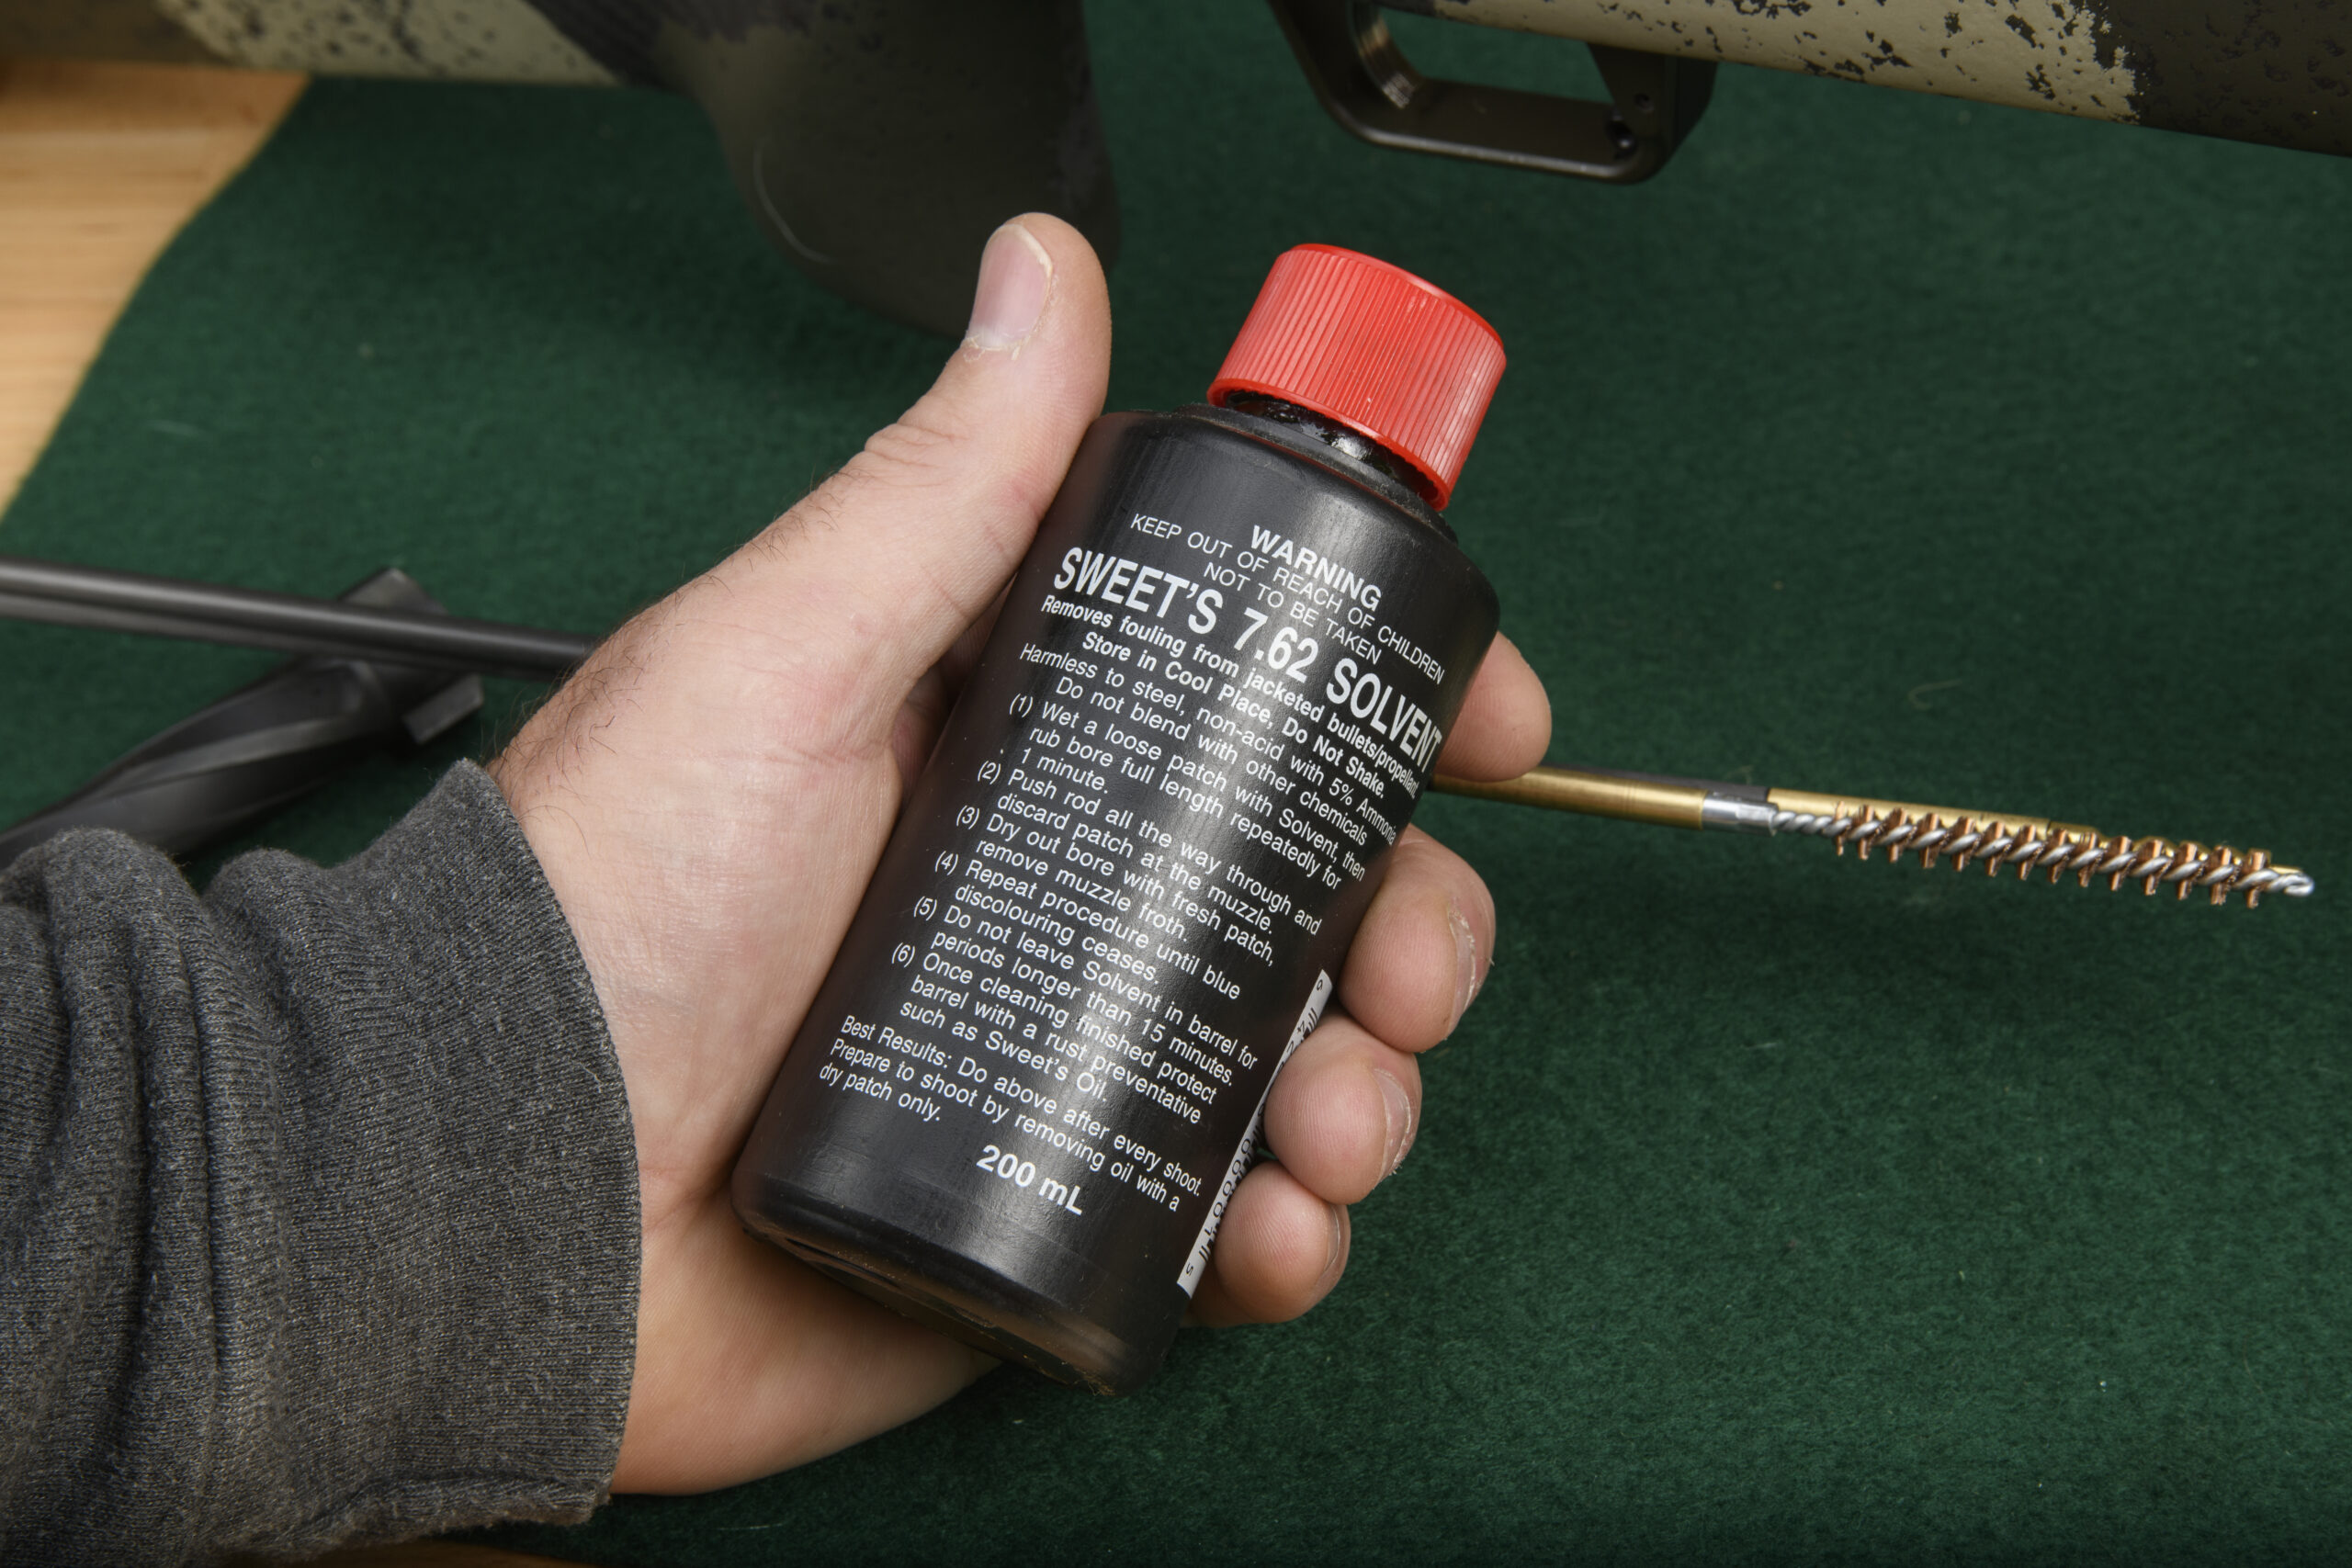
While many cleaning solvents claim to be all-around cleaners that remove copper and powder fouling, I prefer to use a strong ammonia-based solvent like Sweet’s 7.62, whose sole purpose is to attack built-up copper.
The procedure is simple. Soak a couple patches in this solvent and run them down the barrel. (Remember, keep your barrel clamped or pointed down to avoid any solvent collecting near the action—see Step 1.) Allow it to sit, and keep in mind that removing copper can take a while. Every 15 to 30 minutes, run another solvent-soaked patch down the barrel. If the patch comes out stained blue, you still have copper in the barrel. Just let it sit again, and repeat.
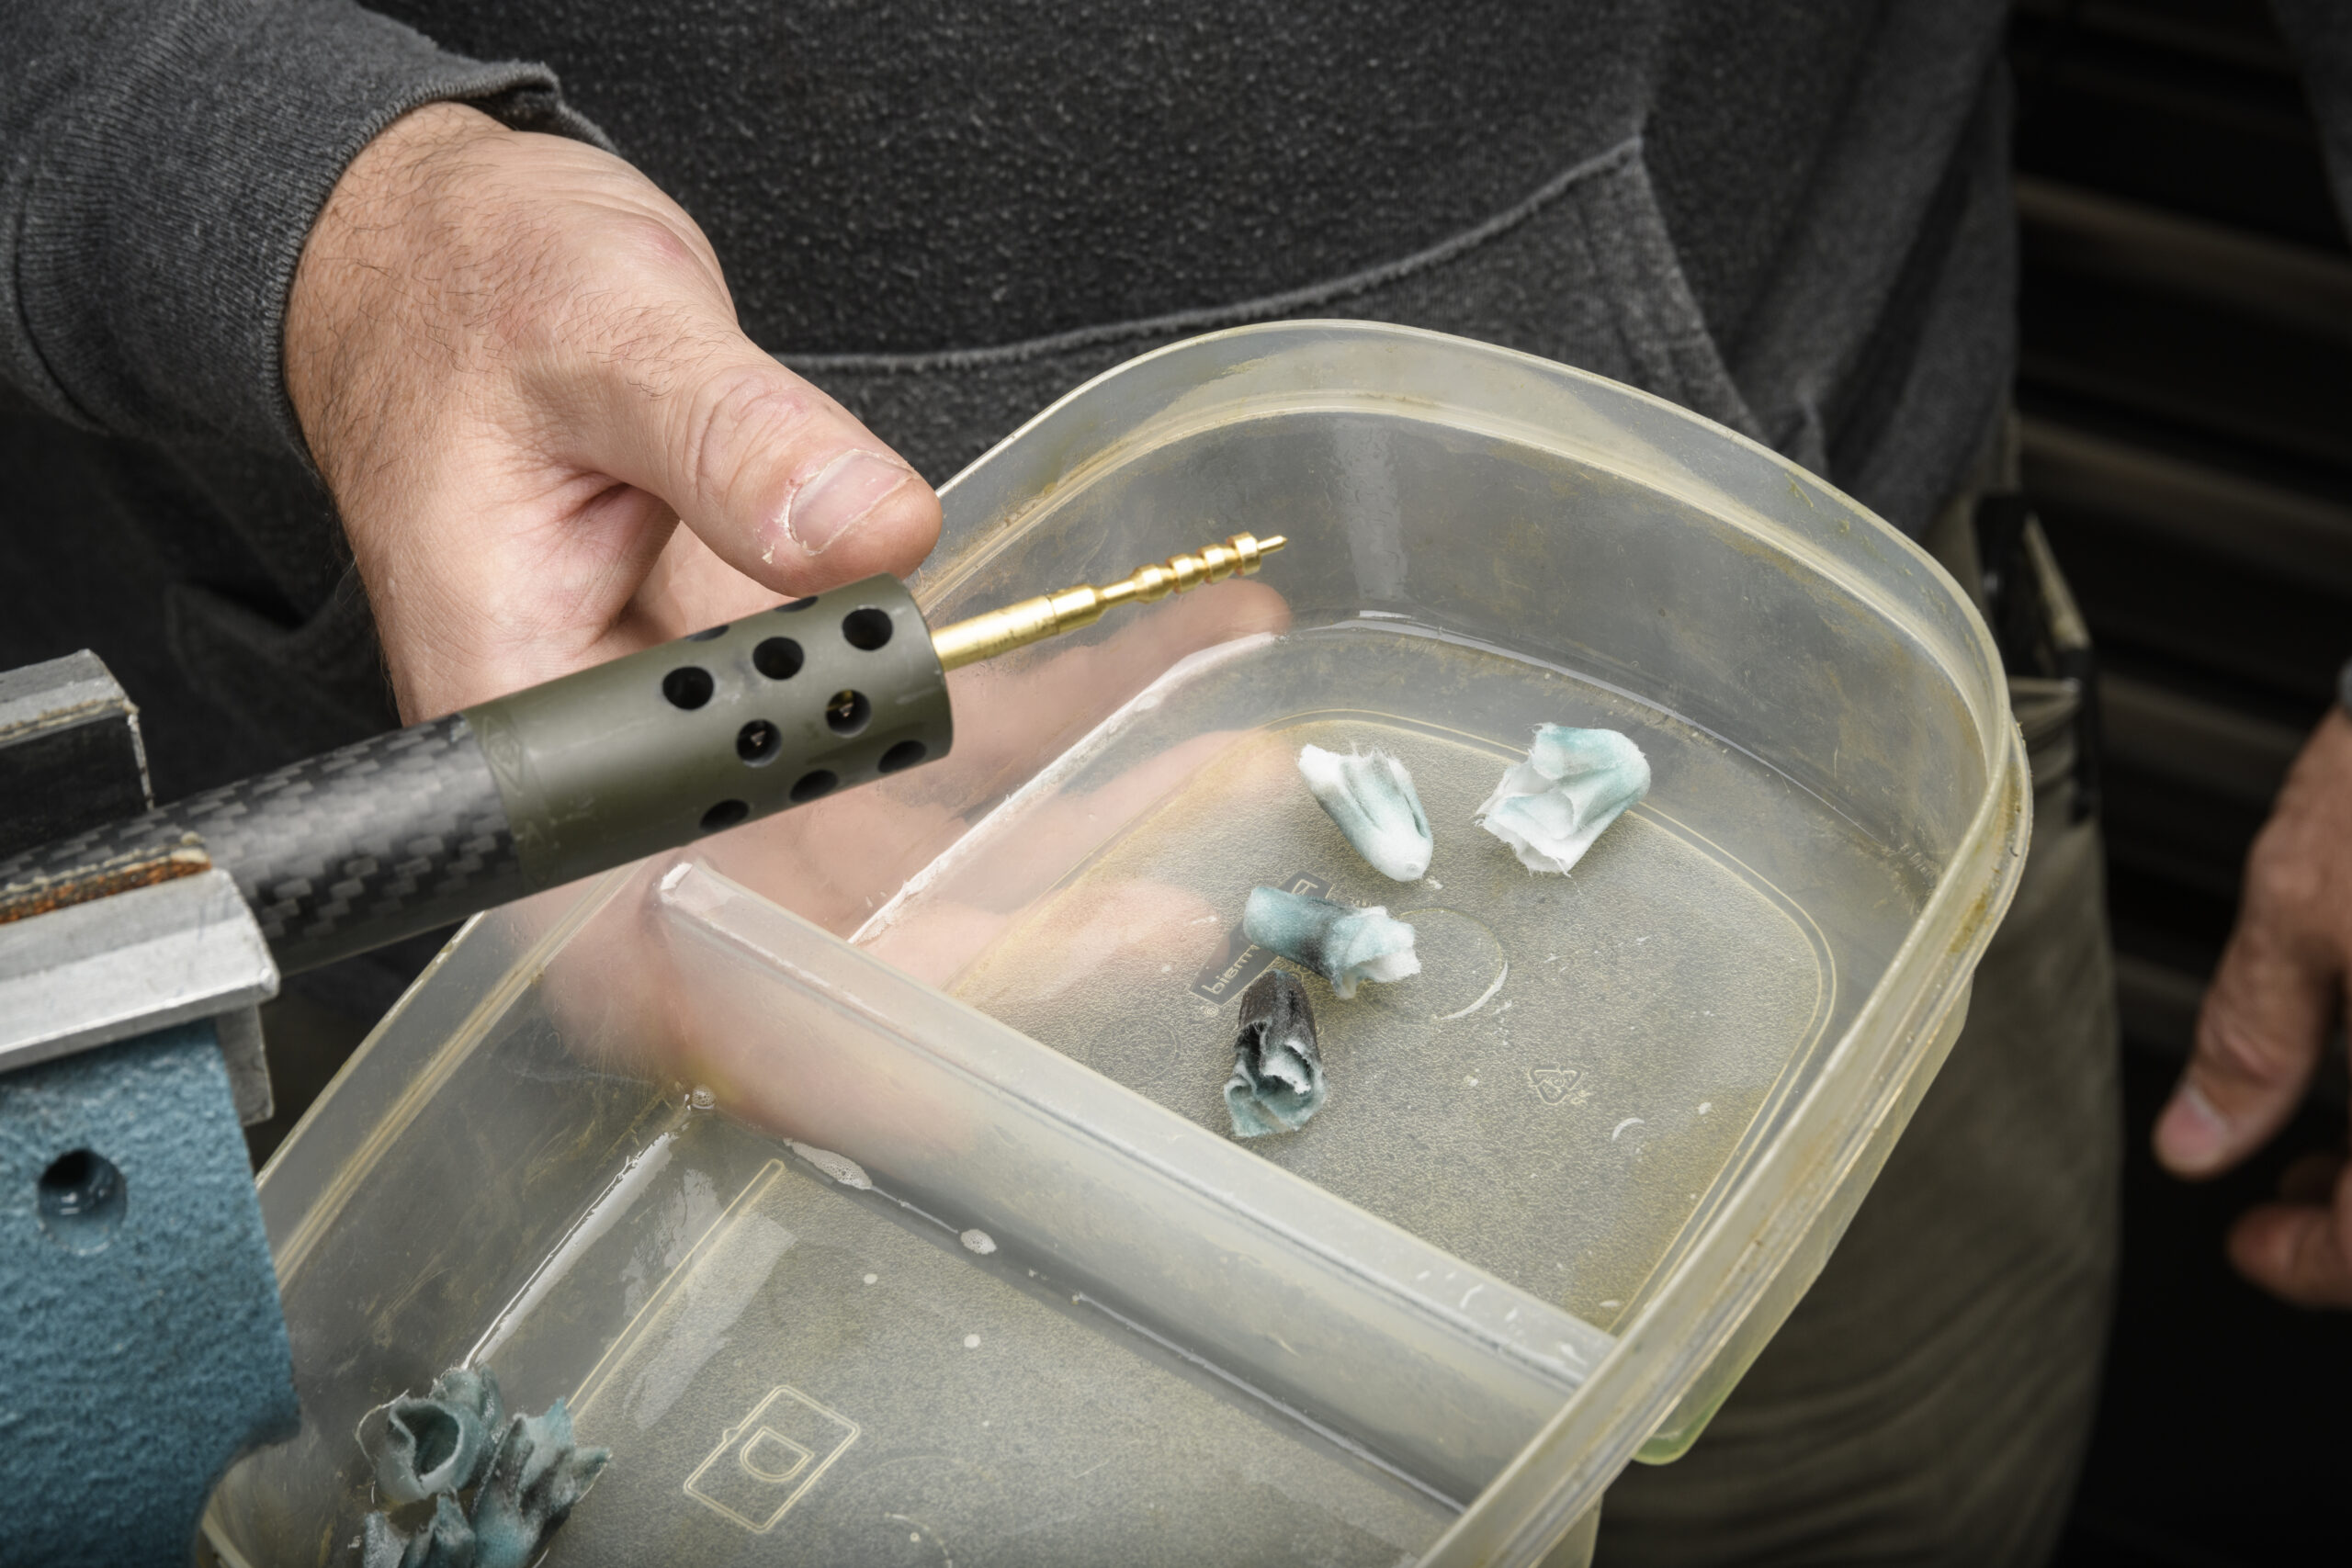
Note: There’s a lot of talk about how these copper solvents can damage your bore. As long as the bore is wet, however, you have nothing to worry about. What you don’t want is to let any ammonia solvent dry out in there. So once you’re satisfied that the copper is gone, run a couple of dry patches down the bore, followed by a couple of patches that have been wet with a regular cleaning solvent.
Step 5
Run three or four dry patches down the bore to remove any remaining solvent. Put a few drops of gun oil on two patches, and run them down the barrel. Follow this with two more dry patches. This last step protects the bore against corrosion. It only takes a microscopically thin layer of oil to protect the metal, which is why you run the dry patches. Excess oil in the bore doesn’t serve any purpose and can make your first shots out of your newly-cleaned gun miss their mark.
Essential Cleaning Gear
In addition to good cleaning solvents, you’re going to want to use the following.
1. One-piece cleaning rods
Multi-piece cleaning rods should only be used in an emergency situation to clear an obstruction from a barrel. The raised lip where the rod segments screw together can create a cutting edge that peels away bits of a barrel’s rifling. (If I have to explain why that is a bad thing, you should sell your guns and go weave friendship bracelets to sell to tourists on a beach somewhere.) The best one-piece rods are made of carbon fiber or uncoated stainless steel, and have ball-bearing handles that allow the rod to rotate as it is pushed down the barrel.
2. Bore guides
Whenever possible, you want to clean from the breech-end of the rifle. A bore guide that is properly sized for your action will center the rod correctly in the barrel and keep solvent and fouling from entering the receiver and trigger mechanism.
3. Patches
Use properly-sized lint-free patches. You can find big bags of them online and at big box stores.
4. Jags and brushes
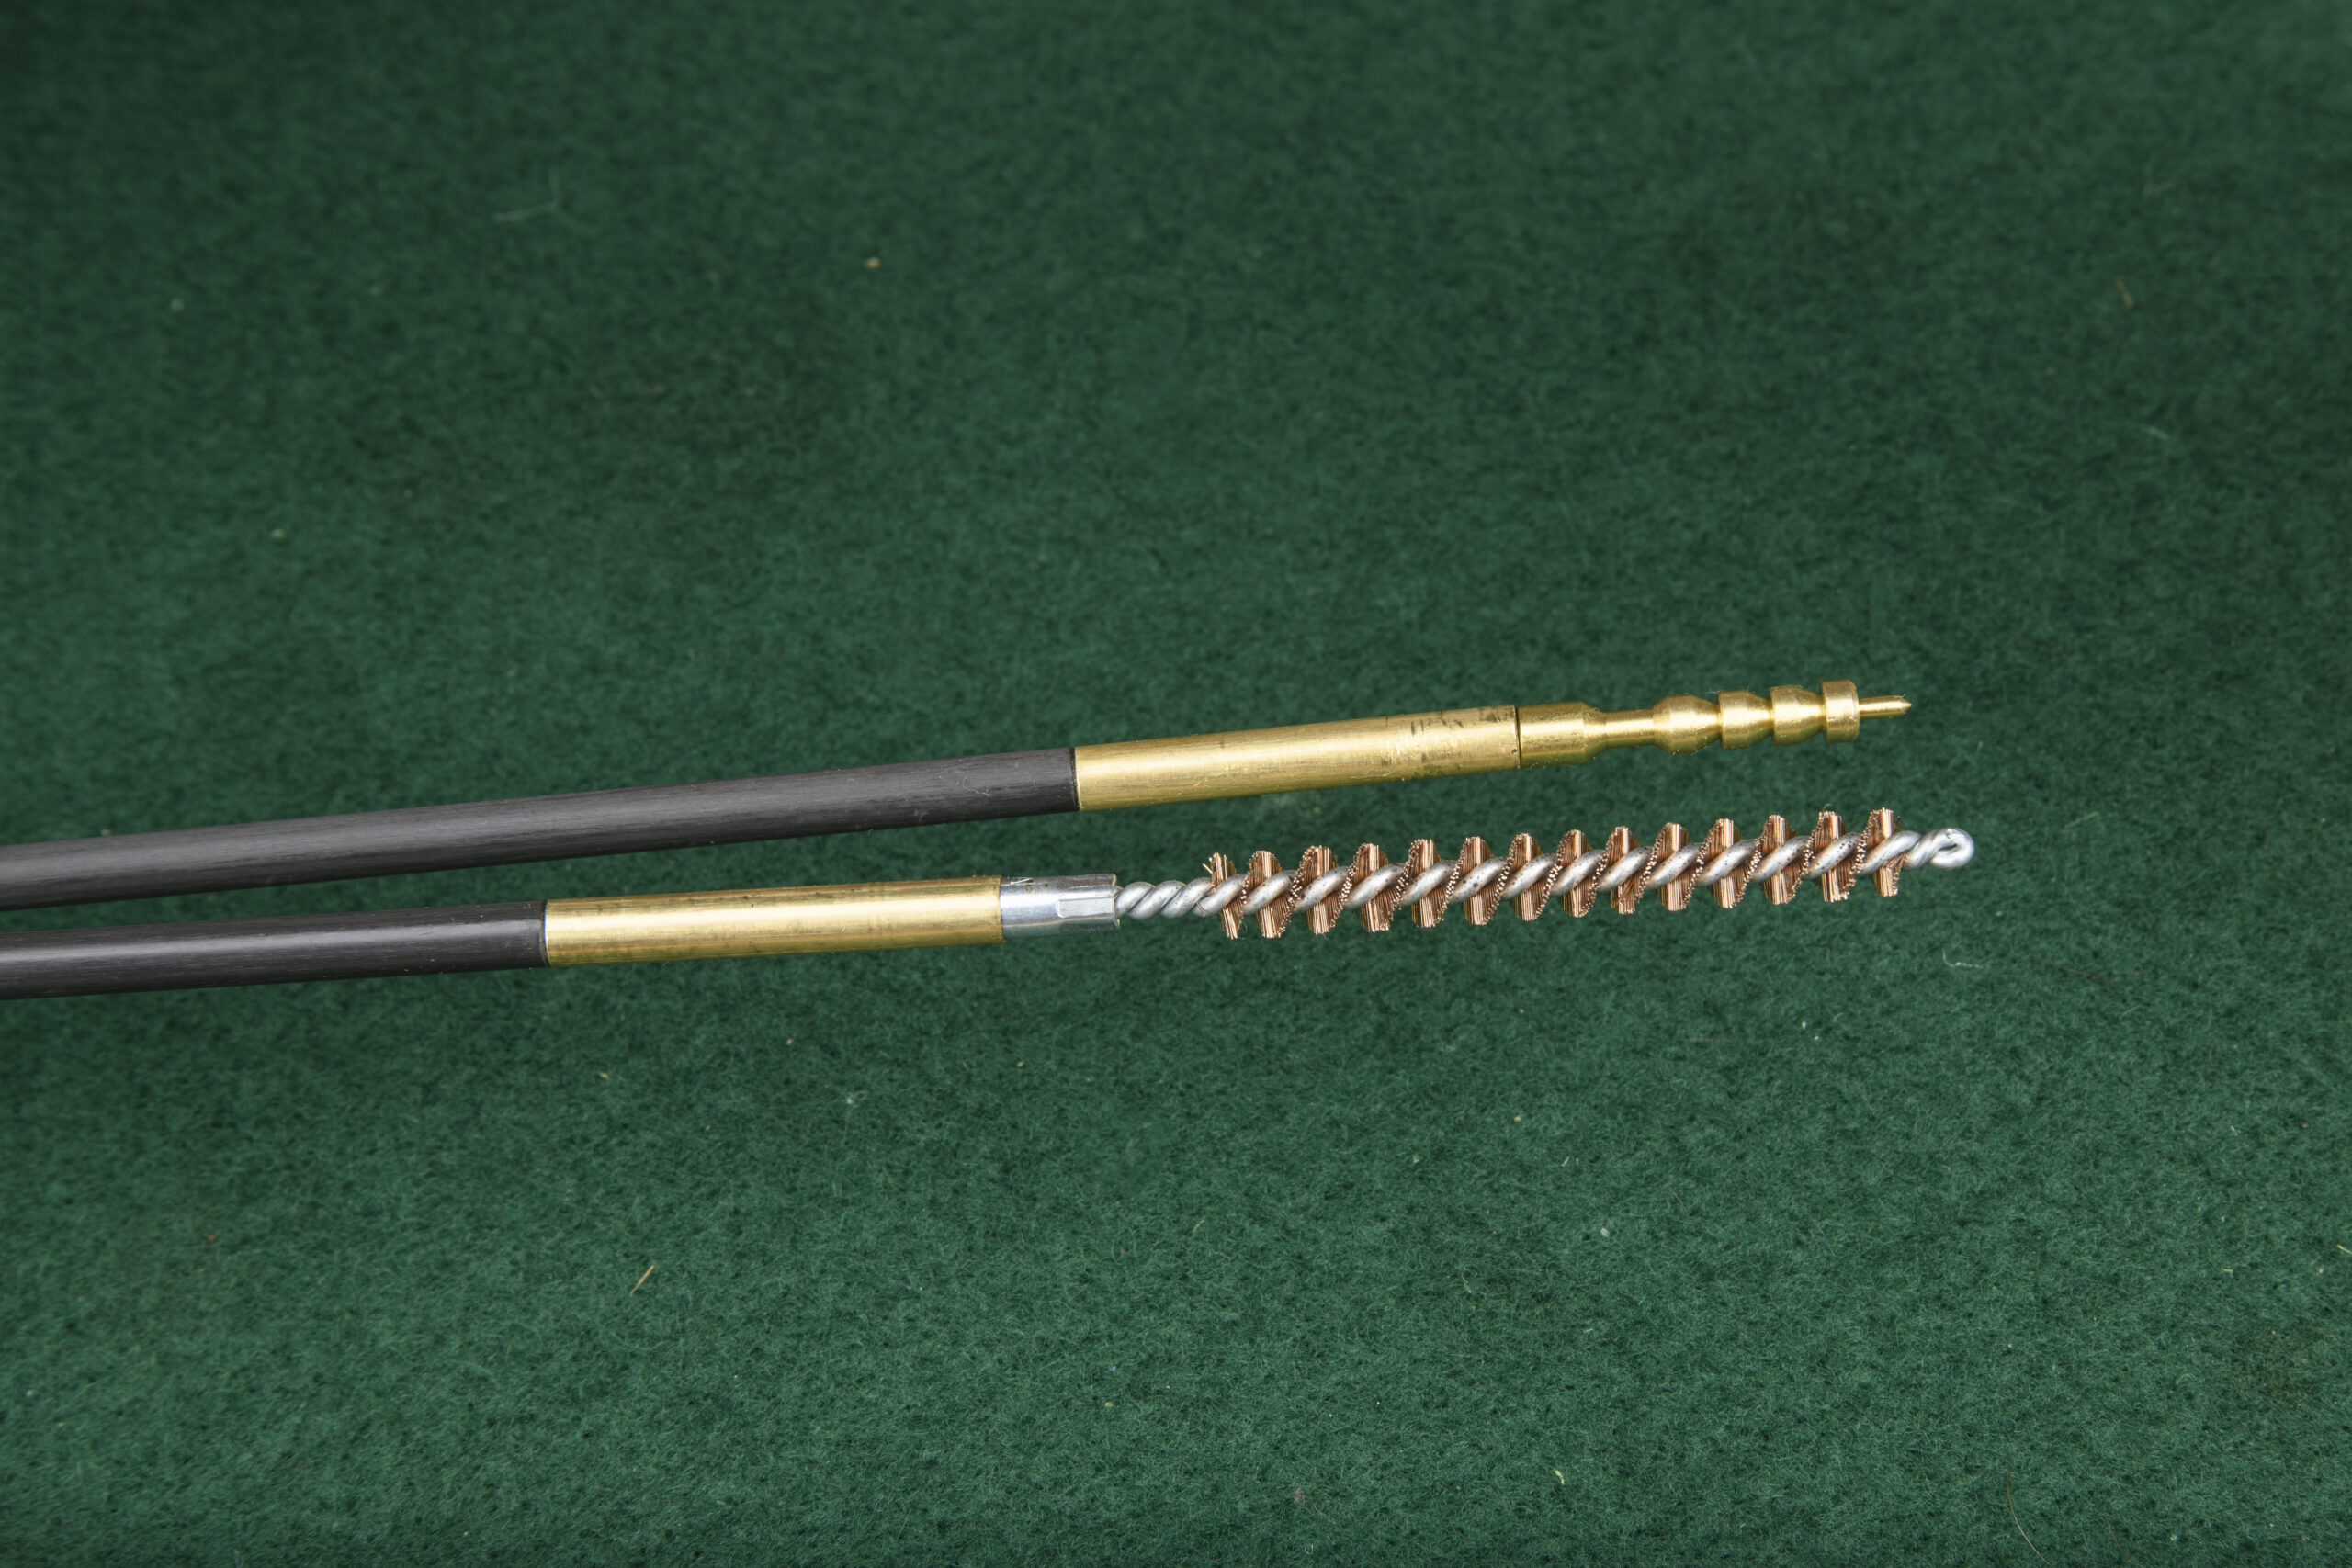
This is where the proverbial rubber meets the road in the cleaning process. It’s worth it to get high quality jags and brushes. Again, shooting supply outlets are your friend. Also, make a point to replaces brushes after they wear down. Keeping them clean (see below) will extend their life and utility, but they’re ultimately a consumable item.
5. Brake cleaner
You know to clean your guns. But do you also clean your cleaning gear? If not, you should. In particular, you want to spray down your bore brushes with brake cleaner, but it also pays to spray down your rods and jags, and wipe them clean at the end of your cleaning sessions.
Read Next: Best Gun Cleaning Kits

