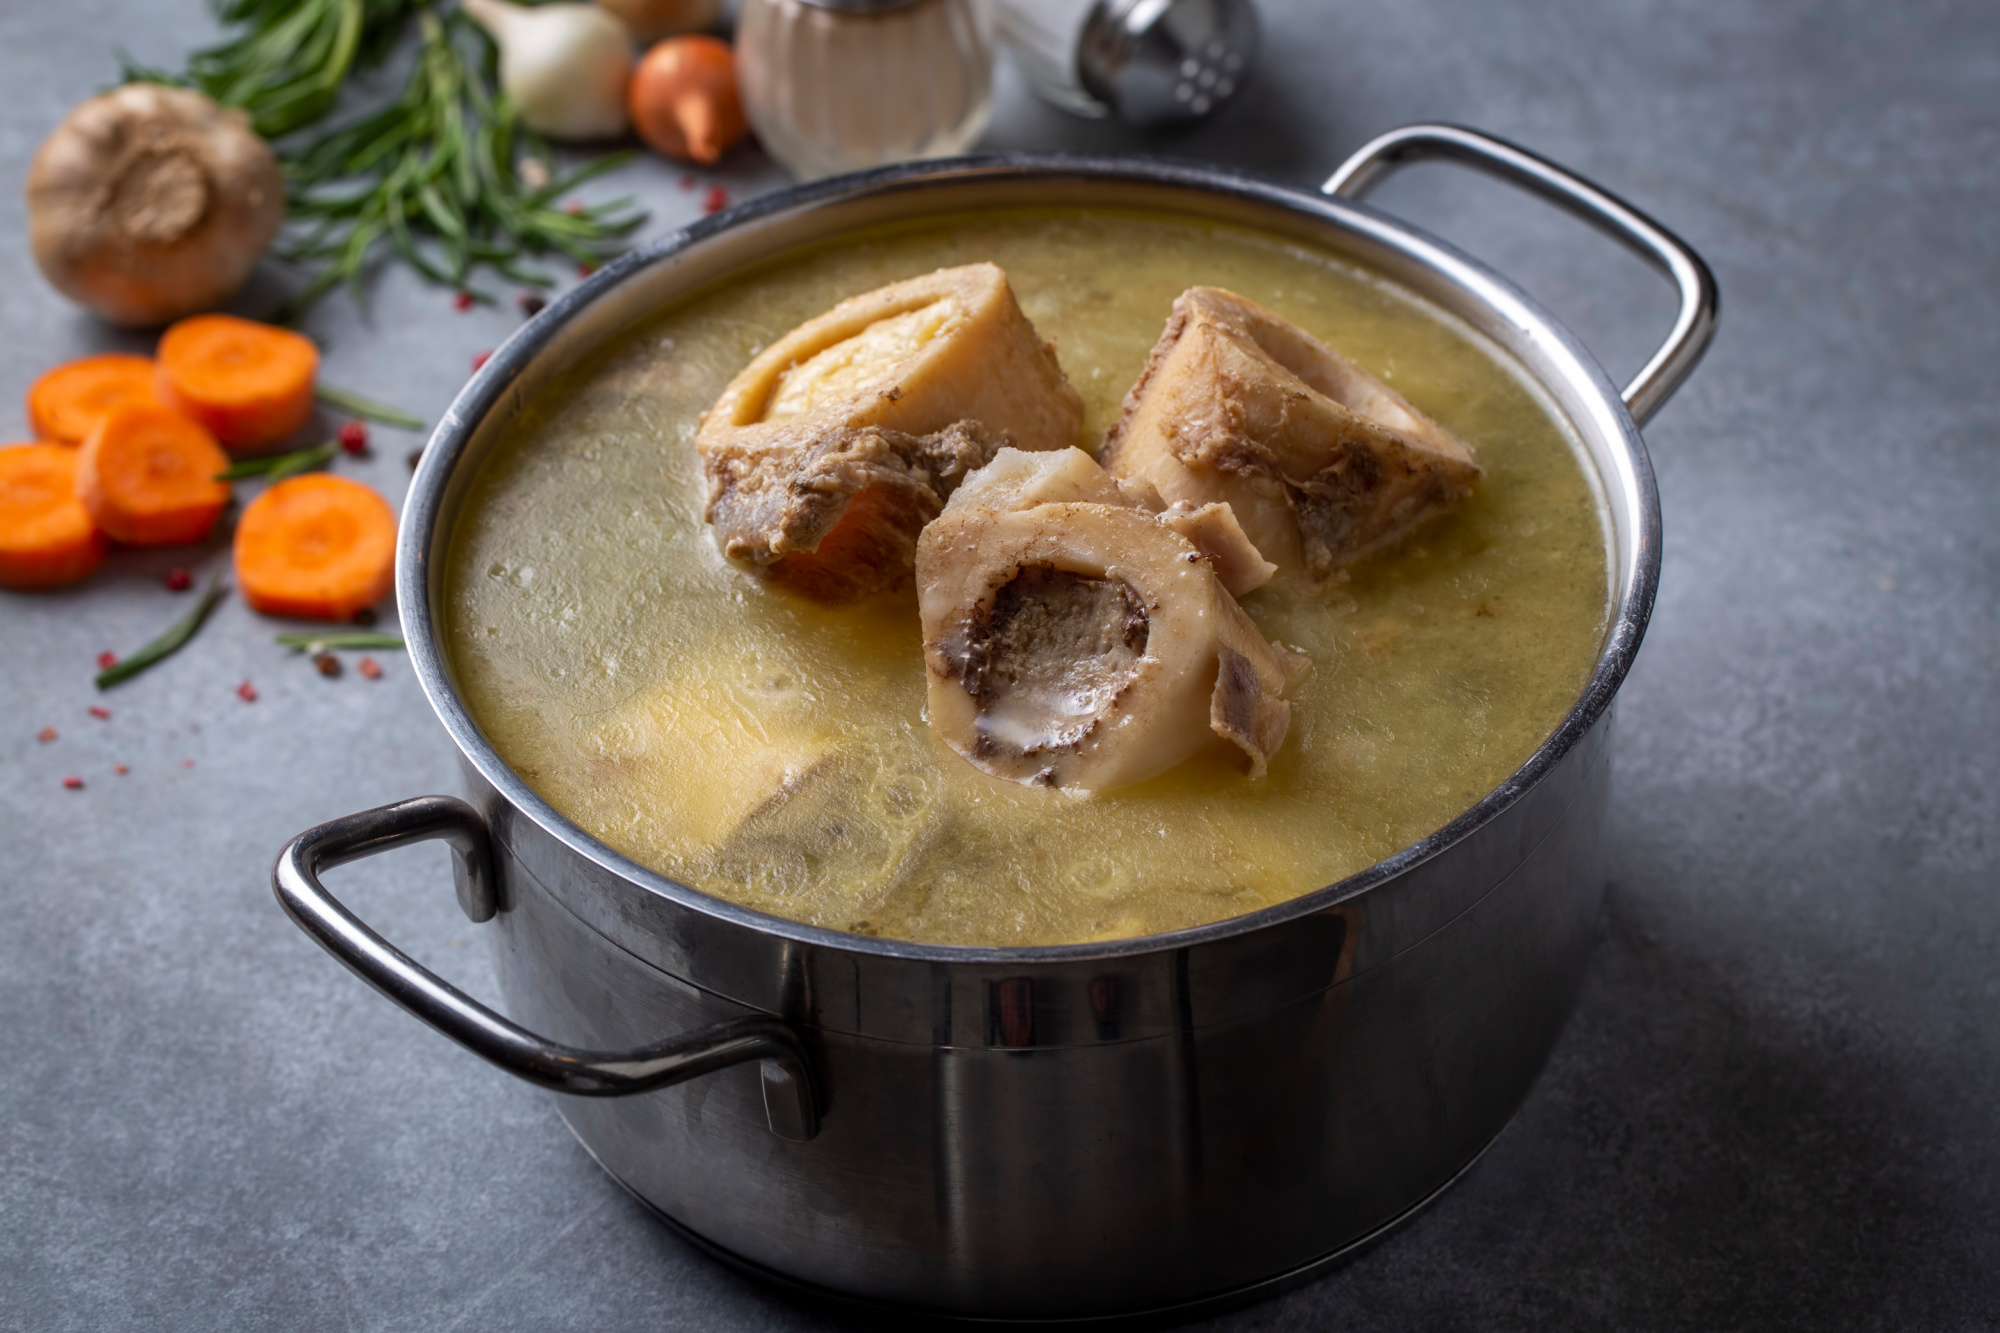
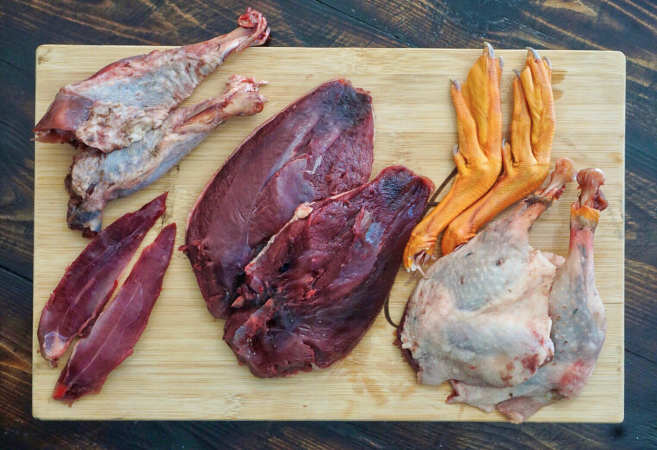
If you’ve ever caught yourself standing in the soup aisle at the grocery store skeptically eyeing the Tetra Pak of beef bone broth—which costs, say, $10 for a scant 16 ounces—maybe you’ve wondered how to make bone broth at home. The good news is that making bone broth is shockingly easy. The process is mildly time consuming, but well worth it to transform what would otherwise be food waste into a nutritious, easy-to-store, and widely-applicable kitchen staple.
Bone broth differs from other meat-based stocks due to all the nutrient-dense collagen that breaks down into the liquid. Standard chicken or beef stock comes from boiling the meat itself. Bone broth, on the other hand, is the product of boiling the bones (which should still have meat, marrow, tendons, ligaments, and other yummy bits attached) with a bunch of vegetables, aromatics, and herbs. But instead of just dropping the raw bones in a pot of hot water, good bone broth takes a little bit of preparation to be truly superior. The extra effort is totally worth it. Here’s how to do it.
What Are the Benefits of Bone Broth?
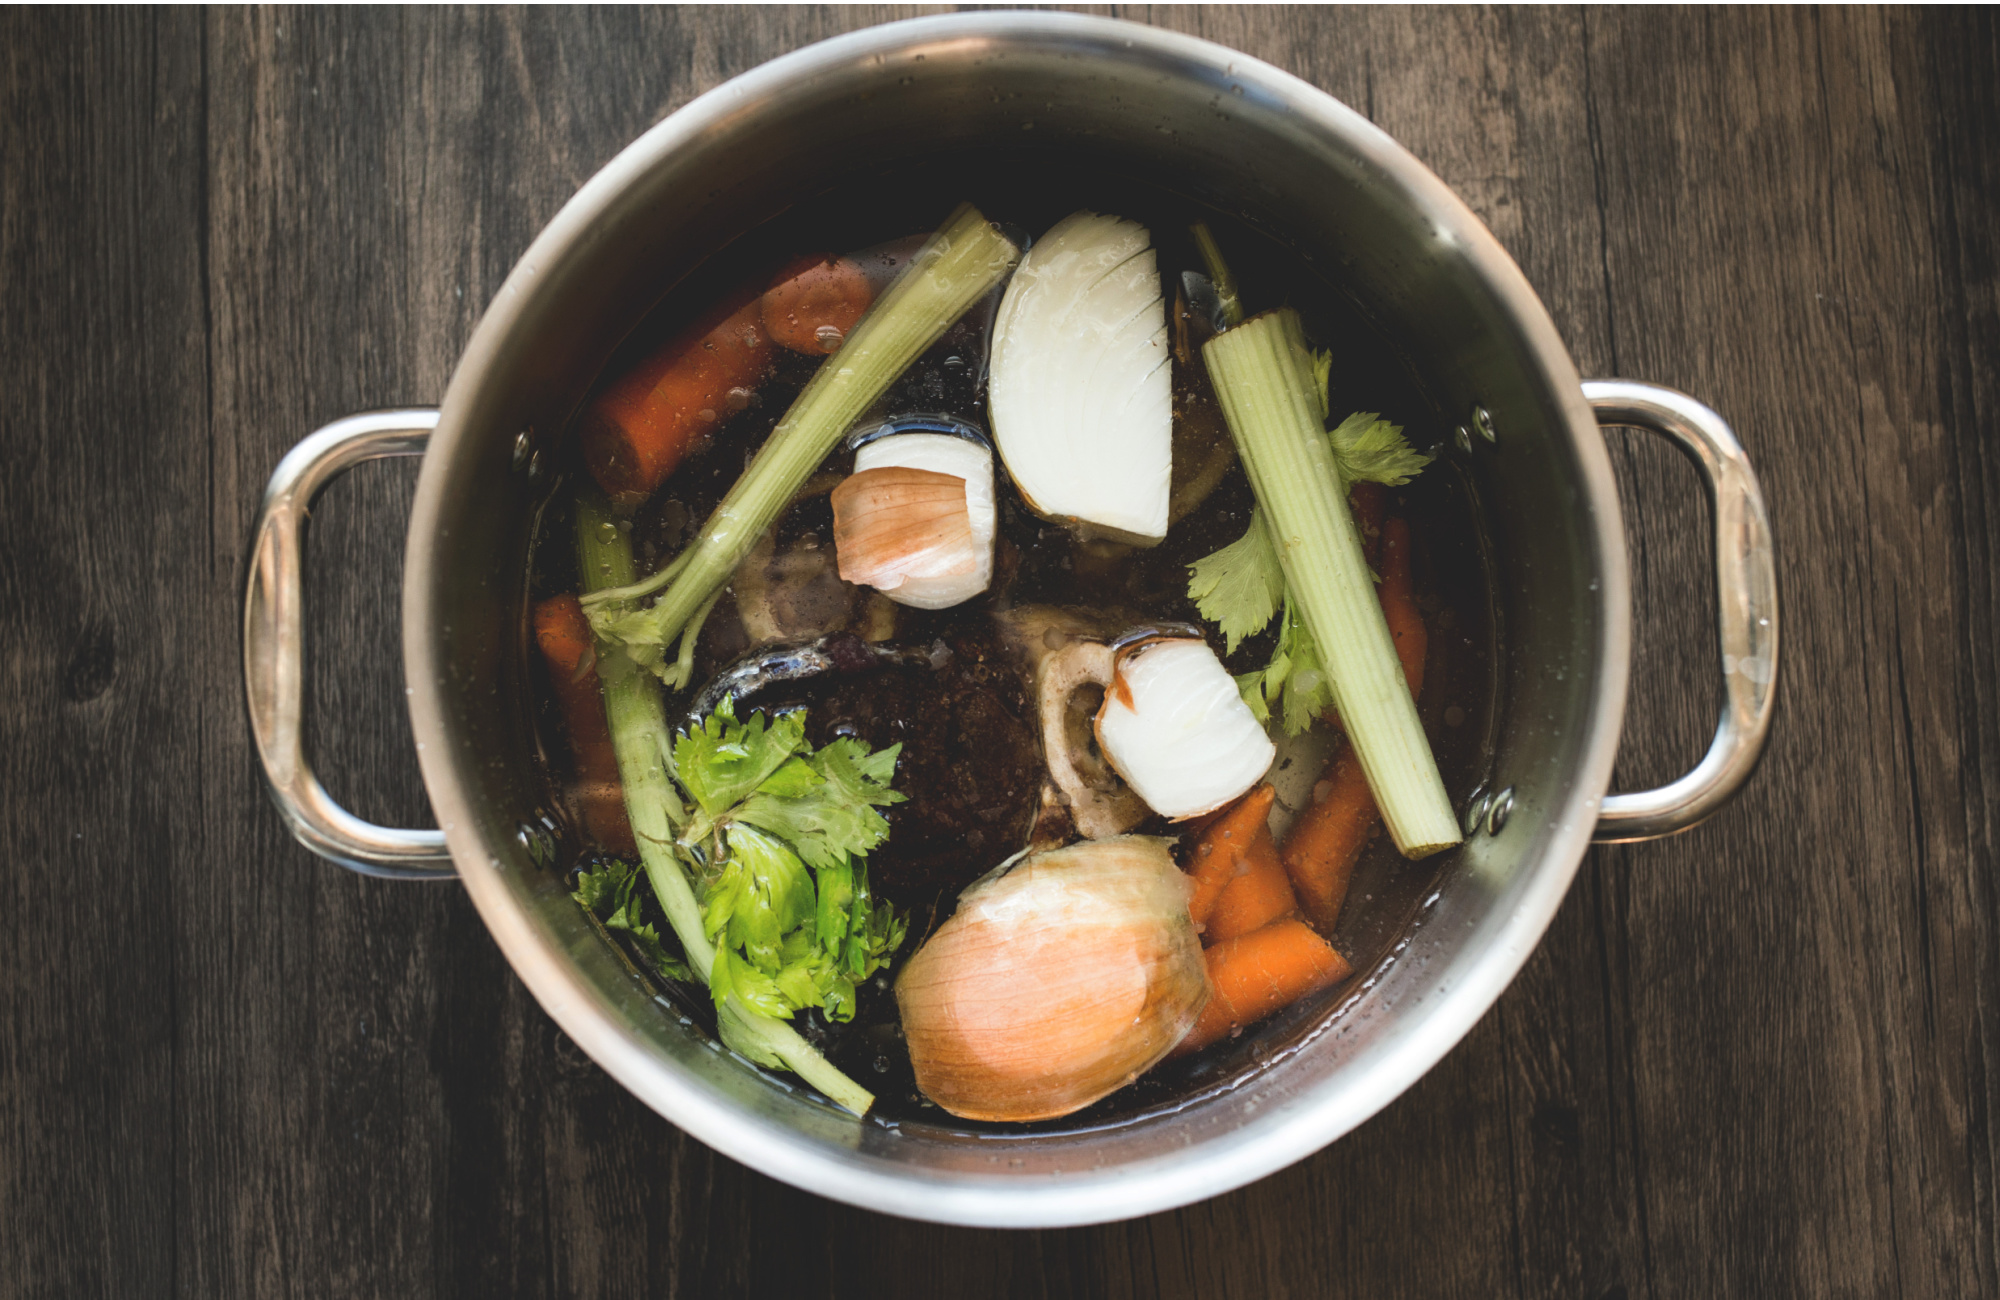
Bone broth seems to have rocketed into fame in the last decade or so, thanks in part to the rise of the paleo diet. That fad is not without reason. Research has shown that bone broth has anti-inflammatory properties, as well as amino acids and minerals. It also packs an extra protein punch.
But claims about bone broth healing chronic joint pain and catalyzing weight loss tend to be a bit far-fetched, experts say. Warm liquids of all kinds are proven to make us feel good, and replacing a meal with any low-calorie liquid can certainly lead to weight loss. If you’re nutrient-deficient or cutting back on calories, then bone broth could be a good dietary choice for you.
If you don’t care about the health benefits, there are still plenty of great reasons to make bone broth, especially from wild game. It avoids food waste and stretches your game meat a little further. If you’re the type to trim rib meat, keep more than a few organs, and even clip fur for fly-tying, bone broth is just another way to use every last bit of the animal you worked so hard to harvest. The yield will stretch your dollar more than buying stock at the store—especially if your veggies and herbs come from your backyard, a generous neighbor, or the back of your freezer. (More on saving vegetable scraps in a minute.)
Tools for Making Bone Broth
There’s really no avoiding it: making bone broth is a dish-intensive practice. Between preparing and roasting bones and vegetables, boiling and simmering in big pots, and then straining and storing at the end, you might be in for one long dishwashing session when all is said and done.
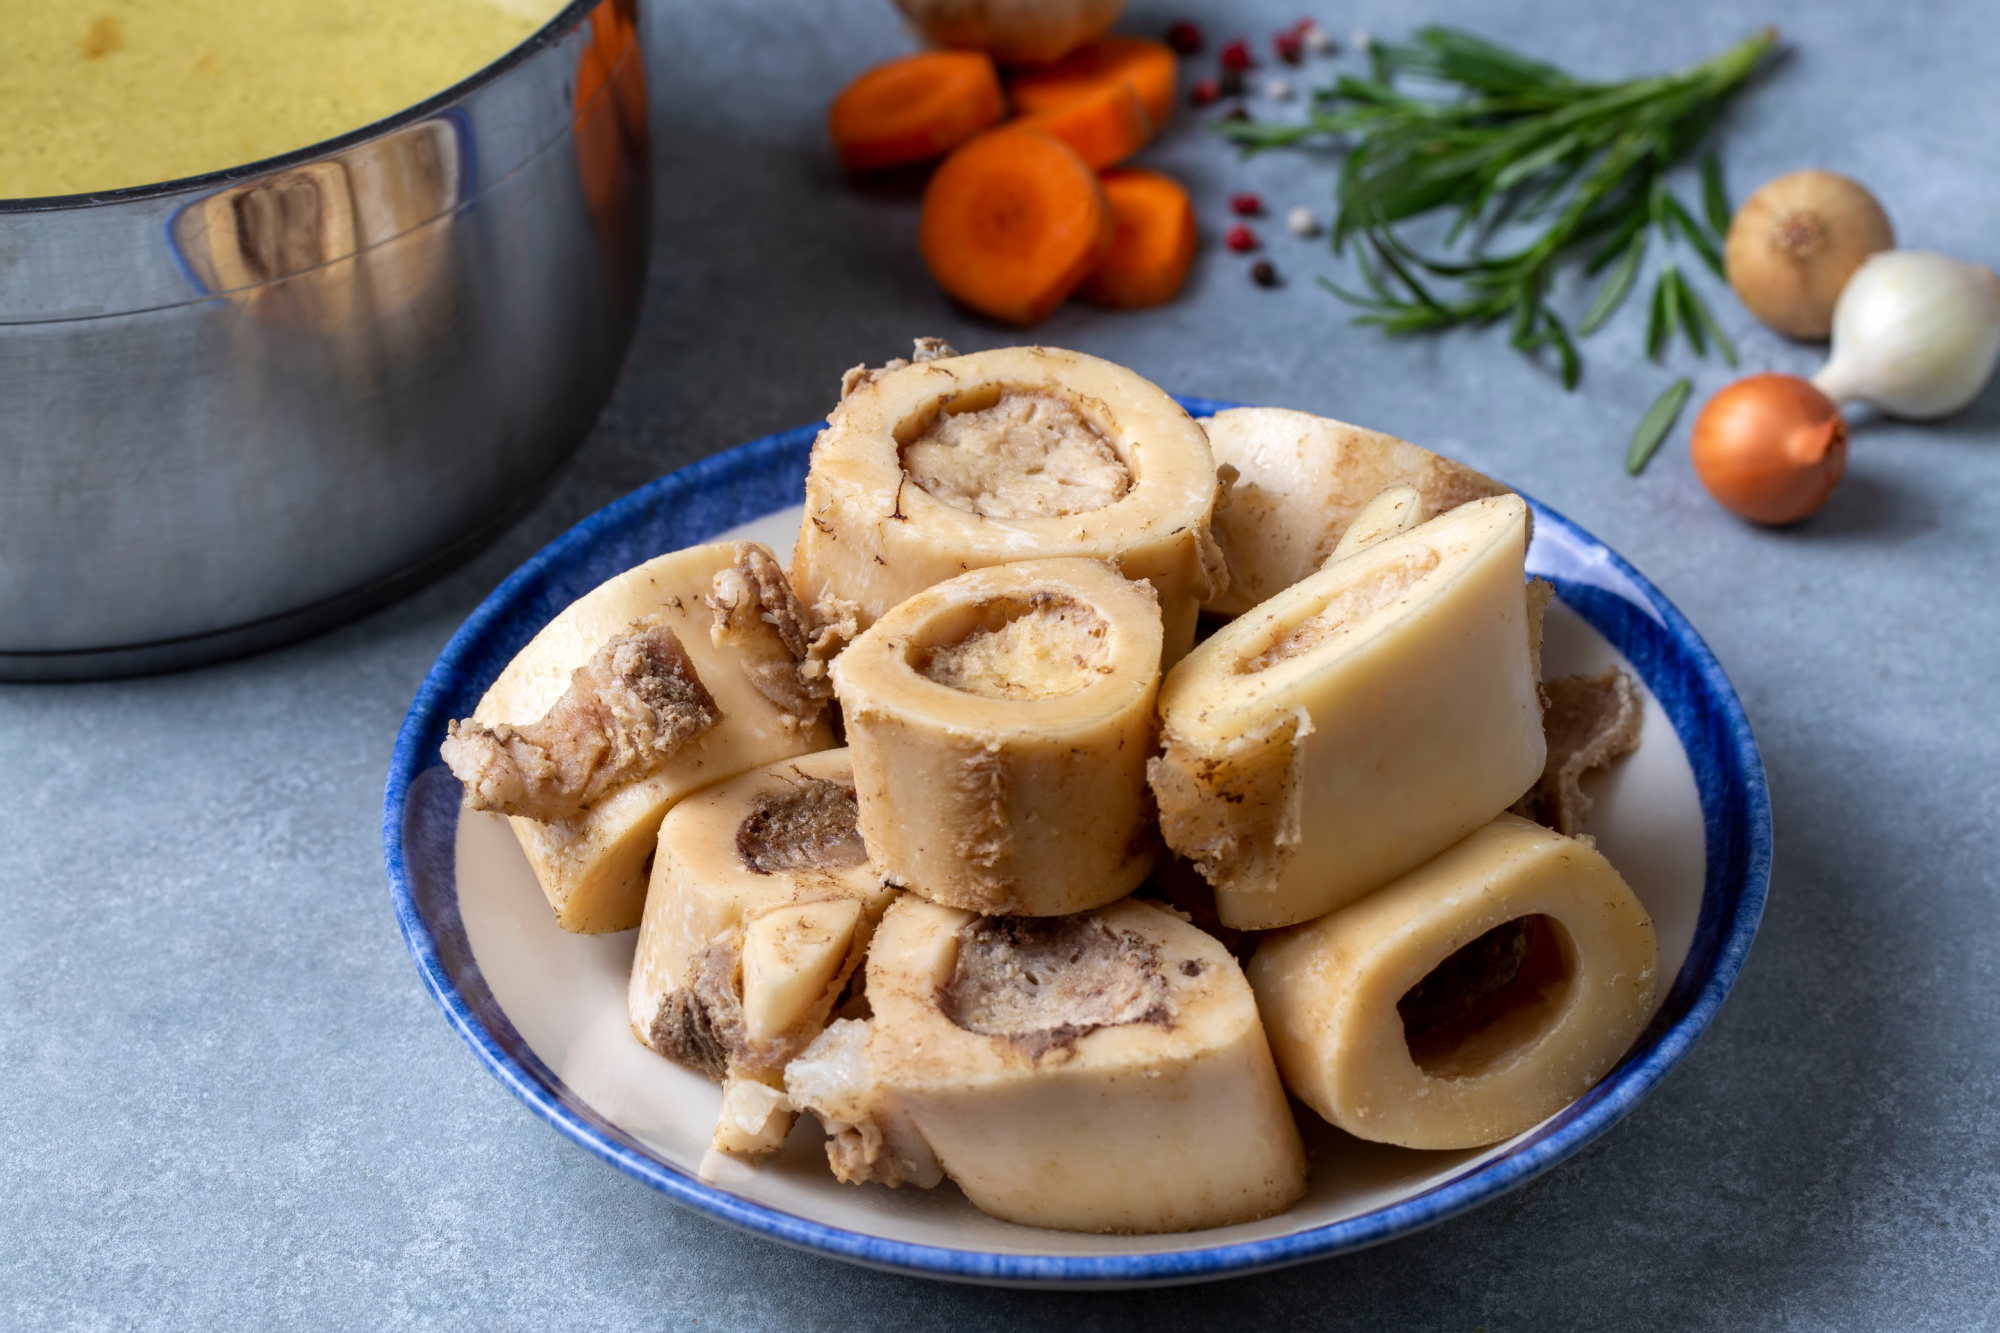
The good news is that you probably have most of the necessary tools for making bone broth already, like your best boning knife and a few roasting pans. These include:
- A large cutting board
- One or multiple stock pots at least 8 quarts in size
- Sheet trays or roasting pans
- Mesh strainer
- Large plastic food storage containers or canning jars
- Boning knife (this can also be one of your best knives for field dressing)
- Bone saw (optional)
You’ll only need a saw if you are trying to prepare large bones. Odds are you already have manageable-sized soup bones after butchering, but you might need to trim a few to make them more workable depending on the species and size of the animal. If you know how to butcher a wild turkey or other game birds and have a few available, those smaller bones are a great addition to a broth.
How to Make Bone Broth
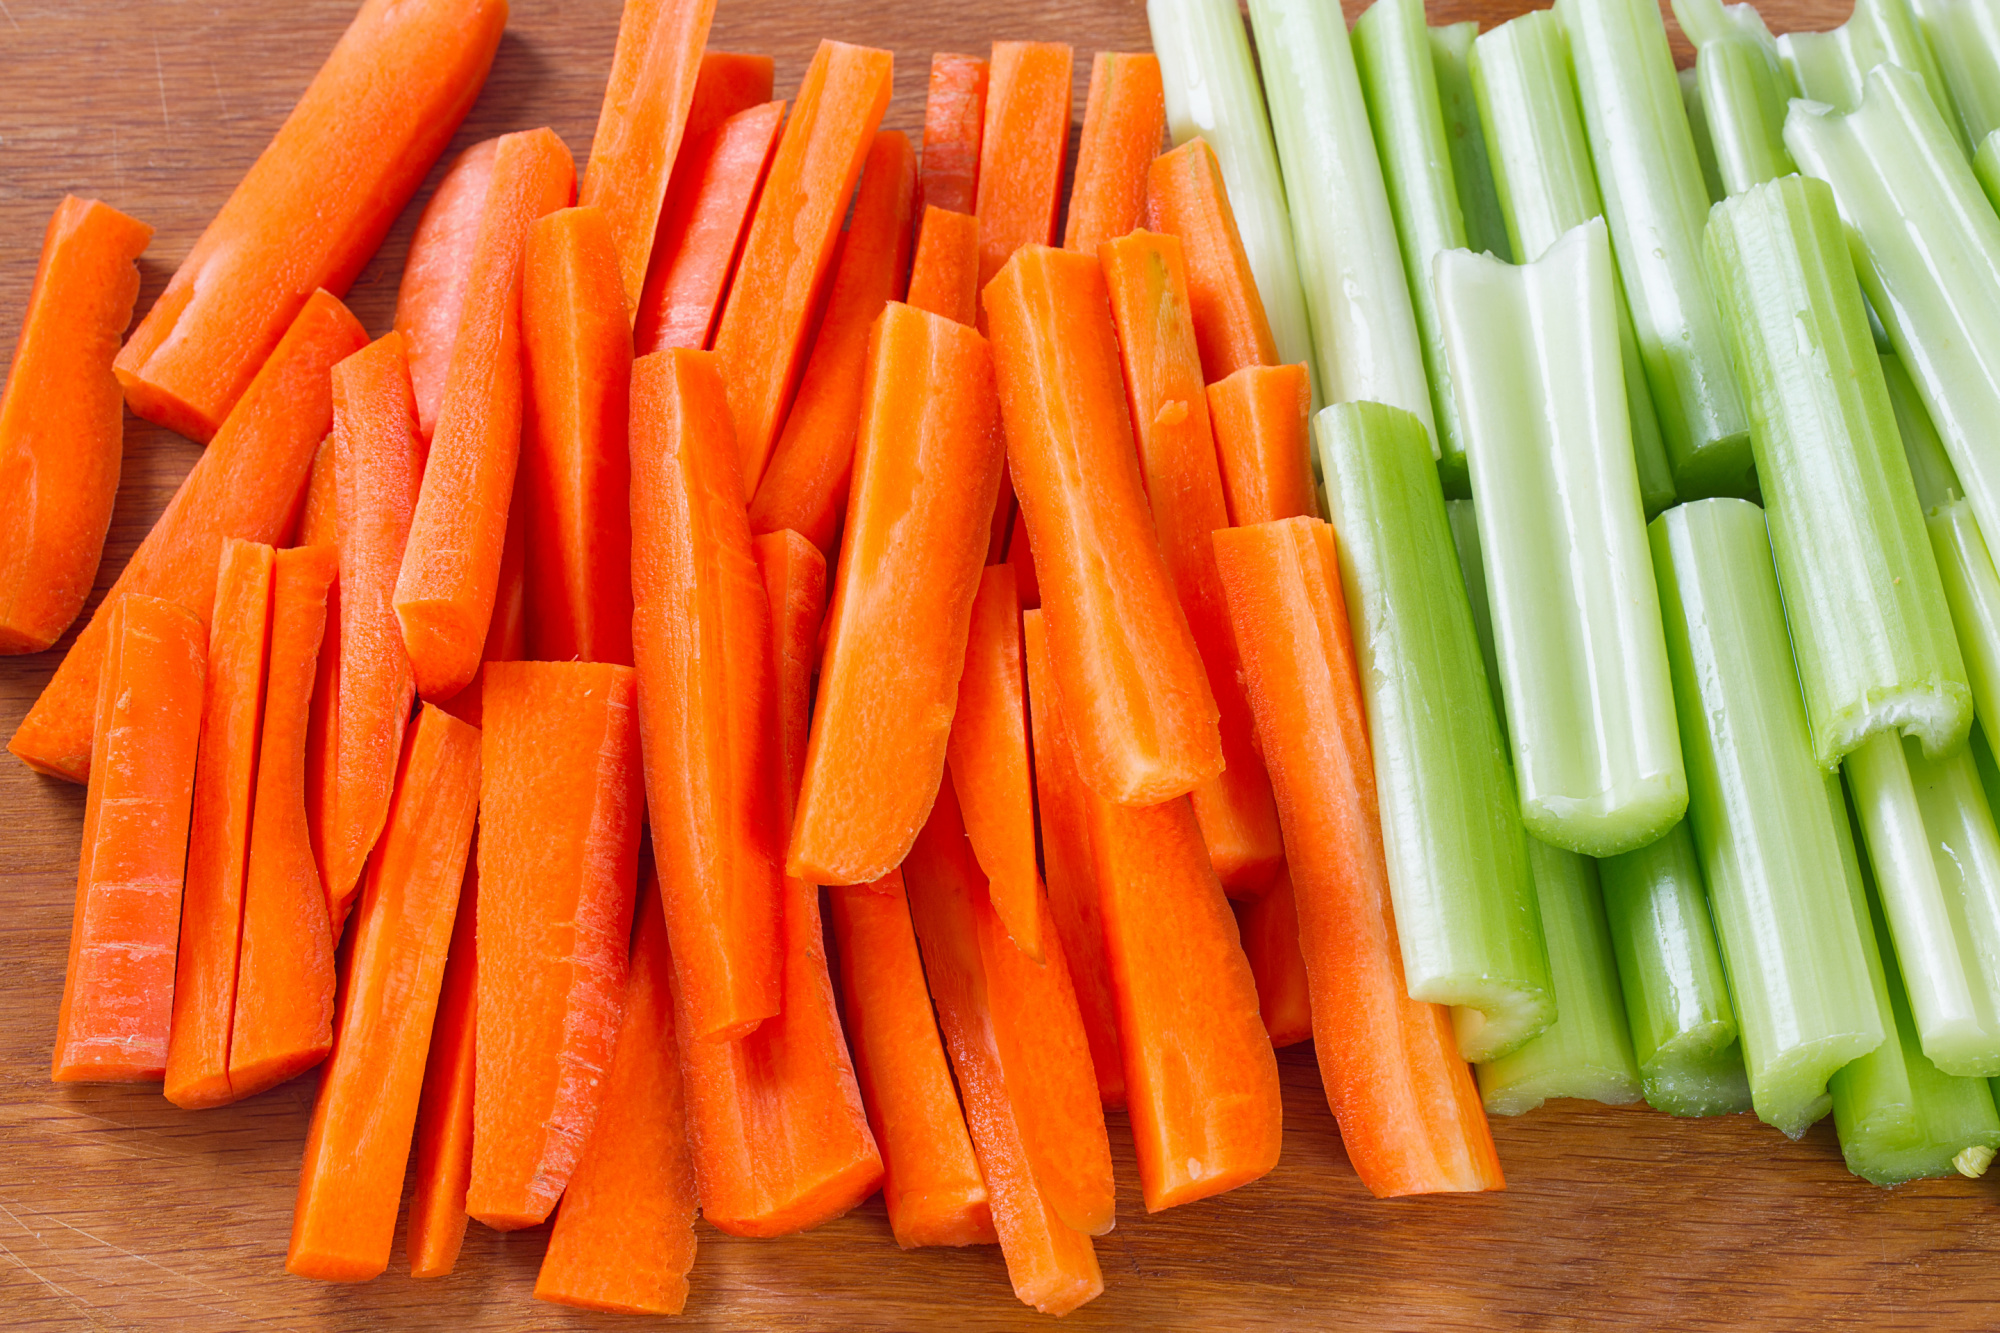
If you’re in a pinch, bone broth can simply consist of bones, water, and some herbs simmering on the stove. But if you want to really do it right, invest the time in this multi-step bone broth recipe. Note we didn’t include quantities of vegetables in the ingredients list. This is where you can trust your eyeballing skills and know that you can’t screw this up. You want a roughly equal mix of carrot, onion, celery, and garlic to fill a quarter of the pot. If you prefer shallots over garlic, or you don’t like a lot of celery, adjust the vegetables as needed.
A Note on Using Vegetable Scraps
If you’re sick of throwing away the skins, tops, and other edible parts of your produce, toss them in a gallon bag and store them in the freezer instead. When it comes time to make bone broth, add the scraps to the pot. Just don’t save any broccoli, cauliflower, Brussels sprouts, kale, spinach, or other leafy greens for this recipe, as these might add a bitter flavor to your bone broth.
Bone Broth Ingredients
- Bones from any commercially butchered or game animal (bones from multiple species is fine)
- Leftover vegetable scraps
- Carrots, chopped large
- Onions, halved
- Celery, chopped large
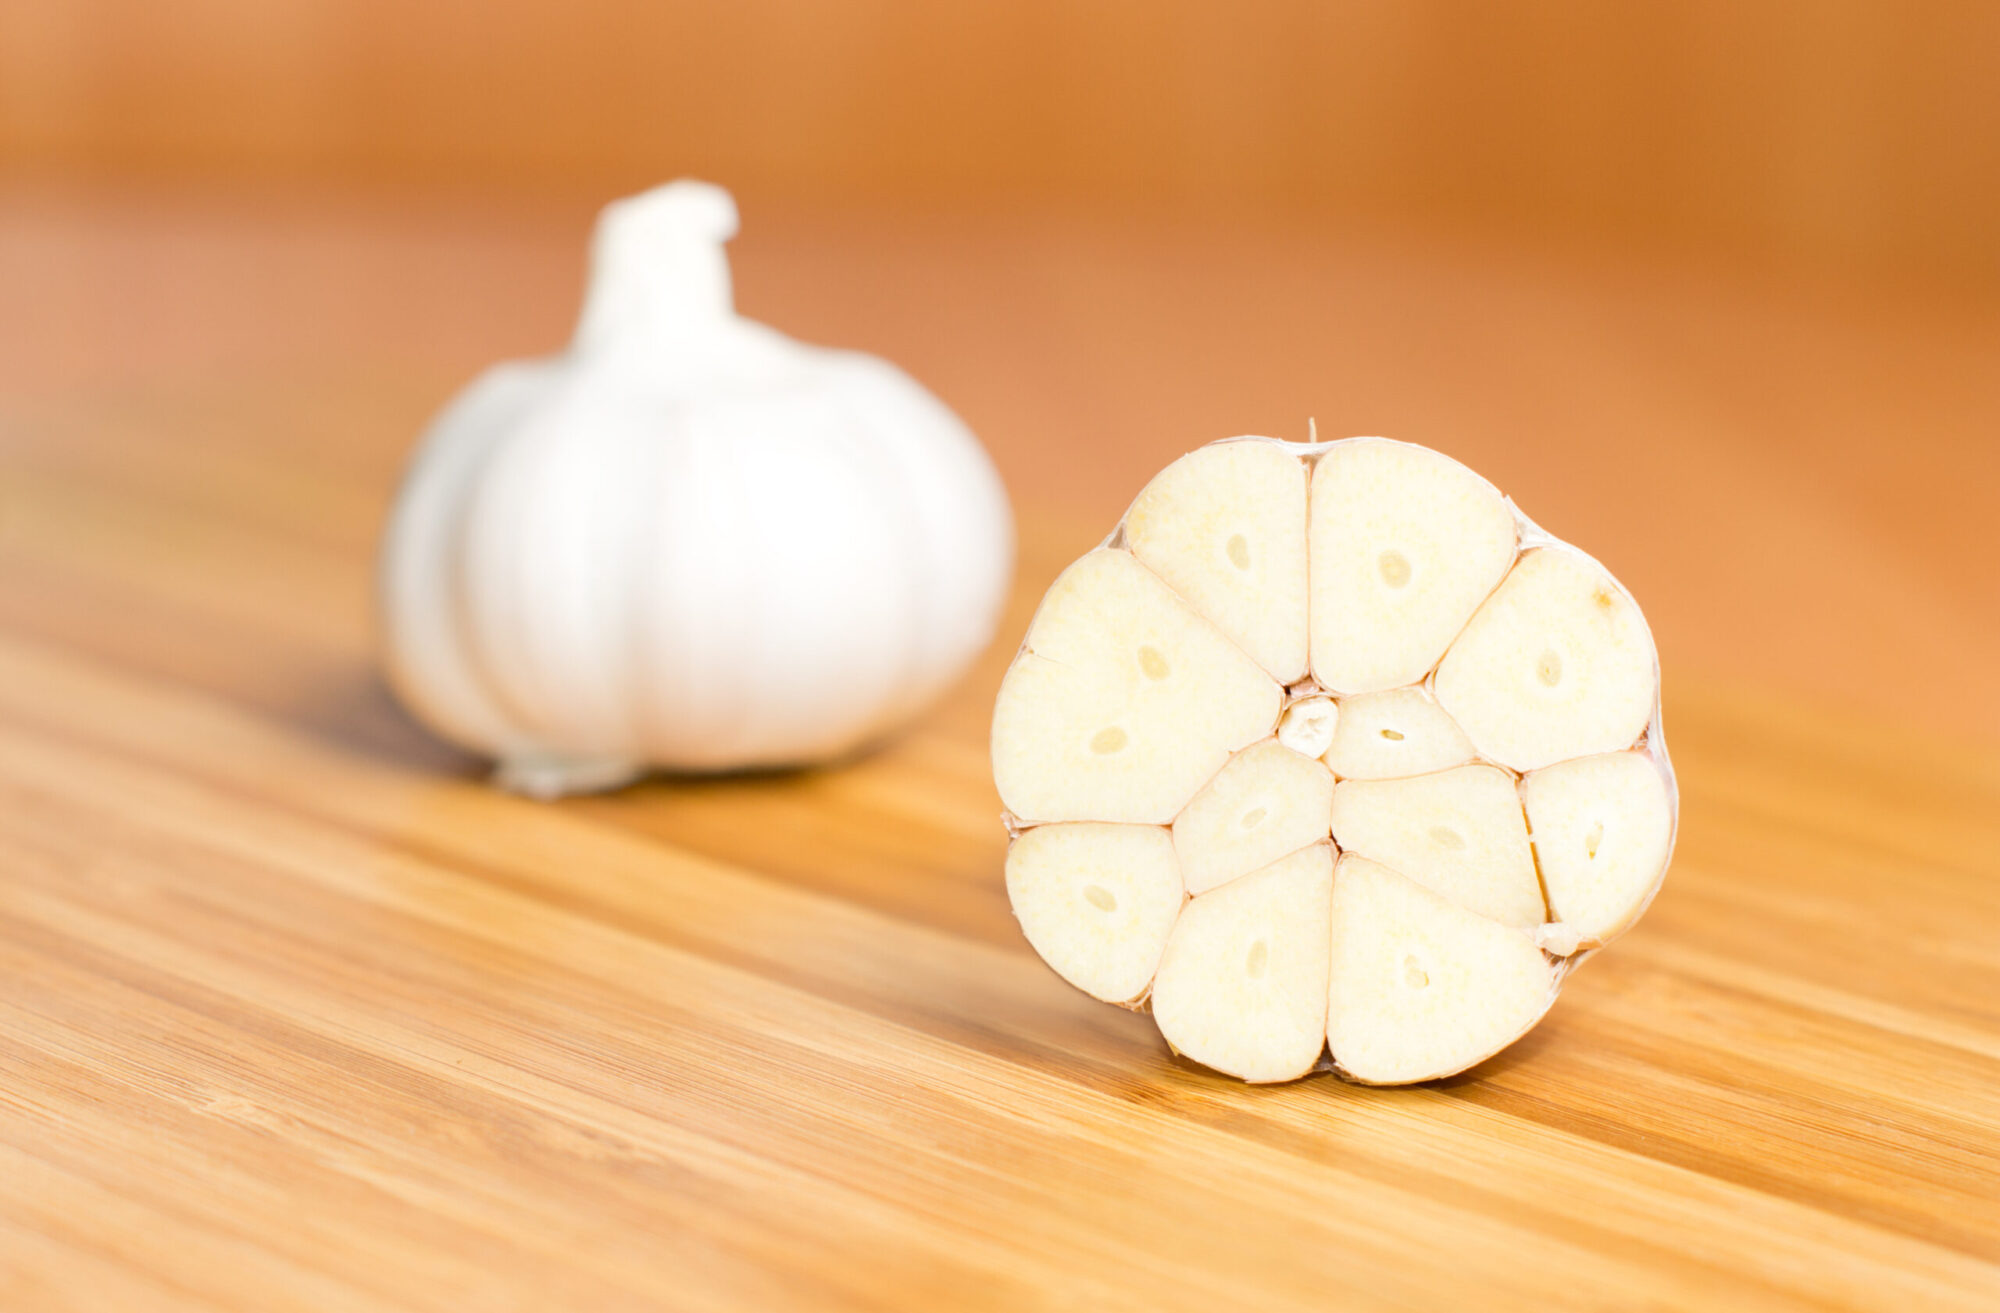
- Garlic bulbs, halved
- Herbs and aromatics, fresh or dried (bay leaf, sage, rosemary, oregano, cinnamon stick, peppercorns, and savory are all great additions)
- Small splash of apple cider or red wine vinegar (2 tablespoons to a quarter-cup depending on size of pot)
Bone Broth Steps
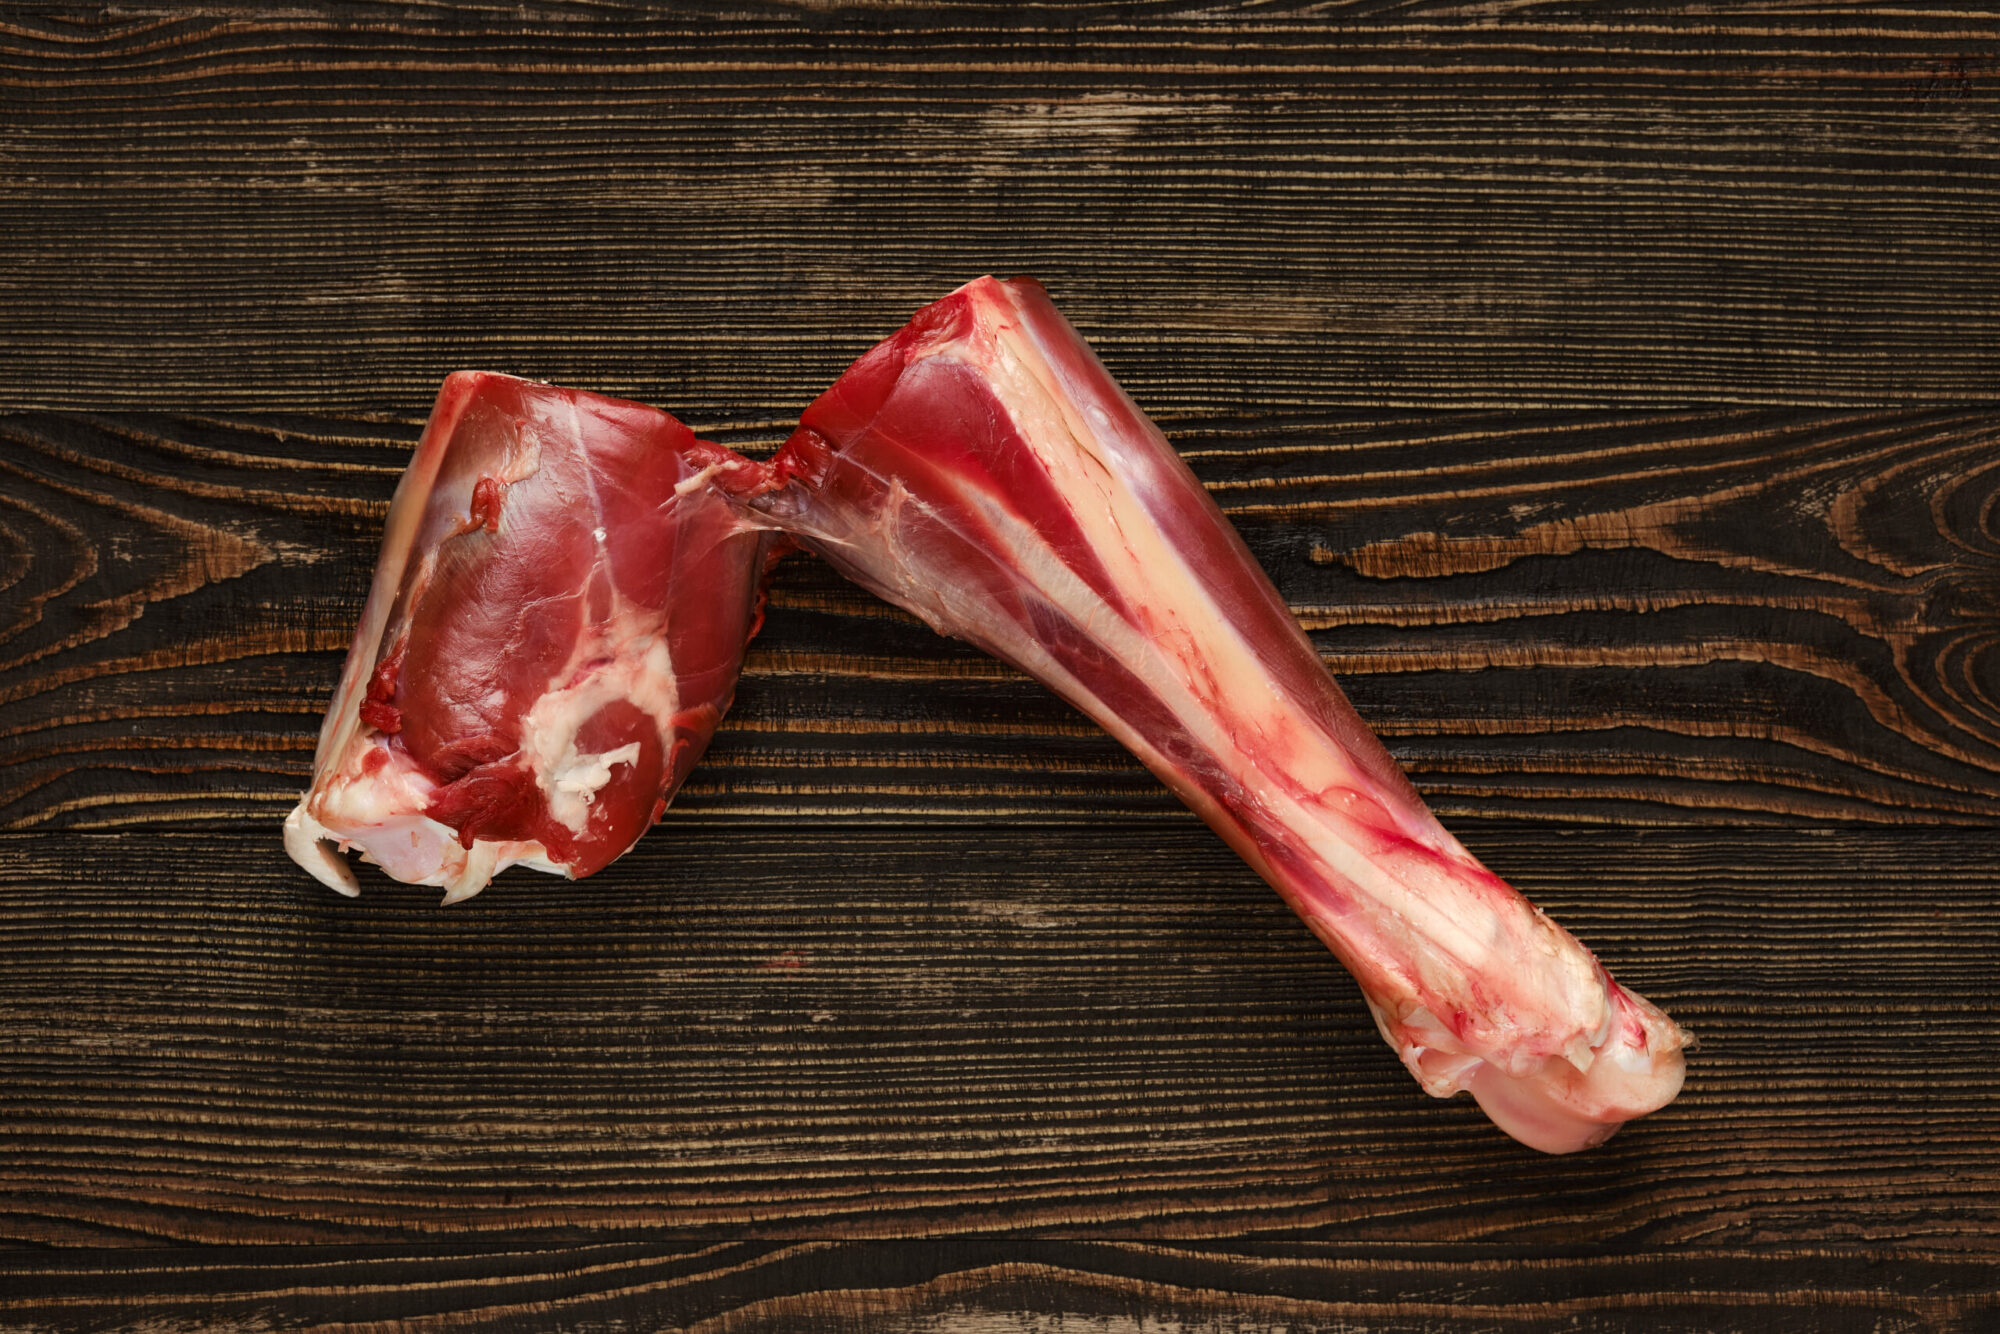
1.) Blanch. Bring a pot of water with the bones to a boil, then drop to a simmer for about 15 minutes. This will be just long enough to lift blood, excess fat and protein, and other undesired components from the meat and bone before you move them to the next step. Drain the pot and rinse the bones off, then pat dry. Wash the stock pots before using them again.
2.) Roast. Rough chop your carrots and celery into big pieces, and halve onions and garlic bulbs. Throw all the vegetables and bones onto sheet trays or in roasting pans, being careful to avoid piling them all on top of each other. Roast the veggies and bones at 400-plus degrees for around 30 minutes. Toss the bones and veggies on the pans and roast for another half-hour. Keep an eye on them—if the vegetables start blackening a bit, pull the pans out. This part of the process draws a lot of delicious, rich flavor out of the broth contents.
3.) Simmer. Dump the sheet trays and roasting pans into stock pots and fill them with water until the ingredients are submerged. Add your herbs of choice and the small splash of vinegar. Cover the pots with tight-fitting lids and bring them to a low boil. Once they’re gently boiling, drop the heat to a simmer and keep the lid propped slightly open to let steam escape. Cook on low for at least ten hours, occasionally skimming off fat and foam from top. Add water as needed to keep the bones and vegetables covered. Do not leave a stovetop on overnight—let the stock cool and store it in the refrigerator, then start it again in the morning. Simmer the stock for up to 48 hours. As the vegetables become mushy, spoon them out.
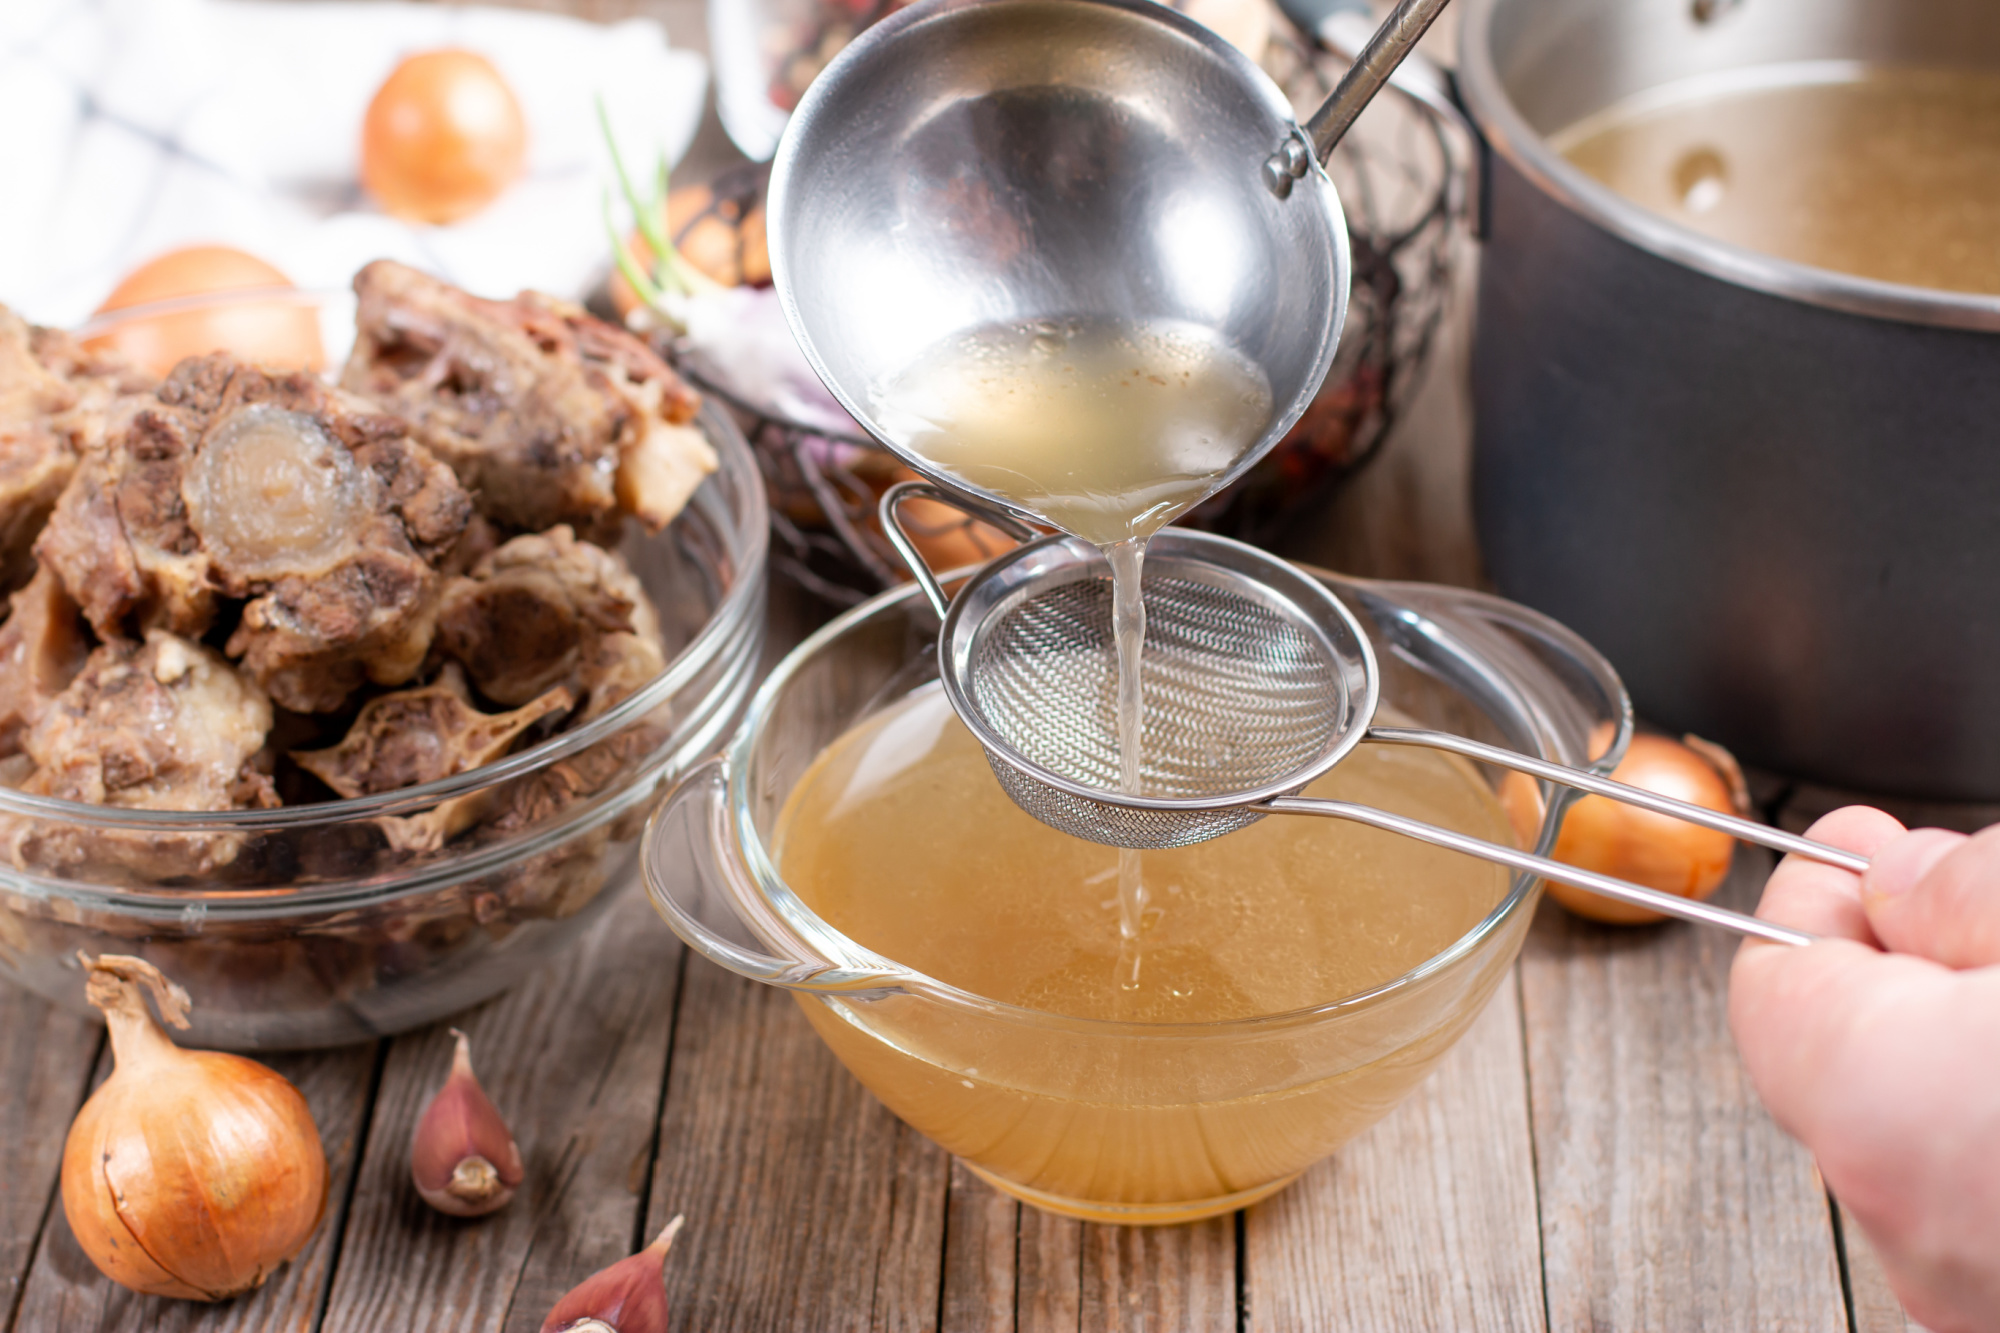
4.) Strain. Once you deem your broth done, fix a mesh strainer over a bowl and strain your broth carefully. You might need to empty the strainer multiple times. Save the bones and veggies. Pick off any meat that might be left on the bones, and get creative with the veggies too—they could make a good puree or blended soup base.
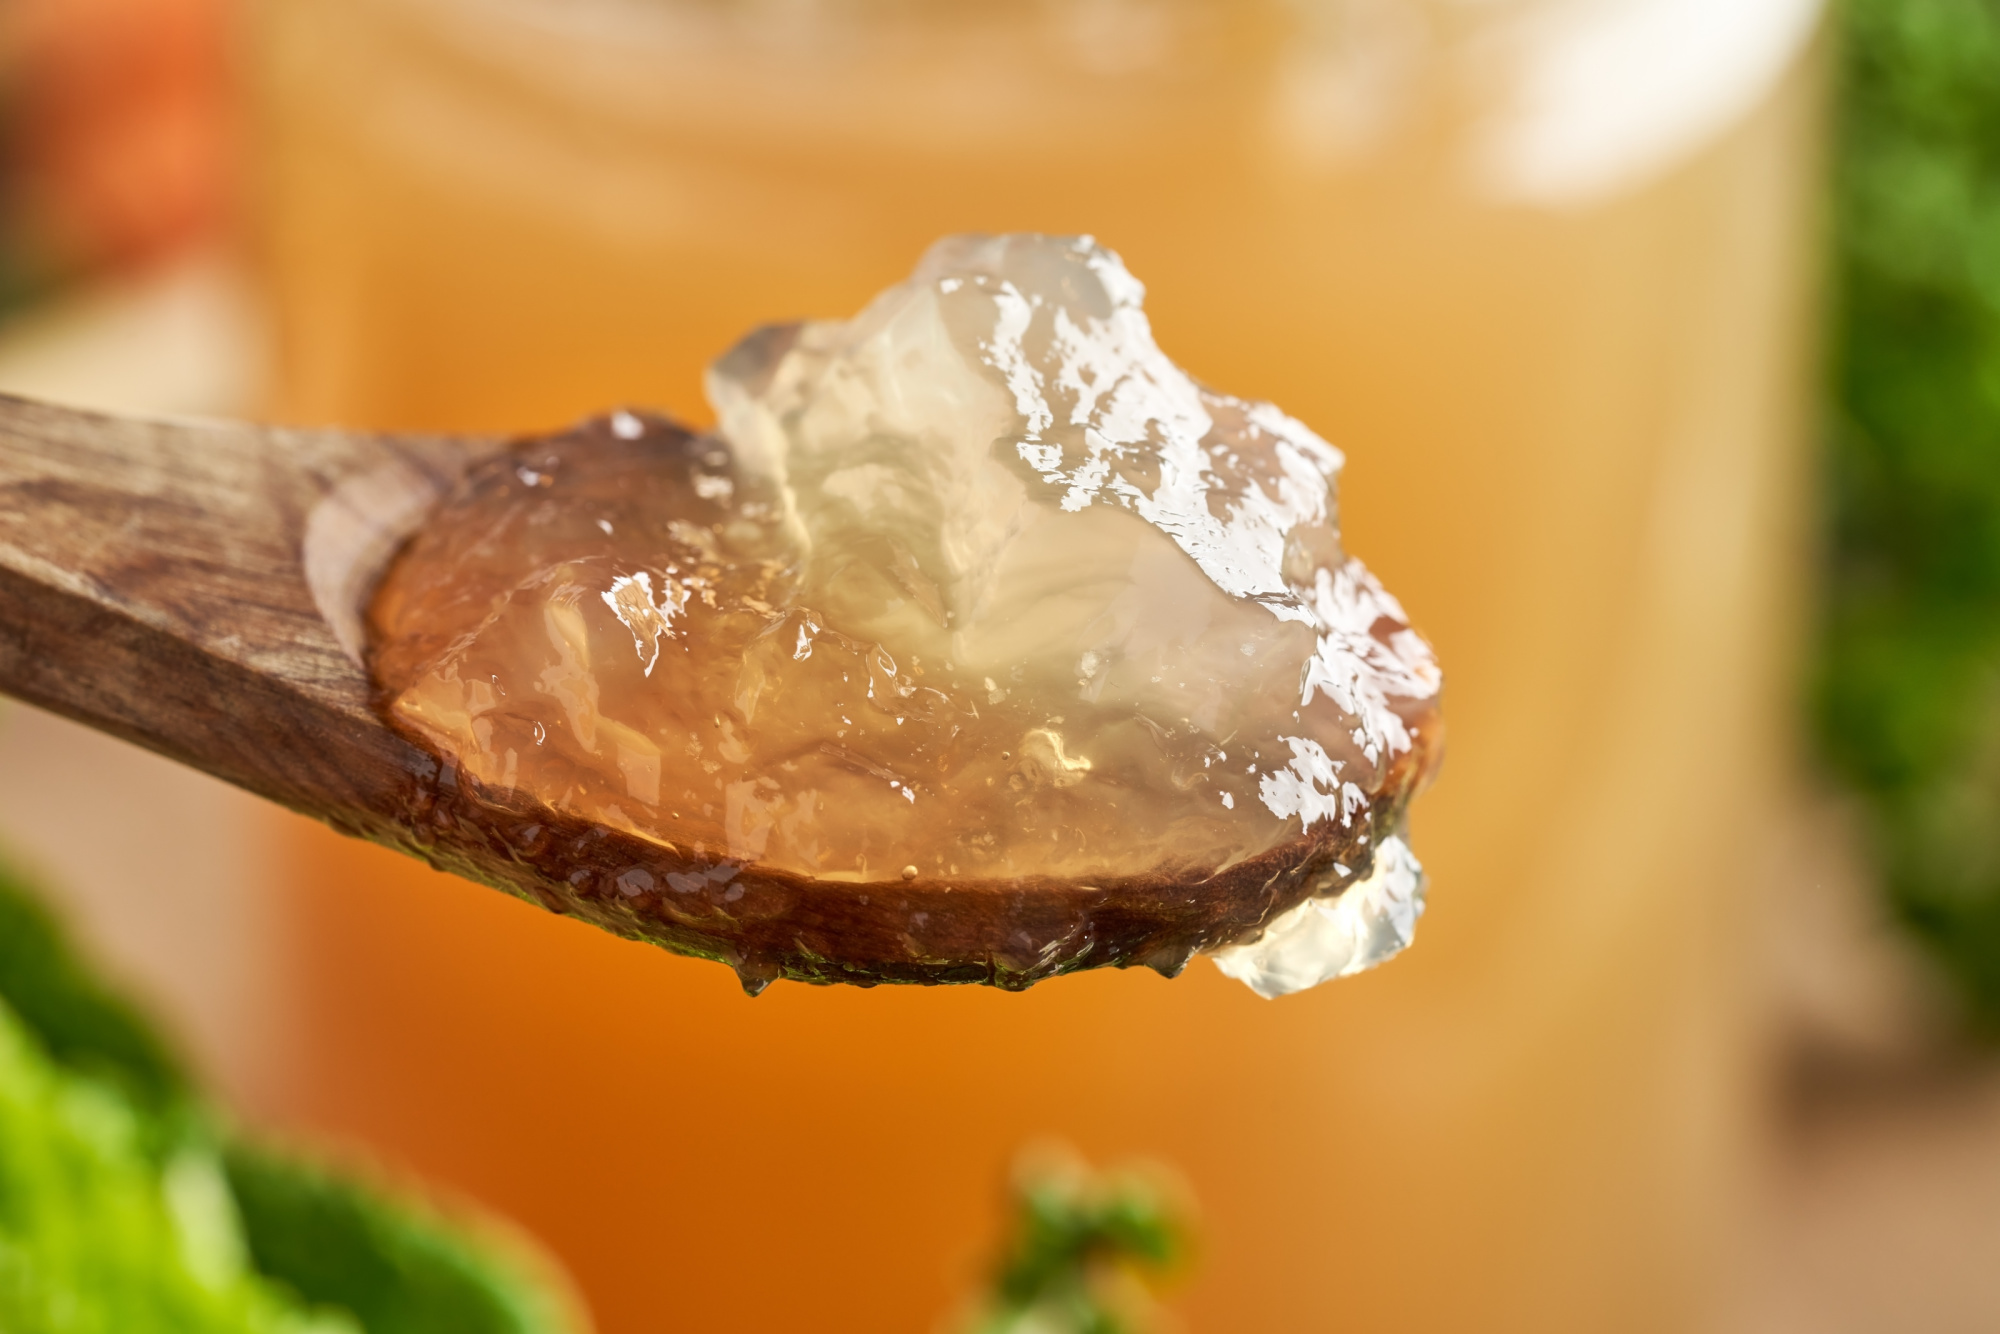
5.) Store. Let the broth cool in the fridge in a covered container. It will be the consistency of Jell-o when it’s cool. Any remaining fat will have floated and solidified on top—it’s best to remove this fat, although not necessary. Scoop broth into jars or storage containers. If you plan on freezing your bone broth, do so either in gallon storage bags or large plastic containers—not glass jars, as they could break when the liquid expands. Frozen bone broth lasts for about six months. In the fridge, bone broth lasts roughly five days.
Making Bone Broth in a Slow-Cooker
If sitting around and manning a simmering pot for a whole day or weekend sounds like torture, a slow-cooker is also on the table for making bone broth. Follow the same process, but cook the mixture on low for 12 to 24 hours rather than in the stock pot. Check in on the broth occasionally to skim fat and remove mushy vegetables.
Best Uses for Bone Broth
So now you have quarts of bone broth and no clue what to do with it. Here are some options.
- Gift it to friends and loved ones
- If you can stand the idea of simmering more pots of vegetables and meat in your kitchen, make some amazing soup using bone broth as the base
- Heat bone broth in a mug and sip on it straight during the day
- Throw hot bone broth in a big travel mug and take it to the duck blind, the deer stand, or the ski hill
- Dump a spoonful of bone broth into rice, couscous, polenta, or other cooked pastas or grains, or any sautéed veggies
- Use bone broth instead of water to thin out too-thick gravy
Bone Broth FAQs
If you’re cooking bone broth much longer than 48 hours, you’ve probably reached a point of diminishing return. The gelatin that’s extracted from the bones and connective tissue will eventually start to break down. All the vegetables will most certainly be mush by then, and you’ve likely had to replace liquid more than a few times.
While any bones will work, the bones with meat, marrow, and connective tissue still clinging to them are a great choice. Shank bones (from below the knee) offer a lot of tendons and ligaments to enrich the collagen content of the broth, and they tend to be a little more manageable in size, too. If you have a bone saw handy, femurs are rich in bone marrow.
While vinegar is not an absolutely crucial ingredient, it does help break down the bones, tendons, ligaments, and other tissues more. This makes that collagen and mineral content more absorbable into the liquid. Any harsh acidity from the flavor will be so diluted and cooked out that you’ll hardly notice it in the final product.
Read Next: How to Diet by Eating Wild Game
Final Thoughts on How to Make Bone Broth
Here’s the honest truth about how to make bone broth: It’s pretty hard to mess up. If nothing else, you get to turn your stove top into a test kitchen for a day or two, and you can almost certainly get some other people involved for a good time. Unless you burn the crap out of the ingredients in the oven, scorch everything because you forget to replenish the liquids, or lose a digit while hacking away at a whitetail femur in the garage, you’re going to end up with an edible product that will cost less per volume than what you find in the grocery store and will make you feel like you used more of a game animal than usual. For those reasons, making bone broth is a no-brainer.

