I’ll come out and say it: Understanding freezer burn and how to best avoid it, as well as knowing how to deal with it, is the single-most important factor when it comes to enjoying what you put on the plate. There, the gauntlet has been thrown.
Yes, a gut-shot buck that was surging with adrenaline can make for a poor final product when it comes to table fare. But that’s only one critter in your freezer. Failing to realize the overall impact of improper freezer management can adversely affect your entire collection of wild game.
And of course knowing how to cook wild game correctly is paramount, but if your main ingredient is scarred by your freezer, you’re already starting from behind. So let’s break down what exactly freezer burn is, how to prevent it, and, finally, how to deal with freezer burn should it occur.
What Is Freezer Burn?
Without getting too technical, let’s provide the short-version answer: Freezer burn is when moisture from meat evaporates and oxygen reaches your meat, causing dehydration. The longer portions of your frozen meat remain exposed to air, the more dehydrated meat gets and, you guessed it … the more freezer burnt it becomes.
How to Prevent Freezer Burn
The truth is, you cannot stop freezer burn from happening, but you can delay it. Even perfectly sealed meat can fall victim to freezer burn. And chances are that game was hard earned. It’s a sheer tragedy to pull it from the bottom of the freezer only to find mummified swaths of meat.
If you remember only one thing from this article, let it be this: Air is the enemy. Prior to placing that wild game in the freezer, declare war on air! Below are some techniques to do so. Some require special equipment, while other methods require items that can quickly and easily be purchased from most local grocers.
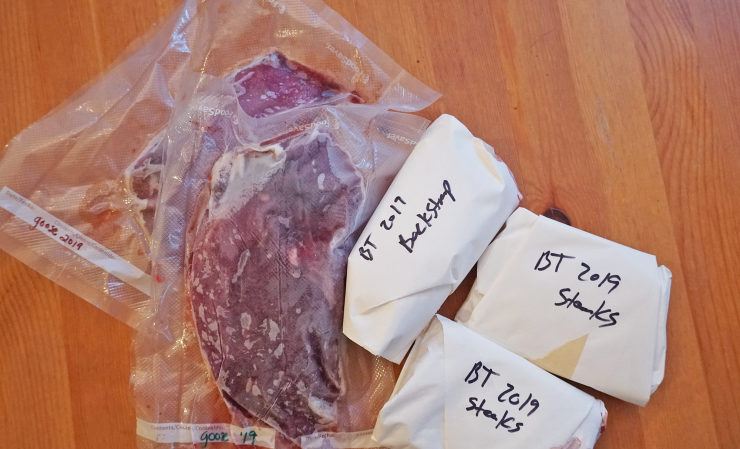
1. Vacuum Seal. There are two kinds of vacuum sealers: Your traditional units that suck air out of a meat-packed bag, and your chamber-style units that pump out all air from the chamber, including the bag. While the chamber vacuum sealer produces a tighter seal, this equipment is pricier. With traditional units, moisture can also cause an issue with creating an airtight seal, so drier meat works better, along with allowing time for the unit to cool between sealings, as warm units can also produce a subpar seal. Stays fresh: 1 to 2 years, depending on tightness of seal.
2. Freezer Paper. Meat is less likely to dry out if moisture is contained (and not exposed to air). Freezer paper is a great option but start with a couple layers prior to wrapping and taping shut. Firstly, wrap game tightly in heavy-duty aluminum foil or heavy-duty plastic wrap (note the term “heavy duty” is key). Secondly, wrap in whichever method, plastic or foil, you did not employ for the first layer. While experts generally agree foil is the best first layer for a tighter seal, some people are sensitive to the taste of aluminum foil when it contacts their meat. Lastly, place this tightly wrapped chunk of game on the shiny side of the freezer paper. The wax coating helps contain moisture. Roll once then fold in sides and continue rolling, taping close at end. Stays fresh: 4 months to upwards of 2 years in some cases.
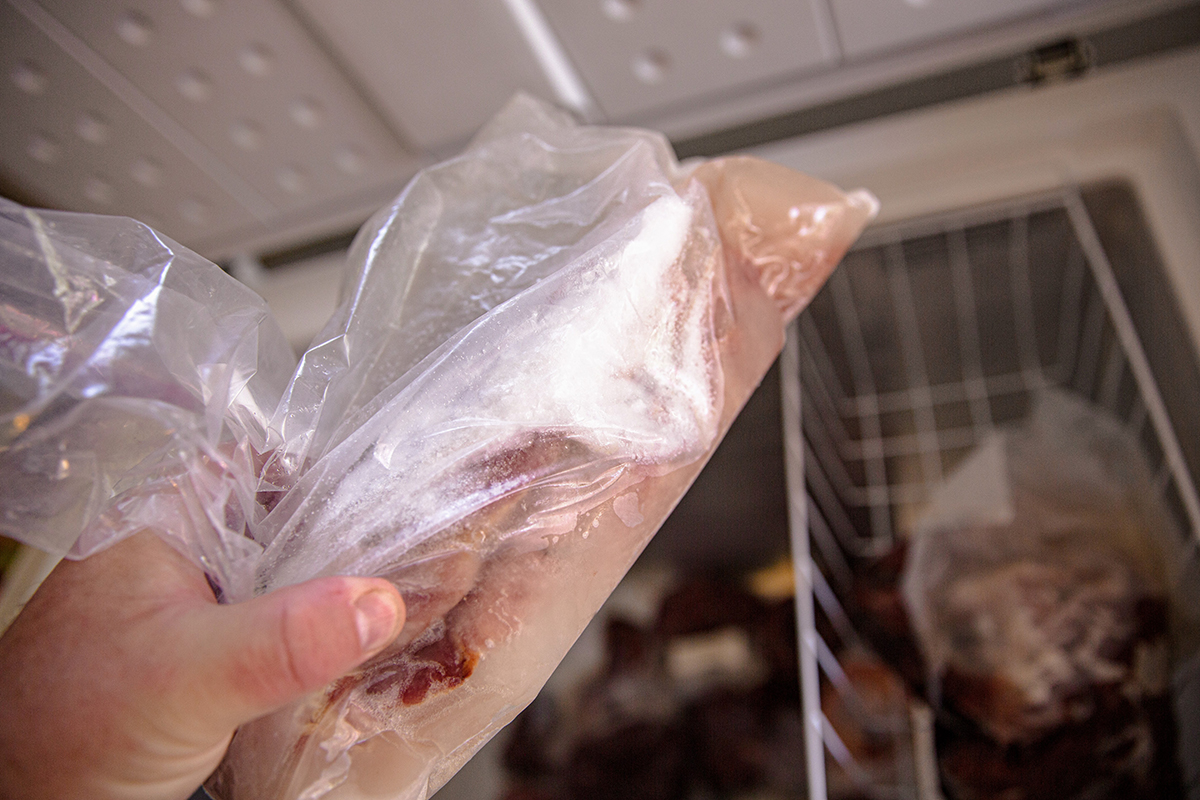
3. Submerge in Water then Freeze. I don’t think a lot of people use this technique, but this is my go-to method for trim or other non-uniform cuts of game. If I anticipate gaps while wrapping or sealing, I opt to place the meat in a large Ziploc freezer bag, then fill with cold water until an inch of water remains overtop meat. This eliminates the possibility of air pockets while keeping moisture from evaporating. Do note: The shape of bag may change when adding to freezer. Just make sure a layer of water remains between meat and top of bag. Obviously, a chunk of ice is heavy, and takes up far more space than a vacuum-sealed bag. Though, speaking from experience, the trim I’ve taken and ground into burger using this method has, by far, been the best, fresh tasting (versus trim that was vacuum sealed or even ground prior to sealing). Stays fresh: Ice can shrink due to sublimation but meat should stay fresh as long as it is cased in ice (if ice shrinks enough, it leaves meat open to freezer burn).
Packaging
A lot of plastics and non-heavy-duty foils are permeable, meaning small moisture molecules can escape. Make sure you are utilizing freezer- or heavy-duty grade when picking plastics and foil.
Silver Skin
Silver skin is God’s gift to hunters hoping to avoid freezer burn, as it’s Mother Nature’s own organic seal. Keep silver skin on as an extra layer of defense when freezing game and remove just prior to preparing.
How to Deal with Freezer Burn
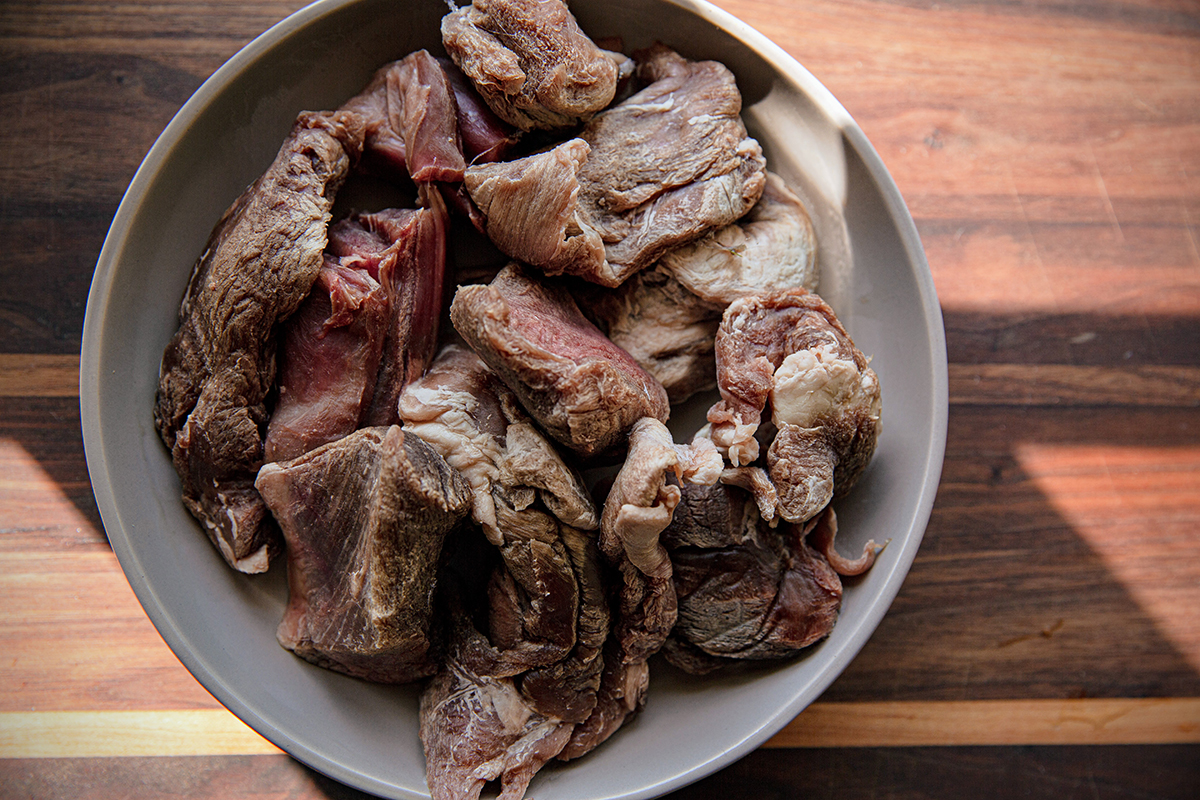
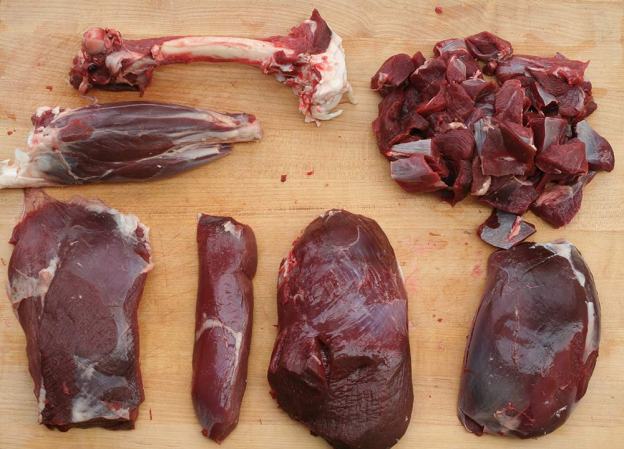
I was once gifted a frozen year-old garbage bag of trim—chunks of desiccated venison caked in frost. My kitchen sink looked like a murder scene while I thawed that slab of game. But I found ways to salvage this trim by delicately carving off severely freezer-burnt segments with a fillet knife and then, depending on the recipe for a given portion, I employed the denaturing trinity of either dairy, marinades, or soda (pop for all you Midwesterners).
Dairy (whether milk or yogurt), as well as marinades and soda pop work as a result of acids or enzymes contained within the liquid. These enzymes and acids break down muscle fibers, thus denaturing the exterior. So after trimming off badly freezer-burnt patches, if gray remains, use one of these methods to tenderize game. For more specifics on how these methods work with game bird meat, check out an article I did with Project Upland.
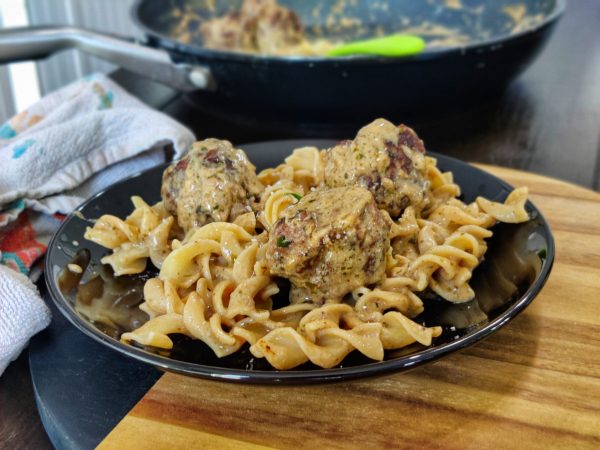
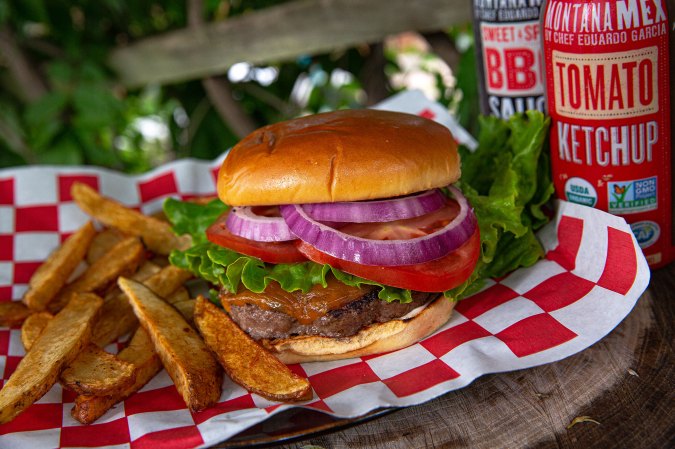
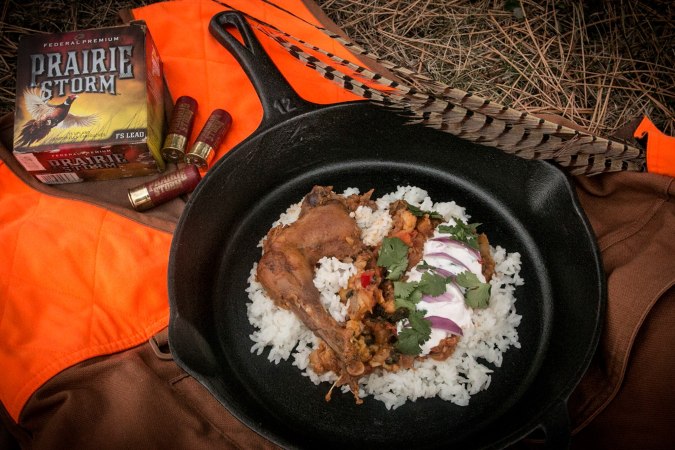
Is there always a way to redeem terribly, horribly dry and freezer-burnt game? In my experience, yes. Below is a short recipe on turning what seems like beyond-hope trim (the trim featured in photos here) into an amazing meal.

A Recipe for Freezer-Burnt Wild Game: Butter Venison
Marinade Ingredients:
- 10 ounces venison trim
- 1 cup yogurt
- 1-1/2 tablespoons minced garlic
- 1 tablespoon minced ginger
- 2 teaspoons garam masala
- 1 teaspoon turmeric
- 1/2 teaspoon ground cumin
- 1/2 teaspoon red chili powder
- 1 teaspoon of salt
Sauce Ingredients:
- 1 tablespoon unsalted butter
- 1-2 tablespoons sunflower oil
- Dusting of kosher salt and black pepper
- 1 large onion, chopped
- 1-1/2 tablespoons garlic, minced
- 1 tablespoon ginger, minced
- 1/2 teaspoon ground cumin
- 1-1/2 teaspoons garam masala
- 1 teaspoon ground coriander
- 14 ounces crushed tomatoes
- 1/2 cup chicken stock
- 1/2 teaspoon red chili powder
- 1 teaspoon kosher salt
- 1 cup heavy whipping cream
- 1 tablespoon brown sugar
- Optional garnish: finely minced fresh cilantro
- Optional side: naan bread
Rice:
- 1-1/2 cups basmati rice
- 2 cups cold water
Instructions:
1. Leave trim partially frozen and first attempt to trim off thin freezer-burnt segments.
2. In a food processor, blend all marinade ingredients other than yogurt and trim. Add blended mix to mixing bowl, then add yogurt to bowl and mix together with ingredients from food processor. Add trim, cover and place in fridge. Allow to marinate for 48 hours.
3. When ready to cook, in a large (preferably cast-iron) skillet heated on medium-low, add a thin layer of sunflower oil, followed by chopped onion. Lightly salt and pepper. Once onions start to brown, add tablespoon of unsalted butter and stir in, picking up any brown bits from onions.
4. Once butter melts, add garlic and ginger. Stir and allow to cook for couple minutes then add crushed tomatoes, chicken stock, and other spices (no heavy whipping cream yet). Allow to simmer for 10 minutes.
5. Add liquid mix to food processor and blend thoroughly (still no cream). Leave in food processor and using same skillet, add trim from marinade.
6. Do not crowd skillet. Brown all sides of trim. Add liquid mix back to skillet and set to low simmer for 1 hour.
7. After 1 hour, add 1 cup heavy whipping cream and allow sauce to reduce for 45 minutes to 1 hour.
8. In a medium covered saucepan, bring rice and water to a boil then reduce to low until water evaporates. Turn off burner once water evaporates.
9. Once sauce is thick and meat tender, salt sauce to taste. Plate rice and ladle over sauce. Optional: Garnish with finely minced fresh cilantro and pair with naan bread.
Managing Your Freezer Inventory
The last thing we want to do with hard earned wild game is to toss it because it was ruined in the freezer. Additionally, none of us want to take shots afield while carrying the guilt of game neglected and, in some cases, thrown into the trash. Here are some general tips on managing your wild game inventory:
1. The quicker game can freeze, the better. The faster it freezes, the smaller the ice crystals will be within meat, meaning muscle fibers are less affected. Therefore, try to keep your freezer at the lowest possible setting without overworking it. This setting may vary depending on where you keep your freezer—indoors or in a garage, for example. Start low, then raise slightly if you run into issues.
2. Try to freeze your game only once. Freezing game can lead to dehydration. Moisture is also lost upon thawing out. Freezing a second time is a double whammy and when it comes to lean wild game, especially ground game, double freezing will result in dry meat and likely gamey flavors.
3. Consider rotating your game. Yes, there is the chance of puncturing packaging when doing this but hopefully those heavy-duty materials you sourced can withstand some minor shuffling. Ideally, your older game should be on top, easily accessible for your next meal. I try to sort my game into large, deep aluminum baking trays (found in the baking aisle). Others might use heavy-duty plastic bins or milk crates, but I like how I can shape aluminum trays to fit snugly. Pulling and stacking trays is a little easier than playing Tetris with frozen game.
4. Or, just go with upright freezers. I have a good buddy who swears he will never buy another chest freezer after investing in an upright model, as he can easily find his game without getting elbows deep in chunks of frozen meat. However, upright models are more costly, both in terms of initial purchase and energy bill, and they don’t’ keep food as fresh during any sort of power outage.
Find the author on Instagram @WildGameJack and contact him with any questions or comments.

