Hunters are big fans of grilling and cast-iron cooking. But which, exactly, is better for cooking wild game? Should you grill dinner over an open fire or sear it on a cast-iron skillet or griddle? The short answer: It depends. The best method comes down to what wild game species you’re cooking, and how you want the flavor and texture to turn out, among other considerations. The good news is, both make for delicious wild-game meals. Let’s dive in.
What Grill Works Best for Your Wild Game?
Before we wade too far into the grill vs. skillet debate, let’s first discuss what we mean by grilling and narrow down what works best for you. When I started learning to grill from my dad some 25 years ago, dear old Dad would get up on his soapbox and declare that charcoal was the only legitimate option. He owned a Weber with a stainless-steel grate because, of course, gas grills made your food taste like gas. He used a chimney starter to avoid lighter fluid whenever he grilled and, until recently, never considered cooking outdoors any other way.
Now pellet grills are a big thing. I have grilled on propane grills for years, both personally and professionally. I can confidently speak to the following: Propane grills do not add any undertones of gas to your food, and pellet grills do have their place in the backyards of BBQ enthusiasts.
The Pros and Cons of Charcoal
Dad was right about one thing: Don’t ever use lighter fluid. There’s no reason to. Invest in a chimney or electric starter. If you insist on using lighter fluid, only put the grate over the coals once they are mostly gray, lest you risk eau de lighter fluid leaching into the grate and, eventually, your food.
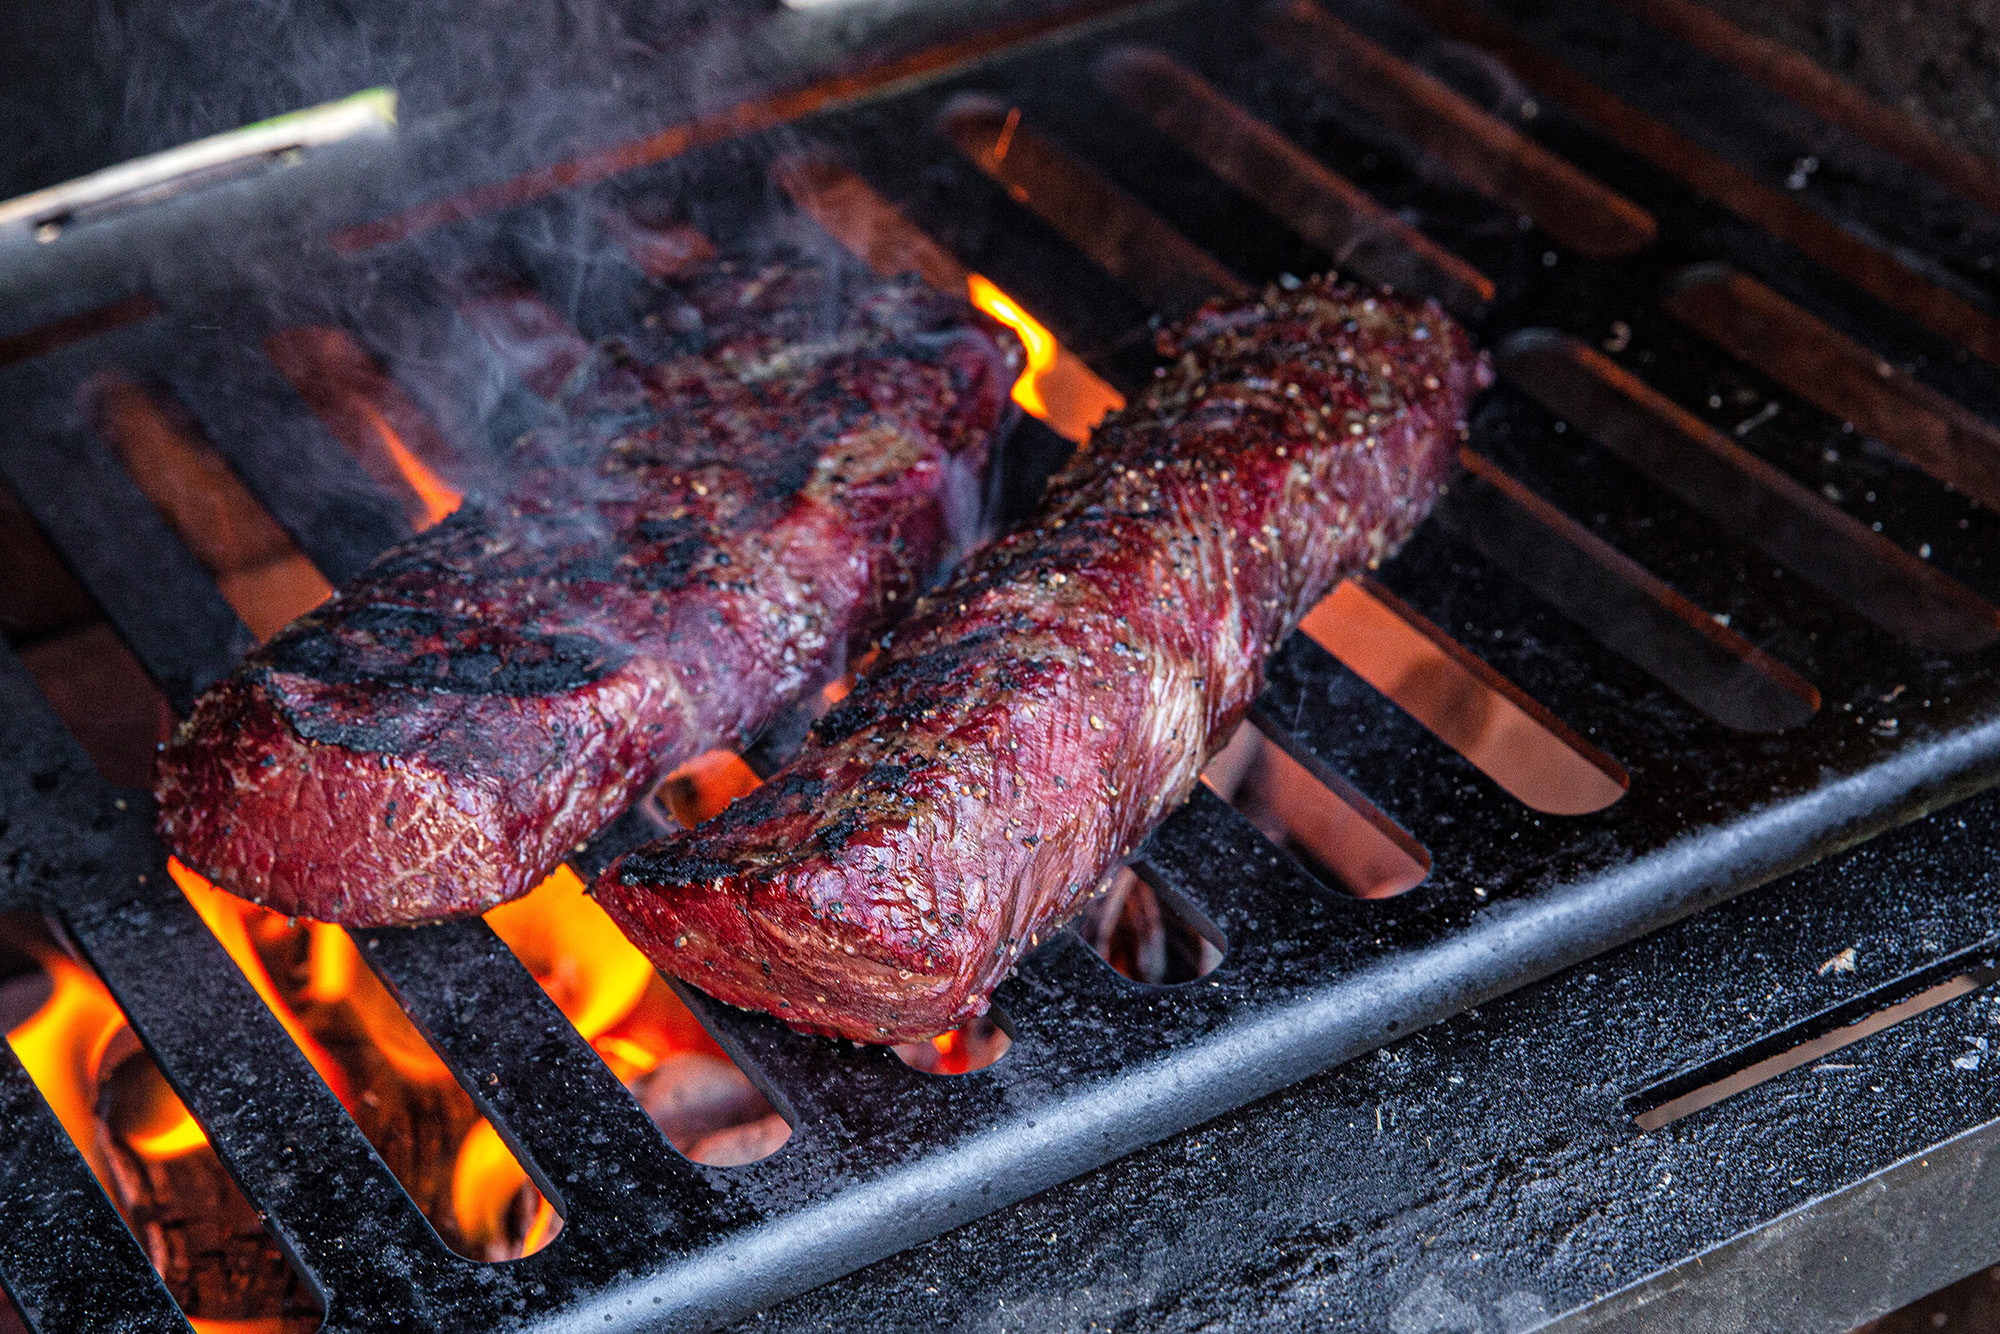
There are numerous brands of charcoal that offer various flavor profiles like hickory and applewood. If you skip the lighter fluid, you can grill while the coals gray—versus having to wait till they turn mostly gray—which introduces these flavors to your game meat. So, if you like that charcoal flavor, cook with charcoal. Another pro? Charcoal gets hot. And it will stay hot for as long as there are new black coals left to burn. When I want that perfect reverse sear on a backstrap, with a little bit of charcoal flavor, I have zero issue getting my charcoal grill to a ripping 900 degrees and keeping the grate at that temp until I’m ready to sear.
Read Next: The Ultimate DIY Guide to Making Wild Game Jerky and Snack Sticks
The biggest knock against charcoal grills—the traditional models, without temp-monitoring mechanisms and fans—is consistency. It takes decent practice to feel comfortable with cooking at precise temperatures on charcoal. It’s a balancing act of knowing how much charcoal to add, and when. So is knowing which bottom vents to leave open, and by how much. If you’re reading this and thinking, I can get my charcoal grill to cook just as precise as a propane grill, I promise—I believe you 100 percent. My point is that this skill takes practice. And for those folks who are looking to fire up the grill to cook game just a couple times each summer month, there might be better options for them than charcoal.
The Pros and Cons of Propane Grills
The major benefits of propane are time and consistency. You turn the knob on the tank, ignite flames, and wait for your grate to reach desired temp. It’s basically that simple. Some folks may claim food grilled over propane tastes like propane, but that has never been my experience. I cooked on a gas grill professionally for several years and did so personally for a few more. Never once did I hear any feedback that my food “tastes like gas.”
The major con to propane grills, in my book, is actually the lack of flavor profile. Gas grills will cook your food just fine, and while there are such things as smoke boxes, you really don’t receive that cooked-over-a-fire flavor that a wood or charcoal grill delivers. And that’s what backyard BBQ is about for me: The smell of charcoal, or wood, or both, calls forth memories of me and my dad and listening to Ed Farmer call White Sox games on the radio. I bet you feel the same, even if you’re not fortunate enough to be a Sox fan.
The Pros and Cons of Pellet Grills
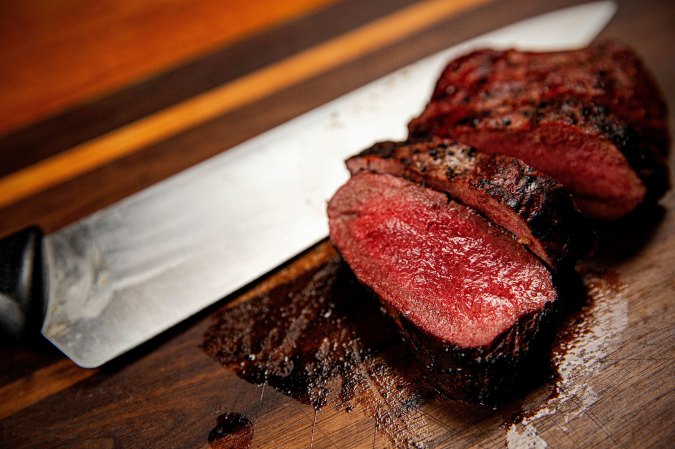
It seems these things have become all the rage over the past several years. Some of my best friends claim nothing cooks like a pellet grill. I have another best friend who makes fun of me for cooking with rabbit turds. Nevertheless I run a Camp Chef Woodwind and the truth is: between the pellet grill functionality and its Sidekick propane burner, this rig is the “easy button” for how I like most of my wild-game steaks and roasts. I set the smoke setting, place game on the top rack, and stick the meat with the internal meat thermometer probe, then let ‘er run until the internal temperature reads 110°F. I coat the game with a little bit of Montana Mex Avocado Oil for those buttery notes—without risking burnt butter—and throw into a 650°F cast-iron skillet for 1 minute on each side for the perfect reverse sear. It’s basically an idiot-proof method. I may adjust the sear length and rest time based on thickness of meat, but the goal is ultimately the same: A crusty yet juicy medium-rare-throughout cut of wild game.
Perfect as pellet grills are, they do have a few downsides. Hardwood pellets are your heat source. And yes, that fire box can get hot, but the moment I open that lid, the grill’s temperature drops and has trouble recovering as quickly as I would like. Additionally, it’s my understanding that most of these pellet grills come equipped with porcelain-coated-iron or enameled-steel grates, which keep food from sticking and clean up well, but ultimately don’t conduct heat as well as mild steel or cast iron (more on that in a minute).
And while you don’t have to babysit a pellet grill—the Wi-Fi or Bluetooth app pairing means all you have to do is look at your phone to gauge the wild game’s temperature—sometimes I prefer to babysit what I’m cooking. It’s an excuse to get outdoors, chop some wood, and sit beside a fire with a beverage in hand while those smells waft about in your backyard.
Choose a Good Grate
Thick cast-iron or mild steel grates are the only way to go. I’ve seen stainless-steel sear stations which are somewhat trendy, but I still prefer the old standbys. I can speak from 15 years of professional experience that both cast iron and mild steel do the best job of retaining heat, which produces a better sear.
My dad and I grilled on stainless steel grates for decades and always noticed that while you get those classic grill marks on the first side, once you flip the meat you likely won’t see grill marks on the other side. Again, this is because stainless steel has trouble retaining high heat.
With any grate material besides mild steel or cast iron, the fire produces the sear and adds crust to the meat. And that is fine, but the mild steel grate of my Proud Pyro Tower will hit 950°F and retain that temperature without a roaring fire. This means I can drop some backstraps on that grate for 30 seconds on each side for the ideal reverse sear.
The downside to a mild steel or cast-iron grate is the maintenance. You have to know how to properly clean and season those grates after each use; otherwise, you risk rusting and eventually chipping, among other issues.
Seasoning Cast Iron
Let’s talk seasoning. Generally “seasoning,” in relation to cast iron or mild steel, has nothing to do with flavor. Seasoning is the process of oil polymerization—basically baking oil into the pores of the metal. This creates a non-stick protective layer. Most cast-iron skillets come pre-seasoned from the factory, though not well. Untreated cast iron, like mild steel, is actually dull gray. It’s the factory seasoning that turns it black, and the same is true of mild steel. Polymerization can occur between 350 and 500°F. That is why, when purchasing a new cast-iron skillet, the instructions say to wash it then bake it at 400°F for hours. This opens those pores so you can bake in oil and season your skillet.
Does oil choice matter? Again, it depends. This is where the concept of flavor comes into play. Gino’s East in Chicago is world-famous for its deep-dish pizza. Most folks attribute this to them using the same cast-iron pans for decades, which have baked in those distinct authentic oils you find in their pizzas. They’ve tried opening new locations where they use new pans, and the same pizza doesn’t come close to the original pies.
A similar logic applies to how you season your cast iron at home. I actually used flaxseed oil to initially season my cast iron. While a great “drying oil,” it had a distinct flavor, and I felt that came out in my cooking. A milder oil like sunflower oil doesn’t present this issue.
The Case for Cast Iron
So, when is cast iron better for cooking game than a grill? When you’re cooking waterfowl, or anytime you want to retain fats or oils and bathe your game in them.
Waterfowl, in my opinion, is like bacon, and it should be cooked in its own fat. Fat rendering from the skin of waterfowl is pure, liquid gold. You never want to lose that fat to the open fire of a grill grate, so cast iron is absolutely the way to go.
Another scenario would be a braising wild turkey legs, which require at least a few hours at low-and-slow temps to break down muscle collagen and yield tender bites. To braise these, you would first sear the meat in a cast-iron skillet, then add liquids like chicken stock or perhaps a marinara, and simmer on low for hours until the meat toughens then ultimately breaks down.
Basting in a butter bath is another method that comes to mind. Perhaps you’re searing some elk medallions then want to add some butter, garlic, and rosemary for a short bath to finish them off. It’s also not uncommon, for example, to cook a fillet of trout skin-down in cast-iron with clarified butter (which has a smoke point of 482°F, compared to normal butter’s 302°F), all the while spooning that clarified butter over the meat to cook that top side and imbue with buttery notes.
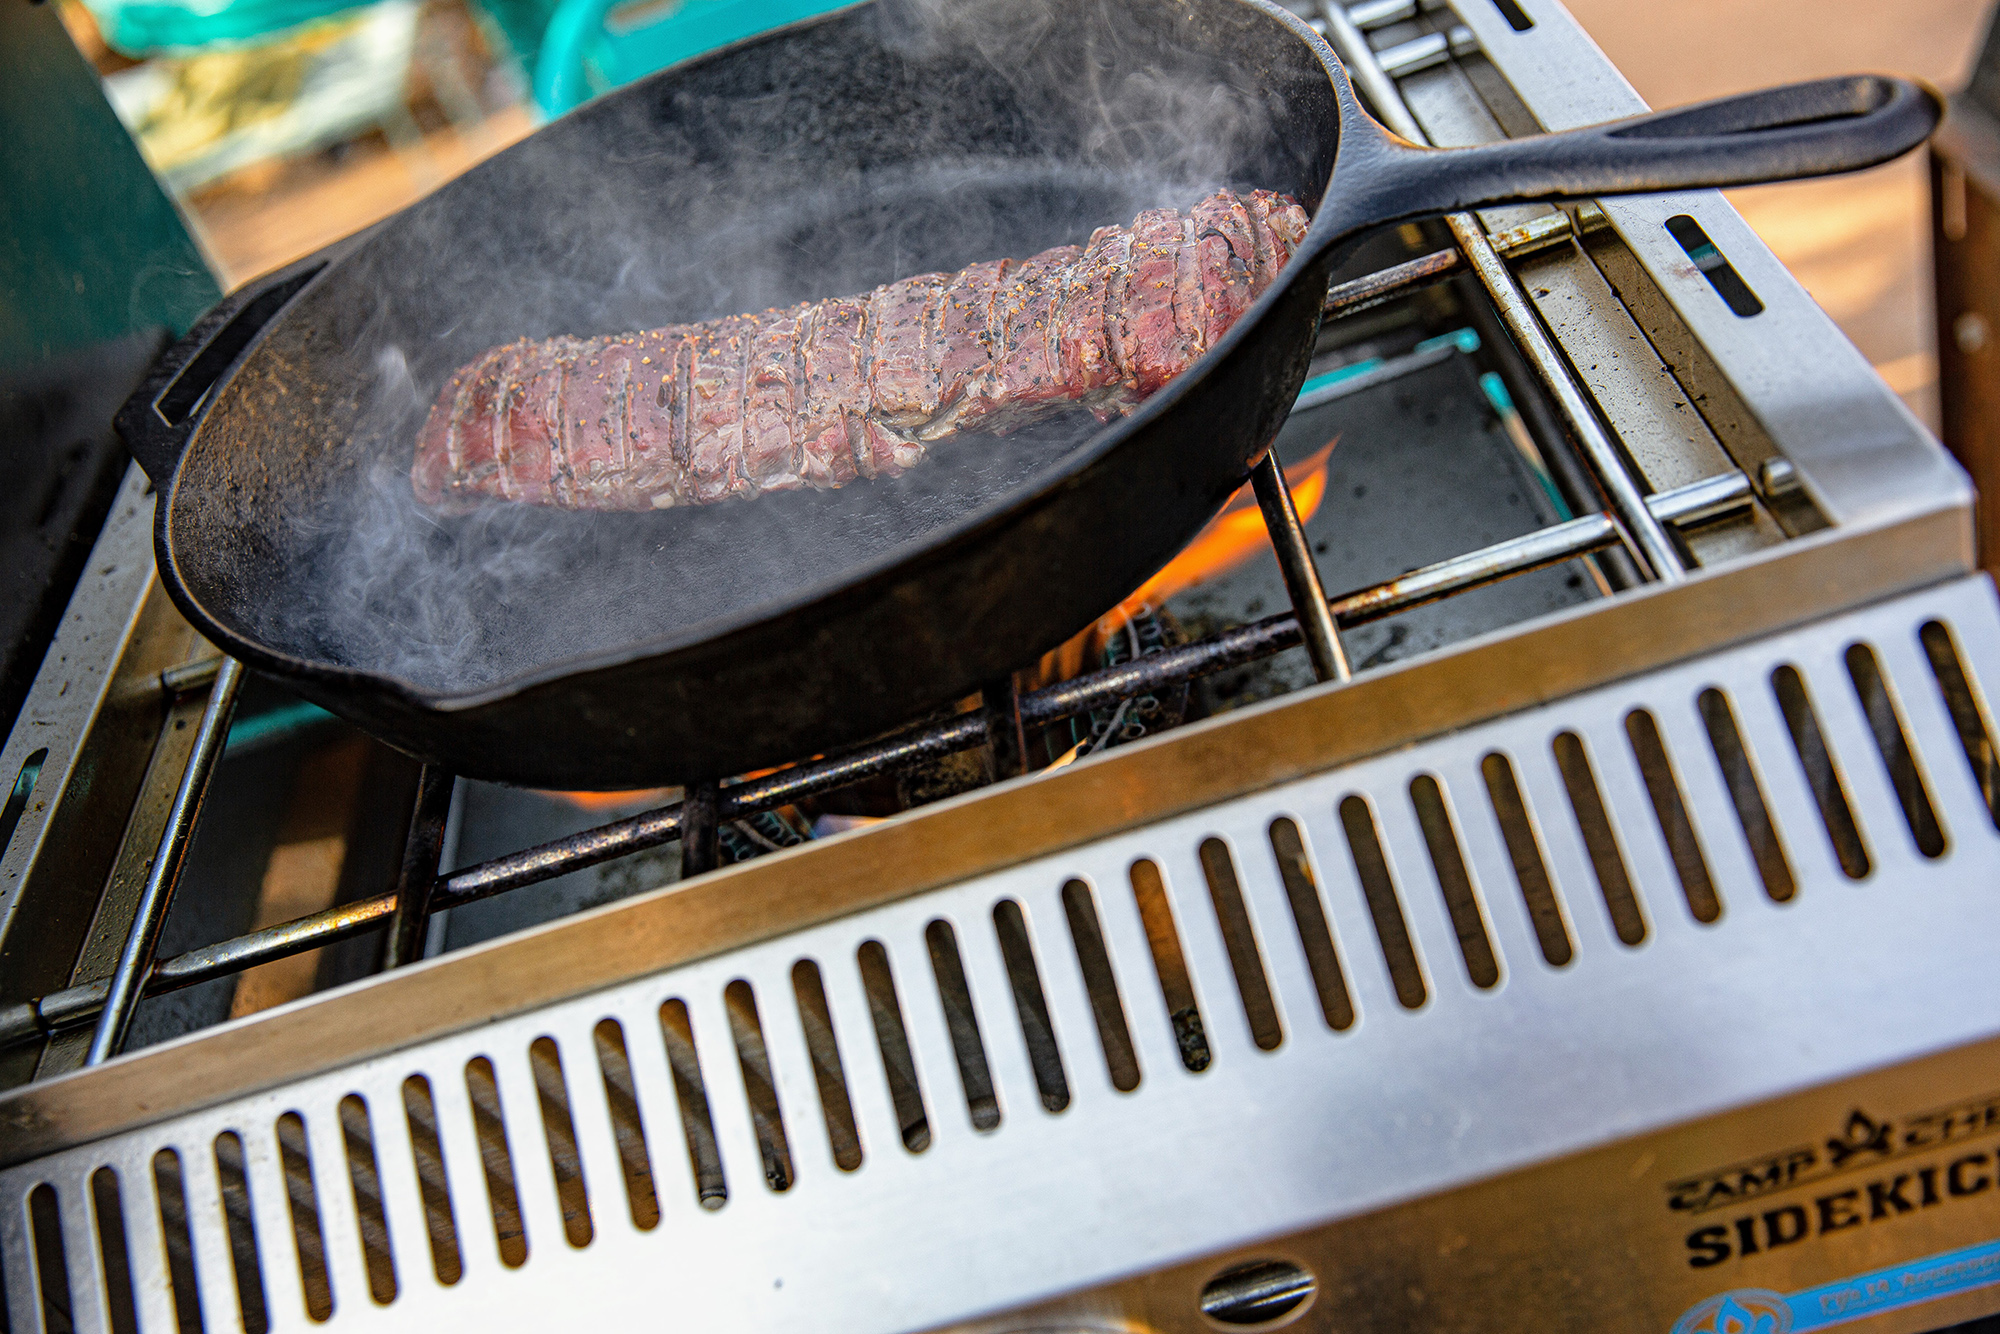
Another perk of a cast-iron skillet or griddle is the heat retention across the entire surface area. As mentioned above, I’ll heat my cast iron skillet to 650°F and sear for one minute on each side for a whitetail backstrap. I’m looking for an internal temp of 110°F. I use an infrared thermometer to verify the surface temp beforehand then slap down the cut of game. I get a fantastic crust across the entire surface every time. Do note: You may burn off seasoning at 100 degrees past the seasoning oil’s smoking point. Example: The smoking point for sunflower oil is 450°F. At 550°F, the seasoning may burn off. What this means: I just have to re-season afterward. When I’m done grilling, I let the skillet cool then handwash (yes, I use hot water and soap) then re-season with sunflower oil. A properly seasoned cast-iron skillet isn’t built up over time, but rather maintained. It should be noted I’ve been properly seasoning and re-seasoning this thing for a decade. It can withstand and rebound from anything.
Read Next: The Ultimate Guide to Cooking Perfect Wild-Game Steaks
On the flavor side of seasoning, you can strategically bake in oils and fats, and avoid washing your cast iron so that you can lend those flavor profiles to your next meal. Example: Say you cook a nice, juicy skin-on mallard breast one night and just rinse off your skillet rather than using soap. The next night, you grill some inner loins in that same skillet. Around 350 or 400°F, some of that duck fat from the previous night would have baked into the cast iron’s pores, and now it will add that flavor note to your venison.
You can keep this rolling from one meal to the next, but personally, I put an end to it at some point, as I want one particular cut of game to taste exactly like it should (no cyborg wild game flavor profiles for me, thanks). To properly clean a cast iron skillet, I handwash it with hot water and soap. Then I reheat it to at least 400 degrees and wipe with sunflower oil until my rag comes away with clear oil, and no tints of orange or red. Now the skillet is both clean and seasoned once again.
The Bottom Line for Wild Game
If you wanted me to definitively choose between cast iron and the grill, then you’re going to be disappointed. The better choice simply comes down to what you’re cooking, and what flavor and texture you want to enjoy for dinner. If you want a smokey, open-fire flavor, fire up the grill. If you want a butter-basted elk steak, heat up the skillet.
If you have any questions or comments, reach out to the author on Instagram @WildGameJack.

