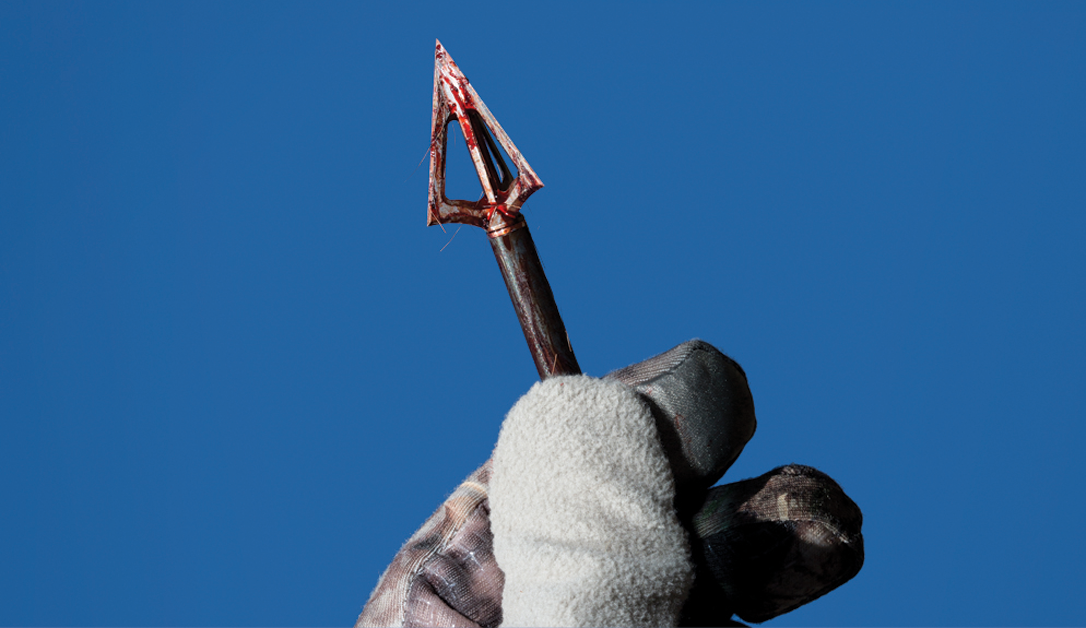
Want a better broadhead? Check out our test of 29 of the most popular models here.
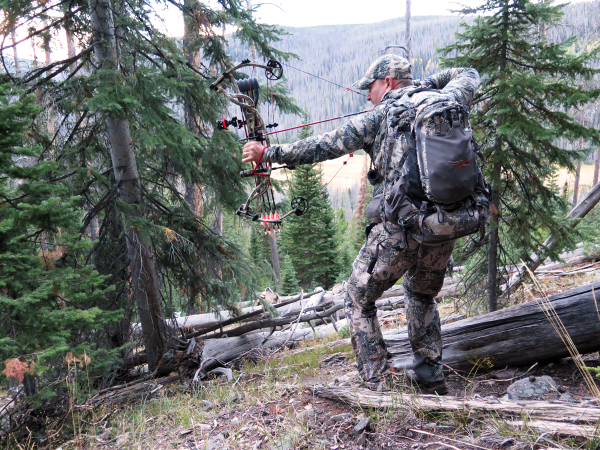
You’ve been shooting your bow all summer, your gear is tuned up, and you’re ready hunt. Or are you? Shooting baseball-size groups at the range doesn’t necessarily translate to accuracy from a treestand when a live target is standing out in front of you. So, we designed five real-world shooting drills to liven up your summer practice sessions and prepare you for deer season. To help you execute each drill, we asked five experts to divulge their favorite tips on how to get ready for bow season.
DRILL 1: 3 AT 30
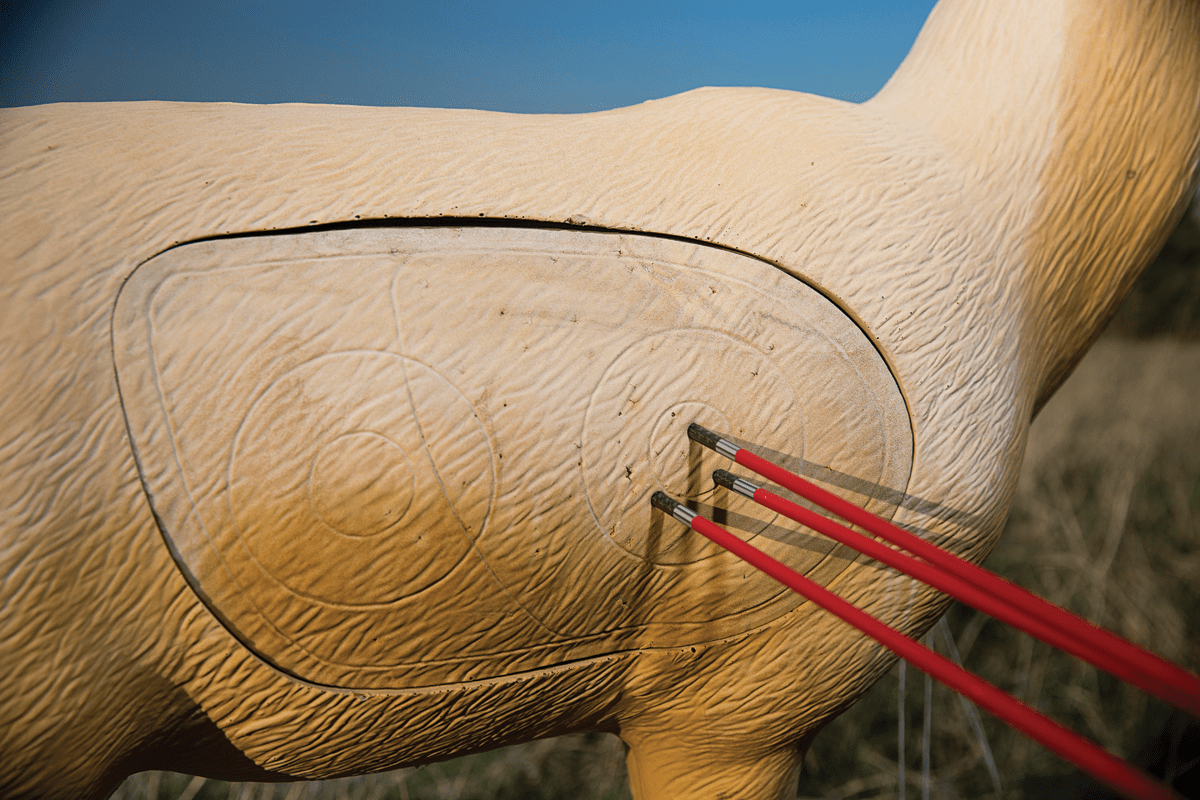
Think of this set of five drills as a mini summer school for bowhunters, and this first one, devised by Larry Wise, is your entrance exam. If you can’t execute this most basic and critical bowhunting shot, you don’t move on to the more advanced stuff. It’s also a good barometer for whether you’re ready to hunt (or not).
THE DRILL
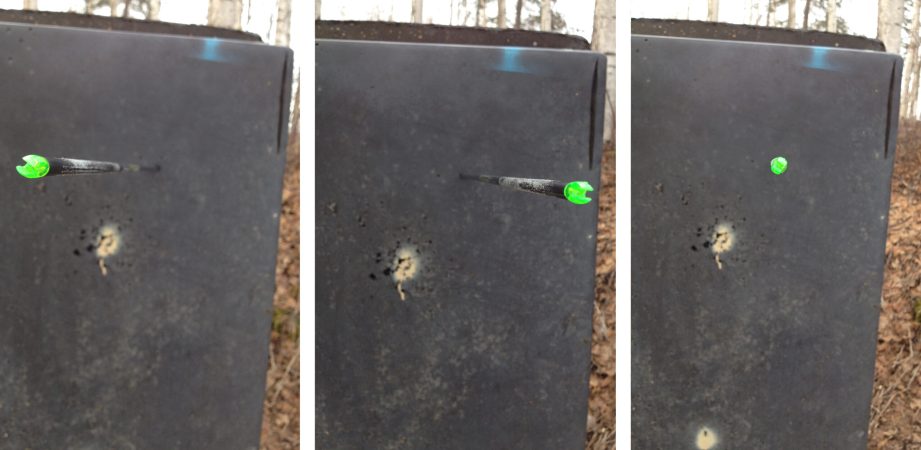
Set a target 30 yards from your treestand and put 3 consecutive shots in a 4-inch group centered around the bull’s-eye. Shoot this drill with your broadheads.
THE PLAN
Before you get into your tree, try drawing your bow while sitting in a chair. If you can’t raise your bow and draw it straight back, keeping the arrow parallel to the ground, then you need to turn your draw weight down. The first key to good shooting from a treestand is a stealthy draw.
Once you can draw properly, get in your stand and start your pre-shot routine. Spot the target at 30 yards and pick a precise aiming point. Take a deep breath, raise your bow to target level, bend at your waist to account for the downward angle, and draw. This is where Wise’s coaching gets a bit more intellectual. He trains his shooters to transfer the energy used to hold the bow at full draw from their arms to their back. It works this way: With relaxed arms, your back muscles contract, and your pin hovers over the target as your back muscles continue contracting. Your release hand squeezes the trigger, and you launch an arrow without consciously thinking about it.
Your goal while at full draw—aiming at a deer or, in this case, a target—is not to shoot the deer. “The act of shooting a deer is in the future,” Wise says. “And if you start thinking in the future, you’ll punch the trigger. You need to stay in the present.”
Make a conscious decision to think about transferring energy from your arms to your back (block out any other thoughts) and let your bow do the rest. This method of shooting combats trigger punching and target panic, Wise says.
If you’ve been practicing, and your bow is properly tuned for your broadheads, this drill should be a cakewalk.
THE EXPERT
Larry Wise is a renowned archery coach and former professional international shooter. Wise literally wrote the book on compound bow shooting. Literally. It’s called, Core Archery, and is widely available.
DRILL 2: THE LONG HOLD
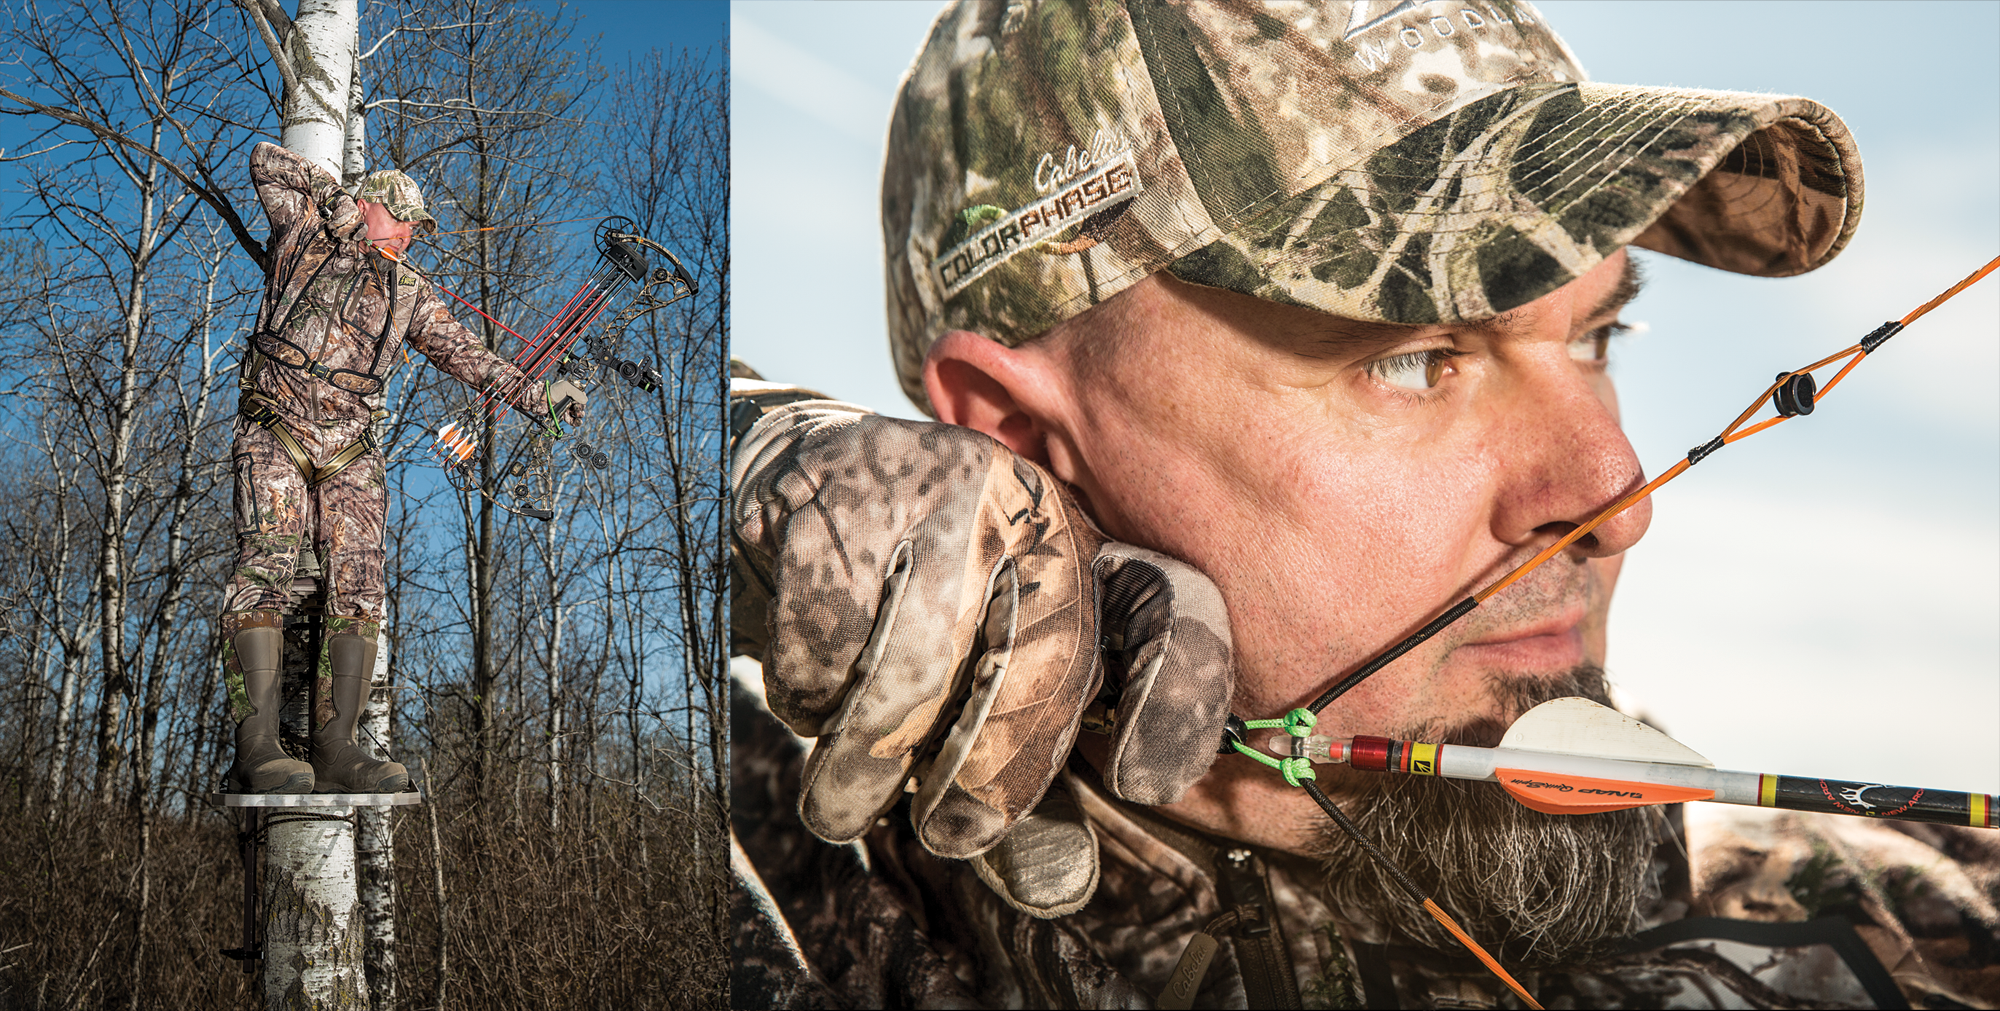
Can you stay at full draw long enough to outwait a buck? If not, here’s the perfect practice.
THE DRILL
Place your target at 30 yards. Draw your bow and hold it for two minutes—don’t aim, just hold. Then, bear down and aim for a full 15 seconds. Make the shot anytime after those 15 seconds are up. When you can do this easily, move back to 40 yards.
THE PLAN
It’s not the physical act of holding your bow at full draw that makes this drill tough; it’s being able to aim and shoot accurately while you’re shaking. Before you can execute this drill properly, you need to build up strength. So, at the end of every range session, Dan Perez recommends drawing your bow, aiming, and holding at full draw. Once you can no longer keep the pin on target, let down without shooting. By the end of the summer, holding at full draw for two minutes should be easy.
Train with a 3D target, and practice looking over your sight housing at the vitals while keeping the head and tail of the deer in soft focus. This will prepare you to watch a buck’s behavior while you’re at full draw.
THE EXPERT
Dan Perez is president of whitetail properties and a former competitive archer. By Perez’s estimation, he’s had more than 100 opportunities to take mature bucks during his years of bowhunting.

DRILL 3: THE QUICK DRAW
Like the long hold, this drill helps refine your timing. It’s meant to prepare you for this typical scenario: A rutting buck charges into your setup. You draw, grunt to stop him, and shoot. It’s all over in a matter of seconds.
THE DRILL
Stake your target, preferably a 3D deer, at 20 yards. You have five seconds to raise your bow, draw, and shoot—hitting a 3-inch circle each time.
THE PLAN
You need to be careful with this one. If you rush, you’re guaranteed to punch the trigger, and too much of that will wreck the form you’ve spent all summer perfecting. Five seconds is more time than you might think.
Your usual shooting time—from draw to release—is probably 8 to 10 seconds. You need to keep your shot routine exactly the same here—just speed it up a little.
“Have a checklist: Find your anchor point, pick a spot, squeeze. You need to run through this every time you shoot, or you’re going to fall to pieces when you see a really big deer,” says Mike Stegall.
Visualize your routine and the shot before you take it. Imagine yourself seeing the target, drawing, and shooting. Lastly, “bury the pin,” Stegall says. Pick a specific spot on the vitals, move your pin there, and hold steady, following through after the release. Shooting this drill on a 3D target helps train your eye to pick a spot on the animal quickly.
THE EXPERT
Mike Stegall is a firefighter who helps manage whitetails on Texas ranches. Over his 30-year bowhunting career, Stegall has taken more than 200 deer, including about 20 that would make Pope and Young.
DRILL 4: RANDOM RANGES
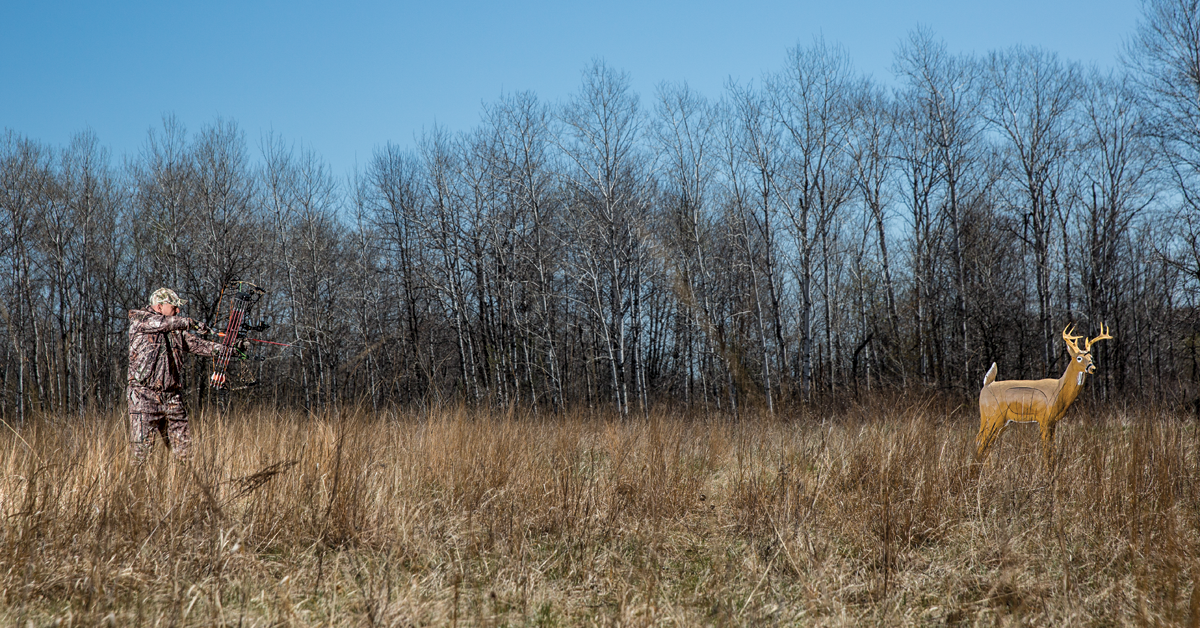
You’re crushing targets at 20, 30, 40, and 50 yards. But can you hit exactly where you want at 36.5 yards? How about 6 yards? A rutting buck might cruise through from any direction and at any distance. When he does, you need to be ready to range him and shoot.
THE PLAN
Have a buddy pick random spots to shoot from throughout your effective range (maybe it’s 2 to 40 yards). Use your rangefinder to judge the distances and take one shot from each spot. Then, it’s your turn to pick the spots and his turn to shoot. Shoot this drill with your broadheads or practice tips.
THE DRILL
First, forget the notion that you’re good at estimating yardages without a rangefinder—you’re not. Next, consider your pin setup.
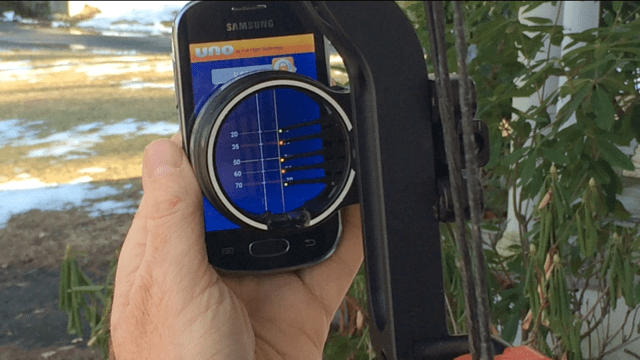
“Overly bright fiber-optic pins are bad for accuracy,” Tim Gillingham says. If your pins are too bright or stacked too closely, you won’t be able to resolve your target clearly. Place a piece of tape over the part of the housing that brings in light through the fiber-optic sight. As light conditions change, you can remove the tape to gain additional brightness as needed. Also, use the colors you see best for your pins.
Gillingham recommends a 3- or 5-pin sight that moves—a hybrid between a fixed-pin setup and a single-pin slider. This gives you the option to shoot the gaps between the pins, or adjust the pins and hold exactly on target.
Once you shoot the drill a handful of times, you might notice weaknesses in your effective range. Maybe you’re lights out at 30 and 40 yards, but you’re struggling at 35. Focus on this range and shoot it until it becomes a strength.
“Practice what you’re bad at,” Gillingham says.
THE EXPERT
Tim Gillingham, the 2013 IBO world champion, is one of the top shooters in 3D and field archery, and is a dedicated big-game hunter.
DRILL 5: GO LONG
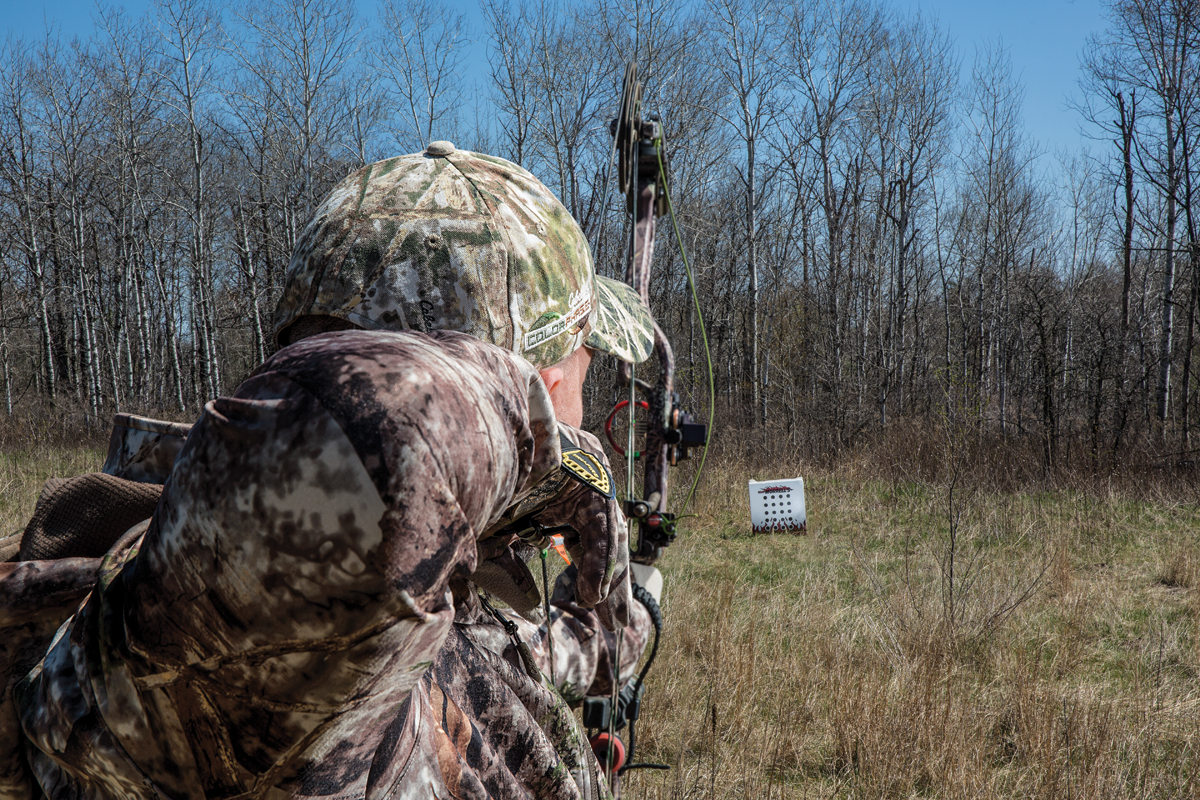
Shooting animals at long range with a bow is highly controversial, and for good reason—small mistakes get amplified at longer distances. However, it’s smart for all bowhunters to practice at long ranges. Shooting long makes the closer shots easier, and you never know when you’ll need to make a follow-up shot on wounded game at long range.
THE DRILL
For this drill, you’ll need to double your 25- to 40-yard comfort range. If you’re consistently shooting a 3-inch group at 25 yards, the goal needs to be a 6-inch group at 50. Are you easily shooting a 5-inch group at 40? Go for a 10-inch group at 80.
THE PLAN
Get your bow tuned properly before trying to shoot at long distances or you’ll likely get frustrated and potentially impede your progress.
Next, master the mental challenge. Just remember that if you keep your routine and form exactly the same, your groups will likely double when you double the range. Let the pin float over the target—don’t try to force it directly on the bull’s-eye. This can be an intimidating concept because if you shoot from far enough away, your pin might cover the entire aiming point. But if you let your subconscious take over as you make the shot, Aron Snyder says, you’ll be surprised at how accurately you shoot.
Consider, too, your peep position. As you shoot at longer distances, you elevate the angle of your bow in order to aim your arrow higher. This creates a slightly different angle for your eye through your peep sight. It might cause you to look through the bottom of your peep and consistently hit low. To mitigate this problem, Snyder sets his peep height to be perfectly level at 40 yards. Centering the peep left to right can also be an issue. If you tense up before the shot, you might push your nose into the string too much, which will cause you to miss left or right.
THE EXPERT
Aron Snyder doesn’t have any archery trophies displayed in his home, just big elk and mule deer racks. Snyder is a diehard western hunter and archery coach who specializes in long-range shooting.
