
There are many reasons every hunter should know how to can venison. Aside from preserving your game, canning venison is a great method for clearing out freezer space in anticipation of next season. Also, with just a little effort, canned venison can serve as a delicious quick-and-easy lunch or dinner option. You can even take it afield for a snack while you’re sitting against a tree, waiting for a longbeard to strut by (just be careful when packing glass mason jars for the woods).
The concept of canning can be intimidating at first, but it’s actually easier than you might expect. The cost-to-entry is low. There is some necessary regular maintenance and part replacement required for canning, but that’s really no different than any other piece of hunting equipment.
In this article we will simplify everything you need to know: how to can venison to the best canned venison recipes.
Why Pressure Can Venison
The bacteria Clostridium botulinum is present all around us. It’s harmless until it’s introduced to an anaerobic environment (where there is zero oxygen), which is what happens when we can food. This Clostridium botulinum then turns into toxic spores that, if ingested, can lead to the rare but serious illness called botulism.
You’re able to can highly acidic foods such as tomatoes or jellies in just a water bath because the combination of boiling water (212 degrees Fahrenheit) and acids in those particular foods will destroy pathogens. But for higher pH foods, like venison or any other meat, where acids will not aid in destroying botulism, the jar and the products inside must reach 241 degrees to equalize, seal, and kill and prevent pathogen growth. While boiling water will never go above 212, pressurized steam will ensure the canner and contents exceed 240 degrees, hence: pressure canning.
Choosing the Best Pressure Canner
Notice this section heading says “canner,” not “cooker.” While both a pressure canner and a pressure cooker reach high temperatures via sustained steam pressure, a cooker cannot maintain heat and pressure long enough to safely can food.
The process of canning venison is indeed a bit of a process, so I believe it makes more sense to opt for a larger yield versus repeating the steps, while making a mess, for small-batch sessions. (It’s similar to making larger batches of sausage versus one-off 2-pound piles).
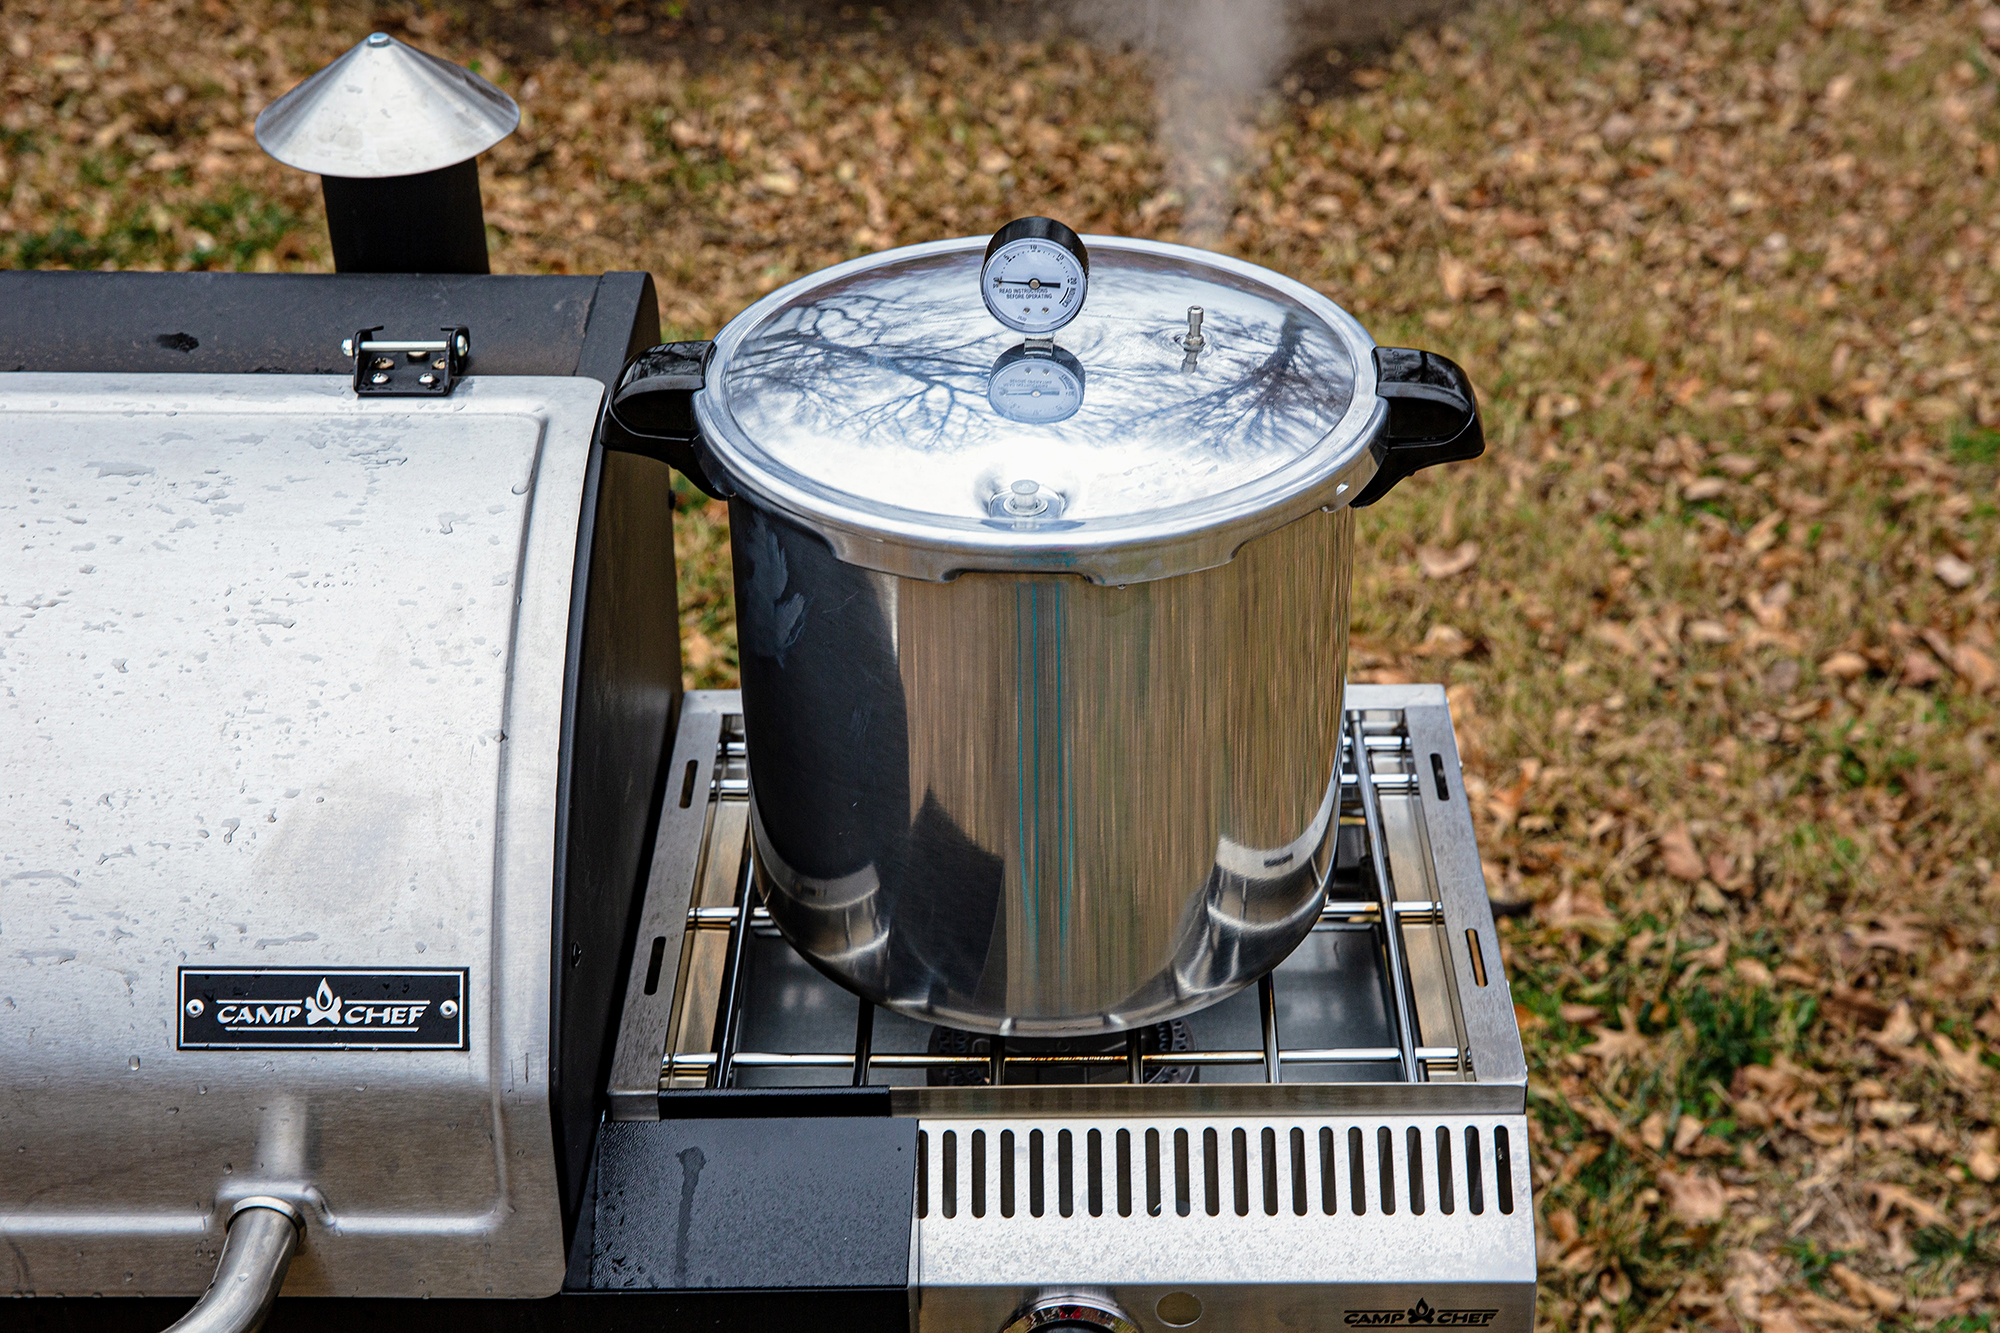
I rely on the Presto 23-Quart Pressure Canner and Cooker. It now sells for approximately $157. I also purchased 48 quart-size Ball mason jars. My 23-quart pressure canner will easily fit seven quart jars, and in each of those quart jars I can fit just under 2 pounds of venison (meaning I am able to can approximately 14 pounds of venison in one session).
If you own a glass or induction stovetop, make sure your pressure canner is compatible with such. Most are not and will potentially crack your glass stovetop.
Next, you indeed need some sort of gauge on your pressure canner to monitor pressure. Most reputable pressure canners come with one, but just make sure that yours does. These gauges come in two forms: dialed or weighted. A dialed gauge is easier to read, but requires annual check-ups, while a weighted gauge requires closer monitoring at first but no annual check-ups. (More on check-ups below).
How to Take Care of a Pressure Canner
You should regularly inspect your pressure canner prior to use. It is extremely important that you read your specific pressure canner’s instructions, since they vary from model to model. Here’s a general checklist:
- Make sure there is a rack to place at the bottom so your glass jars do not contact the heat source (which would lead to cracking of glass jars).
- Inspect the plastic lid gasket sealing ring, ensuring it is not dry or cracked. You will likely want to replace this every couple years, regardless. Make sure it is securely inserted into the lid.
- Inspect the vent pipe by holding the lid up to a light source and making sure you can clearly see through the pipe. If it looks obstructed, take an unfolded paper clip and clean out.
- If using a dialed gauge, have it checked annually (ahead of canning for the year) by taking the gauge to your local county extension office. Or you could mail into the manufacturer for testing.
- Make sure all fasteners are clean and secure.
Set aside ample time ahead of canning to make sure everything is in working order. Botulism isn’t the only thing to fear when canning. With a pressure canner, you’re dealing with hot steam under—you guessed it—pressure. Don’t risk the lid exploding off, causing damage to an exhaust fan or even injuring you, if you’re standing nearby.
Prep Venison Before Canning
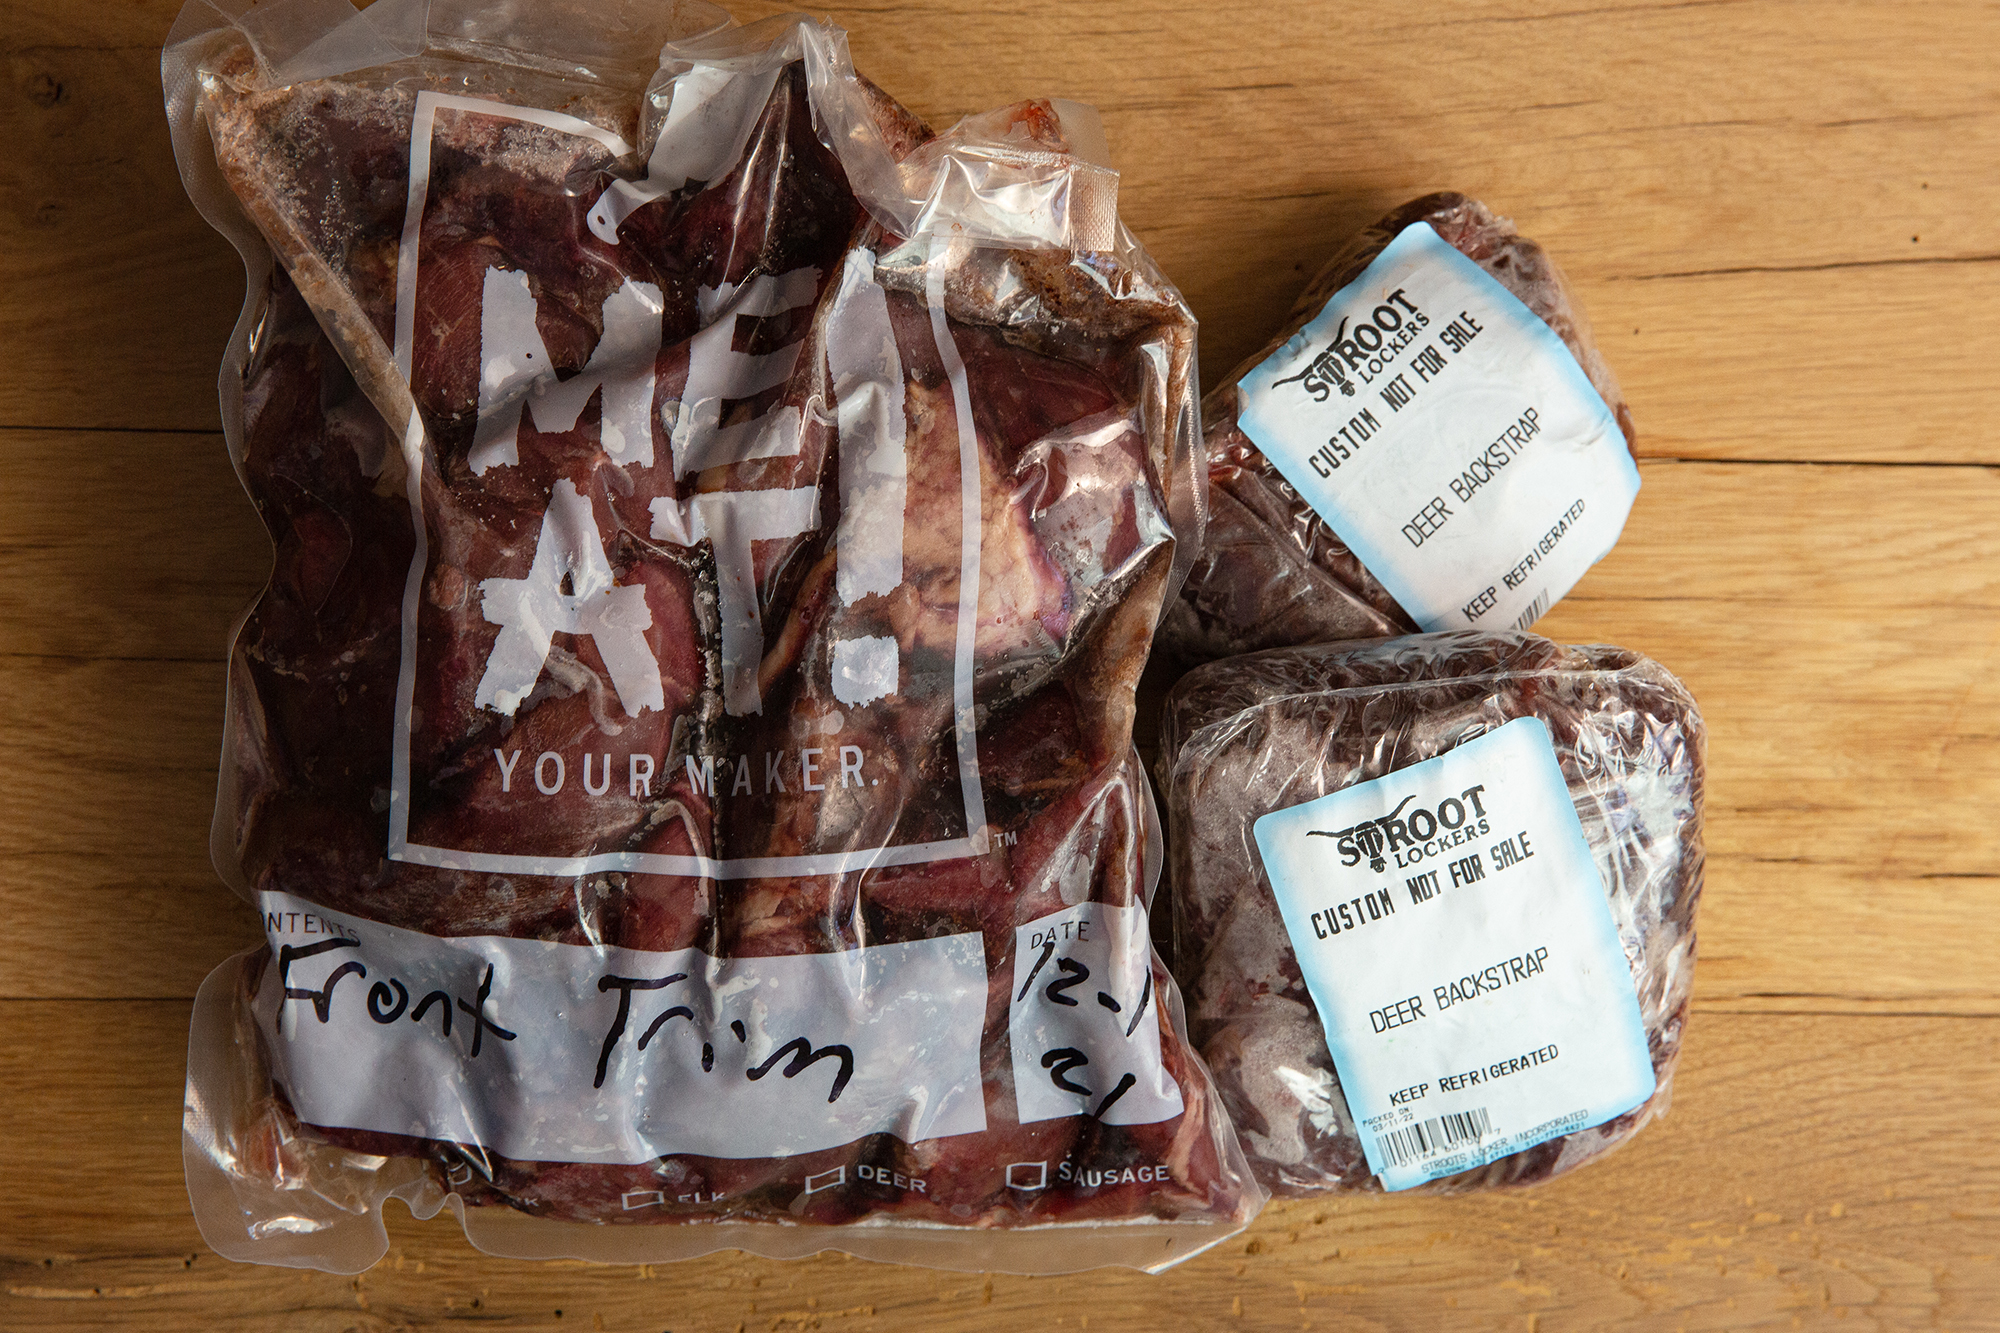
Here’s the good news: You can use any whole muscle cuts for canning. Because the canning process will also tenderize your venison, meat from the neck, front shoulder — anywhere really — serves as a great choice. If you really wanted, you could even use ground venison, though the final product may be a bit mushy since non-browned ground meat might have an unusual texture.
Here are some simple tips for prepping your venison before canning:
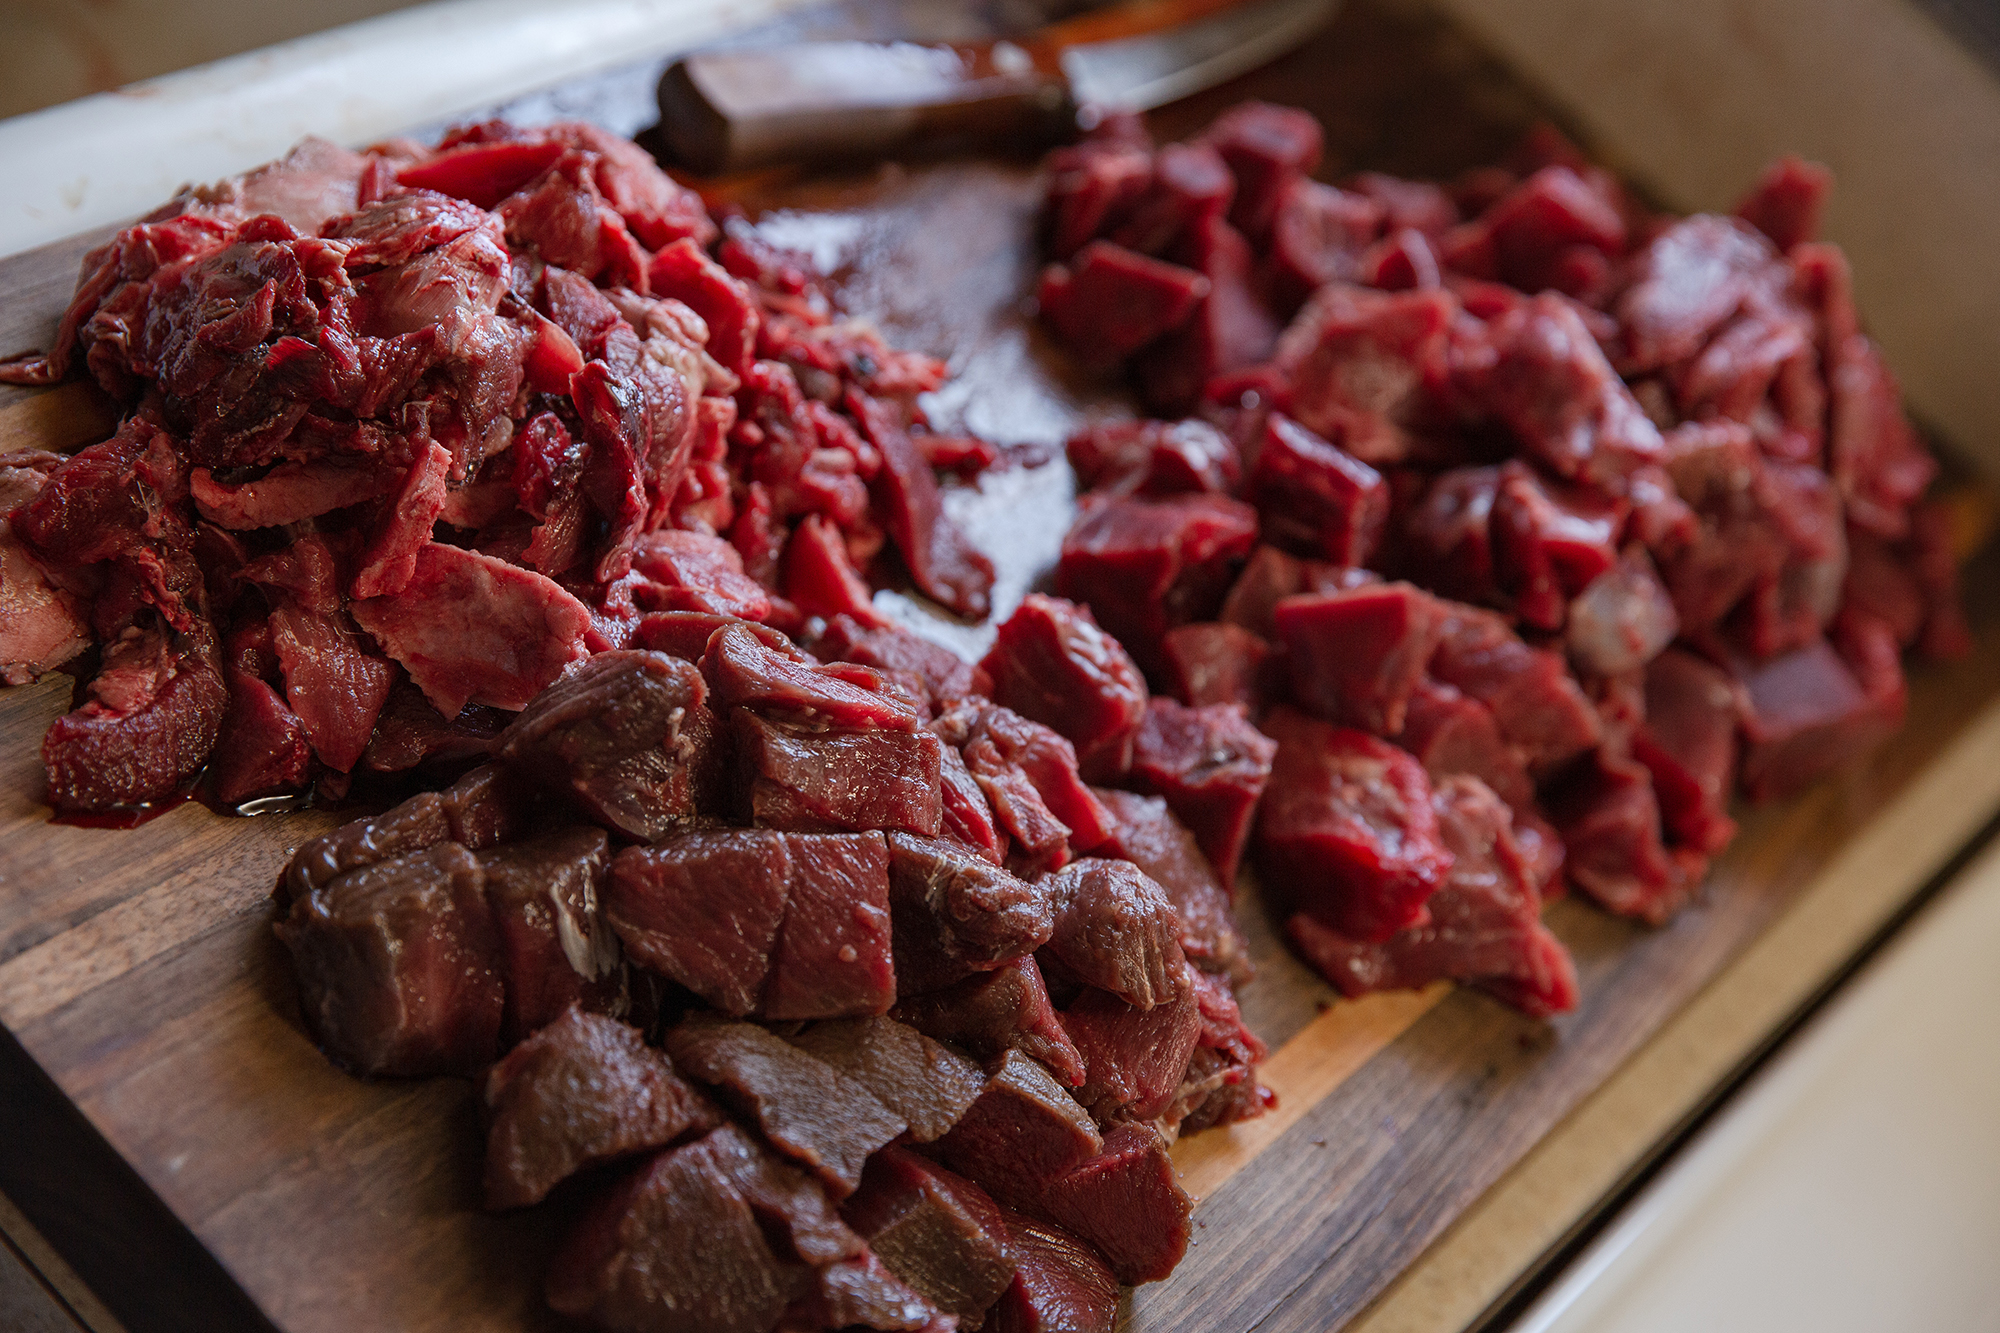
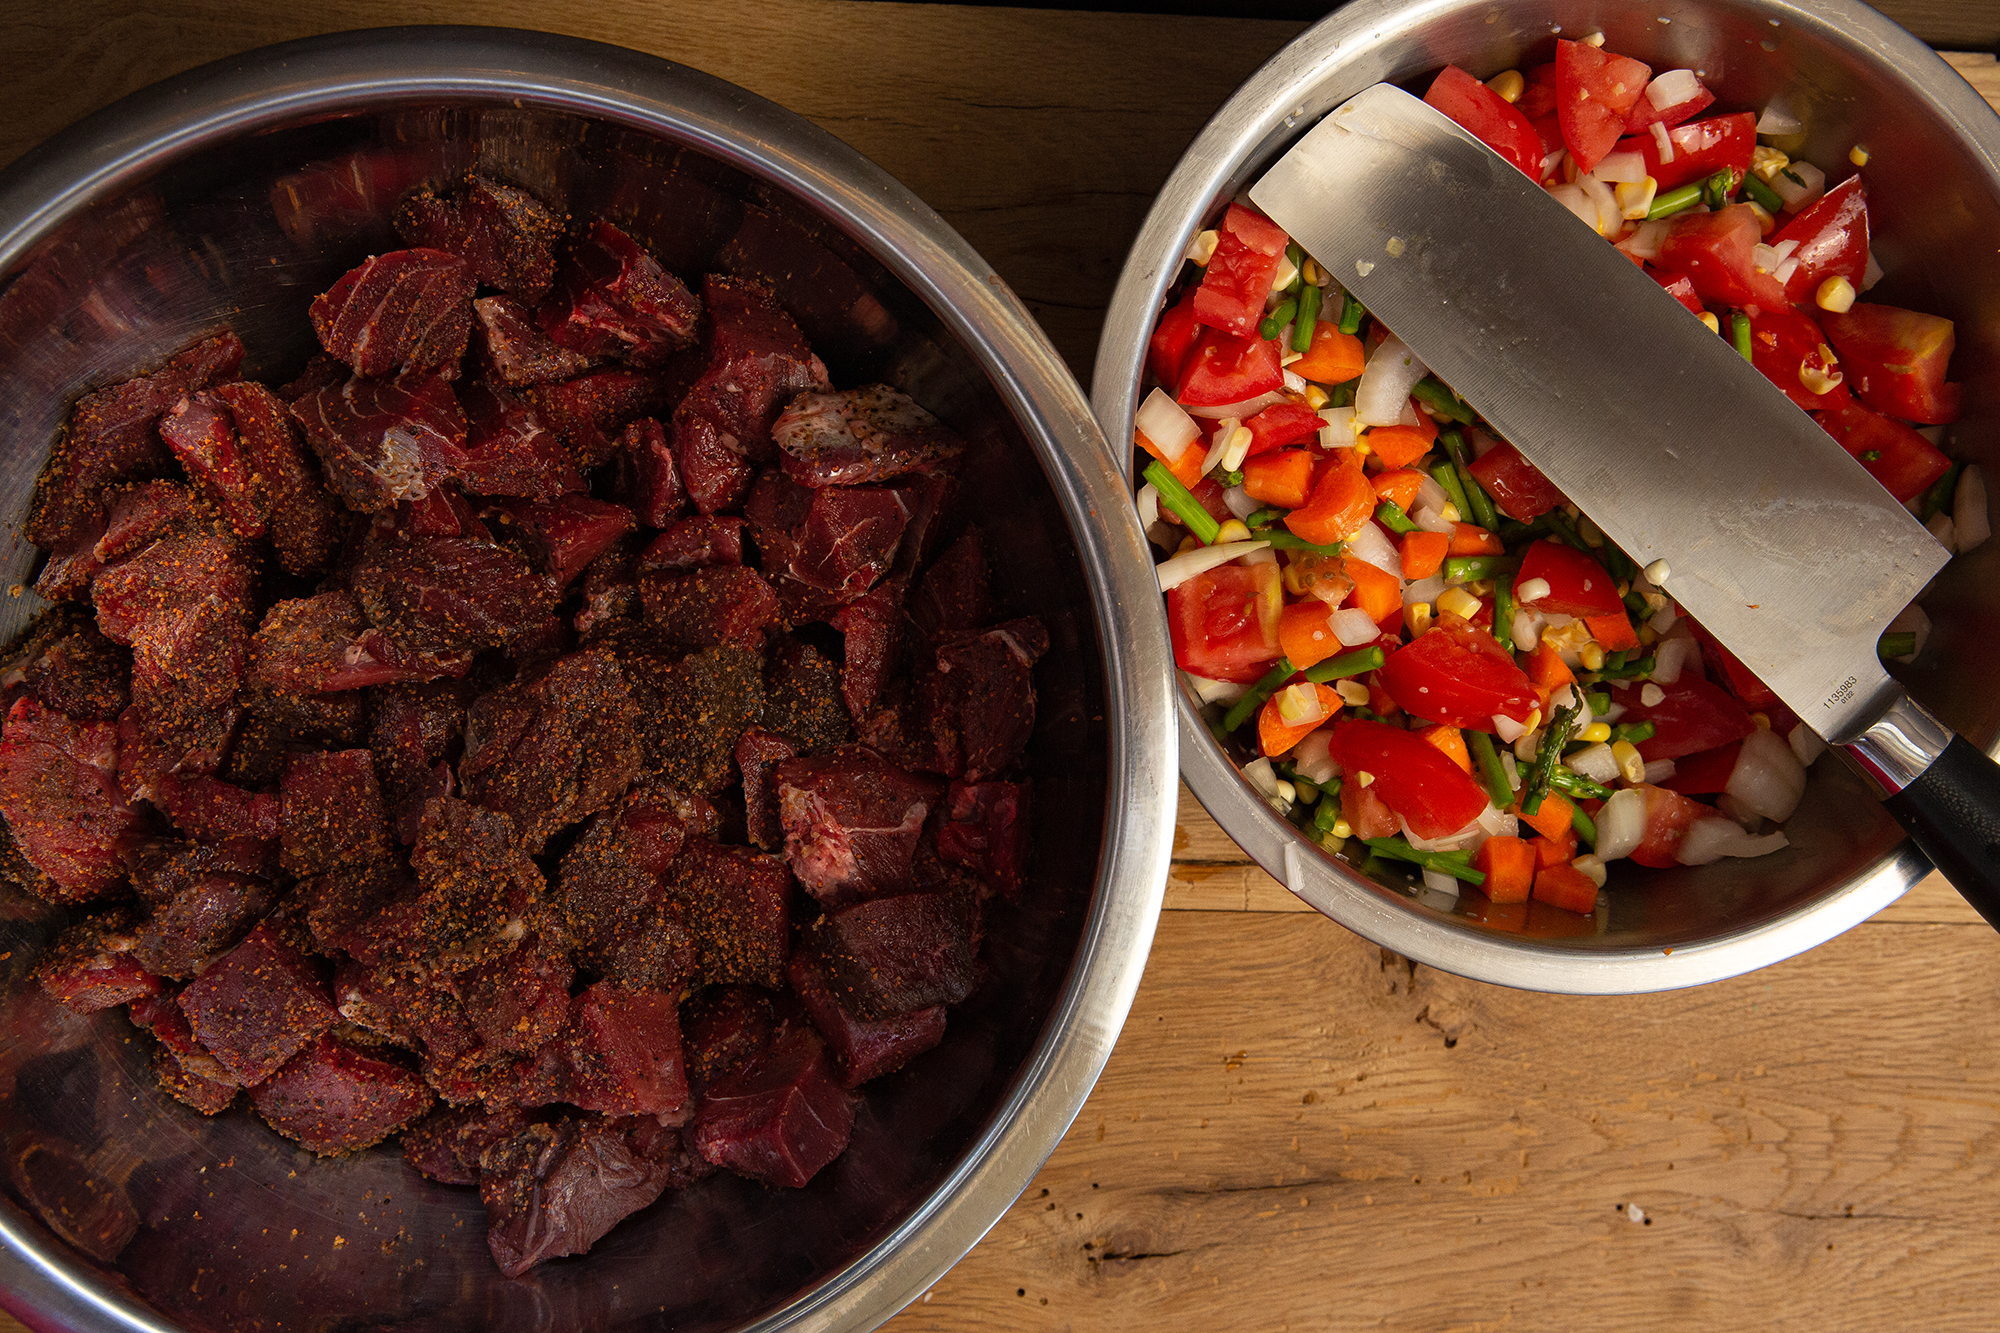
- Trim off silver skin, fat, and fascia. This is easier to do when the meat is partially frozen.
- Cut into approximate 1-inch cubes.
- Season your venison as if you’re seasoning it for a stew.
- Consider cutting vegetables to can alongside your venison. You’ll basically have venison stew ready to eat.
Prep Canning Jars
I run jars through my dishwasher — with rings, lids, and jars separated — for a thorough, hot clean. I then steam after cleaning. Or, you can clean in hot water with dish soap, then leave in 180- to 200-degree steaming water until ready to can. I do recommend pat drying inside and out with a paper towel.
While you can reuse jars and their rings, I recommend using new lids for each canning session. I’d rather pay 50 cents apiece for each wide-mouth lid than risk an improper seal.
How to Can Venison
This process will both cook and tenderize your venison cubes, resulting in a beef-stew-like flavor and texture (remember, read the owner’s manual for your specific canner).
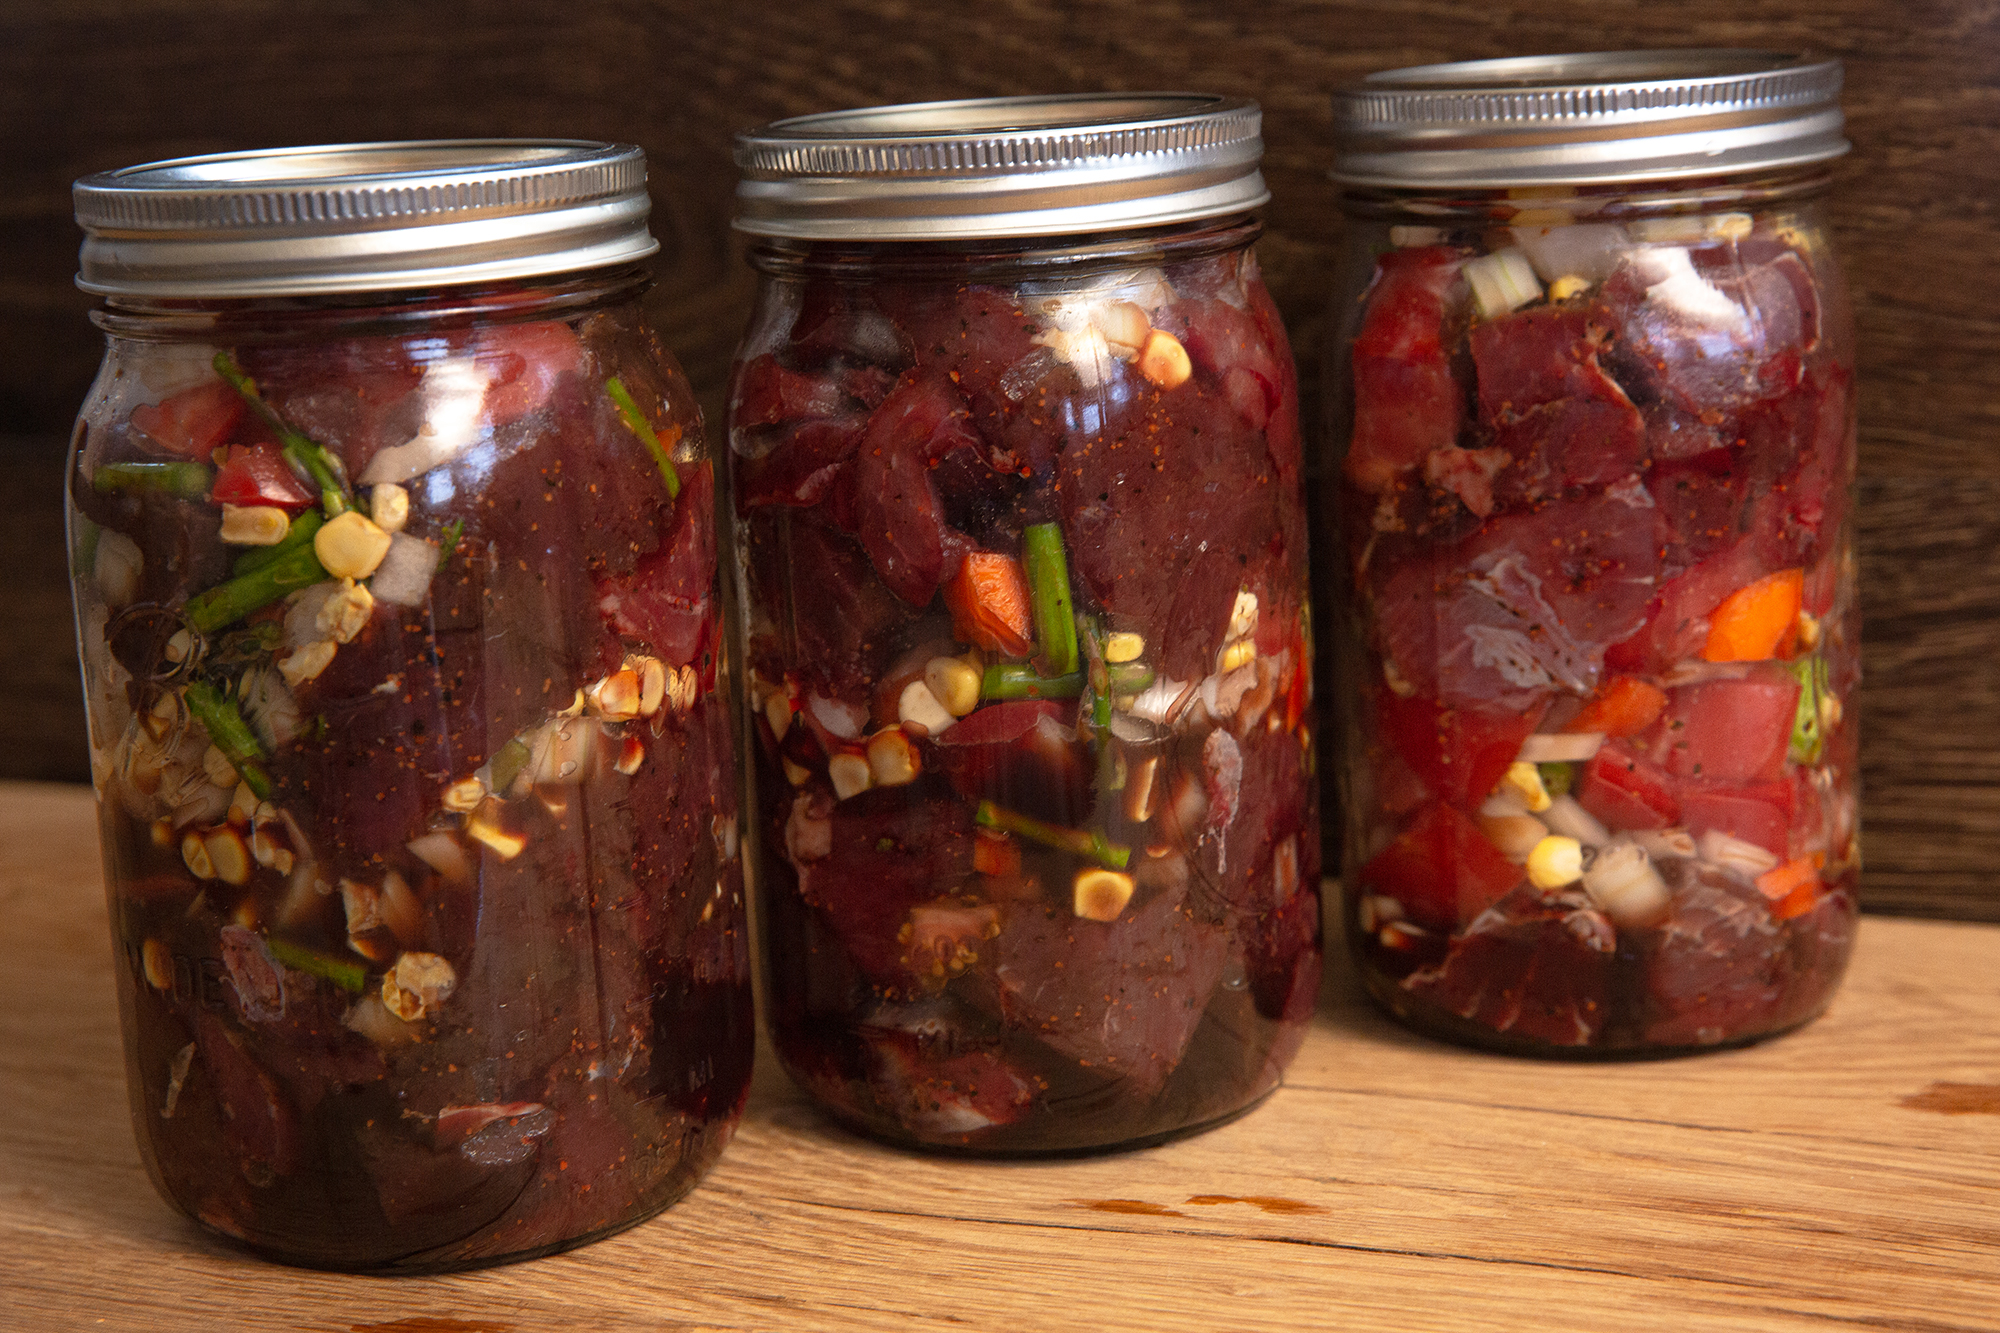
- Add venison (and vegetables) to jar, leaving at least half an inch — and no more than 1 inch — between contents and top. Add less than a 1/4 cup of beef or chicken stock for a quart-size jar (perhaps a couple tablespoons for a pint-size jar). Your meat will create its own juices during pressure canning.
- Run a small, thin rubber spatula or butter knife, around edges of jar to help work out any air bubbles.
- Using a clean warm, damp towel, wipe away any residue from rims. You want them very clean to ensure a proper seal.
- Add lid and finger-tighten ring overtop. Do not overtighten, as air needs to escape via these edges.
- Add canning rack to pressure canner, along with 3 quarts of hot water and 2-3 tablespoons of white vinegar (which will help prevent residue build-up).
- Carefully place jars in the canner with ample space between each jar, as space is necessary for heat and pressure to properly seal jars and kill pathogens. For recommended number of jars and to know whether you can double-stack jars with a second rack, review your owner’s manual.
- Add pressure canner lid and line up arrows to properly secure the lid. Place canner on a burner over high heat. Do not add the pressure regulator yet. Once the cover locking pin engages and a steady stream of steam is shooting out of the vent pipe, set a timer for 10 minutes.
- After 10 minutes, add the pressure regulator. If using weighted gauges, this is when you add the weights.
- Let pressure build. If at higher elevations where air pressure will vary compared to sea level, pressure inside the canner will also vary. Review your owner’s manual to determine how long you need to can meat based on your elevation.
- Once the pressure reads 12 psi (or your weighted gauges are shaking violently), turn down your burner to medium-low or low. You will need to monitor and adjust your burner at first so the pressure maintains a 12 psi or your weighted gauges rock consistently and fairly gently.
- Ensuring a steady 12 psi or consistent weighted-gauge rocking pattern, set a timer for 90 minutes (double-check this time via your owner’s manual). Pressure must maintain throughout this time, so you may wish to check in intermittently. If pressure dips below recommended psi, you will have to start over.
- After 90 minutes at proper pressure, turn off the heat. Do not remove the regulator yet. Allow pressure to drop.
- Once the pressure reaches zero, remove the regulator. Allow the canner to cool for 10 minutes, then remove the lid.
- Using a canning jar lifter or insulated kitchen towel, remove the jars and set on a wooden cutting board or folded towel so jars can cool. Do not place on stove or any other warm surface, as this could cause the glass jars to shatter.
- Allow the jars to cool for 24 hours. During this time, you will notice bubbles and air continuing to escape. You may hear a pop, if you’re nearby. This is the jars sealing themselves.
How to Check if Canned Venison Is Sealed
There should be a concave look to the lid and zero give when you press down. Whereas before you could pop the lid for an audible noise, you should not be able to do so now. If you can press down on the lid and have it spring back up, your jar did not seal properly. Place it in the fridge and try to eat the venison within the next few days, or remove its contents and freeze. Do not freeze the glass jars since they’ll likely bust inside your freezer.
To open a properly sealed jar, you will likely need a spoon or the base of a fork or butter knife to pry open the lid.
How Long Does Canned Venison Last?
The short, safe answer: upwards of two years if stored in a cool, dark place, like the back of your cupboard. For whatever reason, two years seems to be the standard response for any sustained preservation—whether freezing or canning. Right now I have canned venison in my cupboard from almost three years ago. I still plan to eat it. Some sources, such as the USDA, suggest most shelf-stable foods are safe indefinitely as long as the can itself remains in good condition. Another USDA article suggests meat will keep its best quality for upwards of five years.
When in doubt, open and smell. Trust your nose. If still in doubt, toss it.
READ NEXT: Deer Jerky Recipe
Canned Venison Recipes
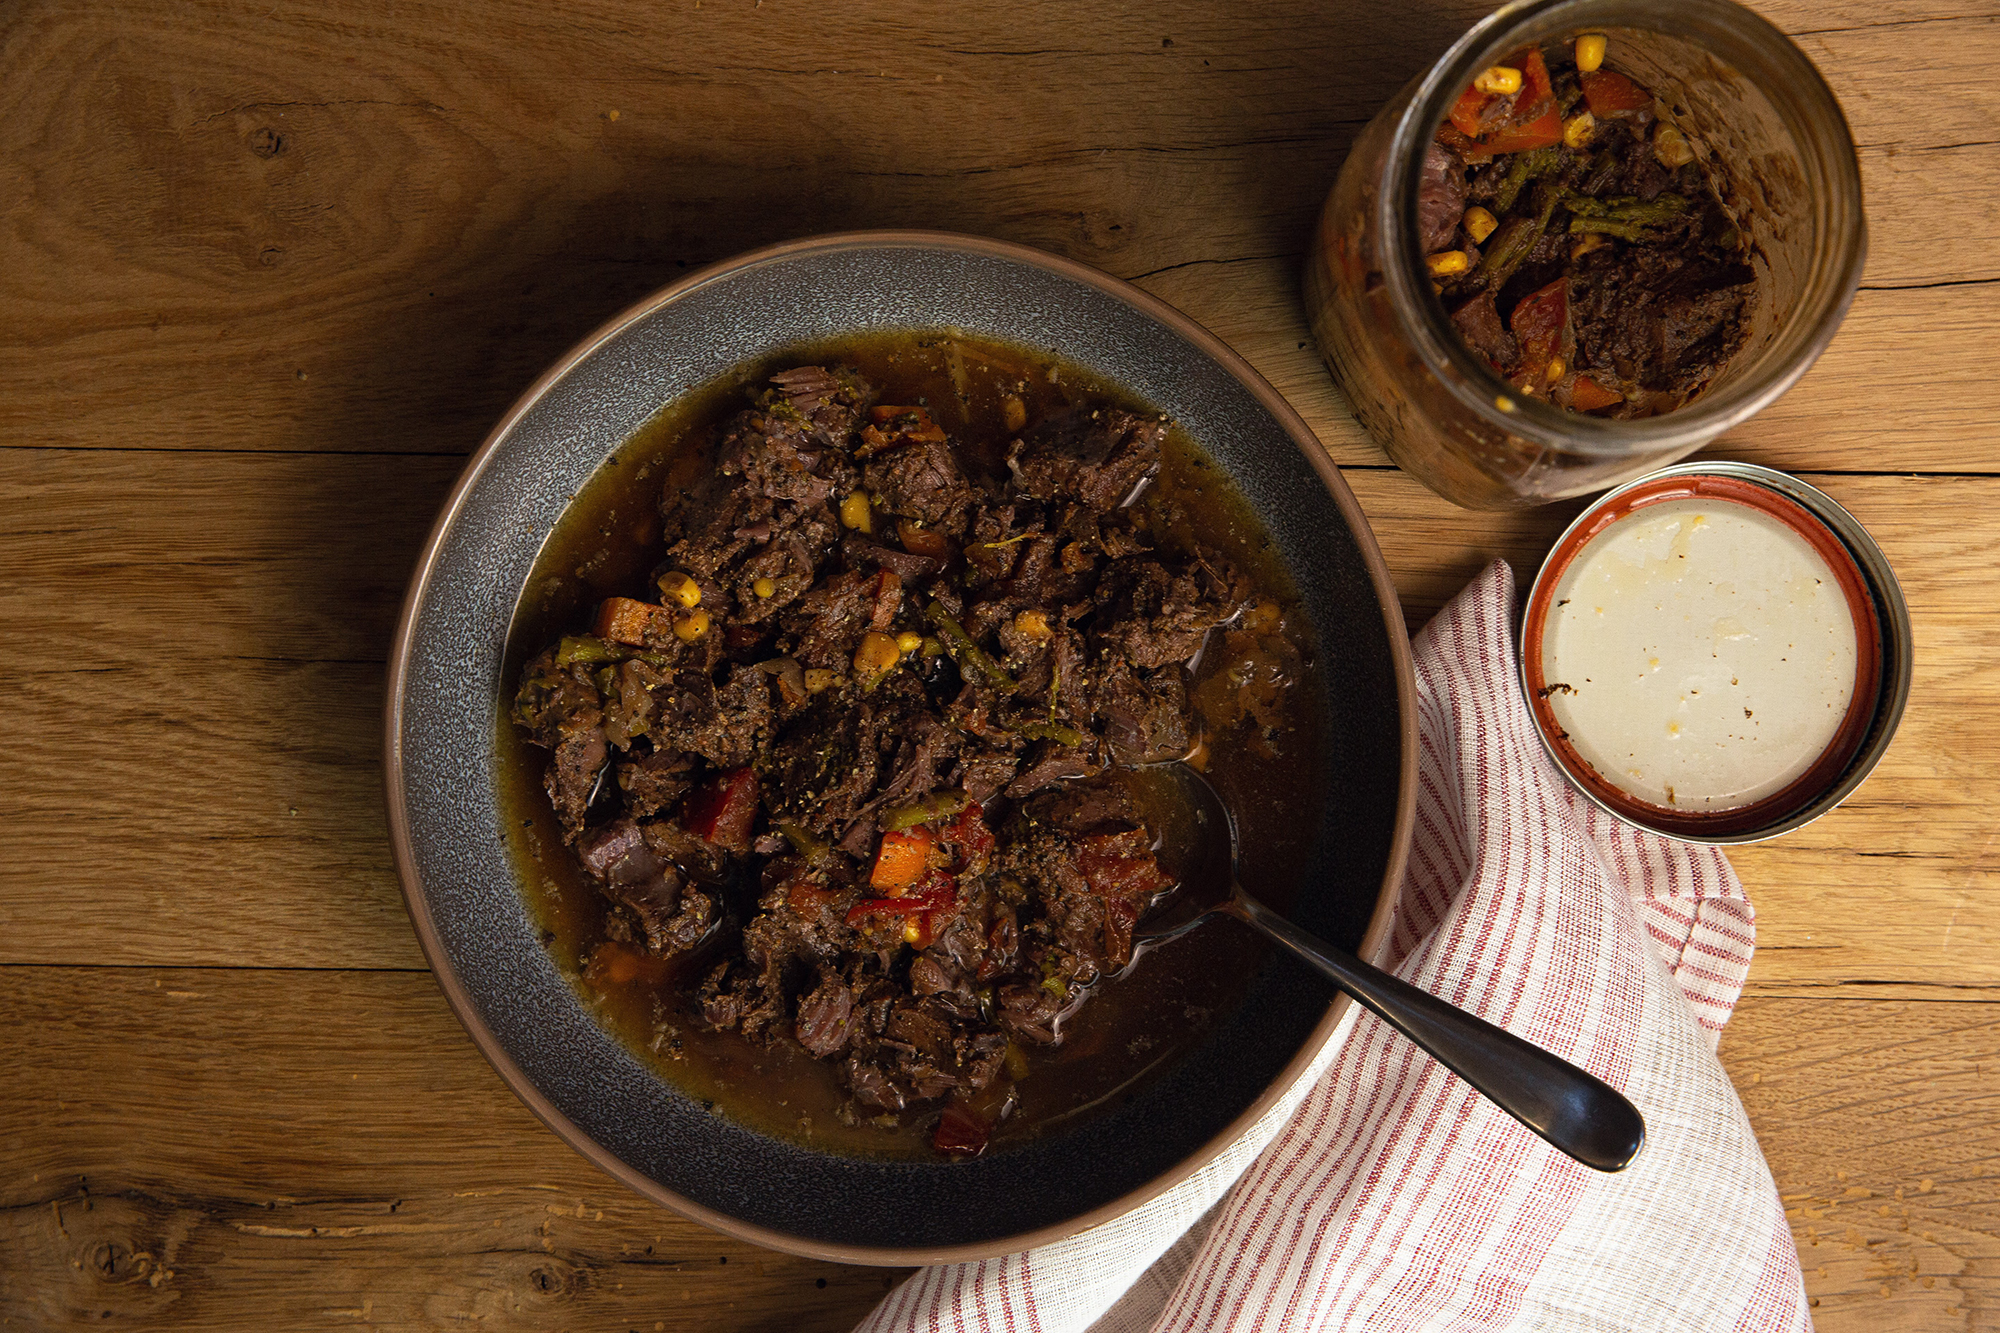
I’ve found it best to keep canned venison recipes very simple. As mentioned earlier, the contents of the jar will have the flavor and texture of beef stew. If you added vegetables, you should be able to simply dump into a bowl, heat in the microwave and enjoy. It may need a little bit of salt and pepper, but that is about it.
Or you can warm up a favorite Indian sauce or marinara and add your canned venison to it (drain the venison jar liquids before doing so).
You can also sear your canned venison with some onions and bell peppers, top with cheese, and make an improvised Italian venison sandwich. When it comes to canned venison, if you can dream it, you can make it happen.
Find the author on Instagram @WildGameJack with any questions or comments.