We may earn revenue from the products available on this page and participate in affiliate programs. Learn More ›
Trail cameras are a powerful tool for scouting and monitoring wildlife. But, if you want to harness their power you have to know how and where to mount them as well as how to prevent them from being stolen. In this article, I’ll share the best trail camera tips I’ve learned from running them on public land and while working for The Hunting Public.

How to Prepare a Trail Camera for the Season
Prepare your trail cameras and make sure they are working properly before setting them out. It can be frustrating to check a camera and realize it hasn’t been working or has been taking pictures of leaves blowing for the last several weeks.
- Buy good batteries. The cheap batteries sound great, but they often lead to disappointment when the camera is dead in the middle of the season.
- Don’t skimp on gigs. I would also suggest investing in a good SD card that has a lot of storage. Anything 16GB or more should be large enough to store a few months of pictures or videos.
- Set the camera mode. Cameras often have several modes including photo, video, and time lapse. My favorite mode is a three picture burst with a 15-second delay. This mode takes three pictures quickly to capture all the action after the camera is triggered. Burst mode allows more chances for the camera to take a clear and desirable picture. Video captures things that even a photo burst misses, and it gives a more complete picture of wildlife movement. The downside is it takes up the most storage space and takes the most time to review. I only use video in situations where I can check my camera often and I am positive the camera is going to capture the game I’m after. In general, select shorter delay periods when hanging your camera in a travel corridor and select a longer delay period when hanging your camera over a food source.
After the batteries, SD card, and mode of capture have been set up, I highly recommend mounting the trail camera up in your house and doing a test trial for a couple hours. This will ensure the camera is working and allow you to practice turning the camera on and off and viewing the pictures. Once you are sure the camera is ready to go, it’s time to head outside.
READ NEXT: Best Trail Cameras
Where to Mount a Trail Camera
Where you mount your camera depends on the time of year and the information you want to collect. Here are some key areas to use in your trail cam strategy.
- Food sources. The edge of bean field, a green alfalfa field, or a stand of apple trees can all be excellent early season spots when deer are in their predictable summer patterns. If you have access to crop fields, walk the perimeter of the field and look for beaten-down trails where deer are entering and exiting the field and place your camera there. You’ll get tons of pictures and capture a wide range of deer age classes.
- Water sources. In summer and early fall deer and other animals need to visit water often. If you have a water source you think deer may be visiting, walk the perimeter of it and look for tracks. If you see a lot of tracks, set your camera to cover as much of the water source as possible.
- Community scrapes. These are the big, dinner-table-sized scrapes that almost every deer will visit when it walks by. You can find these naturally by searching the woods in early fall, or you can create a mock scrape and bring deer in. Either options makes for a great trail camera setup.
- Travel corridors. In thick timber or open terrain, it’s easy to spot where deer have been traveling by looking for tracks and trails. A good starting point for finding them is to think about where deer may be traveling to, such as water or food, and how they may get from where they are bedding to where they are going. A few common areas include logging roads, creeks, fence gaps, and cattle trails. Cameras on these locations can tell you a lot about how deer are traveling and what time of day they are moving. This information is helpful when deciding when and where to hunt.
- Your stand locations. After you have an idea of how deer are moving through the landscape, set your stands and cameras at prime places to ambush them. Having a camera at each stand location will help you identify which stands are getting the most action. Keep experiment with trail camera placement throughout the season. It’s easy to get stuck on areas that look good on paper. But, if a spot isn’t producing, move the camera to a different location until you’re satisfied.

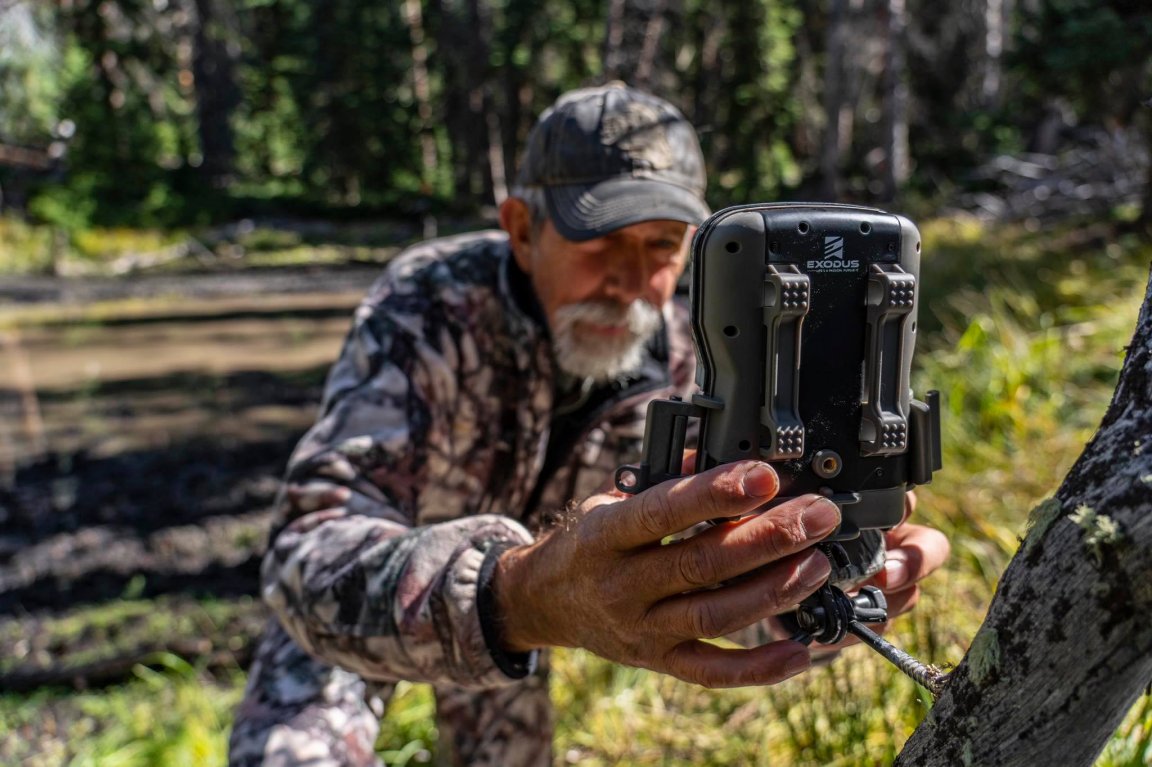
How to Mount a Trail Camera
I like to mount my cameras to a thick tree, strong fencepost, or a metal stake. Anchoring a trail camera to something solid prevents unwanted pictures caused by movement. After you’ve picked something rigid to mount the camera to, make sure the strap that fastens the camera is strong and not going to slip. The straps provided on the cameras can vary in quality depending on the model of camera. If you are unhappy with the strap or unsure of its strength, replace the strap with a conventional ratchet strap.
As you fasten the camera to its rigid spot, make sure the trail camera is straight left-to-right and pointing where you anticipate the game is going to walk. Also, ensure there are no stray limbs, brush, or tall plants that are going to artificially trigger your camera. If you can do so legally, trim any vegetation you think may sway in the wind and trigger the camera. To prevent the sun from interfering with your pictures, be conscious of what direction the camera is pointed. Avoid pointing the camera directly east or west. This will prevent the sun from washing out your pictures at sunrise and sunset. If the camera must be pointed toward the sun, mount the camera higher than eye level and point the camera down toward the area you are trying to capture. Pointing the camera down will insure the lens is shadowed to produce clear pictures.
Most cameras have an optimal detection range of about 7 to 15 yards. That means they fire most reliably when a critter passes by at that range. If you place your camera too close to a deer trail, you’ll get only body pictures (you won’t be able to tell if you’re looking at bucks or does). If you place your camera too far from a trail, you risk the camera not firing when a deer walks by.
Lastly, I would highly recommend walking past the camera multiple times to trigger it. Then check the card and make sure it’s capturing what you want. A little extra time in the field double checking the camera can save several headaches down the road.
READ NEXT: Can Deer See Trail Camera Flash?
Cellular Trail Cameras vs. Standard Cameras
The best cellular trail cameras allow you to monitor trails near bedding areas, sanctuaries, or remote food sources without having to tromp in and check SD cards, which spreads human scent and risks spooking deer. With lithium batteries, a quality cell cam will last an entire season, or longer—set the camera to photo mode, single image, and once-daily sends to maximize battery life. Cell cams give you more options for camera locations than a standard camera does (trail cameras don’t do you any good if you blow out deer when you go to check them). The downside with cell cams, of course, is that they require at least some cell signal to work. Before you commit to hanging a cell cam in a given location, it’s worth making sure there’s at least some service there. Many top cell cams will utilize the strongest available signal, regardless of the service provider. —Alex Robinson
How Do You Prevent Your Trail Cameras From Being Stolen?
Trail cameras can be expensive, especially the best cellular trail cameras, and it’s important to know simple techniques that protect them from being stolen.
Lock your trail cameras to a tree with a cable lock, or cheap bike lock to prevent someone from easily snatching your camera. Although this method is highly effective, it can be a hassle to buy several bike locks and remember the keys every time you check your cameras.
Hanging your cameras high to keep them out of view and easy reach. Bring a climbing stick and hang your camera 8-10 feet off the ground. This method has nearly eliminated all of my issues with theft and makes it much harder for your camera to be taken. Simply remember a climbing stick or two every time you check your cameras and you’re in business.
The Upshot
Trail cameras can be an awesome tool or hobby for people passionate about pursuing or viewing wildlife. Just remember to prepare them before you set them out, find productive areas, and protect them from thieves. These few tips can greatly enhance your trail camera experience and hopefully will help you in your outdoor adventures this season.