We may earn revenue from the products available on this page and participate in affiliate programs. Learn More ›
In the article “How to Draw a Compound Bow”, you learned the first steps in how to shoot a compound bow. Perfect. It’s all part of the grand plan.
Now it’s time to focus on the second part of the plan, which is how to shoot a compound bow and execute a perfect shot. Accurately shooting a compound bow requires a routine, and no piece of the puzzle can be overlooked. Shot execution is where most serious mistakes get made, and bad habits start. You need to do your best to thwart mistakes and stop bad habits before they begin.
Burn one thing into your brain before we dive into flawless shot execution: It’s not about how many arrows you shoot. Aimlessly slinging carbon is worse than not shooting at all. The goal is to shoot every arrow perfectly. Does that mean every arrow will hit the target’s 12-ring? No, but if you put everything you have into every shot, most of your arrows will be right where you want them to be. I’d rather see a shooter fire 10 perfect arrows than 100 sub-par ones.
You Can’t Hold Your Compound Bow Perfectly Still
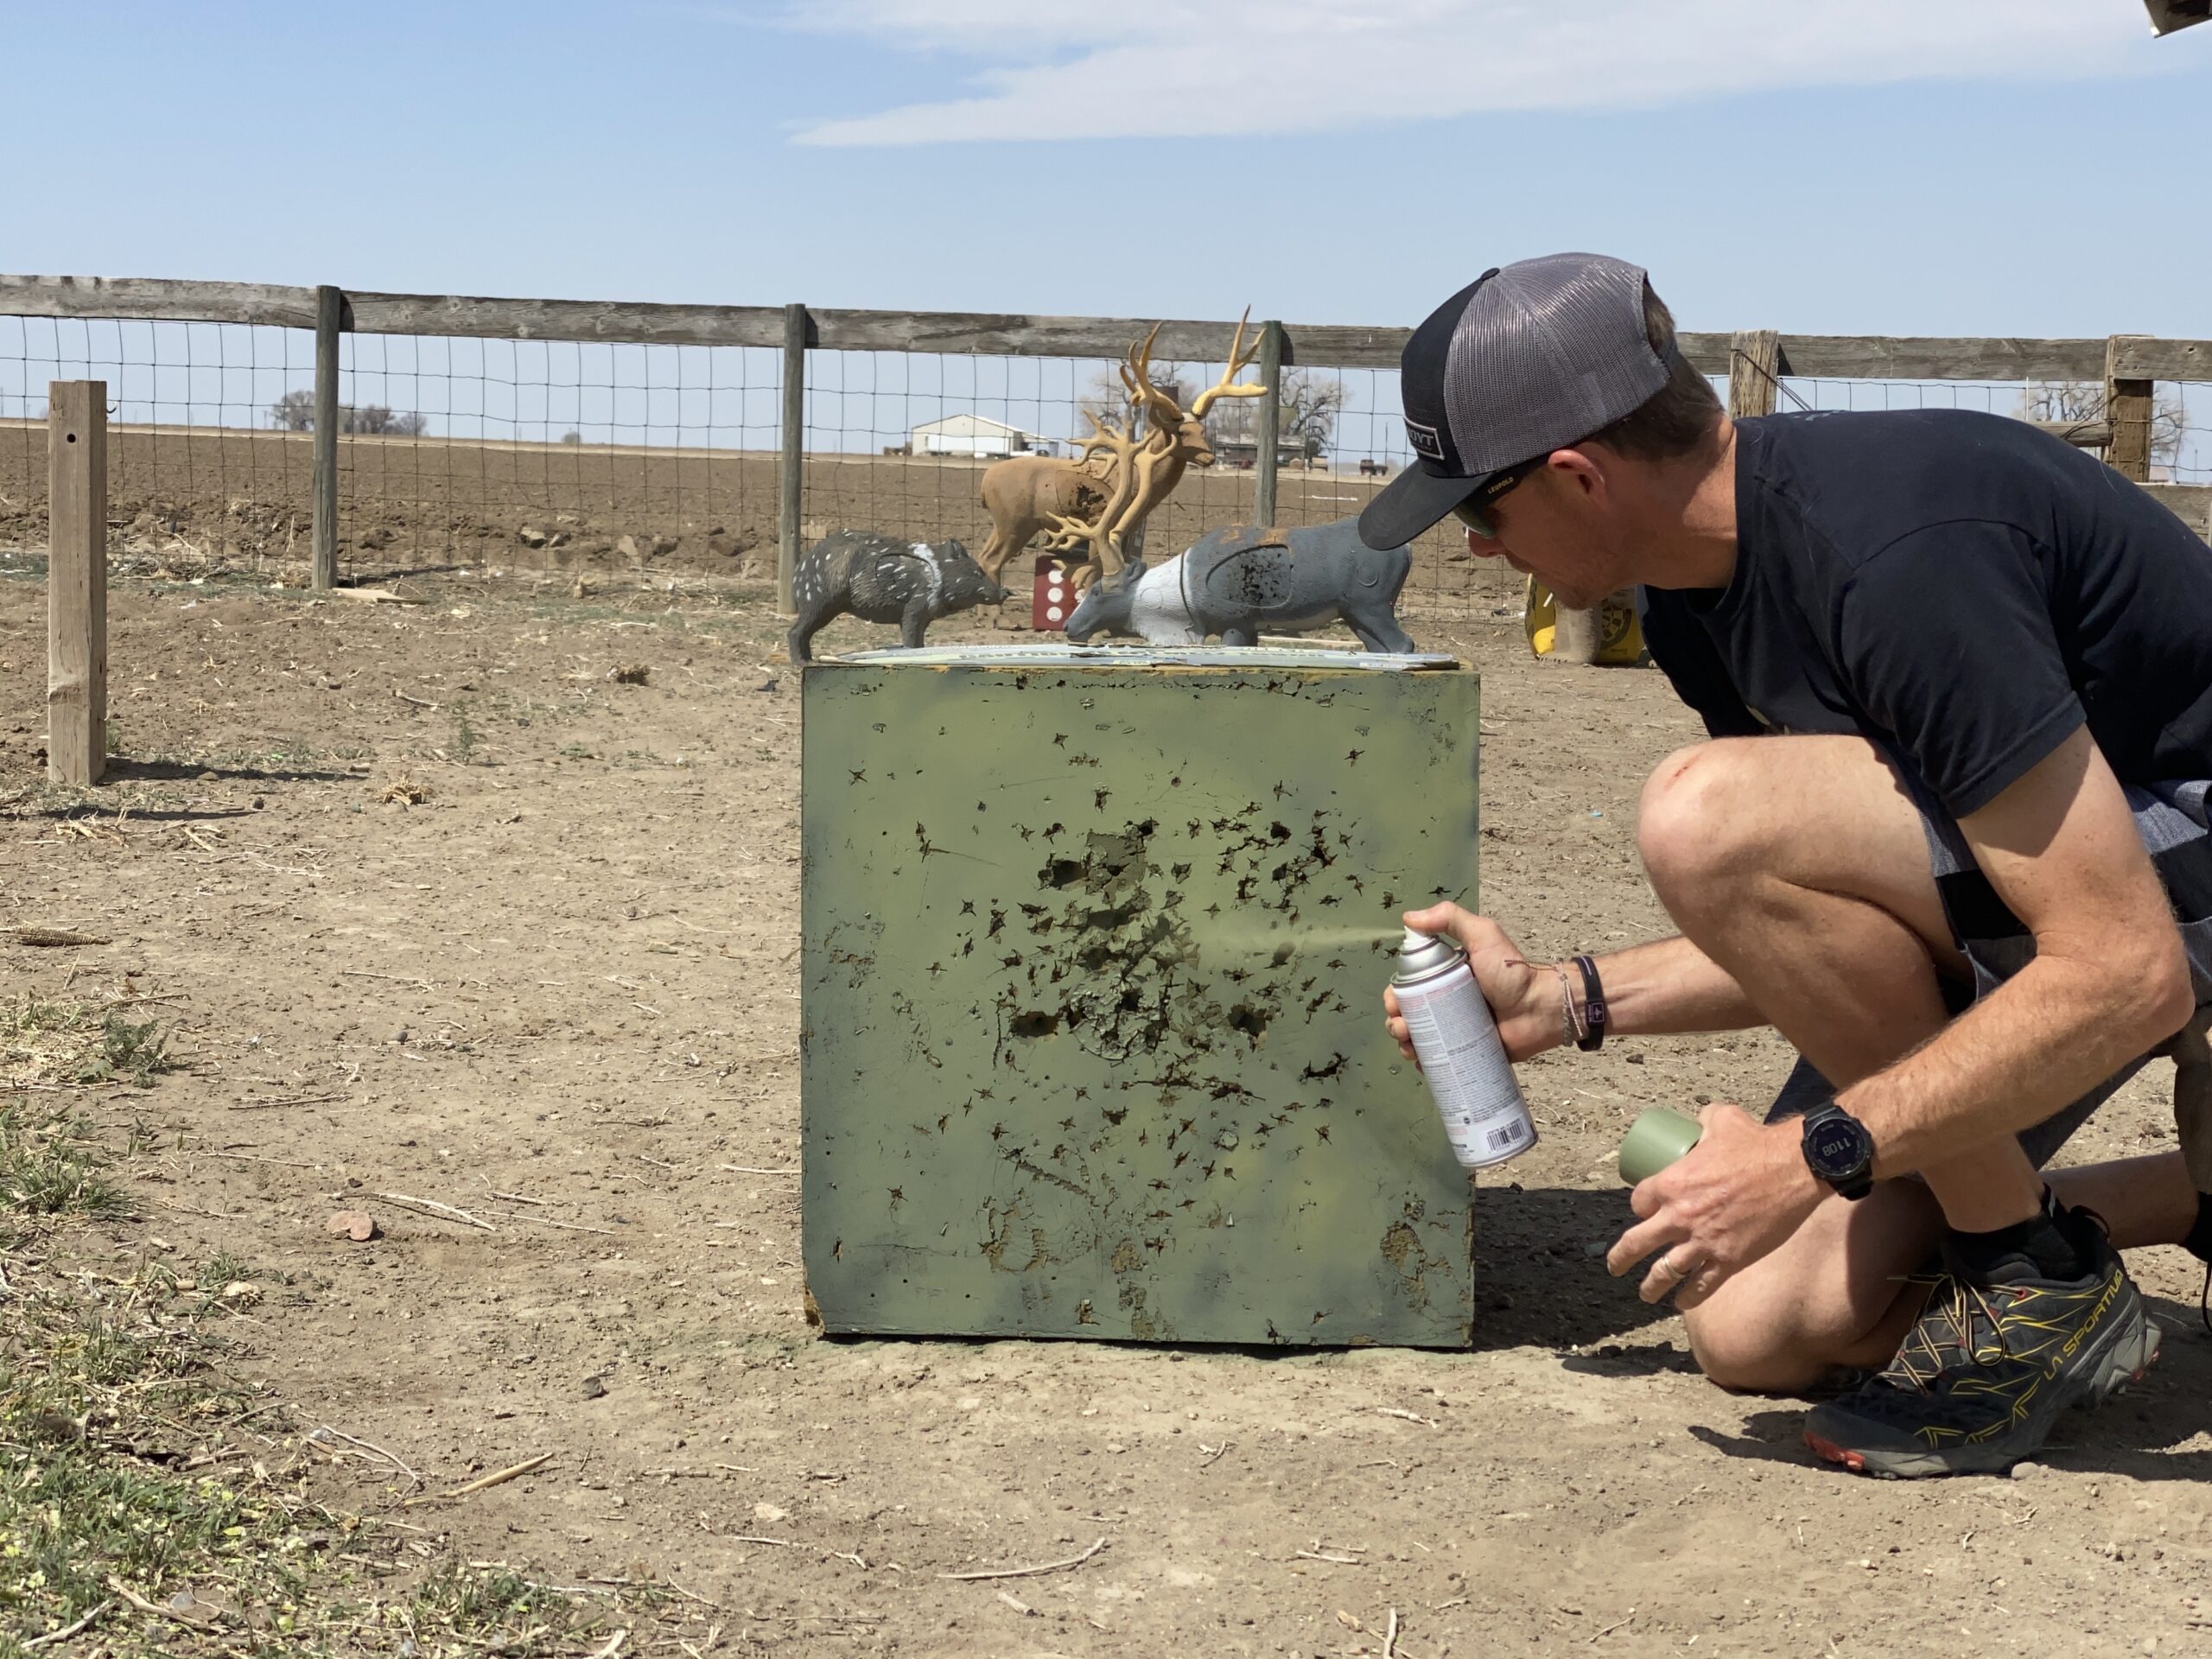
Just like basketball players don’t just play games or shoot baskets, archers shouldn’t just shoot arrows. Isolating skill sets with drills is the best way to work on technique. An excellent drill for improving shot execution is an aiming drill. The goal is to learn to accept and embrace pin movement. Good archery form and proper equipment setup help reduce pin float, but float is part of shooting, and you can’t stop it.
Brandon Reyes is a professional archer that has competed at the highest levels in archery.
“The best shooter in the world can’t hold their pin dead still on a target,” Reyes said. “Shooters need to remember that though their pin may look like it’s wandering all over the target, it’s not. The subconscious mind constantly drags that pin back and forth across the spot you’re telling yourself you want the arrow to impact. Trust that float and execute.”
Trying to stop pin float leads to target panic, which leads to a loss of shooting joy. Those who try to stop pin float will start triggering their release the second their pin gets close to their aiming point. Others will get locked off the spot and won’t be able to put their pin on the location they want to hit. Sounds miserable, right? It is. You don’t want to experience target panic, trust me. Learn how to execute the right way, and it will stay far away.
To get ready for the aiming drill, set your release so it’s difficult to fire an arrow or it won’t go off. This is accomplished by reading the owner’s manual that came with your release and manipulating the travel set screw clockwise or counterclockwise. Once your release is set, draw your bow, aim, and let your pin float around the bull’s-eye. Relax, you’re not going to shoot an arrow. Let your pin float, breathe, and hold to exhaustion. Repeat this drill multiple times for four or five days. Not only will your shooting muscles get stronger, but so will your mind. Plus, if you ever find yourself in a situation where you have to hold on an animal for an extended period, your muscles will remember this drill.
It’s tempting to let an arrow rip, but don’t fire an arrow during this drill. With the thought of releasing removed, you can focus on getting into your grip, drawing your bow, climbing into anchor, and aiming. This process boosts muscle memory and helps the brain accept pin movement. It also teaches your mind that just because your pin is on the target, it doesn’t mean you have to release the arrow. Separating aiming and releasing into two distinct steps is an important part of mastering shot execution.
How to Shoot Your Compound Bow Strong in the Front and Strong in the Back
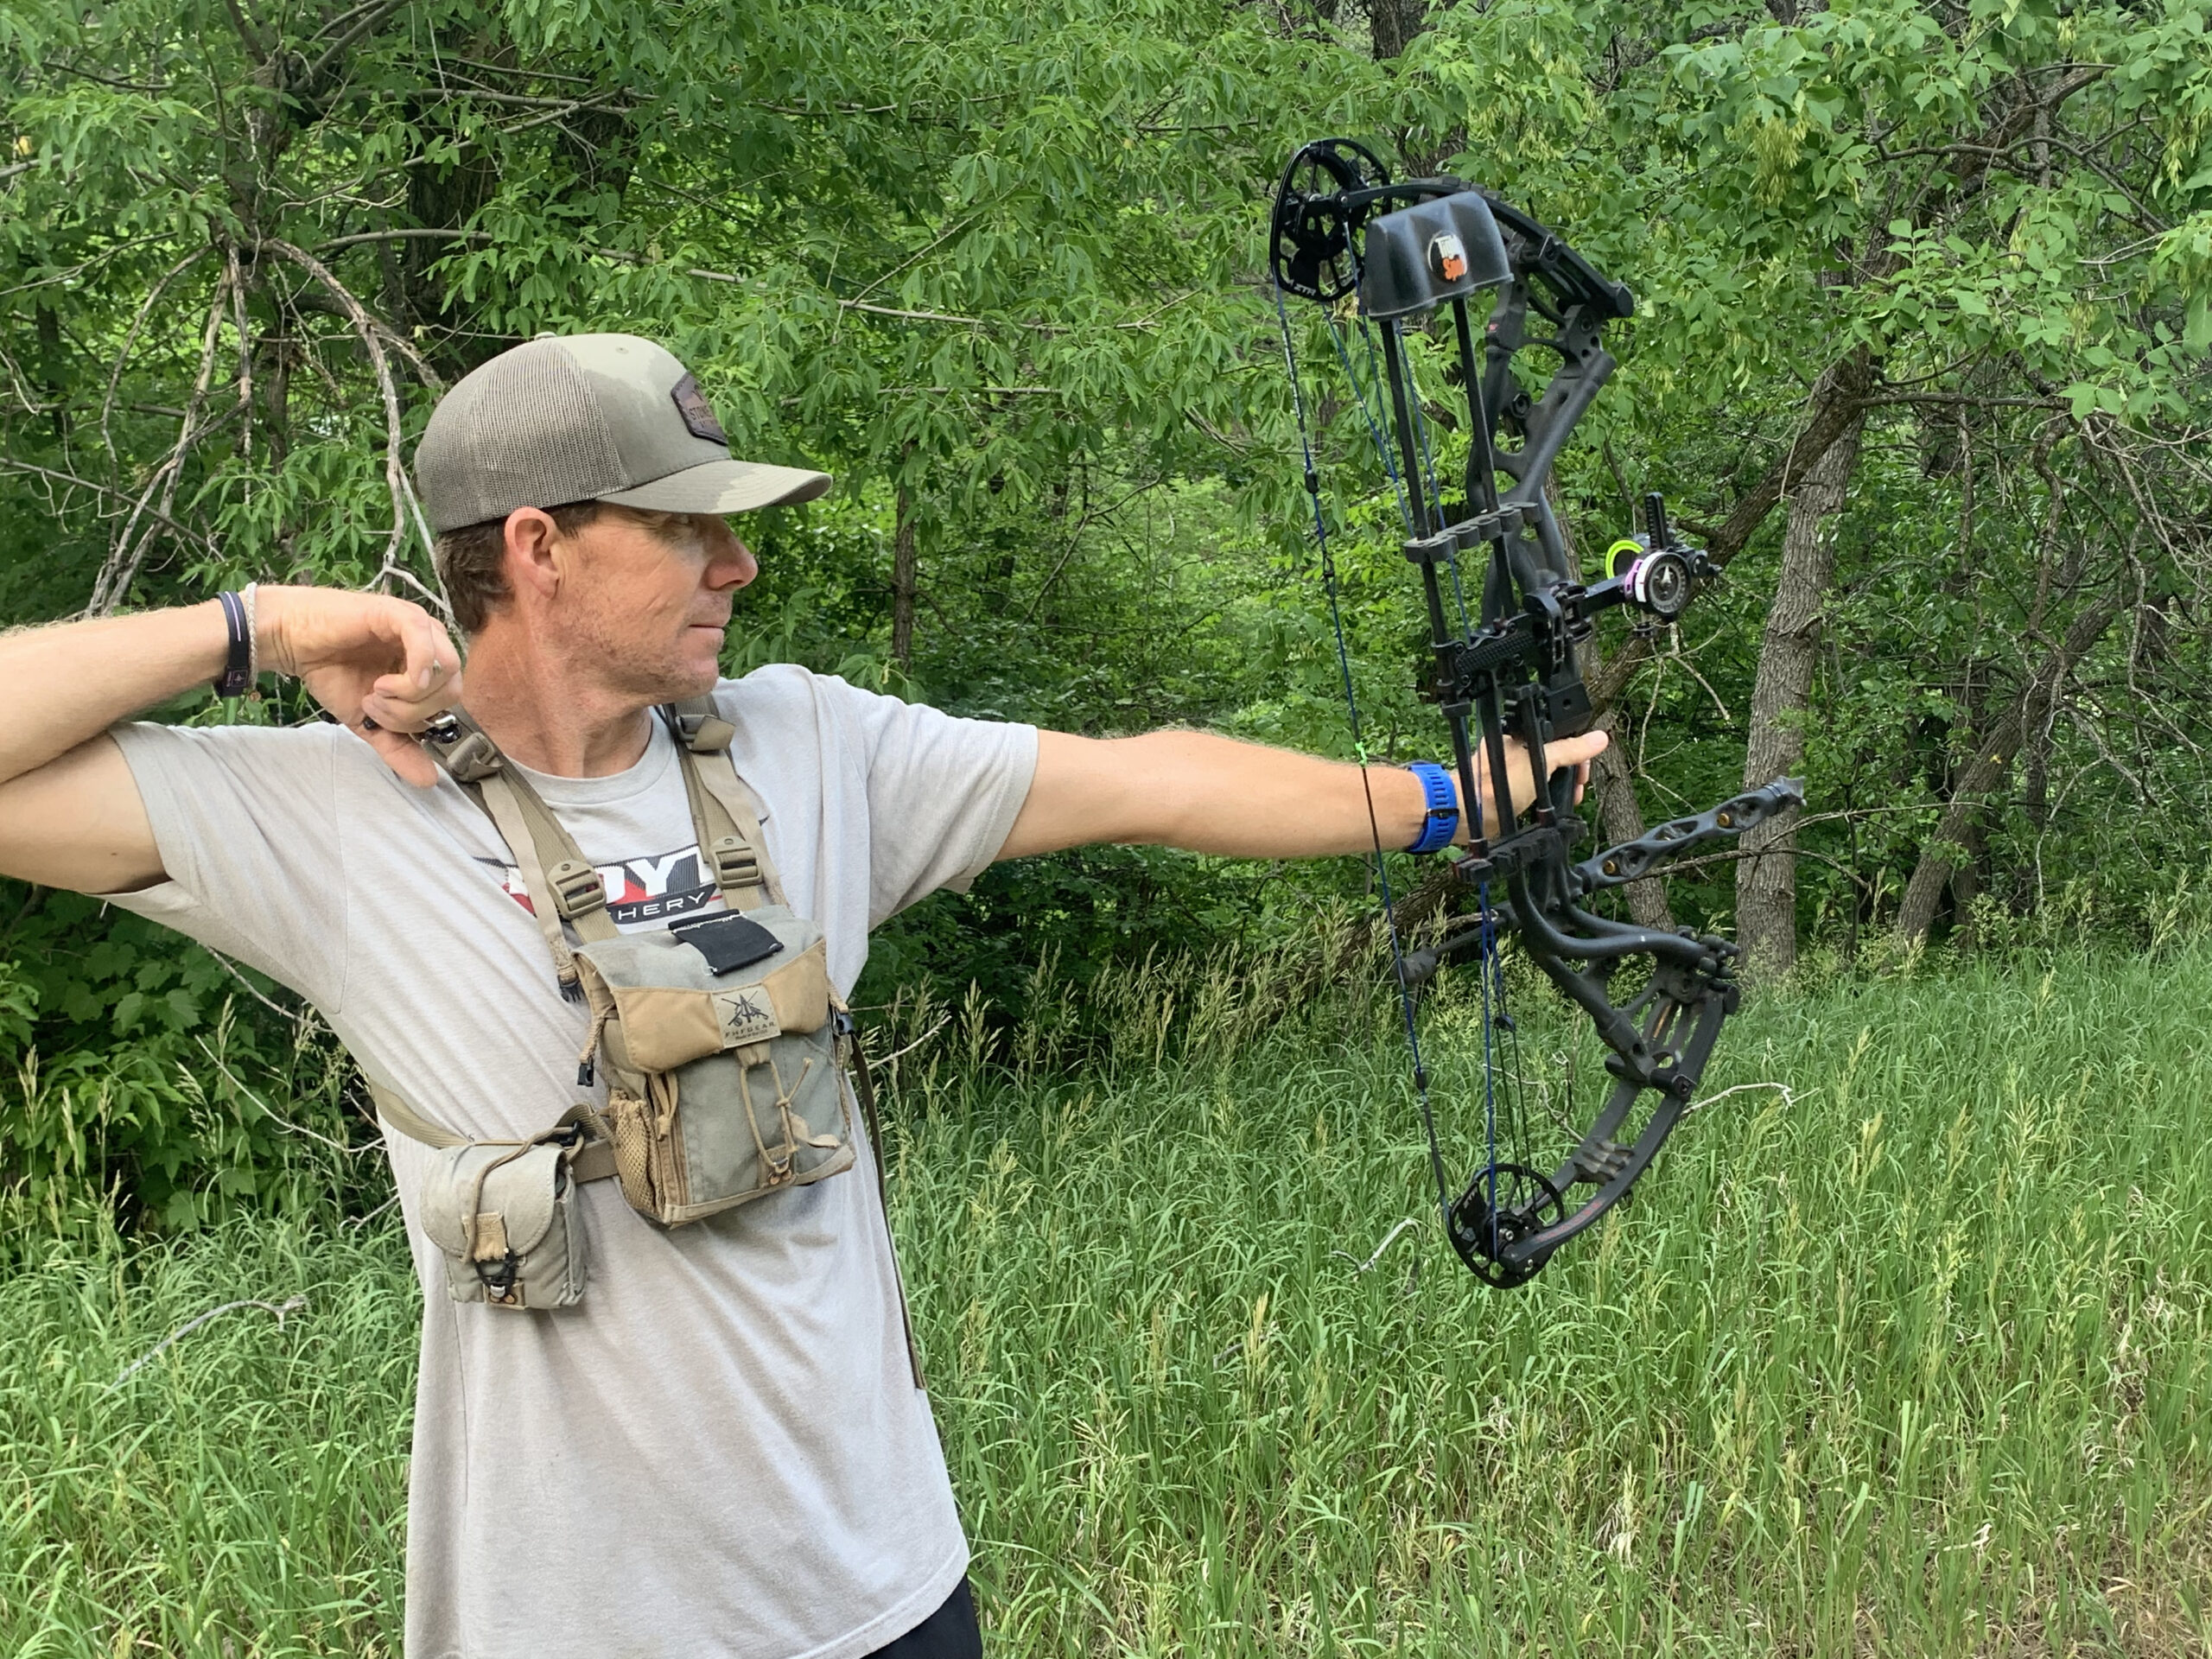
This next drill will build a strong follow-through and the fundamentals of a proper release. First, alter your release so that it’s still cold (heavy) but will trigger an arrow. We want to stand closer than 10 yards from a blank target for this drill. I like to use a can of spray paint and make my foam target one solid color on one side of the target. Go through your shot process, and with the pin floating on the target, focus on being strong in the front and strong in the back. By this, I mean a balanced push to the target with your bow arm while your elbow moves back and around your head. Imagine a string tied to your elbow that’s being pulled back.

There are many ways to activate a release aid, but an excellent one to try is to trigger your release through relaxation. Put your finger on the trigger or off the thumb peg if you’re using a hinge, and relax your hand. As you start to relax your palm area, you’ll feel your hinge rotate or pressure building on your trigger. The shot will break, and if you did it right, the shot should be a surprise. As a result of an anticipation-free release, your bow arm will explode forward, and the elbow of your release arm will break away and fall backward. It’s poetry in motion. Follow-through will be natural because you’re not fighting the shot process. You’re focused on aiming until the shot breaks on its own.
Don’t worry about where your arrows hit. That’s why we took away the aiming point. Take a moment to pat yourself on the back. You just did something many archers won’t don’t do, and that’s to let the release fire the bow. When you let the release fire the bow and don’t punch, jab, or jerk the release to send an arrow, good things happen.
Keep going through this process at 10 yards, and as you execute, start tinkering with the release setting. Again, this is accomplished by manipulating the travel screw. Your goal is to get the release to your just-right setting. You’ll know it when you find it. You’ll be watching your pin float while working your release and viola, the arrow will be gone.
Now turn your target or hang a fresh target face at 10 yards. Now you’re going to go through the exact process above, but you have an aiming point this time. Let the pin float and execute. Typically, I like to stay at 10 yards for at least a week before I think about moving back.
Take Your Archery Practice to 20 Yards
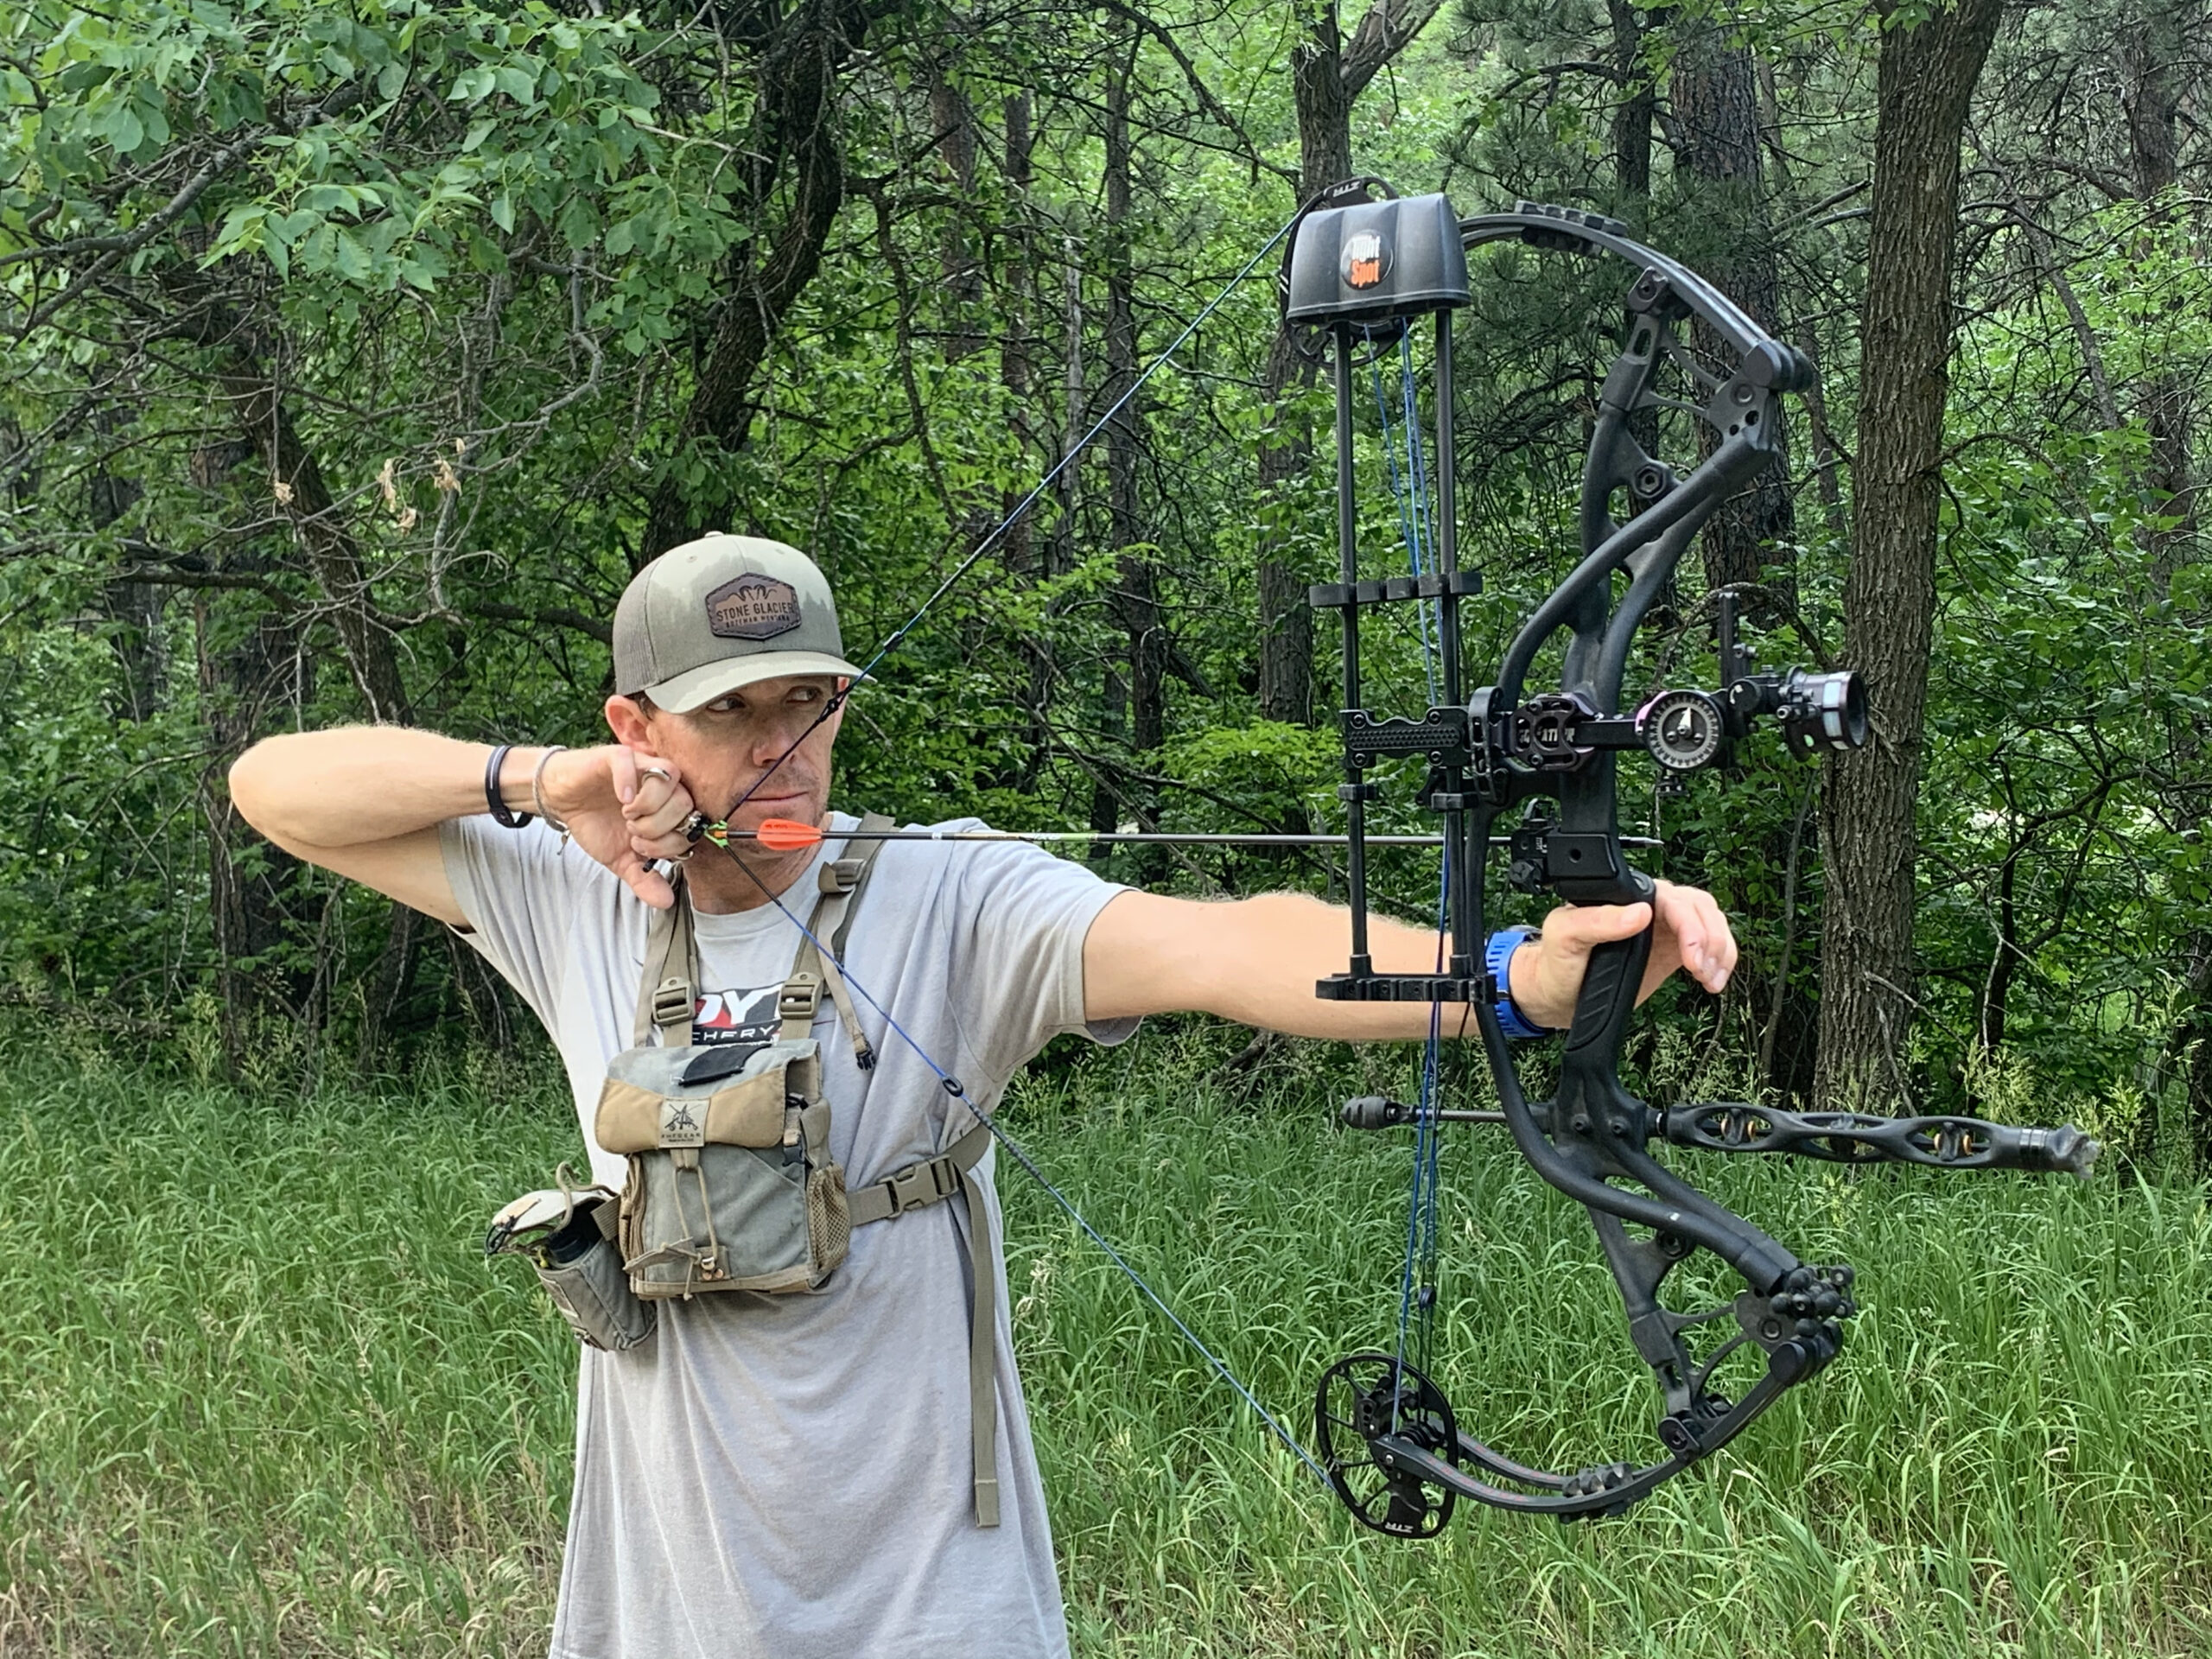
If you’re feeling confident that your shots are breaking perfectly and your arrows are impacting where you want them, take it back 10 yards. How you execute shots at 10 yards is the same at 20 yards. Nothing changes. Spend days at 20 yards — shooting arrow after arrow — trusting your pin float and executing.
In between shooting sessions, use a release aid training device. You can build your own with an old bow grip and string or purchase one like the Archery Shot Trainer from Nock On Archery. The great thing about a trainer is that it will help you visualize the shot and the execution. The difference is, you’re not shooting an arrow. With this device, you can close your eyes, imagine your arrow impacting an exact spot, and go through your entire shot process. The stronger you can make your mental mind, the better archer you will become.
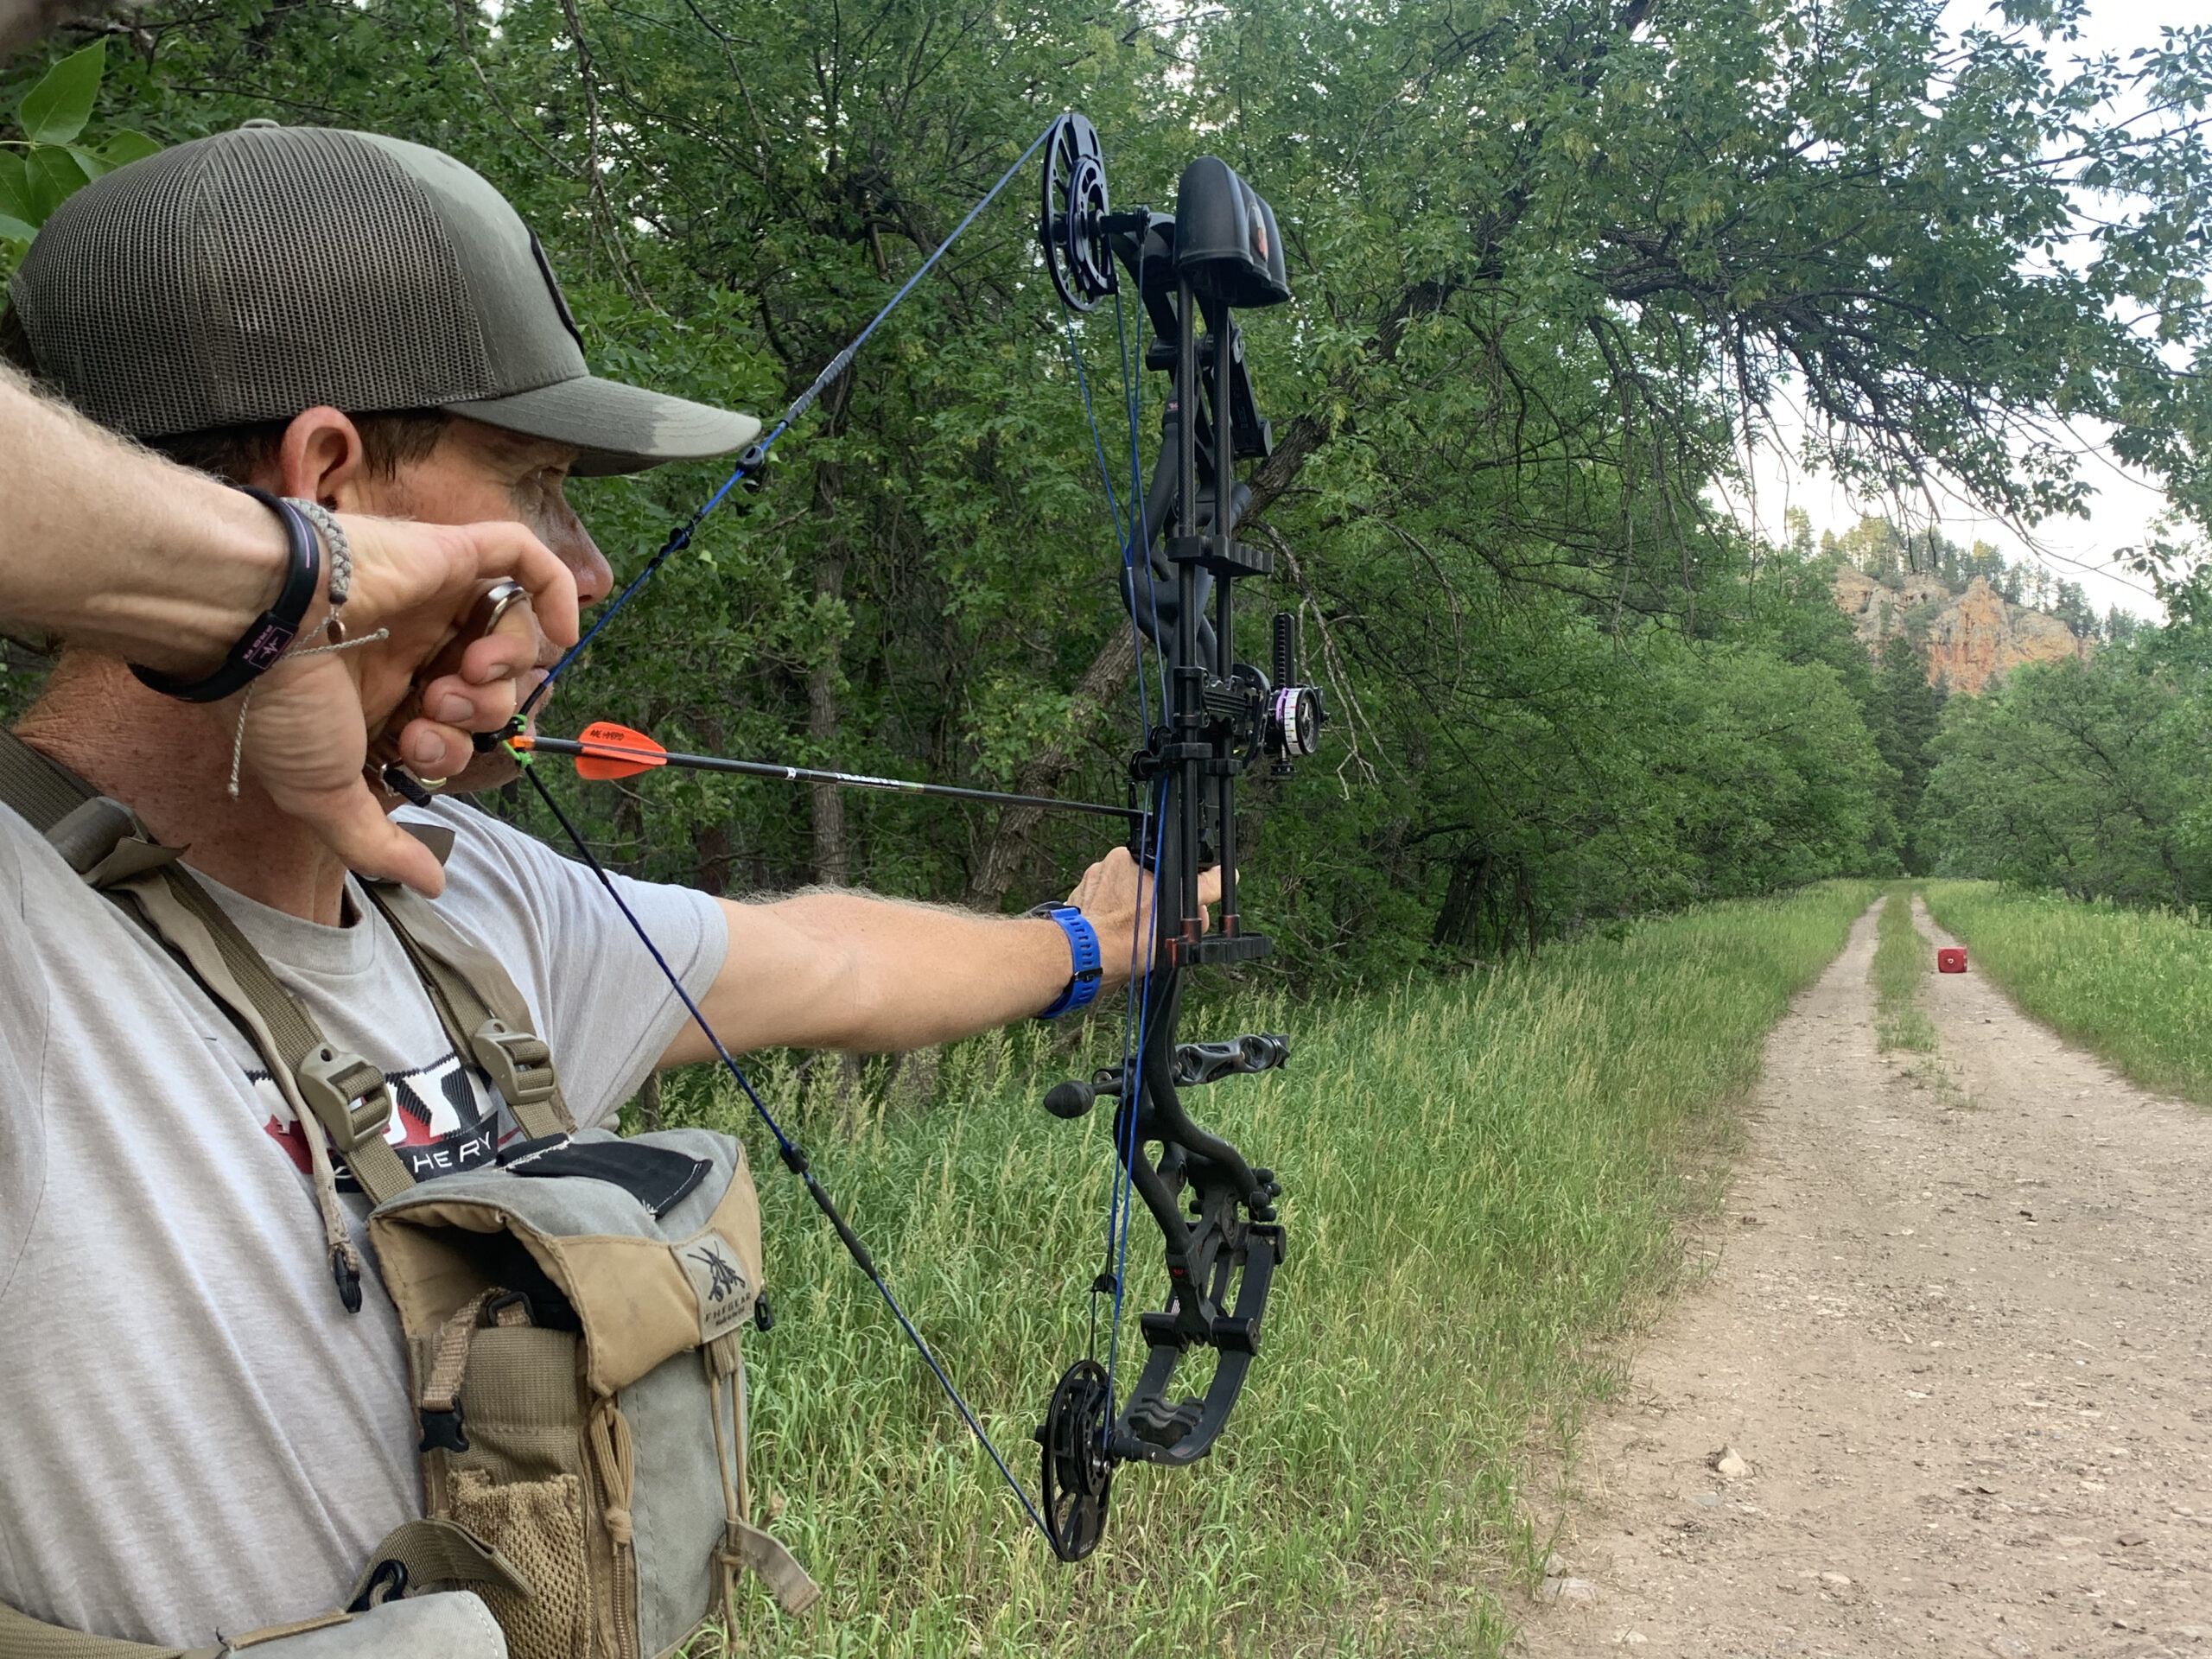
Distances Change, Your Shot Stays the Same
The draw to move back will get stronger with each passing day. It’s natural, and moving back in distance is OK, as long as you keep in mind that NOTHING changes as you move back from your target. The basics of how to shoot a compound bow stay the same. If you start to feel uncomfortable or find yourself manipulating your release, move back in or do the aiming drill. Pin float is magnified as you move back from the target, which can create shooting anxiety. Factors like wind, hand movement, and the like will intensify pin movement. Accept these factors. Don’t bail out on the shot. Stay with it, and remember to relax that release hand while remaining strong in the front and strong in the back.
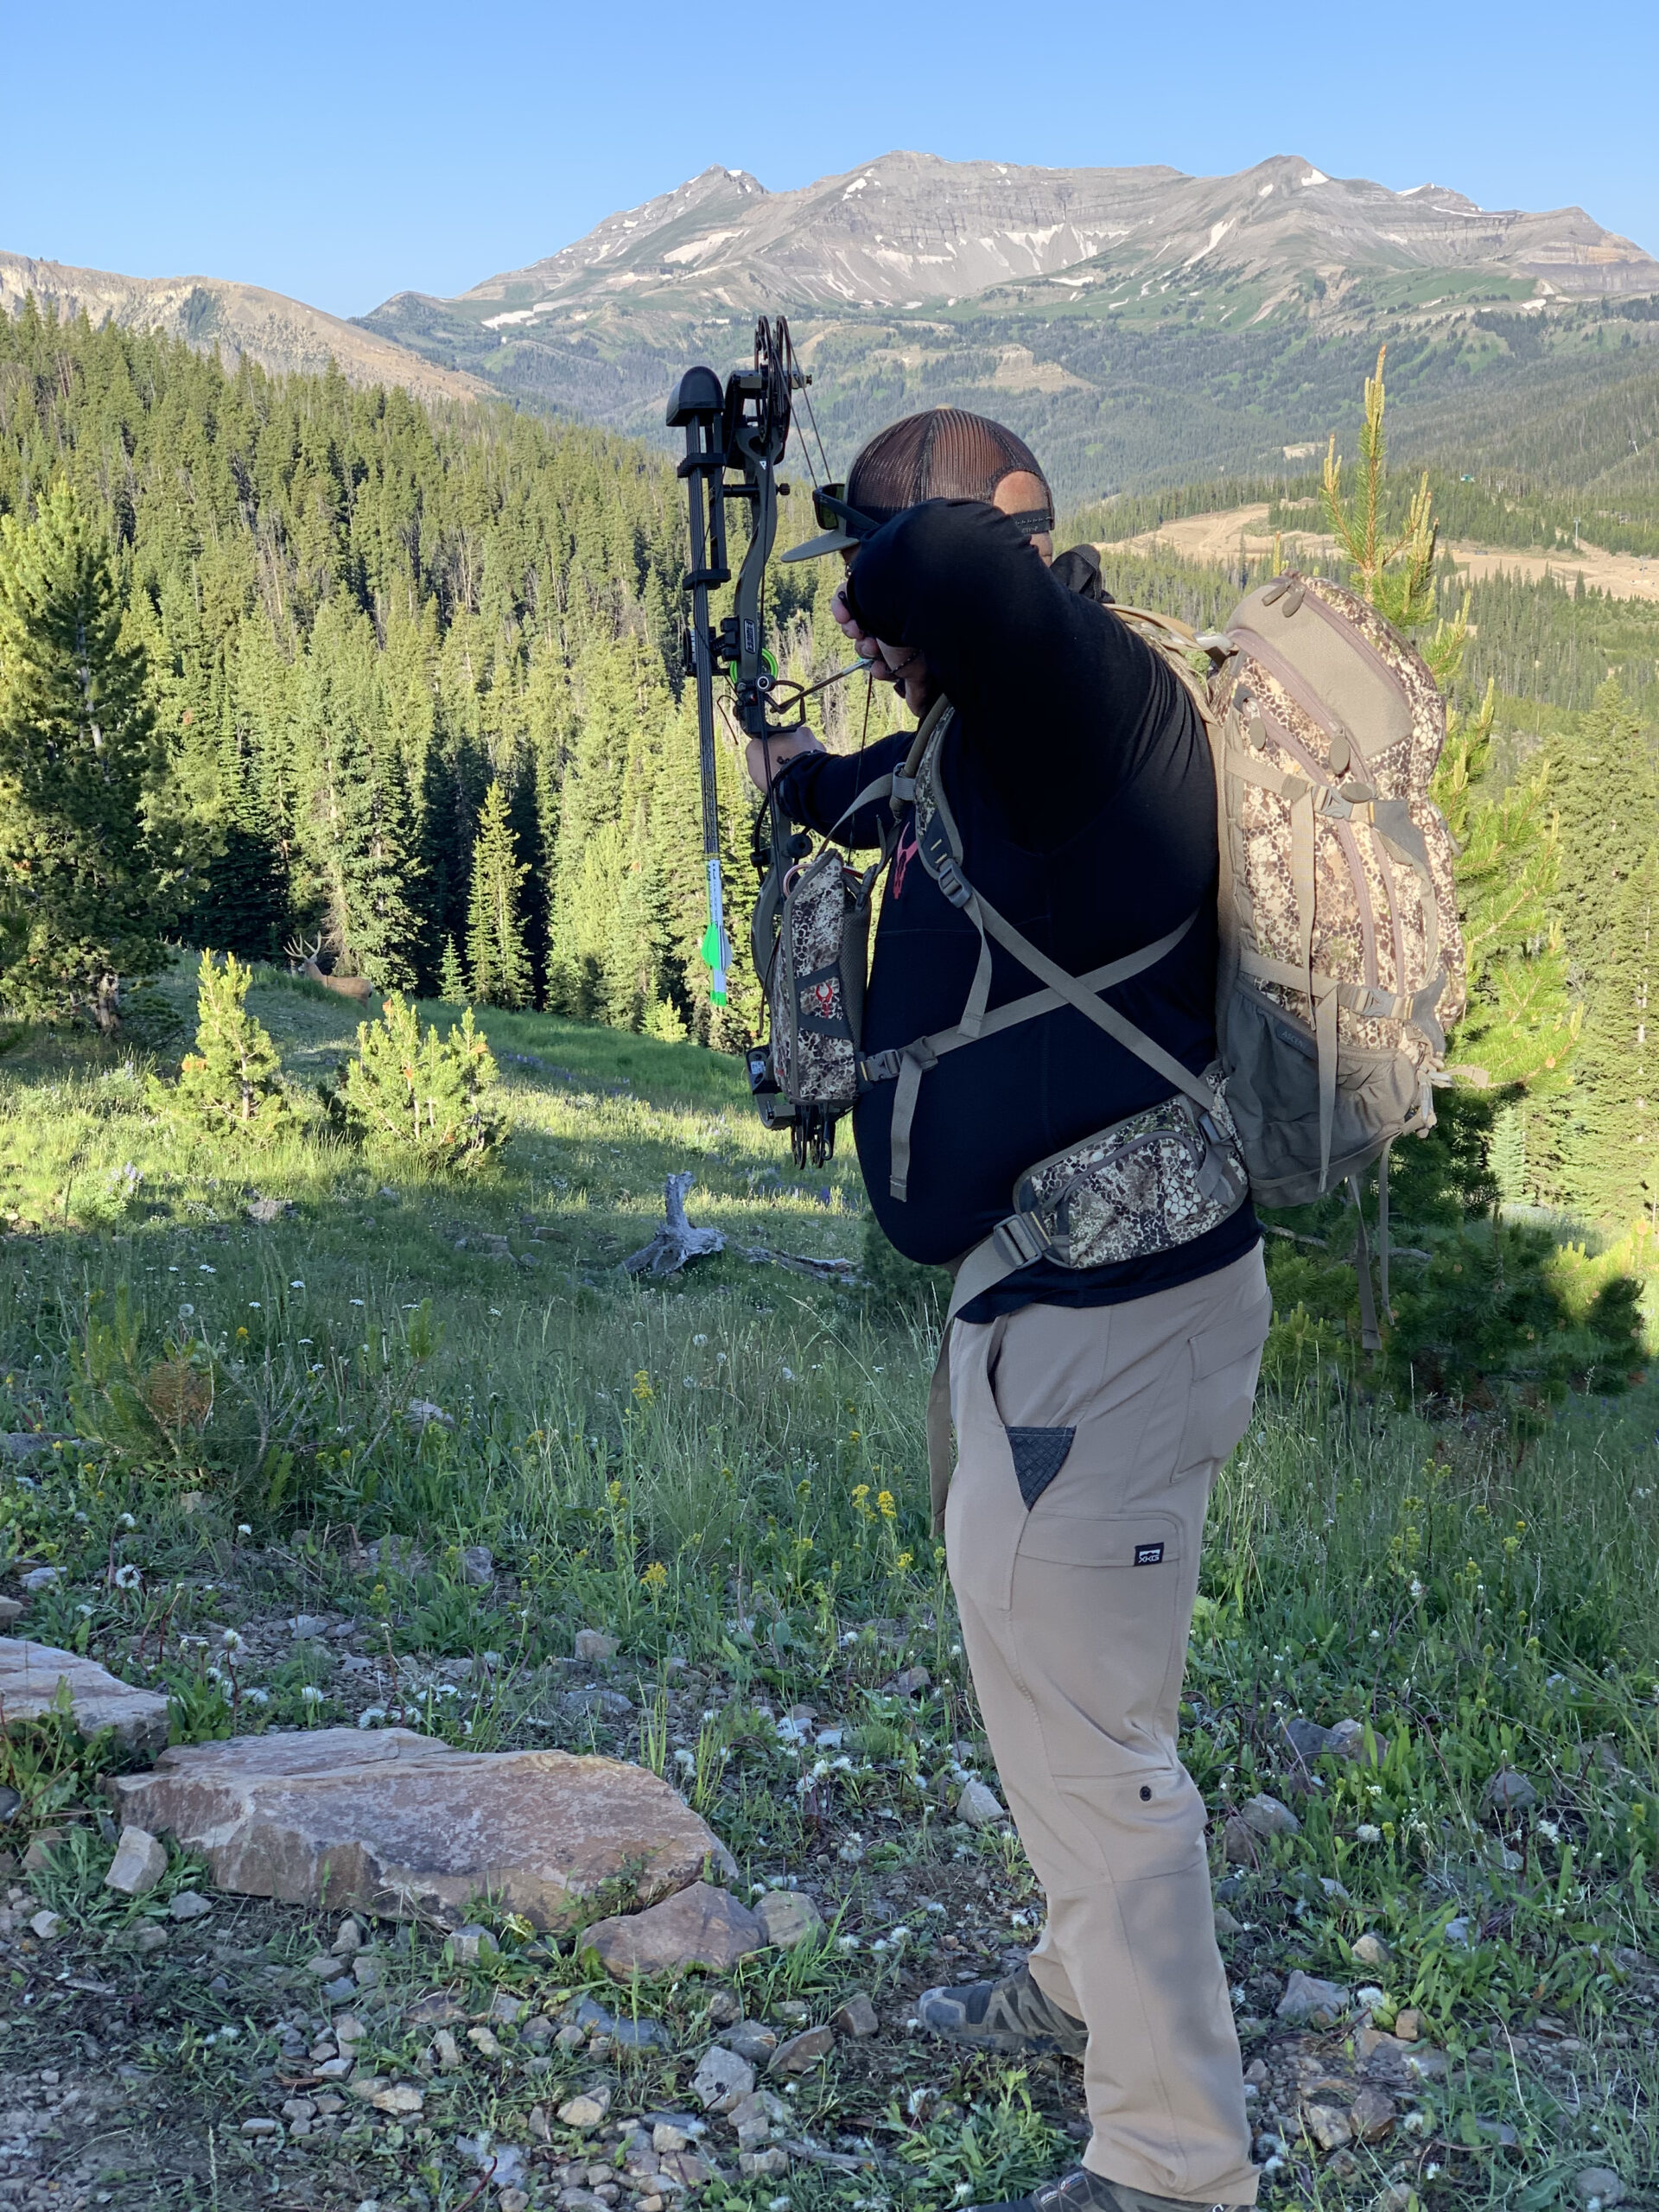
Shoot your Compound Bow at Different Targets and in Different Settings
Your new compound is driving tacks at extended distances. Your arrows are grouping well, and your confidence is growing. Now’s the time to take it up a notch. Visit a 3D archery target course or enter a 3D tournament. The animals you’ll be hunting don’t have an exact aiming point. You’ll need to learn to visualize, pick a spot, and let your pin float on that spot until the arrow hits home.
Anxiety is common the first time a shooter moves from a bag or block target to a 3D target. Pin float can magnify with no exact aiming point, and shooters focus on the arrow going off and not the aiming process. Don’t do this. Stay faithful to what you’ve learned. Pick a spot on the target and let that pin bob and weave around that spot until the arrow breaks.
Don’t worry about the score or hitting 10 and 12 rings. Often, these scoring rings aren’t obvious and aren’t in the best location for executing a killing shot. Your job is to shoot to kill. Focus on putting carbon into the lungs of each 3D target you shoot, and don’t worry about the score.
Another reason 3D courses and tournaments are great is they put pressure on the shooter. There will be other shooters watching you, and this is just one more thing that can create shooting anxiety. The more you shoot with others, the more you learn to block out everything around you except the thought of putting that one arrow where it needs to be and doing everything in your power to make that thought reality.
This can finally be that year you do something different to ensure your shots on game are better than ever. Heed the advice in this article, and go into September knowing if you get the chance, you will place your arrow right where it needs to be.
