We may earn revenue from the products available on this page and participate in affiliate programs. Learn More ›
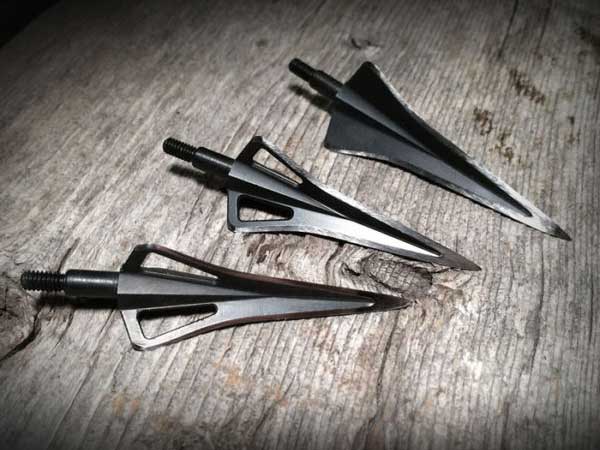
Preseason is a funny thing. Break down the word and it literally means “before the season.” And, yes, broadhead tuning should be done before the season. But sometimes things happen. Those little things like work, your kid’s dance recitals, or football games. You know, life? As much as I hate to admit it, there are times when I don’t get to hit the woods as early (or as often) as I’d like. Because of this, I’ve tried to become as efficient as possible to make the very most of the time I’ve got available. Broadhead tuning doesn’t need to be difficult, but it is essential. And even if you did your preseason diligence, it’s not uncommon for your bow to get knocked out of tune during the season. Here’s how I make sure my broadheads will go where I point them.
STEP 1: Shoot:
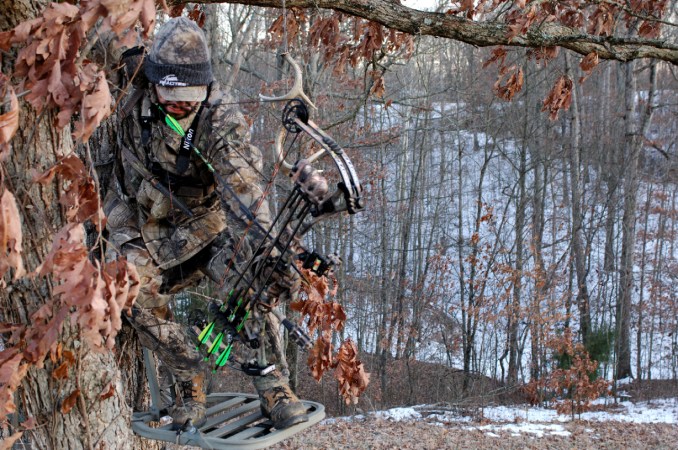
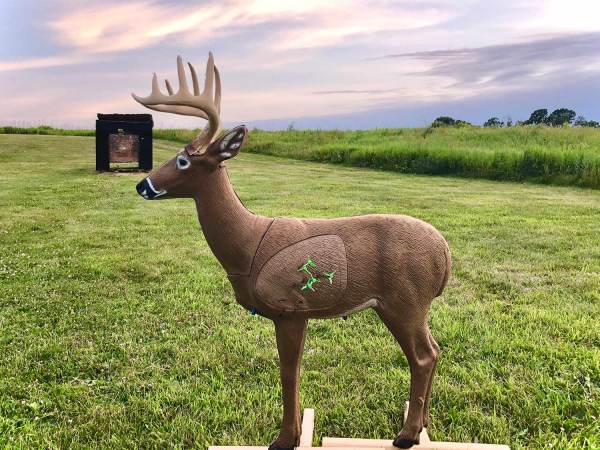
It doesn’t matter how much time you spent shooting and tuning your bow before bow season started. How your bow was shooting may or may not be how it’s shooting now, and the only way to know for sure is to shoot it. During the season, I will shoot at least one arrow before every other hunt. If time allows, I’ll take a shot before every outing. But I’ll never go more than two sits without firing an arrow. This can be at a backyard target or a particularly colorful leaf on the ground near my stand.
STEP 2: Cut a box:
If my bow is hitting where I want, I don’t mess with it. I’ll repeat that: Don’t mess with it. I firmly believe a healthy percentage of tuning “issues” weren’t issues until someone started messing with things. But if something is off, I waste no time. I will immediately paper-tune the bow. Why? Because fixing a broadhead flight issue is one of those tasks that can make you age prematurely, and I’m already older than I pretend to be as it is. Broadhead flight issues are nearly impossible to fix if your bow isn’t shooting bullet holes through paper. You don’t need any fancy equipment. Just grab a cardboard box larger than a sheet of paper. Cut a square out of the center of the box about two inches smaller than the paper.
STEP 3: Tape it:
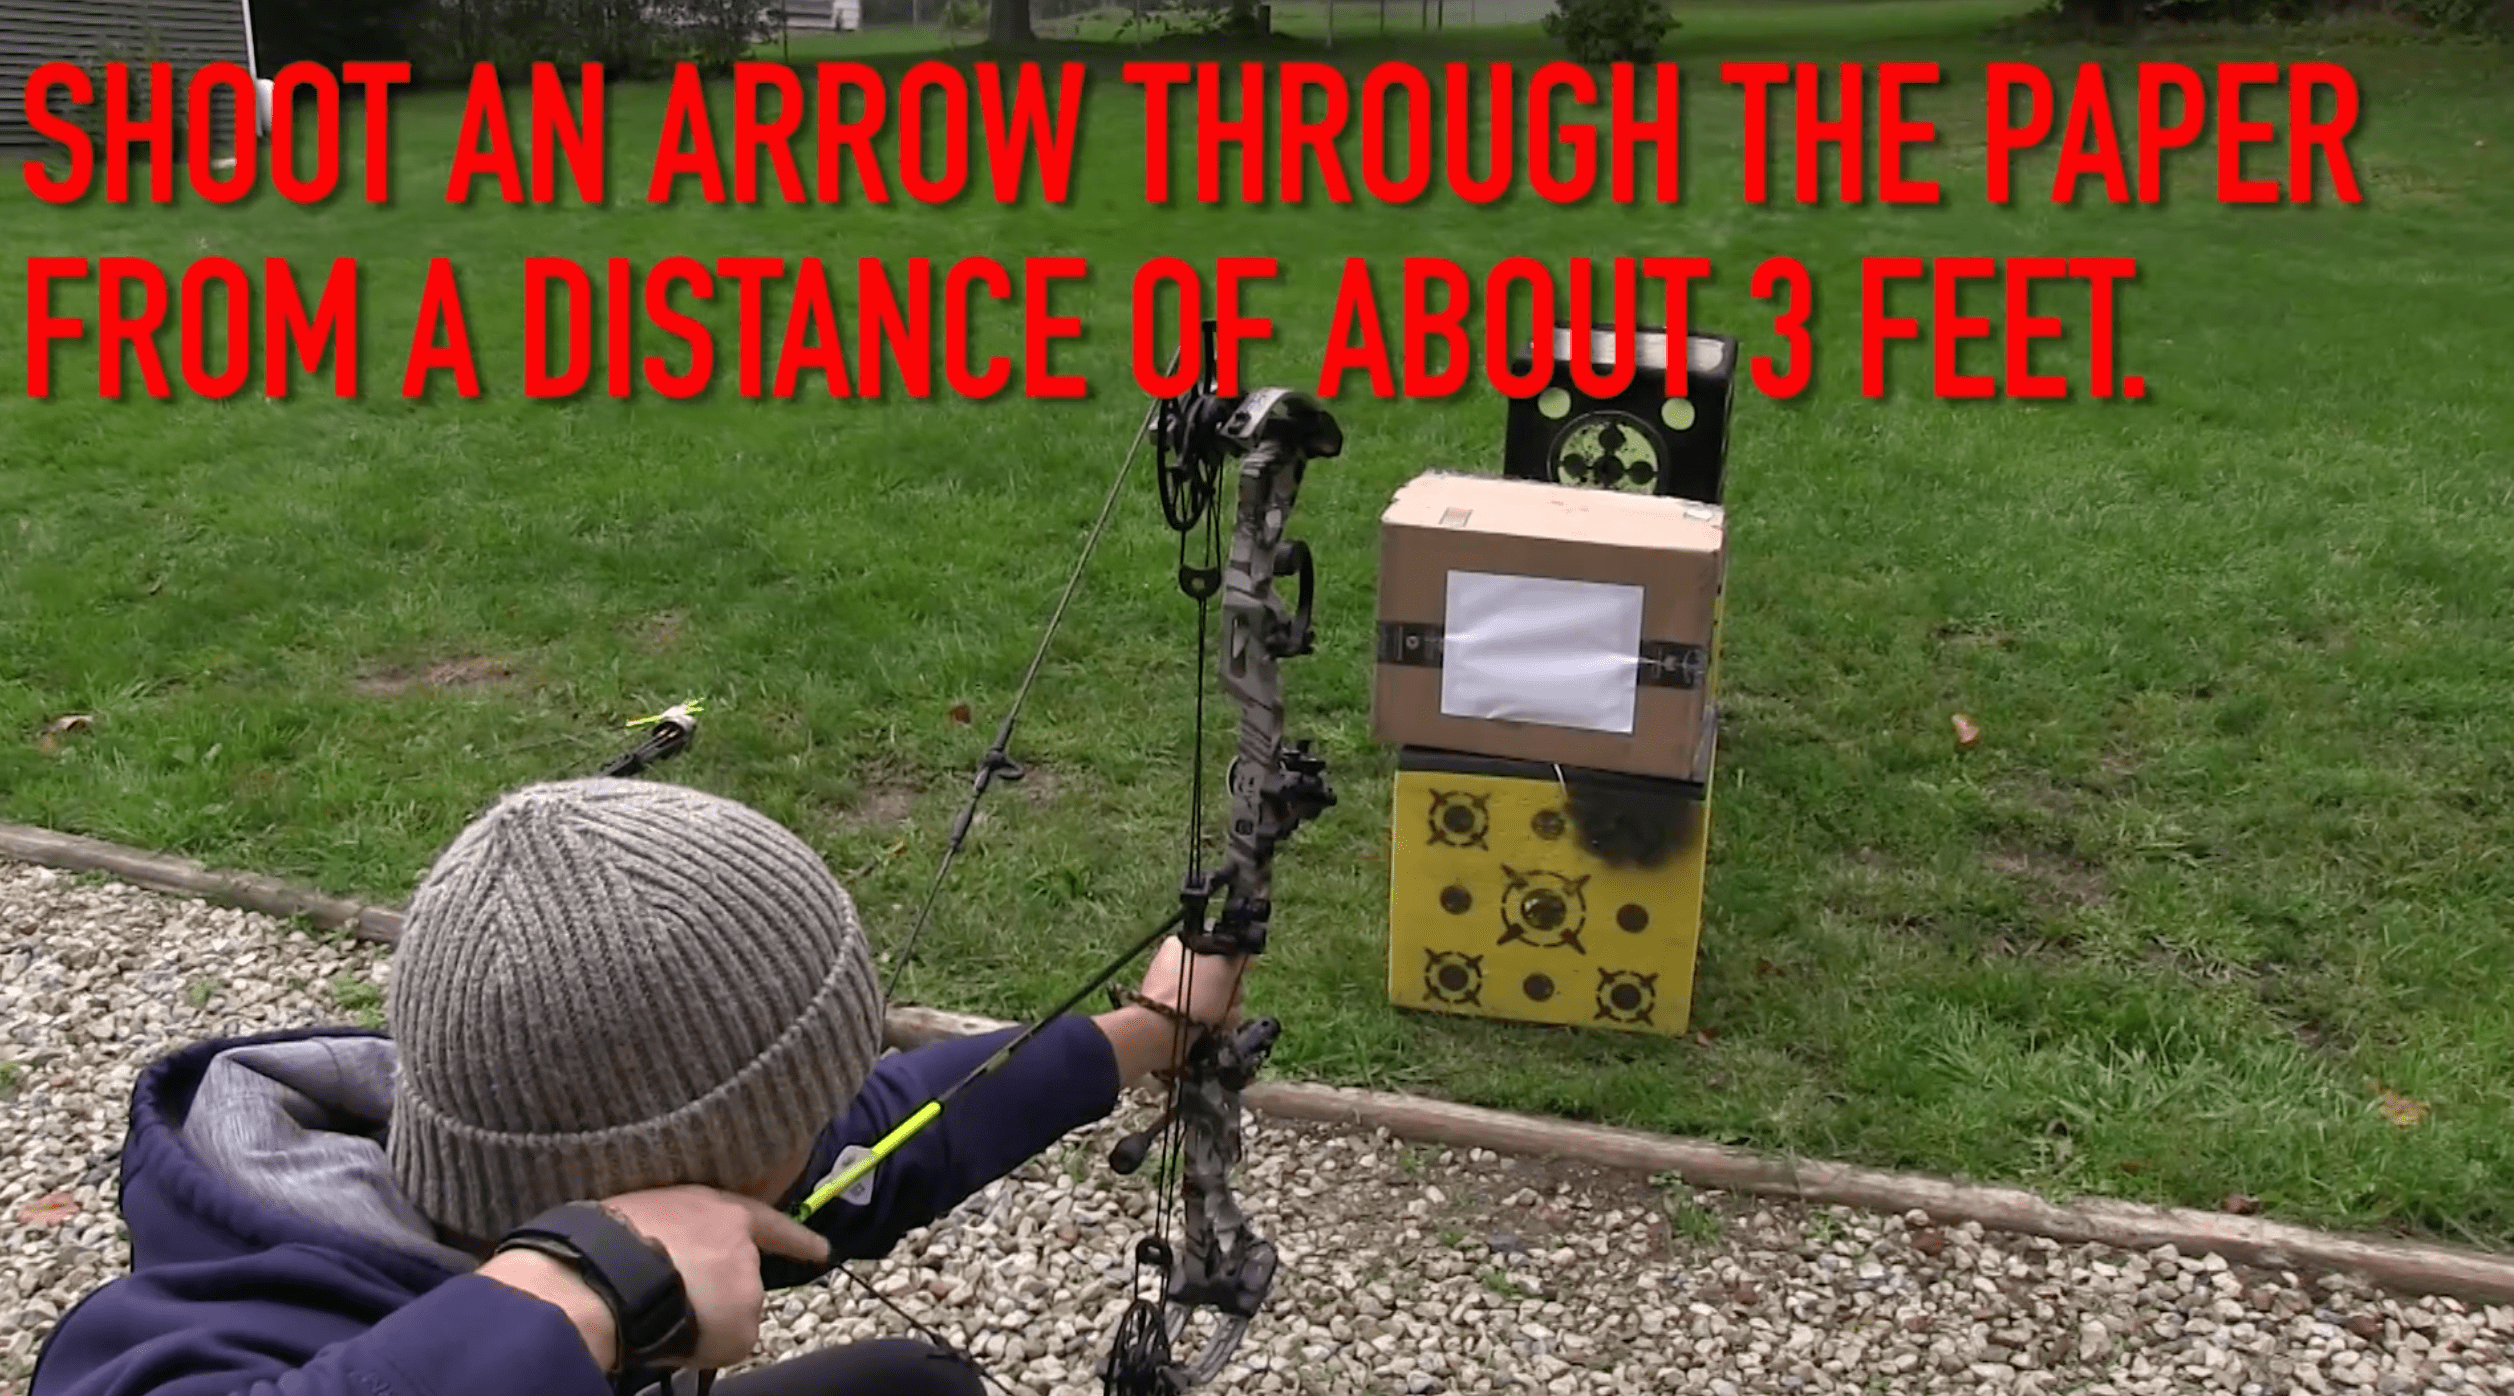
Now take a few sheets of paper to your range. Tape one over the cutout. Keep the paper as taut as you can.
STEP 4: Shoot level:
Now, position yourself about 3 feet or so from the box. Make sure you’re shooting at a flat plane to the box.
STEP 5: Examine the tear:
What you’re looking for is the perfect “bullet hole.” You want to see where the point impacted and the fletching should be going right through that hole in a straight line. If the fletching tears are high, low, left or right, you need to make adjustments. The bow is out of tune.
STEP 6: Chase it:
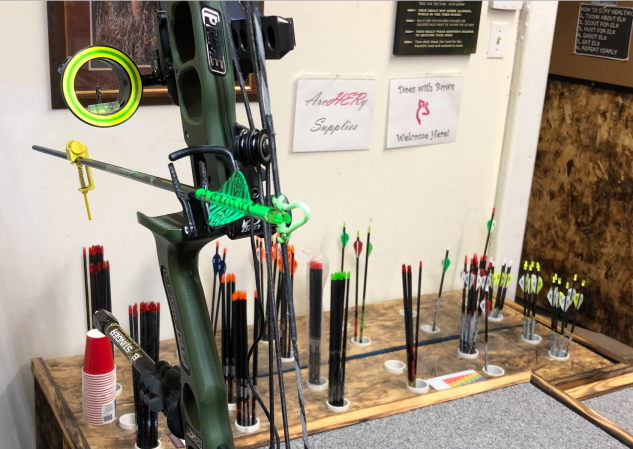
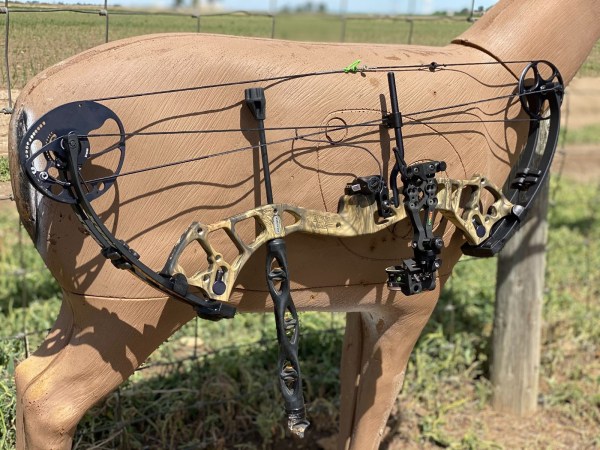
To correct the issue, you’ll need to adjust the rest. In some cases, you may need to move your nock point (in the case of tail-high or tail-low tears). Avoid moving your nock point unless absolutely necessary. I’ve found it much, much simpler to adjust the rest. But, in some cases, you simply won’t have enough rest adjustment available, a if that’s the case, the bow likely never was in tune to begin with. To correct a tear, “chase” it. That is to say, if the tear shows the fletching passing through the paper below the point, move your rest down. If the tail is high, move the rest up. If the tear is left, move left. Tear right? Move right. Make small adjustments and shoot through a fresh sheet of paper after each shot.
Unless your bow is crazy out of tune, this entire process should take less than 15 minutes and cost you nothing more than an old cardboard box and a few sheets of paper.
