We may earn revenue from the products available on this page and participate in affiliate programs. Learn More ›
I am not a professional archer. You won’t see me winning any national 3D tournaments or catch me doing burpees before the Total Archery Challenge. But I am, proudly, an effective average-joe bowhunter. I started shooting a compound when I was 12, and killed my first deer with one when I was 14. As a kid, my dad and I would shoot in the backyard a couple nights every week. He’d usually crack a cold beer or two to take the edge off after a long day of work at his welding shop, and maybe light up a cigar to keep the bugs away. We’d shoot until mom had dinner ready. This was back before shooting a bow was about “getting reps.”
While shooting at public ranges and deer camps over the years, I’ve noticed there are a whole lot of archers just like Dad, who squeeze in an hour of practice after work whenever they can. Practice for them is about getting dialed in for the fall but also about enjoying a quiet summer evening. As I have gotten more bowhunting seasons under my belt, I’ve evolved those shooting sessions with Dad and learned how to make sure I’m getting the most out of my practice time. Changing up my shooting routine keeps practice sessions fun, and it’s more representative of the shooting conditions and positions I’ll experience during a hunt. What we all care most about is making a good, clean shot on an animal right? That means we should be practicing specifically for the shots we’ll get during a hunt. So if you’re one of us, an average-joe archer with an eye toward fall, check out the tips below and keep flinging arrows.
1. Make sure your bow, arrows, and form are tuned
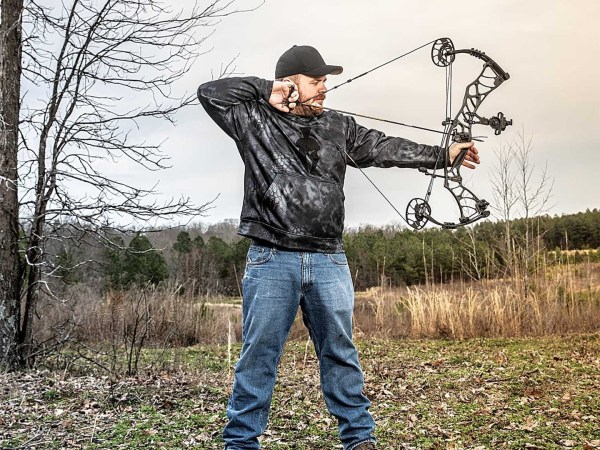
First things first, it’s impossible to get better if you’re shooting with improper, inconsistent form. If you’re totally new to archery, I highly suggest getting some instruction from a pro. If you’re a veteran and know what good form looks and feels like, have your spouse, kid, or shooting buddy film a few of your shots from a couple different angles. You might notice flaws in your form or weird habits you’ve developed. You can work on those through the summer. It’s equally important to make sure your bow is tuned to your arrows. Either have the local bowshop give it a once over or run through this very simple paper tuning drill. If you’re going to spend a summer shooting your bow, you might as well make sure that it’s tuned properly.
2. Don’t get obsessed with shooting long range
Sure, shooting at long range IS great practice. For average-joe shooters, let’s consider “long” to be 50 to 80 yards. When you are able to shoot solid groups at 70 yards, those 30-yard shots feel a lot easier. And if you’re a western bowhunter, shooting long may be a requirement for chasing critters in open country. But for whitetail hunters, most of us will not (and should not) be shooting beyond 30 to 40 yards in a hunting scenario. There are too many variables at play for long-range whitetail shots—deer duck arrows, most shots are taken in the woods where even a tiny twig can send your arrow off target, and shots are often made from a swaying treestand. So don’t spend your entire summer trying to get that perfect group at 70 yards. Use the majority of your practice sessions for targets at 10 to 40 yards.
3. Shoot at odd distances
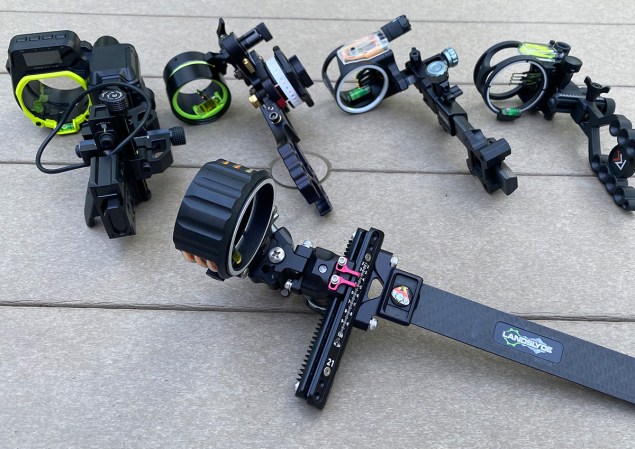
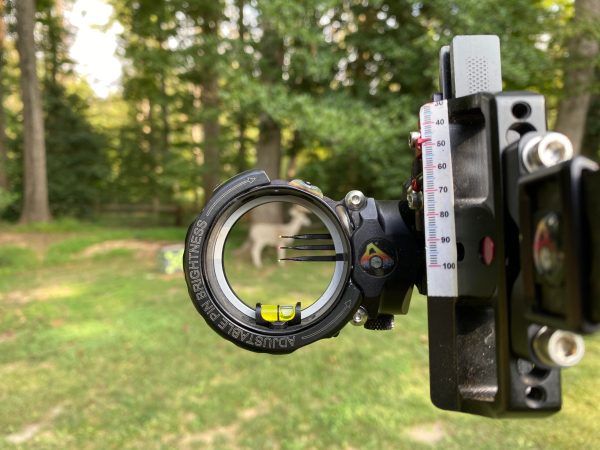
Deer don’t walk by at perfect 10-yard intervals from your treestand, so don’t practice that way either. Place targets at odd ranges, like 37.5 yards to better train for the real thing. If you’re shooting fixed pins, this will train you to shoot the gaps between your pins. Don’t underestimate the challenge of this concept in a hunting scenario. It’s easy to shoot the gaps in practice but when a big buck walks out at 35 yards, it’s tempting to put your 30-yard pin right on him and shoot. Practicing at odd ranges will train your brain to use the gaps between the pins. If you shoot a slider, this type of practice will put your gear (and your ability to use it properly and quickly) to the test.
4. Change up your shooting platform
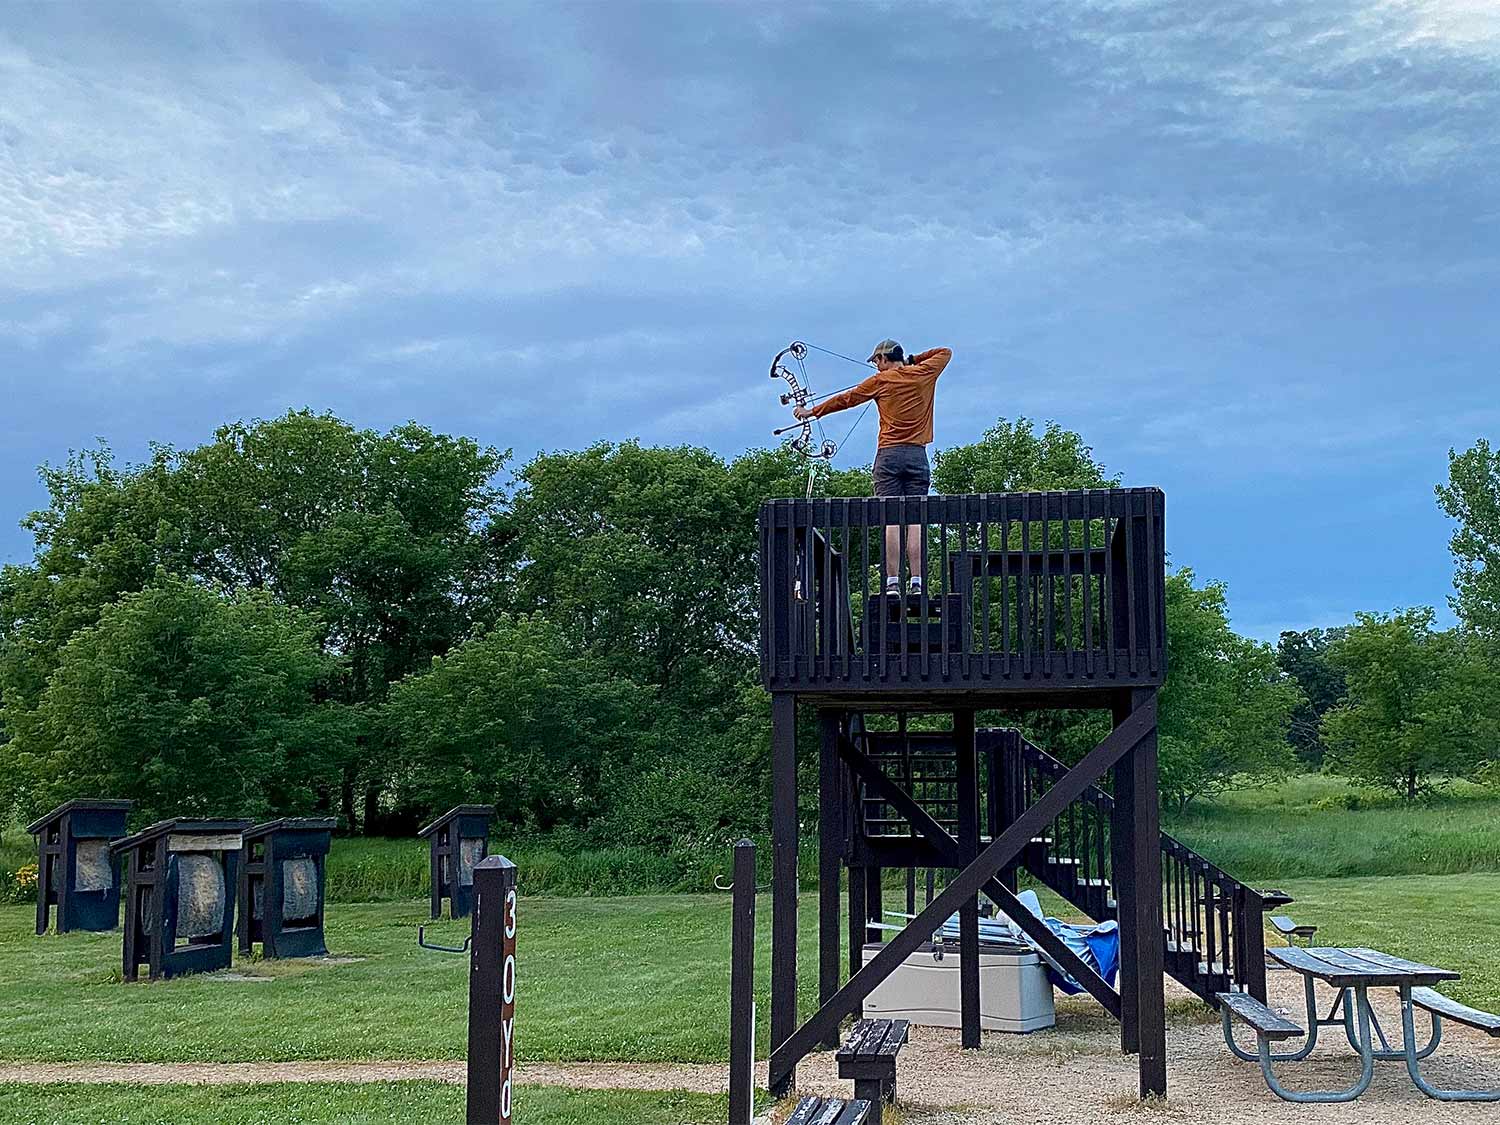
If you’re a treestand hunter, you need to practice shooting from an elevated platform. I’m lucky, and my public range has a tower, so I do 90 percent of my shooting from it. If you don’t have that option, hang a ladder stand in your yard or shoot from your deck to create that downward shooting angle. You need to practice bending at the waist, finding your anchor point, and maintaining a consistent grip on your bow while shooting at a steep downward angle. If you’re a spot and stalk hunter or a ground blind hunter, practice realistic field positions. Shoot from the chair you’ll be hunting out of in a ground blind (hell, shoot out of the blind itself). For spot-and-stalk hunters, shoot from your knees and while standing on uneven terrain.
5. Mess with your stance
Feet shoulder width apart, hip pointing toward the target. That’s the way we all want to shoot. It’s good form and it’s comfortable. But that’s not always the position we end up shooting from during a hunt. If you’re a treestand hunter, you’ll often be forced to rotate your torso left or right to bring your sight onto a deer that’s walking between shooting lanes. If you don’t practice this, it can feel awkward at first, especially when it comes to maintaining a consistent anchor point. So practice a few shots every session where your feet line up at angle that isn’t directly at the target, then rotate your upper body toward the target (keeping your feet in place) and shoot. Side note: You should only practice this after you’ve got basic archery form down. Don’t mess with your shooting stance until you’ve already developed a consistent one.
Read Next: The Hottest New Compound Hunting Bows for 2020
6. Get away from the bright bullseyes
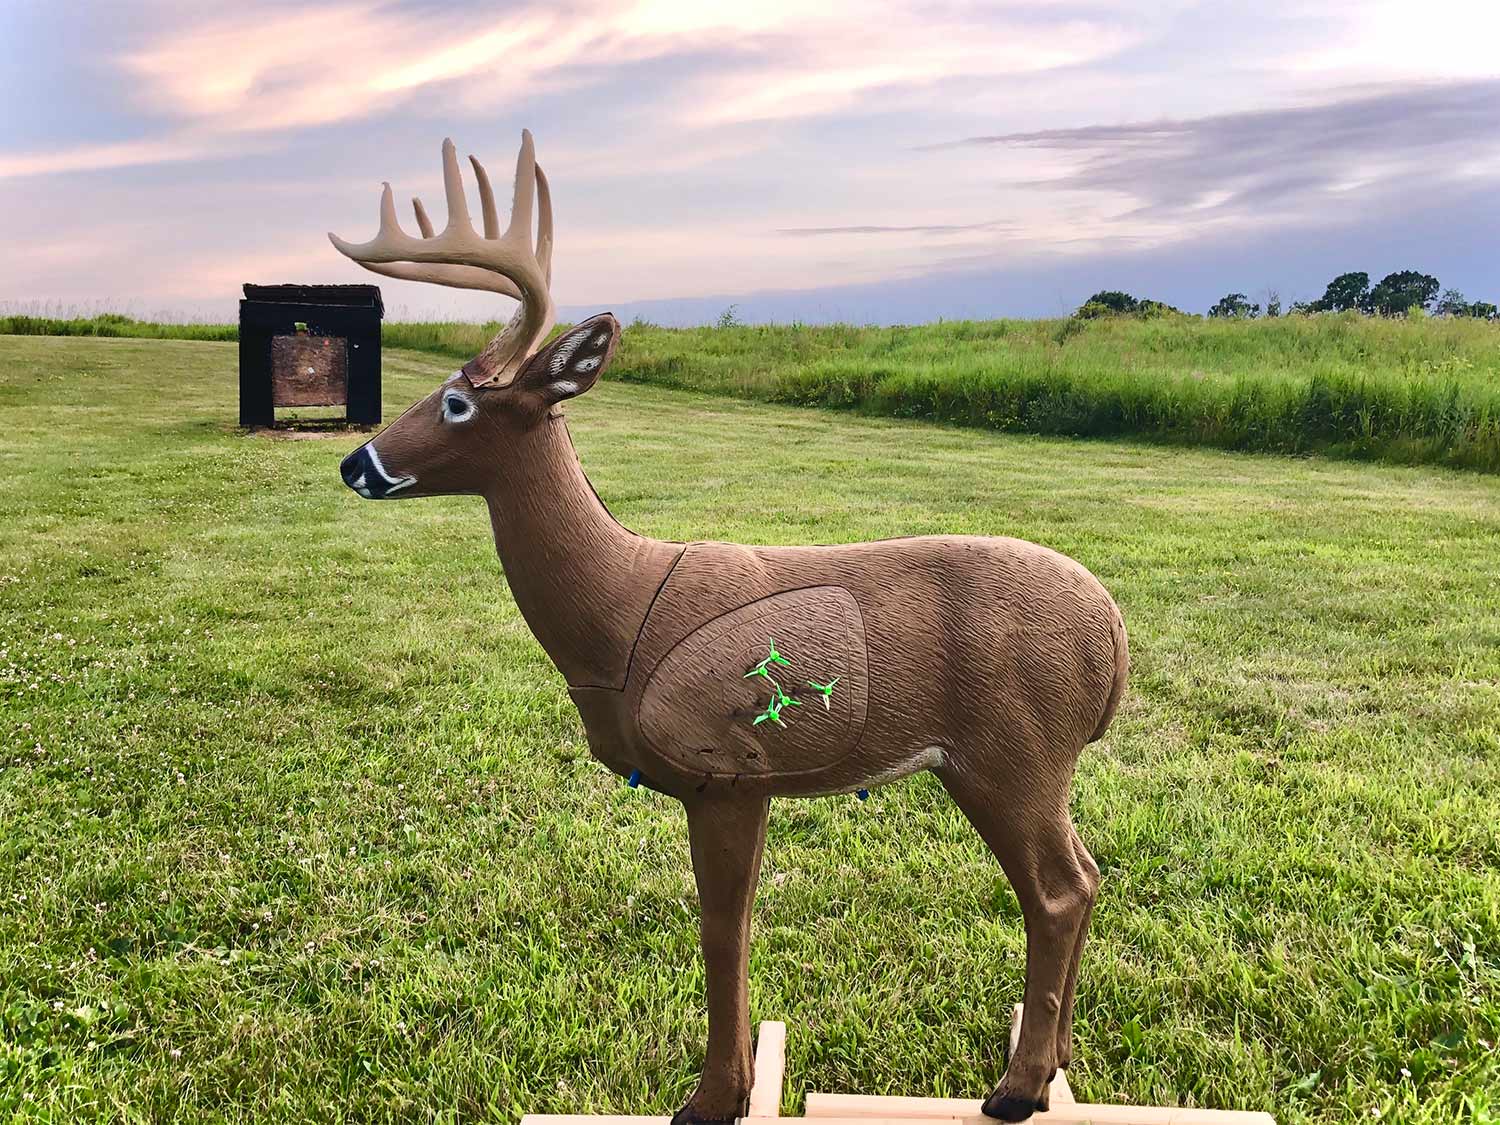
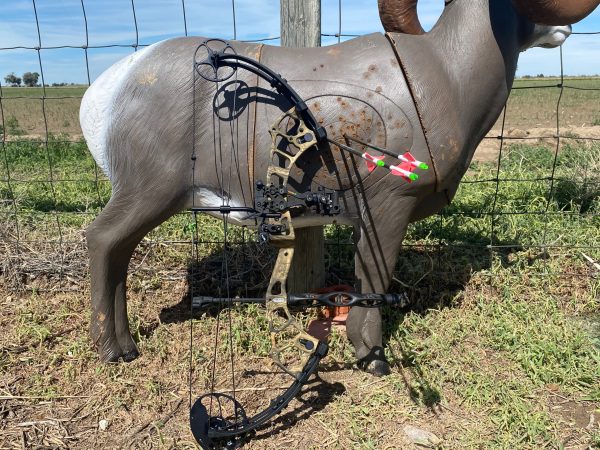
There are no orange bullseyes on deer. You have to pick a spot on a deer’s chest and decide that’s where you want your arrow to hit. So you need to train your eyes to pick a specific spot on a target and let the pin float over that spot. If you spend all your time shooting a bright bullseye, your eyes will naturally focus on that bright color (and you’re not really training them). I like to shoot 3D targets (it’s more fun than just hammering the same block target over and over) but the real key is to switch up your targets as often as possible within a shooting session. Switching from blocks, to bails, to 3D critters will force you to pick a specific spot on each target, and that skill will come more naturally when you need it during a hunting scenario.
7. Shoot in low light
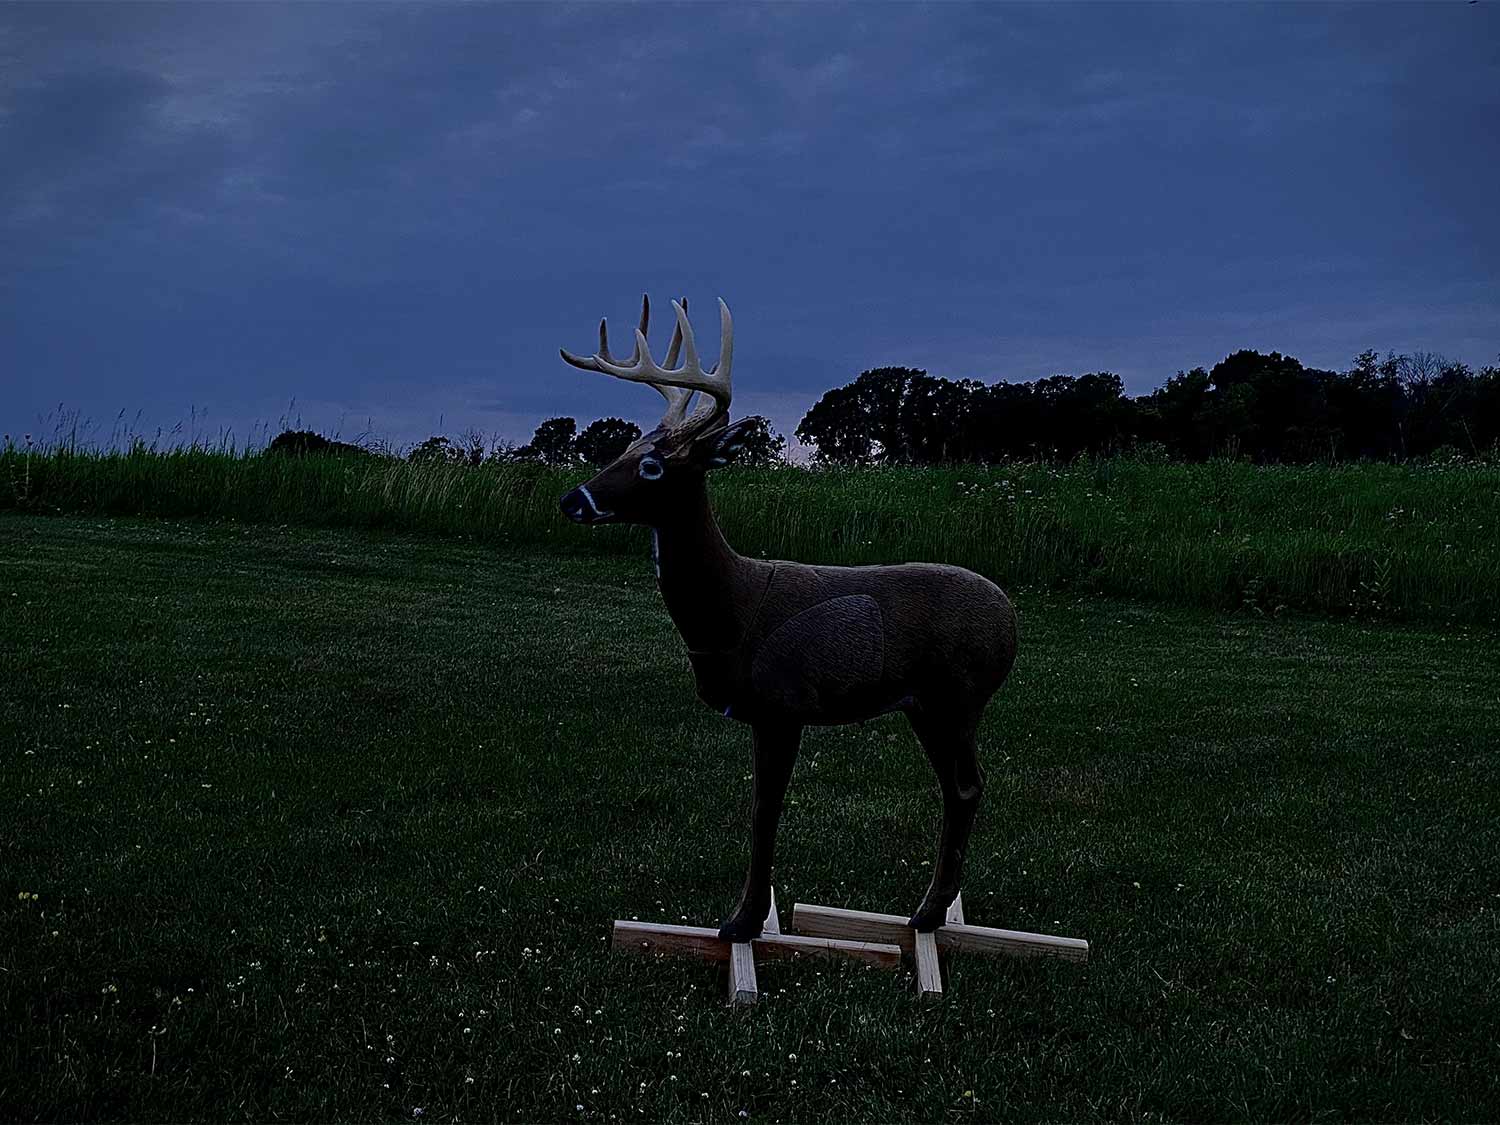
Make sure you shoot in low light conditions at least twice this summer. If possible, you should do this on a 3D deer target at realistic hunting ranges. You won’t be able to see detail on the target, only the clear outline of its body. This, of course, replicates the scenario of a deer coming into range at dawn or dusk, in a dark forest. Picking a spot becomes even tougher when you can’t see detail on your target. This will force you to trust that feeling of floating the pin over the vitals and squeezing the shot.
8. Practice holding at full draw
When I’m just naturally shooting, I’ll draw my bow, aim for maybe three or four seconds and then shoot. But many times in a hunting scenario, you’ll have to hold at full draw for much longer until the critter steps into a shooting lane. When you hold at full draw for long enough, your arms will start to shake, it will be harder to hold the pin on target, and you might start to feel anxious about getting the shot off. If you’re not used to the feeling, this is the recipe for a poorly executed shot. So at the end of every practice session, draw your bow and hold it until you start to feel tired and shaky. While you’re holding, don’t worry about keeping the pin on the target. But after you start to feel it (maybe a minute or two in), then try to hold the pin on target. Let the pin float over a specific spot for a little while and then let the bow down, without shooting. The goal here is to strengthen your muscles, but more importantly, train your mind. It’s important to know what it feels like to hold at full draw and then aim while you’re tired. Over time, this will get easier and you’ll be able to hold at full draw for longer.
9. Shoot under pressure
It’s just about impossible to replicate the adrenaline rush a bowhunter feels when a deer steps into bow range. But we can try to get close. The key is to make each shot mean something. If you screw it up, there’s a negative consequence. Shooting in a local 3D tournament is a good start. Shooting with a buddy and putting a little money on the line works too. In those old shooting sessions with my dad, we’d often stick a dollar bill to the target, whoever shot it first got to keep it (that’s a good amount of pressure for a kid who made money by mowing the lawn). You can also get more extreme by shooting at extra-small targets. If you miss, you might lose your (expensive) arrow. I’ve even seen critter targets that are surrounded in metal, except for the vitals. Miss the vitals and you’ll shatter your arrow on the metal. Larry Wise (the guy who wrote the book on compound bow shooting) preaches the one-shot practice session when you get close to hunting season. Shoot a single arrow at the maximum distance you’re comfortable taking on an animal. If you hit the vitals, you get to keep shooting. If you miss, you’re done for the day. Go mow the lawn or do some other chore. Apply pressure to your shooting session however you like, just make sure that you’re able to execute a good shot when it matters most. It will pay off this fall.
