We may earn revenue from the products available on this page and participate in affiliate programs. Learn More ›

The carp spawn is almost here. And we all have more time on our hands now. Build a bowfishing deck for your boat with all this downtime, and you’ll be ready to self-isolate on the water come May, when big fish are love drunk in the shallows—and begging to be shot.
Why a Bow Deck?

You do not need a bow deck to shoot carp from a boat. But like saddles on horses, they make the experience much better. A deck does a couple things you can’t always accomplish pigeon-toed on the nose of a skiff, such as:
Space. Designed right, an open bowfishing deck provides more foot room for shooters. No one needs to balance on a skinny side bench and it’s easier to put more shooters forward where the action happens.
Elevation. With an elevated bow deck, the shooters can look down into the water. This is especially handy in murky, chocolate milk conditions, where fish may only surface near the hull when nudged by the boat. It also has the effect of flattening out a bowshot. The way light refracts through water means you typically have to aim under fish to connect, but when shooting straight down on them, this adjustment is lessened.
Lights. A bow deck, elevated or not, provides a great surface for hanging lights to bowfish at night. In some places, like where I am in New York, night fishing carp is the only real way to go. In many places, like on Kentucky Lake where I’ve shot big silvers, or the Snake River in Idaho where common carp spawn in the shallows beside the bank, being out at night is less mandatory. Still, I’d argue, being on the water at night is way more fun. It’s easier to shoot high numbers of fish. They spook less, and there’s no pounding sun as you troll the shallows in silence.
Know Your Boat
A project like this bow deck adds a lot of weight to a boat, which could be problematic. Know your boat, it’s weight limits (marked on the Coast Guard plaque, typically mounted on the transom) and get a good weight estimate of the materials you plan to use. Fun as bowfishing is, it’s not worth overloading your rig or worse. Also, as the deck should be tailored to your boat’s bow, this isn’t something you want to build with the hope of getting a boat someday, or adding to your buddy’s boat two states away. Know your boat, its limits, and build directly to it.
Material Selection

There are two basic materials options when considering a bowdeck build: wood or aluminum. My friend and Outdoor Life editor Ben Romans built a very nice setup out of pressure-treated lumber and plywood for this 14-foot bass boat. The advantage of wood is it’s relatively inexpensive, and you probably have the tools to make the project in your garage right now. The downside is wood won’t wear as well as metal, or support as much weight, and it needs annual upkeep like paint or stain. It can also feel dicey when elevated.
Aluminum is the better option when it comes to strength and ease maintenance. Fish blood hoses right off. A brush and bleach and it’s good as new. It never needs a sanding or a coat of paint. It also makes for easy waterproofing of electrical components under an aluminum deck. Done right, you can make the deck as high as you risk—knowing that the taller the deck, the more tippy your boat. (If you’re building for a pontoon boat this is less of an issue than if you’re working with a v-hull.) The drawback of aluminum is cost. It’s expensive. And you need to know how to cut, prep and weld it, or hire a skilled welder to make it happen.
Construction Tips
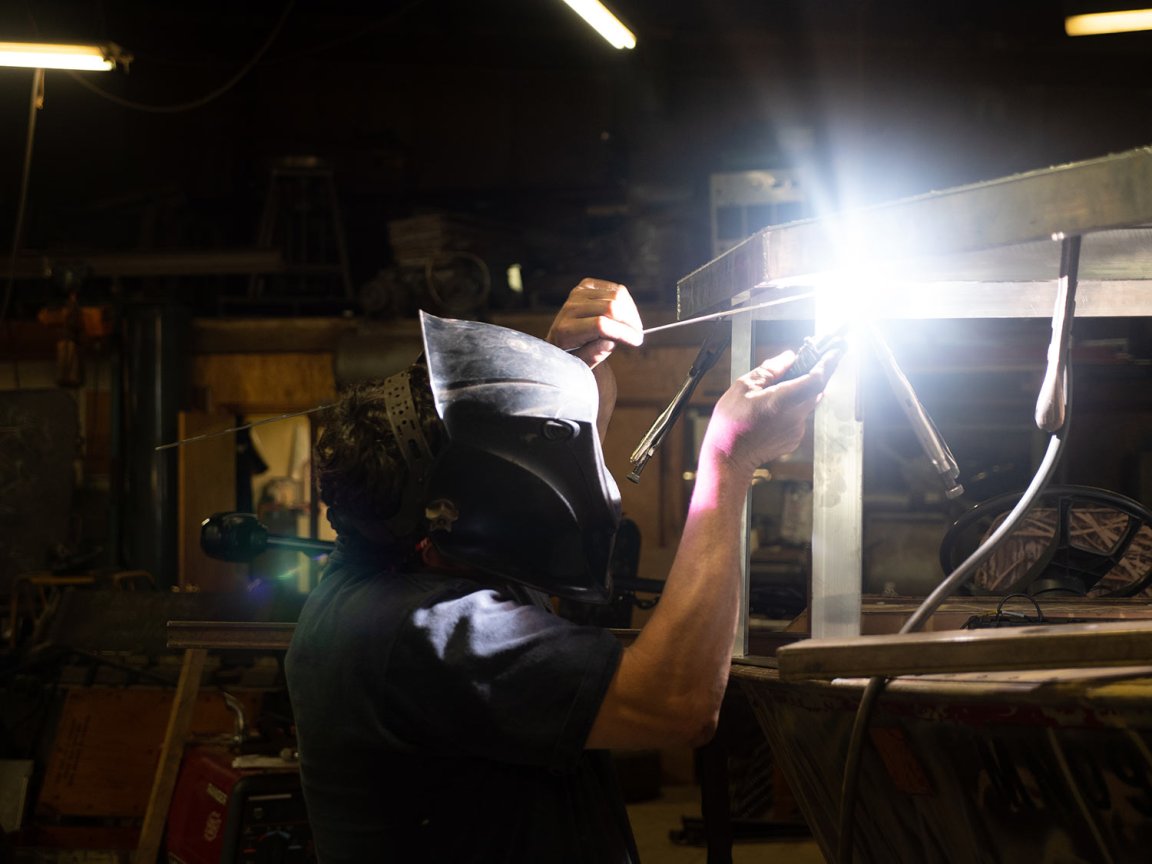
My bowdeck was built primarily from 3/8-inch diamond plate and 1 x 2 x 1/8-inch wall aluminum tube on a 16-foot 1970s Lund Laker. This was only possible with the help of Jeff Meyers, at Cedar Street Manufacturing in Elmira, New York. Jeff is a master fabricator and took my penciled-out ideas, improved them, then made them real in aluminum. Here’s how it went together:
Some things we learned about basic aluminum deck construction:
- Go with 3/8 diamond plate or better. A sheet of ¼-inch had noticeably more flex that 3/8s and would have required more scaffolding under it to hold solid. What we paid for in the thicker diamond plate we more than made up with less tubing and less welding. If you don’t have a sheer to cut sheet aluminum it can be done with a plasma cutter or Skil saw with the appropriate blade. We opted to cut the main deck metal to the dimensions of the boat, rather than have it hang over the water.
- For the “structure” under the deck which adds rigidity we used 1 x 2x 1/8-inch wall aluminum tube. Any smaller felt too light.
- We elevated the deck 14 inches the over gunwales at the bow. This was mainly in consideration of the sizes of our LED lights.
- The deck locks right into the boat thanks to the 2 x 2 x ¼-inch aluminum angle we welded to the bottom deck legs. This adds rigidity to the overall deck and because it was welding together on the boat it snaps into place, but can easily be removed. We planned to fasten the deck to the boat with ratchet straps, but truck cap clamps proved easier and just as solid, if not more so. The clamps come off easily with a ratchet and socket and two guys can lift the deck on or off the boat.
- With this design we built-in a knee rail, so the shooter can lean into the rail and not worry about bow limbs hitting it. (The ding of bows or anything against the metal railing or deck spooks fish.) There are other designs online that have more of a waist-high handrail, which is a good option if you’re worried about stability issues on your feet. We angled the rails a few degrees out over the water, and in hindsight I wish they were straight-up and down as it puts the shooter a little too-much over the water. If you’re not welding a deck rail on, basic floor flanges can be used to attach railing to a wood deck or boat.
Read Next: The Best Bowfishing Gear for Beginners
Get a Trolling Motor
I’ve bowfished on boats that scoot around the shallows under main outboard power. It’s loud and provides way less control than a good trolling motor. Speed control sucks too, and you’re often shooting at fast passing fish. We opted for a bow-mounted 36-volt Minn Kota Terrova with a 72-inch shaft. This is a beast of a motor and connected to the Hummingbird Helix has a wicked auto-pilot function that lets the boat slow-steam along a shoreline, so I can focus on shooting fish, not driving.
Rather than using the foot-pedal, I run this setup with the remote control around my neck on a lanyard, so when I connect on a fish, I can stop it with a one-button click soon as the arrow is sent. This keeps fish and lines free from the prop. If you’re going with a bow-mounted trolling motor like this—especially such a big one—you need to plan it into your deck build, and make sure you have extra supports under the deck for the motor to bolt to. Bow-mounted, in my mind, is the only way to go, but I have friends who fish in teams, and they like a stern-mounted trolling motor in the back, with one guy on the nose fishing, and another guy driving.
Lights & Power
For LED lights, we went with these LEPOWER 50-watt waterproof work lights. LEDS draw less power and don’t get hot like halogen bulbs that bowfishing guys often used back in the day. A two-pack can be had for less than $40 and with self-tapping screws they can be attached with the included bracket right to the deck. How many lights do you need? I went overboard, metaphorically, with 11 total lights, five on each side and one facing forward. At night, on the water, it looks like a UFO landing it’s so damn bright, which I love, but less would work fine. In fact, I never need to run all 11 lights at the same time while fishing. Six or eight work fine on my 16-foot boat.
These lights run on 110-volt AC power with a same kind of three-prong plug you’d find on a house lamp. How you’d connect that on your boat depends on your power source. I choose to run mine off 12-volt deep cycle marine batteries. A simpler option is to connect them directly to a small generator. But, generators have two big drawbacks. For starters they’re loud—even the “quiet” models—and second, they vibrate. Neither things you’d much notice running one at a campsite, but in the cramped quarters of a small boat they’re very noticeable.
The drawbacks of batteries are they’re more expensive over a career of bowfishing. They also need to be charged after every trip. But, battery-powered lights combined with a good trolling motor equals total silence while fishing. I can’t stress enough how much this improves a trip. (If we want noise, we play music.)
To run the lights off battery power, they need to first be connected them to an AC power strip that has switches for each individual outlet, so each light can be turned on and off separately. The power strip then connects to a 1100-watt inverter, which converts the batteries DC current to AC. Then the inverter is then connected to the battery, or in my case batteries. This setup has three batteries run in parallel, which keeps the draw at 12 volts but provides triple the run time of a single battery.
With the Minn Kota, lights, and a battery for the outboard, this build has seven batteries on board. That, plus the deck and three normal-sized humans, puts me right at the Coast Guard rating for this Lund. We spaced the batteries out with four in the back, and three amidships to balance the weight of the deck. Batteries are not cheap, but I was able to get all seven at cost from my local auto mechanic. The battery supplier was more than happy to cut a deal on so many batteries in one order. Still, they were not the cheapest batteries I found, but the one’s with the best warranty. The batteries are connected to each other with 2-foot, 4-gauge wire sets. These can be bought directly from your battery supplier for much less then they go for online. The battery banks are connected to the invertor and trolling motor with 8-gauge wire.
With this setup, I can run all 11 lights for about four hours, before the voltage dips. At that point, I can switch off two or four lights, and run the rest at least another four hours. All seven batteries charge in one’s day time thanks to two of these Extreme Max 4-bank chargers.
On the Water

“You need all that to shoot carp?” I can’t tell you how many times I’ve heard that by now. Of course, you don’t need all this to kill carp. But you also don’t need a fast motorcycle to split lanes on the commute to work, but man is it nice if you have it. I’ve taken a couple naysayers on the water and after a few hours—or a few dozen fish in the boat—they’re convinced. I can’t stress enough how a trolling motor and battery-powered lights improve the experience. There’s nothing quite like silently hovering over a school of spawning carp in the dead of night and picking your shot. With a build like this, you can do that in spades.