We may earn revenue from the products available on this page and participate in affiliate programs. Learn More ›
I’ll be honest: I became a writer because I sucked at math. Algebra, geometry, statistics…I narrowly passed. Once school was out, I said so long to math. But then, later in life, I started shooting rifles. All of my hunting career, I used shotguns, because in my home state of Illinois there are few game animals you can legally kill with a centerfire or rimfire, so there’s very limited opportunity to hunt with a rifle. And if you don’t know (and as I found out), rifle shooting is a mathematical pursuit. But hunting with a rifle—and shooting one at the range—was so fun that I didn’t mind relearning basic arithmetic.
I tell that story because I didn’t let a roadblock (my hatred for math) stop me from pursuing something I wanted to do. And I know that for beginners, shooting a rifle can often seem a daunting task. You can’t just pick up a bolt gun and shoot it accurately. You have to mount a scope, boresight it, and sight-in the rifle before you can practice effectively. But don’t let the unknown spook you. Once you learn the basics, and what pitfalls to avoid, you’ll be well on your way to becoming a competent rifle shooter.
1. What You Need to Know Before Buying a Rifle
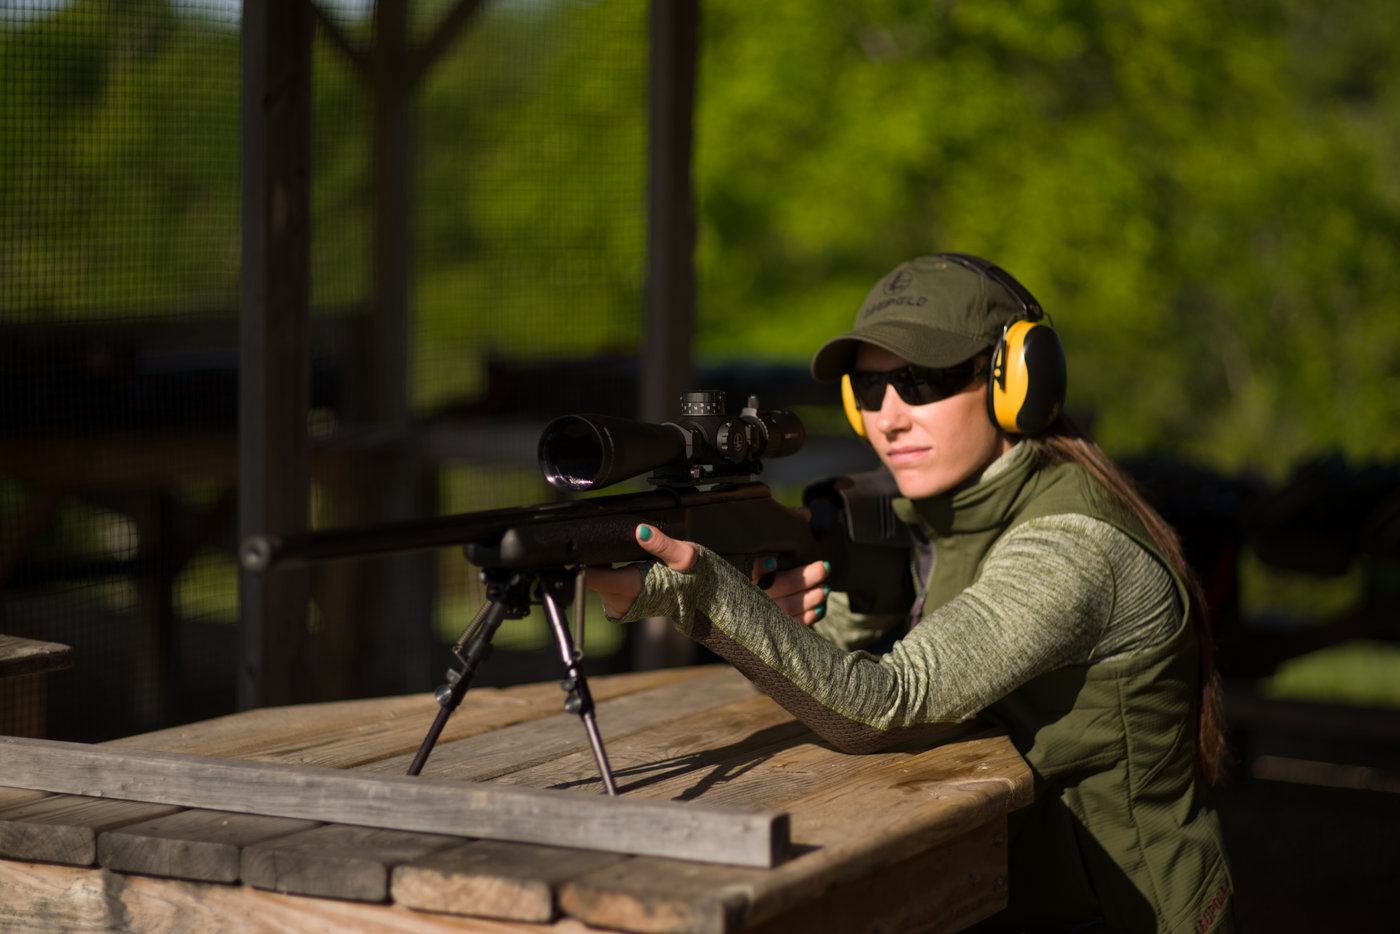
If you ask 10 traditional hunters what rifle to buy, you will get 10 different answers. One of my good friends, for example, tried to convince me that my first rifle needed to be a high-end bolt-action with a carbon-wrapped barrel and a pricey optic. That’s bad advice to give a novice. You need a basic setup, and there are two options to choose from.
If you have never shot a rifle before, purchase a rimfire, like a .17 HMR or .22 LR. There is way less recoil with rimfires than centerfires, and ammo is cheaper. But all the concepts for shooting accurately are the same. Practicing with a rimfire will help you build skills for shooting a centerfire rifle. You can buy one (with a scope) and practice until you feel comfortable moving to a centerfire. I had shot some rimfires before buying a centerfire, so I went straight to a 6.5 Creedmoor.
When you step up to a centerfire, do not spend more than $1,000 on your first rifle (remember: you have to buy a scope, too). You should also select a cartridge with manageable recoil, like a .243, 6.5 Creedmoor, or .270. You’re going to be shooting the rifle a ton and magnum calibers deliver more recoil. Any new shooter can only stand so much battering before bad habits develop. I bought a Weatherby Vanguard Select in 6.5 Creedmoor and topped it with a Leupold VX 3i 5.5-10×40 scope. It’s a great starter platform for right around $1,000.
Don’t be hasty to make your own decision. Do not buy a rifle because it’s cheap. Save up, buy a good one from a reliable vendor, then save up again and buy a quality scope.
2. Buy Your Rifle from a Local Gun Shop
The reason I recommend buying your rifle from a small business is that you’re more likely to get a personal experience (i.e. someone that will help you). When you have questions, they have answers. Old guys behind the counter of a dingy gun store may seem intimidating, but they also know far more about rifles than any college kid making beer money wages at a large retailer. Ask the old guy if you can call him with any questions, and use him as a resource when issues arise. Most of the time he will be delighted to talk your ear off. Just don’t pester him incessantly—he has a job to do.
If you live in an urban area that only has big box stores, use Google to search the suburbs and small towns nearby to find a locally-owned gun shop and drive there. That minor travel inconvenience will save you major headaches down the road.
A good gun shop will be able to mount your scope to the rifle and boresight it for you, two precise procedures that first-time rifle shooters should have a gunsmith do for them. Before you leave the store, make sure you can see clearly through the scope when your cheek is pressed to the stock in a natural position. If you can’t, that means there isn’t sufficient eye relief, or perhaps the scope was mounted too high or too low—and it needs to be adjusted.
3. Take a Class
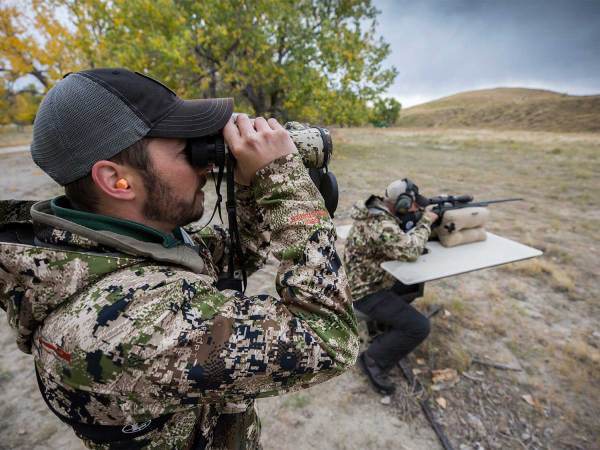
Learning to shoot a rifle accurately on your own is next to impossible. The sighting-in process alone is technical. To avoid frustration, bring an experienced shooter to help you. If you don’t know any experienced shooters, sign up for a class. I had no real concept of how to zero my rifle properly until I took Jim Kauber’s rifle hunting course at THE SITE. Kauber is an ex-NAVY Seal Master Chief who covers all the basics in the classroom before taking you out to the range. By the end of the two-day class, I was ringing steel at 500 yards. Before that, I’d never shot a rifle beyond 200 yards. He taught us how to shoot running game (which I don’t recommend you try until you have practiced extensively) and set up a simulated “hunt” so I could get a feel for how quick the actual experience would transpire.
The course gave me confidence. I also learned that the rifle was far more capable than I was, and that I needed to set my own shooting parameters before hunting. Rifle shooting is complex, but Kauber caters to your skill level. And that’s what you have to find: an instructor with high-level knowledge who can answer any question you have, and correct all your mistakes (you will make a lot, and it’s fine).
4. You Are Not a Long-Range Sniper (And Don’t Need to Be)
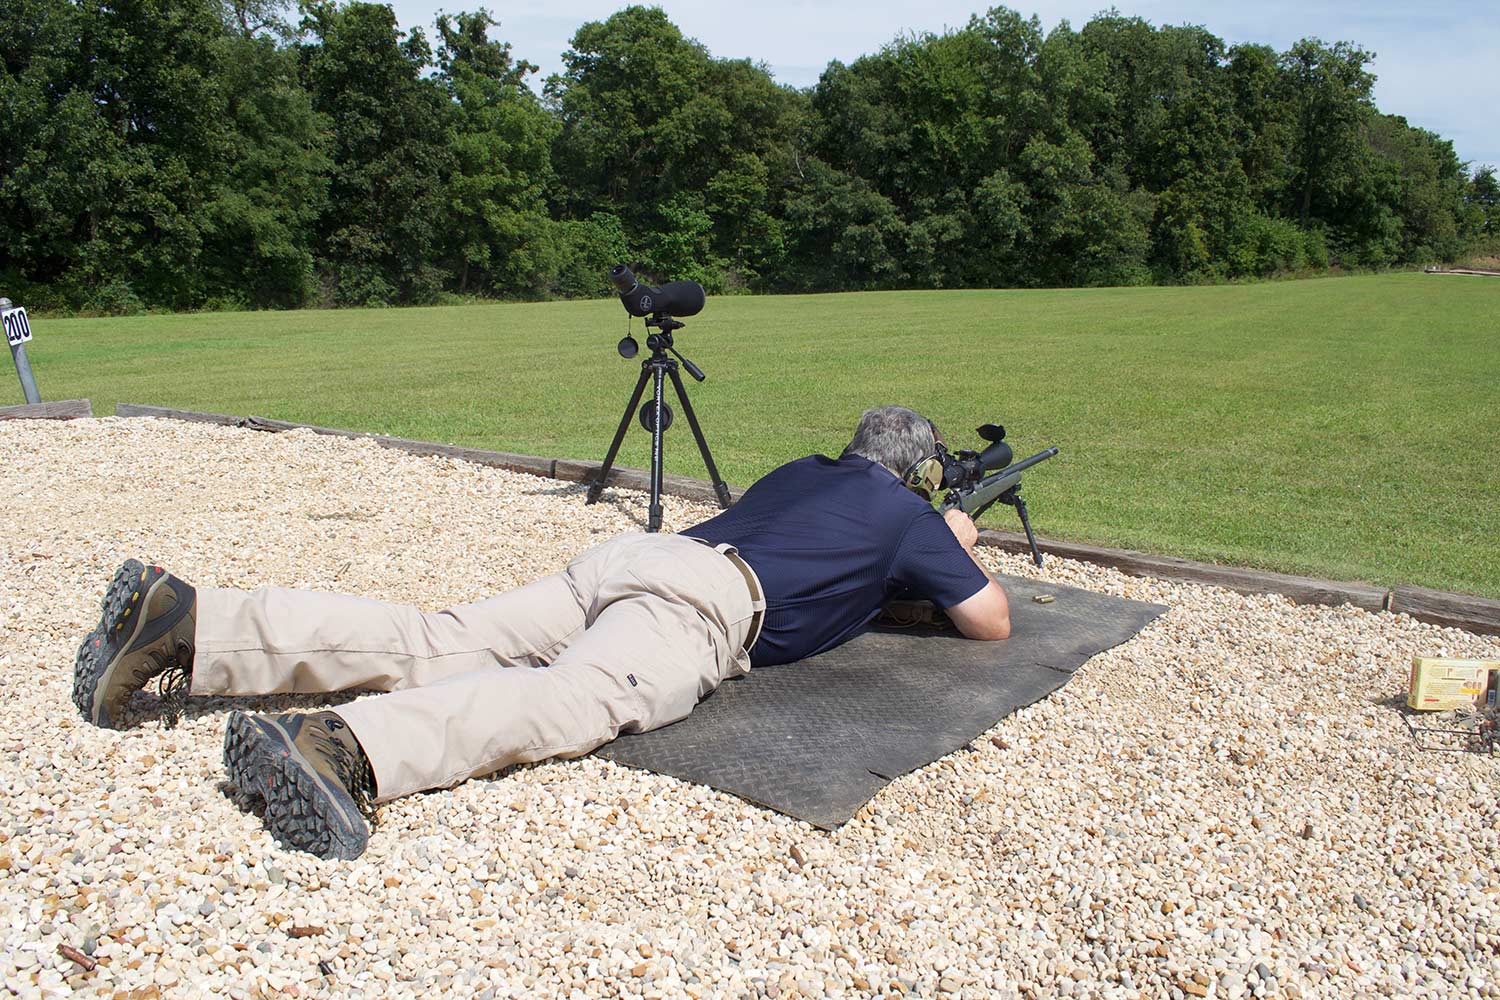
Deciding on your maximum effective range is something Kauber really hammered home at THE SITE. You can’t risk taking too long of a shot on wild game when you don’t have the experience and haven’t put in the practice. It’s unethical. Poor shot placement could wound the animal, and you might never recover it. The farther you move away from a target, the tougher it is to hit. For me, making the leap from 300 to 400 yards was like going from sinking 3-pointers to taking half-court shots.
At longer ranges, your bullet drops exponentially. Last year, I was practicing for an antelope hunt with a Barnes TSX 130-grain bullet in 6.5 Creedmoor with a muzzle velocity of 2,825 feet per second. At 300 yards, the bullet drop (how far the projectile falls upon exiting the muzzle of your rifle until it strikes the target) of that cartridge was a mere eight inches. But at 400 yards, the drop turned into 23.7 inches—that’s almost two feet. At 500 yards, the bullet drop was 49 inches. That’s a lot more room for error. Beyond that, bullets drift more in the wind at farther distances. Reading wind, and adjusting your shots accordingly, is one of the most difficult aspects of long-range shooting, and it takes a ton of practice. Also any mistakes in your shooting form and technique are amplified at long range.
Finally, remember that on a hunt, a shot at any range will be more difficult. Your window of opportunity is smaller (targets stay in the same spot; deer don’t), your heart rate will likely be faster, and you won’t be using a shooting bench.
5. Dry-Fire Until Your Trigger Finger Blisters
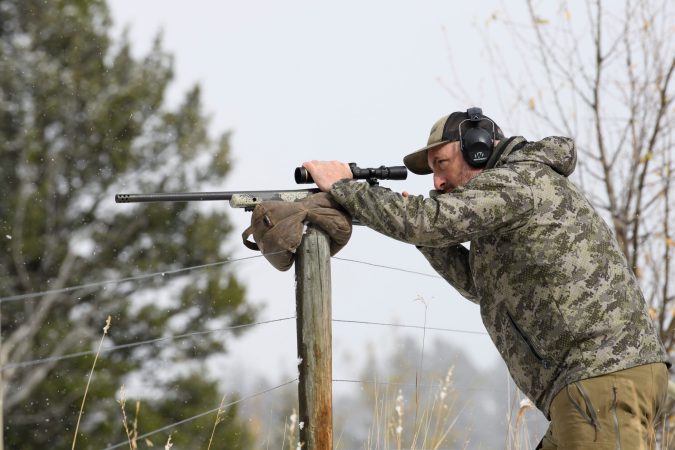
The smartest (and cheapest) way to become more accurate with a rife fast is by dry-firing. Dry-firing allows you to practice—without using ammo or going to the range—by squeezing the trigger with the gun unloaded. You can do it anywhere. Hell, I sit on my couch, mount the gun, and slowly squeeze the trigger, which is key. In rifle shooting, you squeeze the trigger as you exhale. Don’t slap it, like a shotgun trigger, because that can pull the rifle off-target.
I also set the rifle on Primos shooting sticks in my living room, kneel down on my left knee, anchor my right elbow to my right knee (for better stability when I pull the trigger), put my cheek to the stock, and dry fire. This mimics how I will shoot in the field. If you’re going to shoot off a pack, practice that way. Just remember: Triple check that your rifle is unloaded before dry-fire practice.
6. Practice for the Field
As you grow more comfortable with your rifle, leave the bench rest and spend more time practicing hunting scenarios. When I took that rifleshooting course, it ended with a “hunt.” The instructor set up a steel deer target, and we went after it together like it was the real thing. I had a set amount of time to get my shooting sticks out, get the rifle on target, and kill the “deer.” Most seasoned hunters don’t practice this, and maybe you’ll suffer some teasing from hunting buddies if they find out about it, but I promise: That simulation helps a lot on an actual hunt.
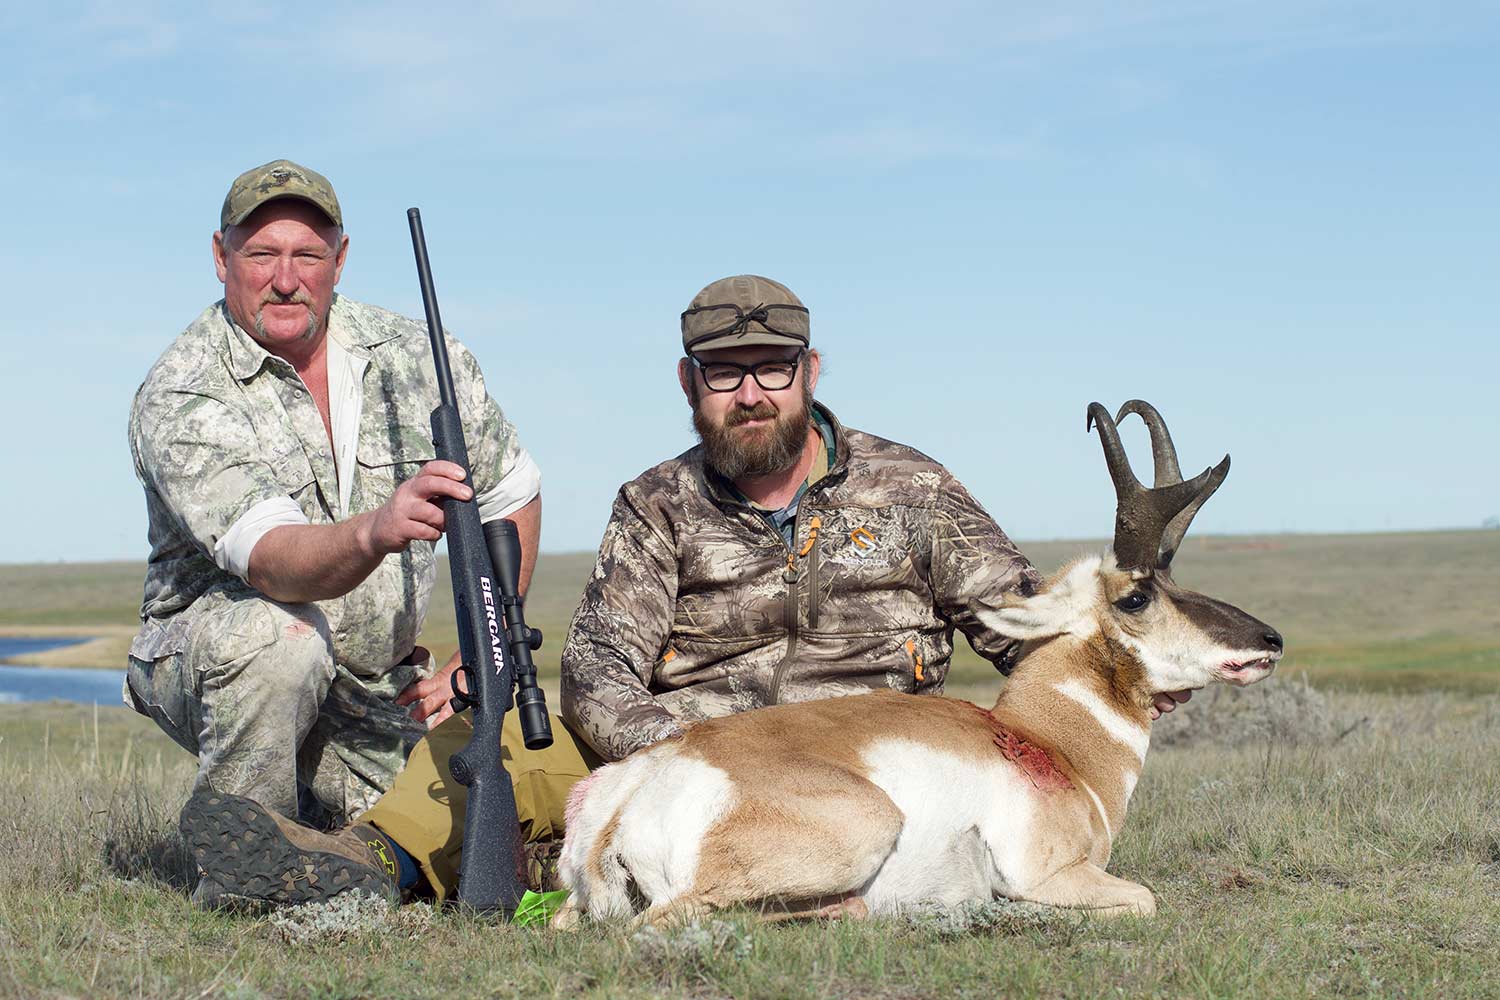
I had maybe 30 seconds to shoot an antelope last year, and that drill made all the difference. I practiced getting out of my truck with the gun, shuffling 50 yards away from it as quick and stealthily as I could, getting a firm rest on the sticks with the rifle, and putting the “pronghorn” (in this case, an old fish feeder at my parents farm) in the riflescope. I would dry fire when I got the fish feeder in the crosshairs, run the bolt, and dry fire again to mimic a follow up shot. And that scenario is almost exactly how my hunt transpired. Any embarrassment I felt from practicing while the neighbor watched from his deck vanished once I was grilling antelope backstraps and sipping a cold Molson.
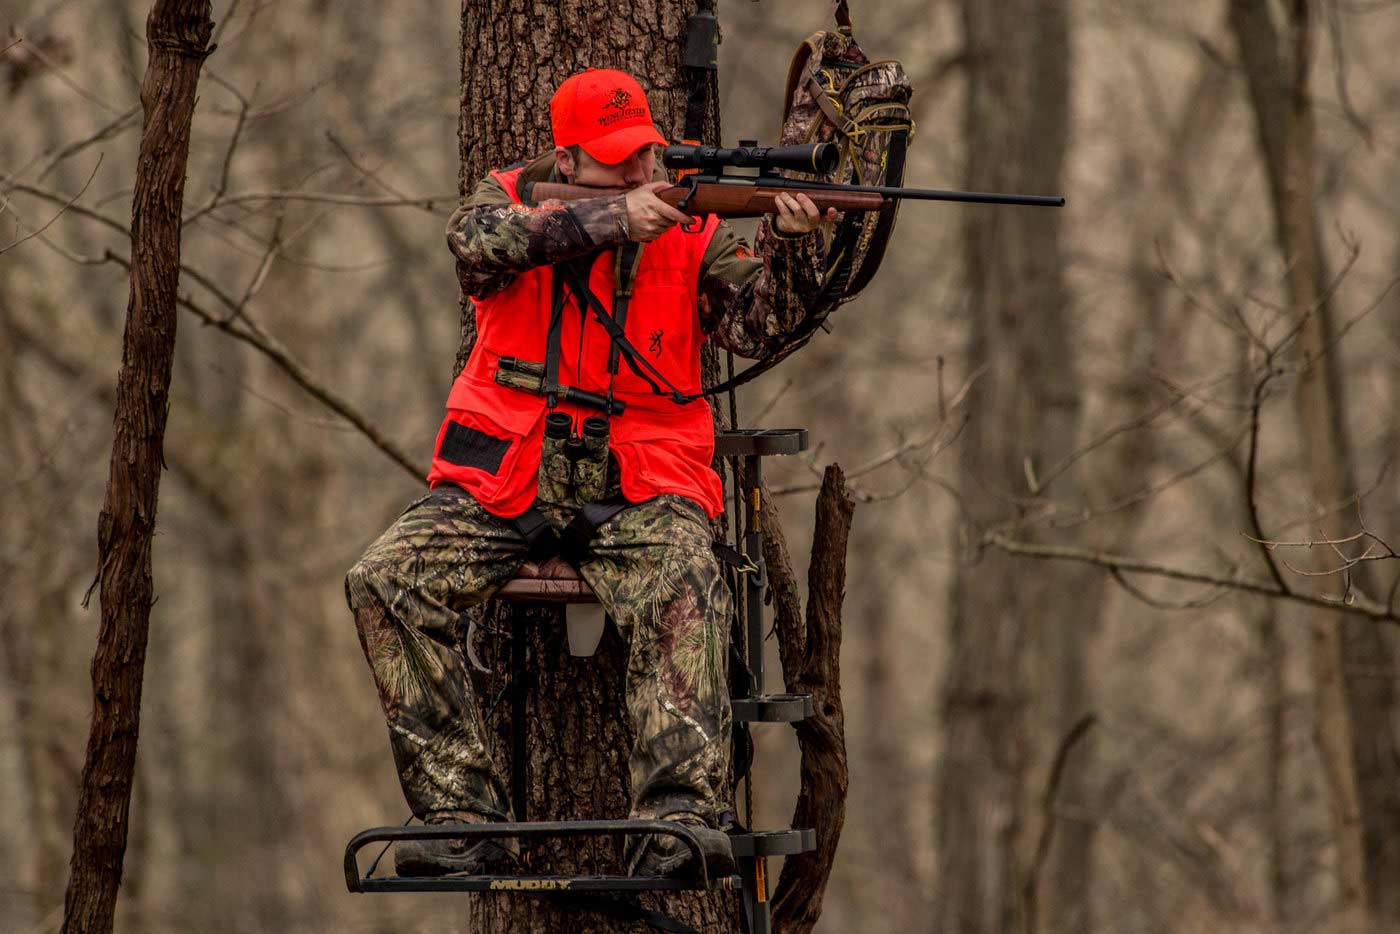
You can practice similar scenarios. If you are really dedicated, you can try this practice regimen from shooting editor John B. Snow. Whitetail deer hunting from a treestand is easy to simulate, to. As long as you are on private land, just sit in the stand(s), set targets in different places you expect to get a shot on a real deer, and dry fire. For mule deer and elk, you could do something similar to my pronghorn practice, minus the truck. Use extreme caution practicing on public land. To be safe, call your fish and wildlife agency to check on the specific rules and regulations in your location.
7. You Won’t Be Completely Prepared for Your First Hunt, and That’s OK
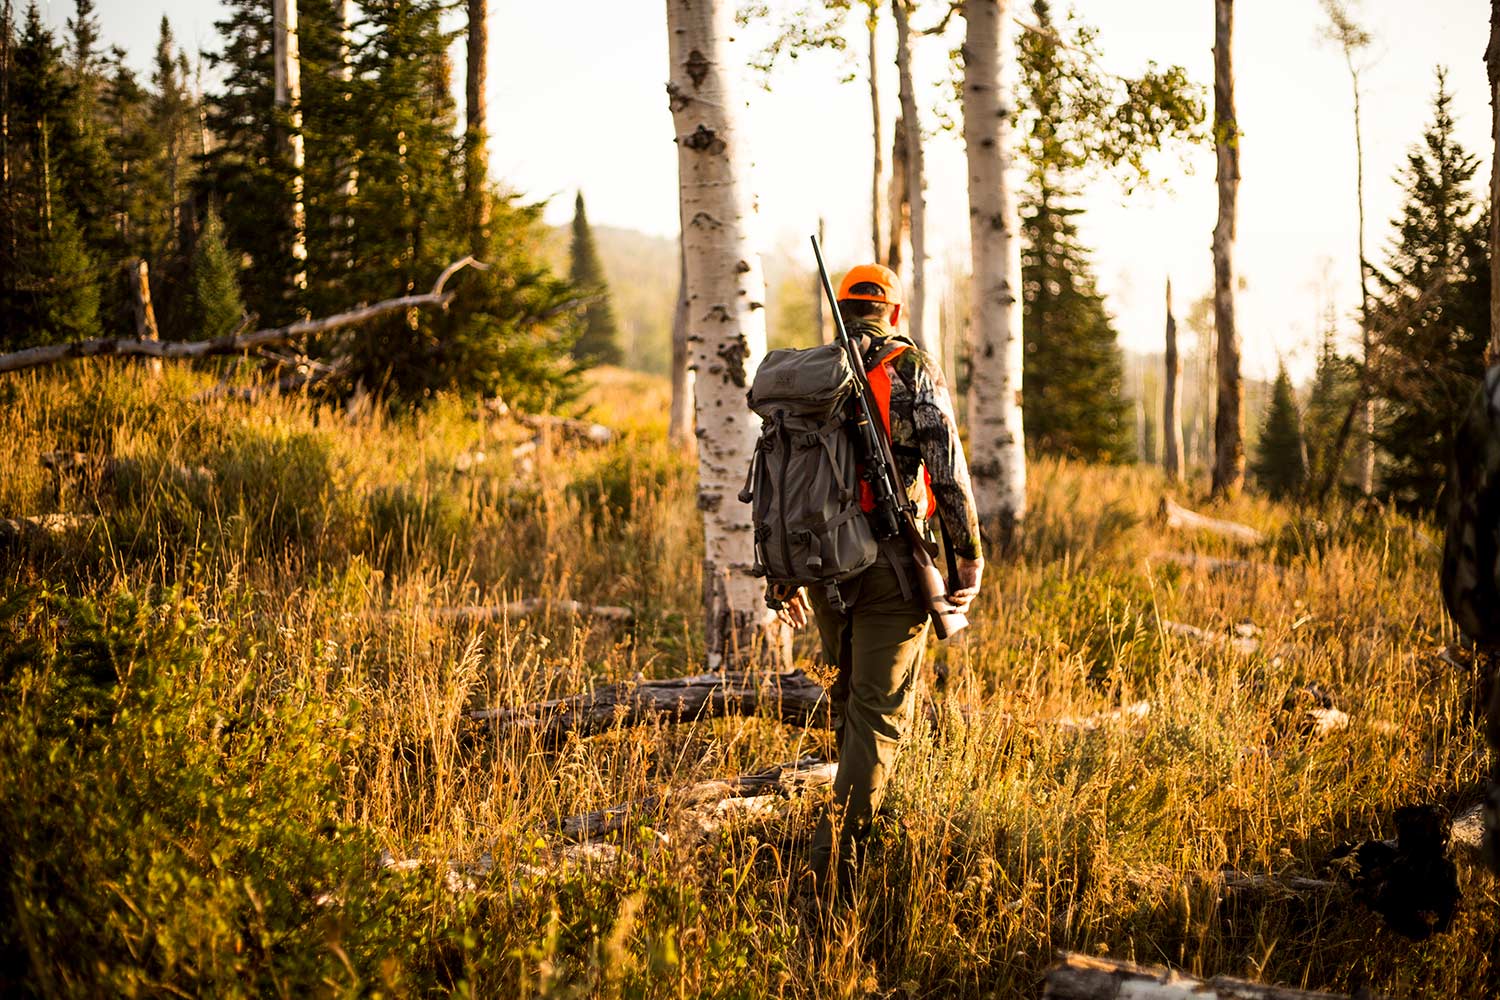
I had shot a few whitetails with a rifle before going on my first western big game hunt. I’d never felt any pressure while killing cull bucks and does from a shooting house by myself. But when I went to southern Alberta to chase antelope with a guide who lived and breathed pronghorn…it was nerve-wracking. The buck we were after had evaded him the year before. The day I drove into camp, he spotted it for the first time since the previous season and was jacked to have found it for me. I didn’t want to screw it up, and the longer it took to find our buck the next morning, the more nervous I became.
The actual kill happened very quickly, but I was so jittery, it was hard to hold the antelope in the scope. In my mind, there was a lot riding on this. My first shot was far back, right through the hips, so the buck was incapacitated. We quickly moved in closer. On my next shot I calmed down, remembered the fish feeder back home, and sent the bullet right through his vitals. My guide celebrated like it was Mardi Gras (he had invested a lot of time looking for that animal).
If you can help it, I wouldn’t recommend putting yourself in that kind of pressure-packed situation for your first hunt. If you go the outfitter route, tell the guide that you’re looking to keep the experience relaxed. If the outfitter is the type that picks out the deer he or she wants you to kill, move on. You need a hunt where it’s OK to shoot any legal game, not one specific buck. That’s too much added stress when you’re already nervous about making a good shot.
The best scenario is to hunt alone (zero pressure there) or to go with a trusted friend on public or private ground. Decide what you are willing to shoot (big bucks, little bucks, spikes, does, etc.) and how long of a shot you are capable of taking. Once you decide, don’t deviate in the field. You also shouldn’t expect that you will kill an animal—nothing is guaranteed in hunting. But you should be ready the moment an opportunity arises. It’s a mistake to let your guard down, and that can easily happen on a hunt. Keep your focus, always.
