We may earn revenue from the products available on this page and participate in affiliate programs. Learn More ›
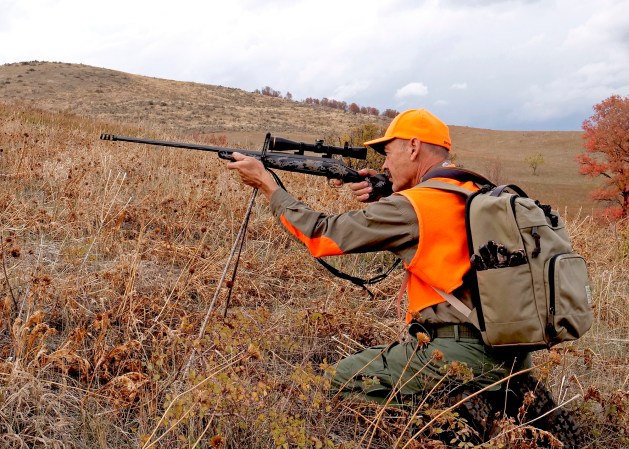
Modern precision riflescopes are wondrous instruments. Along with advancements in cartridge design and rifle manufacturing, today’s scopes are the reason we are experiencing a golden era of practical marksmanship and accuracy. Long-range shooters and those hunting at extended distances have never had it so good.
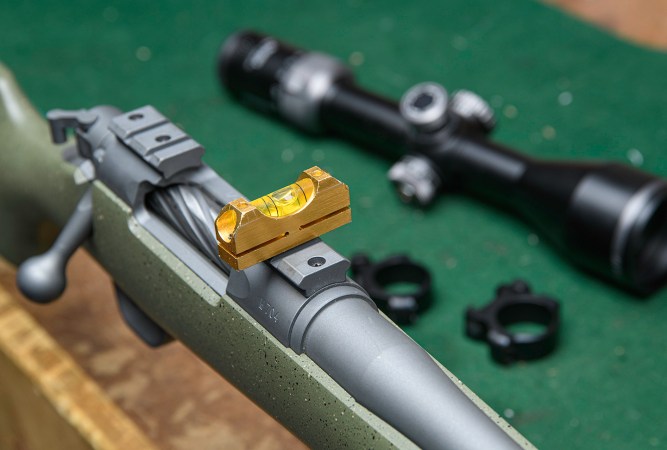
As you might guess, leveraging the impressive capabilities of precision riflescopes requires some specialized know-how. Before we start talking about shooting at longer distances, however, we must make sure the optic is set up correctly (read part 1 on how to mount a precision riflescope) and that we’ve mastered its controls. So that’s where we’ll begin.
Focus the Reticle
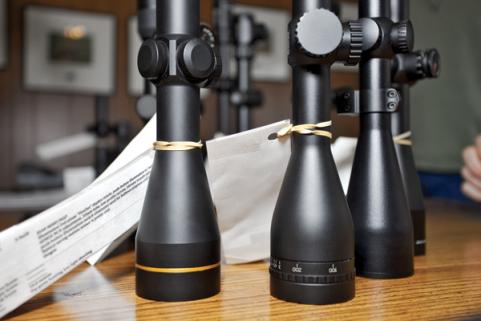
The first thing to do when looking through a scope is to focus the reticle to your eye. This is done by adjusting the diopter on the eyepiece of the scope. Take the optic, set it to a high magnification level and look through it at a neutral background in good light. A gray sky, concrete wall or distant rock face will do the trick.
Twist the diopter until the reticle is blurry and then turn it back to where it’s focused and then go a little beyond to where it is blurs again. Then turn it back until it is in tack-sharp focus. Use some nail polish or a paint marker to indicate the focus setting at 12 o’clock on the diopter so you can see at a glance whether the reticle is focused correctly.
Set a Precise Zero
Everyone knows that having a good zero on a scope is important. But the zero we’d see 15 years ago on a typical deer rifle with a 3 to 9 power scope won’t cut it for serious long-range work.
When plugging data into ballistic calculators (which we’ll cover in the fifth article in this series) you want your zero inputs to be as accurate as possible. Ideally, our bullets will strike at the exact spot where the crosshairs line up at 100 yards, but that’s rarely the case.
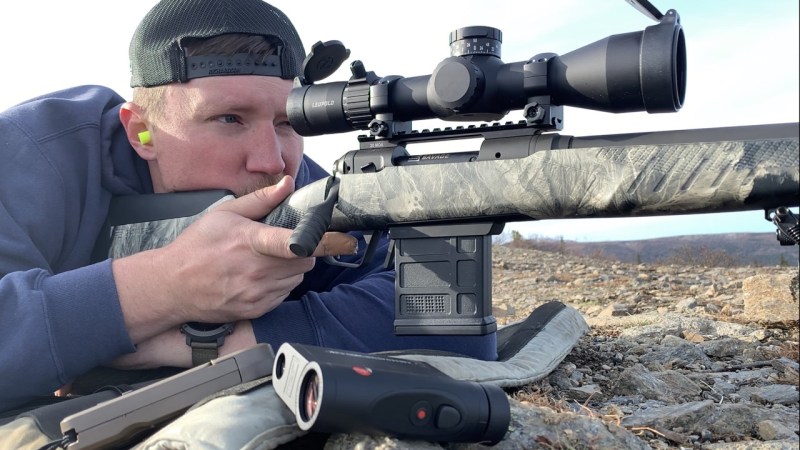
To determine an exact zero, set a target at 100 yards with five separate aiming points. You can use 1-inch dots for this, but smaller aiming points are even better. Place one shot on each of the dots and then measure how far from the point of aim each shot was. Use calipers or a tape measure to determine the horizontal and vertical offset. Take the average of these values across the five shots and that will give you your precise point of impact at the zeroing distance. These values are what you’ll put into the ballistic program to determine your long-range dope.
If these figures average more than one-click of adjustment off center, you can dial a correction into your scope and repeat the process.
Check the Turrets
Most precision riflescopes let the shooter set the elevation and windage turrets to a zero value, which you should do once you zero is set. As a rule of thumb when shooting at longer distances in practical field scenarios we dial for elevation and hold for windage. But before we start engaging targets at longer range we want to make sure the controls on our scope adjust our point of impact the way they are supposed to.
Perform a box test by dialing your elevation up 5 mils (or 15 MOA) and shooting three shots at 100 yards. Then dial the same amount of right windage and repeat (shooting at the same spot on the target). Then dial down that value and shoot again. Lastly, take the windage out of your scope and confirm that the rifle is hitting your point of aim at 100 yards with three final shots. Your shots should make a square box shape on the paper, with the last impacts being at your original zero.
Read Next: How Accurate Is Your Hunting Rifle, Really? The Case for Shooting 3- and 5-Shot Groups
Study the Reticle
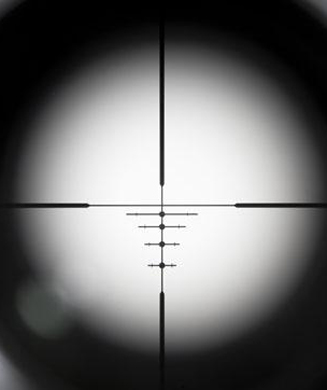
Devote some time to learning the reticle in your scope. Precision riflescopes come with reticles with hash marks and other indicators for both elevation and windage. Make sure you understand the spacing between the marks and the overall layout.
This will prevent you from getting lost in the reticle when it comes time to make a shot. This also helps you get on target more quickly and make faster follow-up shots should they be necessary.
Most precision riflescopes have maximum power settings from 18X to 35X (and in some cases even higher). Reticles in the first focal plane will appear to shrink and grow at different power settings, so familiarizing yourself with how the reticle looks at different magnification levels is smart. We’ll cover the benefits of first-focal plane scopes in part three of this series.
Second-focal plane scopes require the optic to be set at specific power levels in order for the marks in the reticle to match your dope, so it is worth practicing dialing the scope to the right settings to get a feel for the optic.
